Wainscoting is amazing at transforming a plain/boring room and giving it a bit of class and elegance. At the ShabbyChicHouse we love the more traditional wainscoting over the more modern board and batten as it has a classic look that can stand the test of time.
In this short DIY tutorial, I’ll walk you through a few wainscoting layout tips, the tools of the trade and everything else you need to knock out this job in just a weekend.
Some of our posts contain affiliate links. We often share links to the tools & products used in our home improvement projects and if you purchase one of these items using our link, we may earn a small commission (at no additional cost to you).
Wainscoting Layout Tips
Before you do anything, you need to come up with a thorough plan for each and every wall in the room. How many boxes do you want on each wall? What sizes should they be? Spend a quick 5-10 minutes sketching up your plan before you start cutting wood.
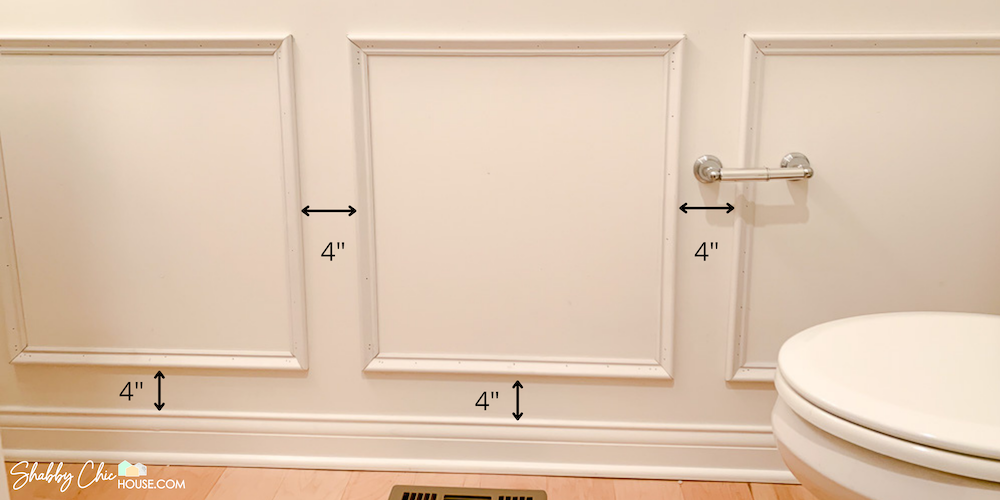
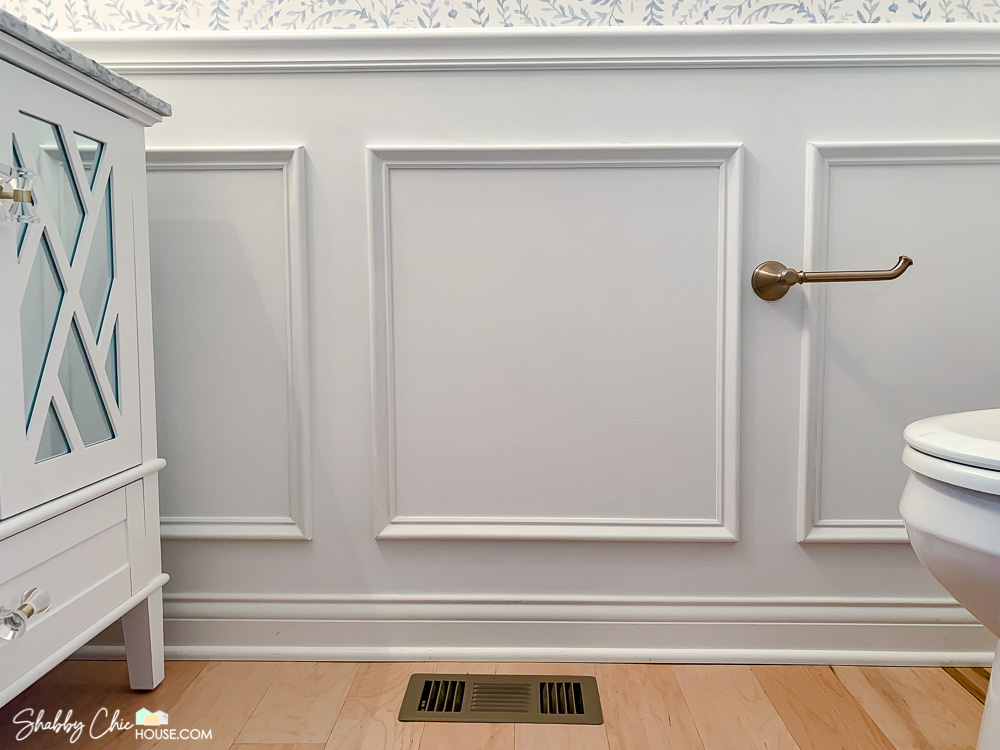
A good wainscoting layout tip is to follow is the 4″ rule“. You should set your wainscoting boxes 4” in from the baseboards, door frames, walls and each other.
The height of your wainscoting boxes will depend on where you want to put your chair rail. The standard placement for chair rails is between 32″ and 40″.
The original purpose of the chair rail was to protect your walls from dings made by chairs set against them. So if you’re wainscoting a dining room you might measure the height of the chairs and set your chair rail at the corresponding height so they are both functional and aesthetically pleasing.
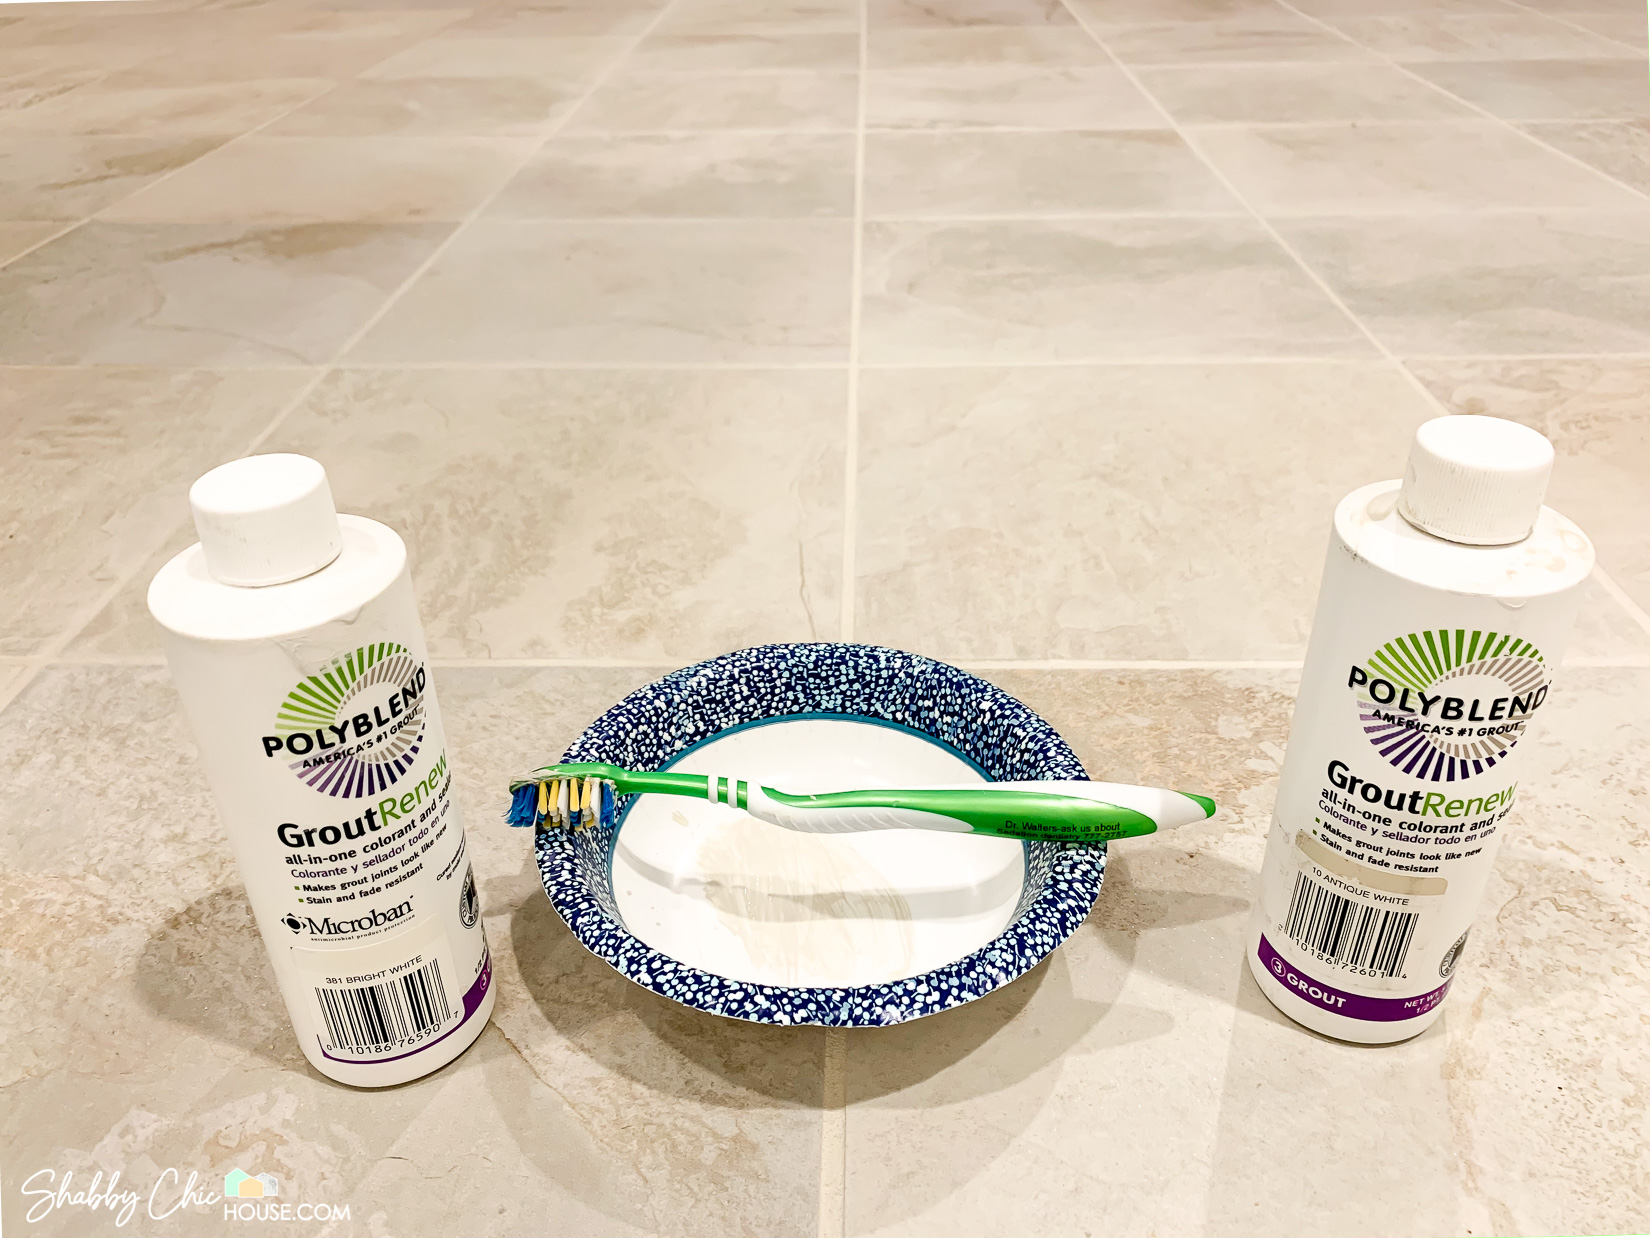
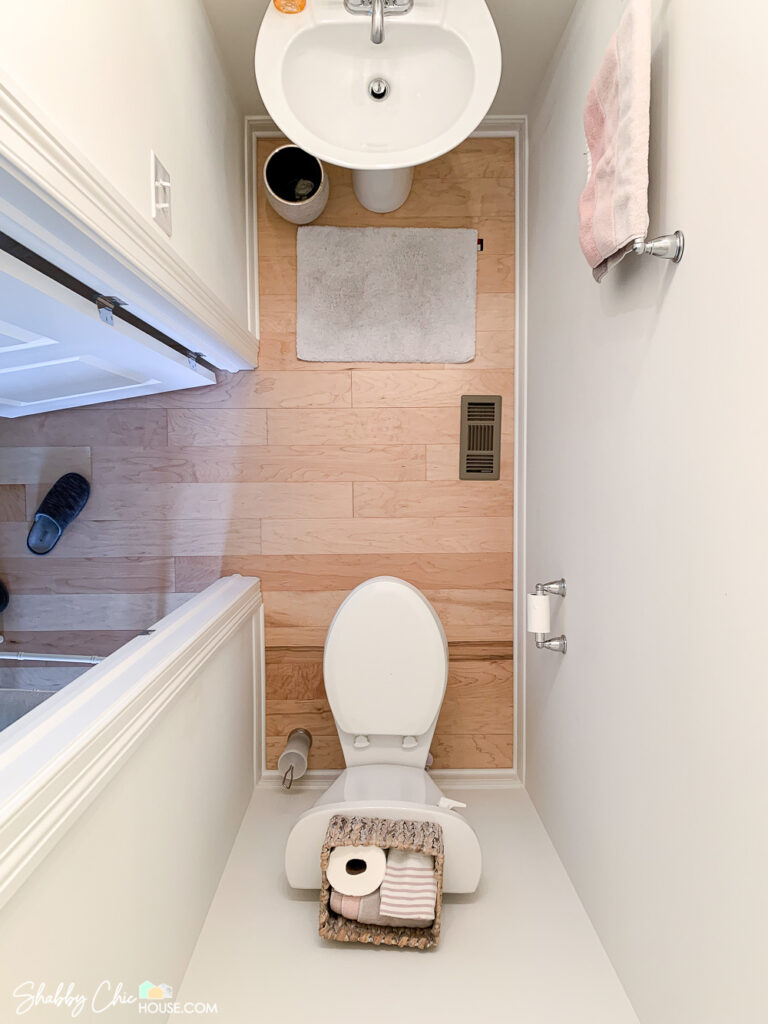
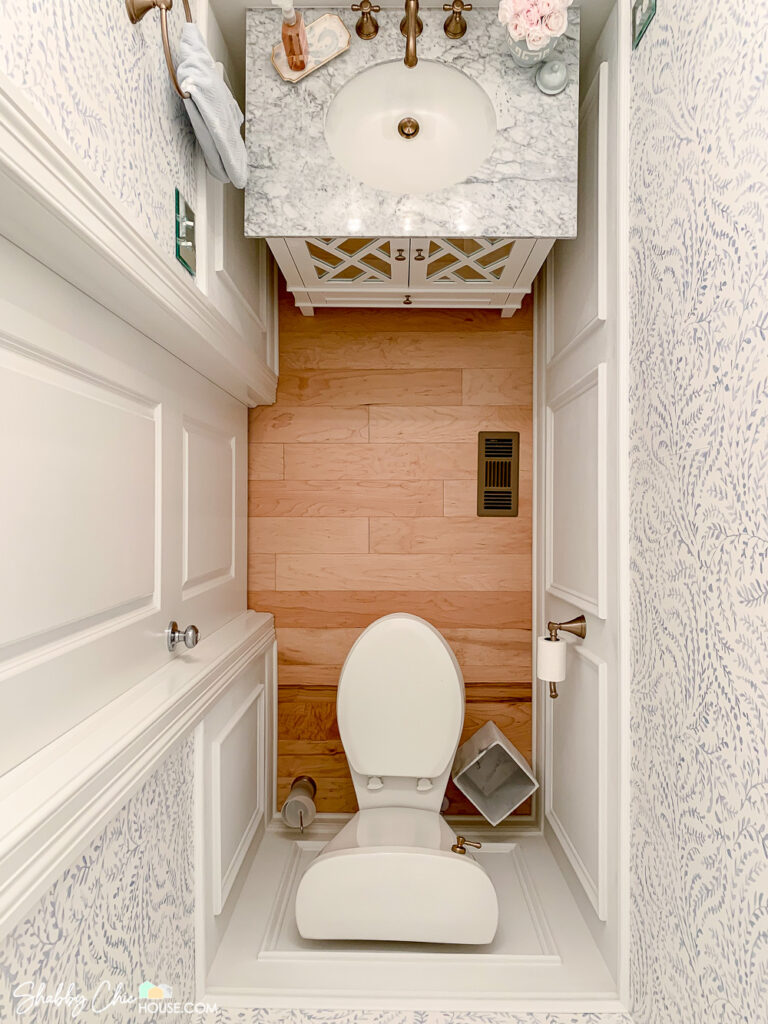
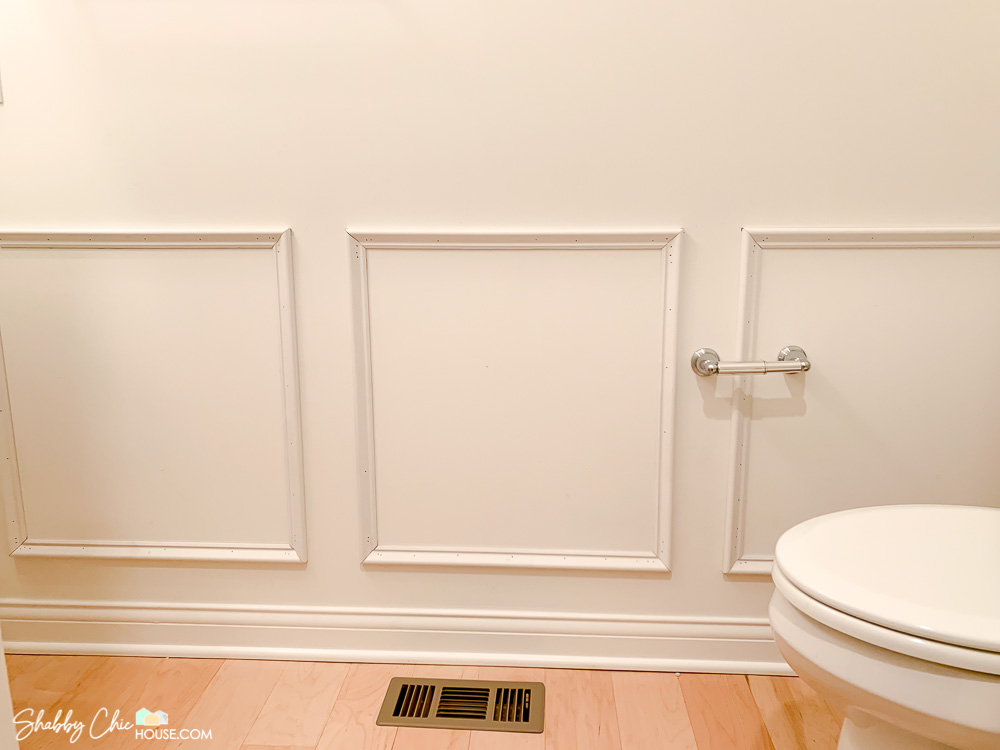
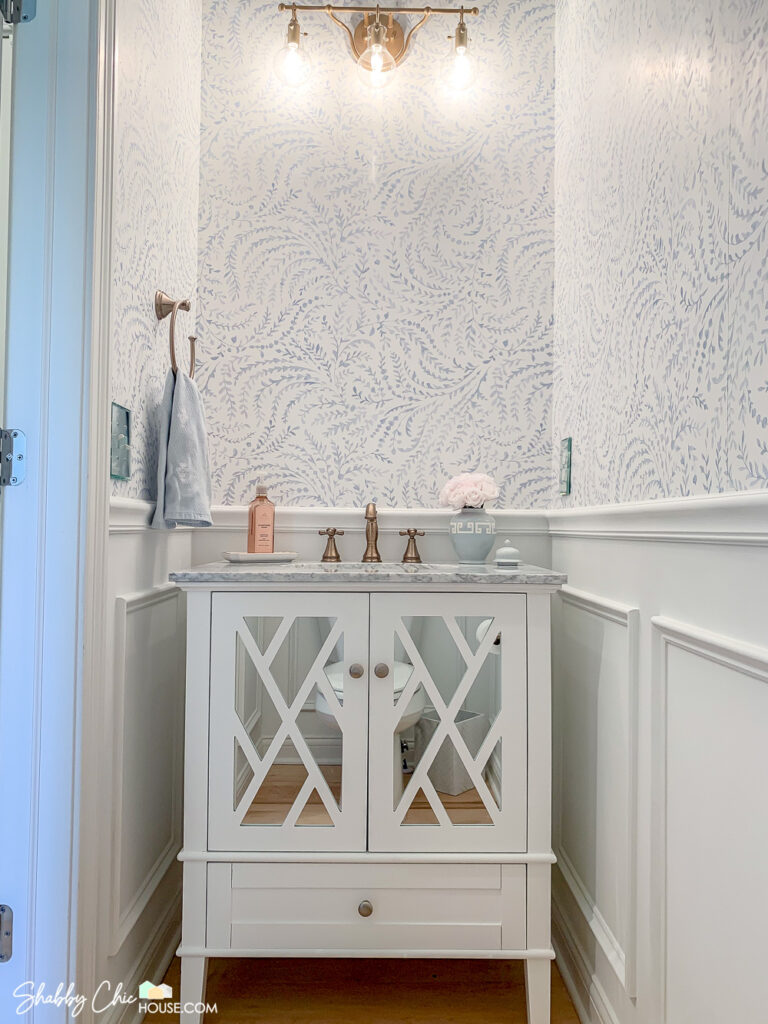
However, in a bathroom, you can choose the height that is most aesthetically pleasing to you. In the blue and white floral bathroom below, I set the chair rail 4″ above the countertop. In the pink mermaid-themed bathroom I felt the chair rail looked best centered on the backsplash. Choose the height that works best for you!


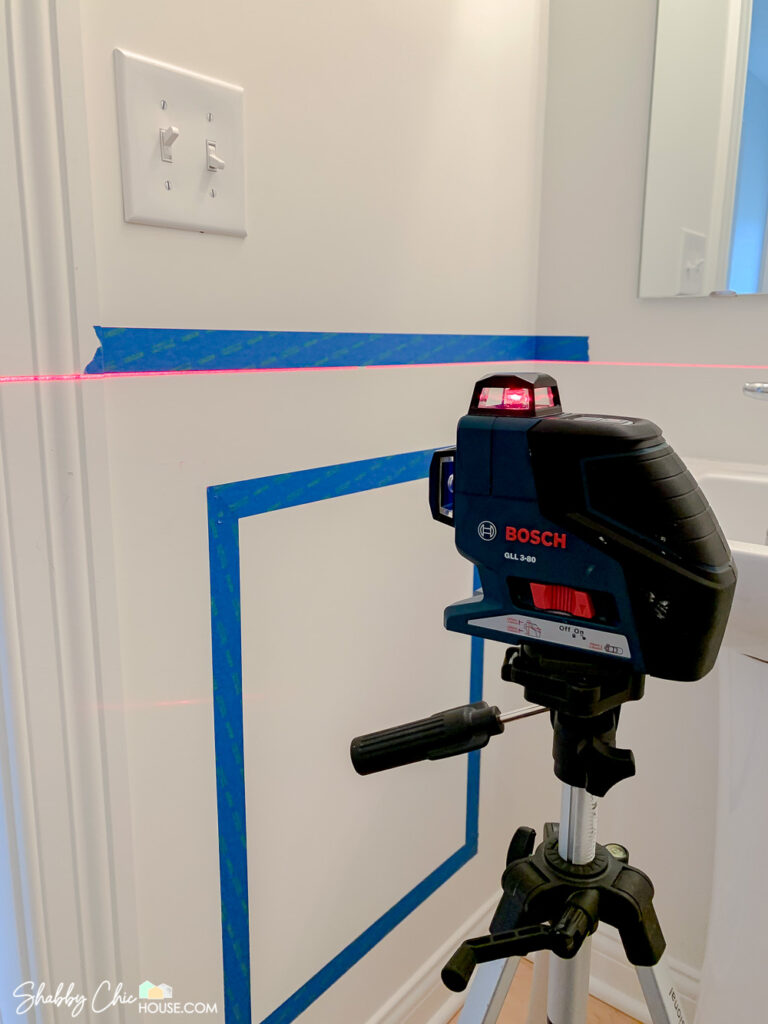
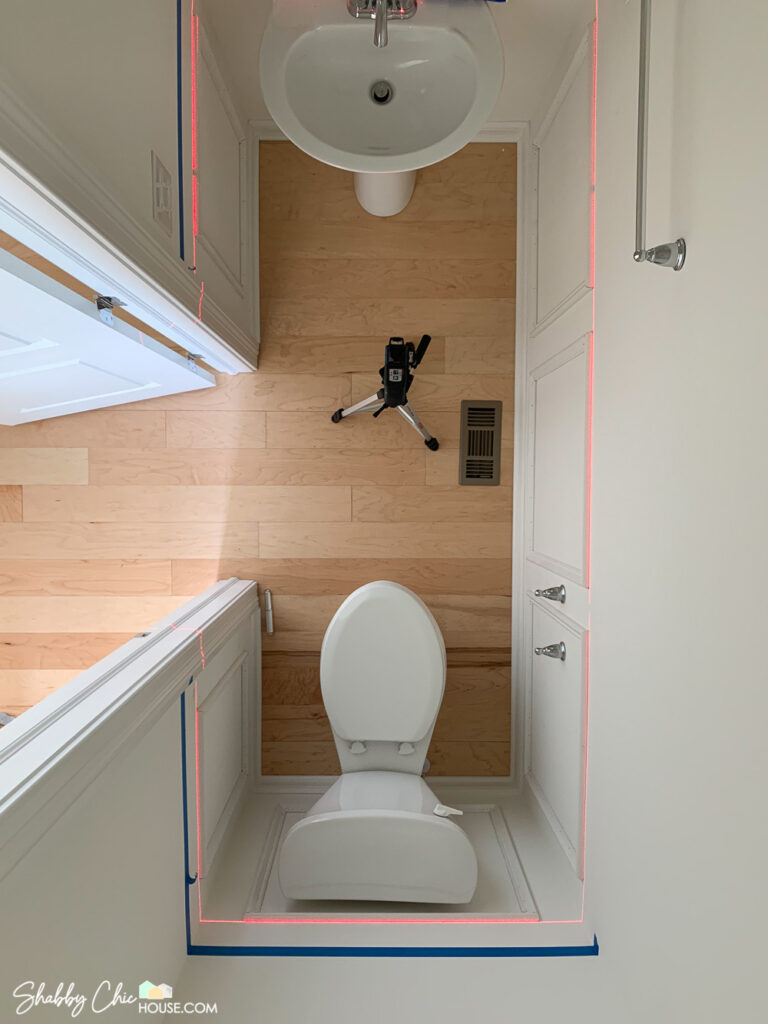
If you’re having a hard time visualizing your wainscoting boxes, you can use blue painter’s tape to make foe boxes and chair rails.

As you are planning out your wainscoting layout it’s important to be symmetrical. For example, I could only fit one wainscoting box on each of the 3 walls in this small bathroom. On the largest wall, I could fit roughly three boxes. Initially, I thought about mirroring the boxes on the opposing wall, but then I’d have a few different size boxes. In the end, the best-looking option was to make all three boxes the same size.
How to Cut Wainscoting
If you put up blue painter’s tape to help visualize your project, it’s fairly easy to take your measurements for each box. Just measure the width and height of each box along the outer edges of the tape.
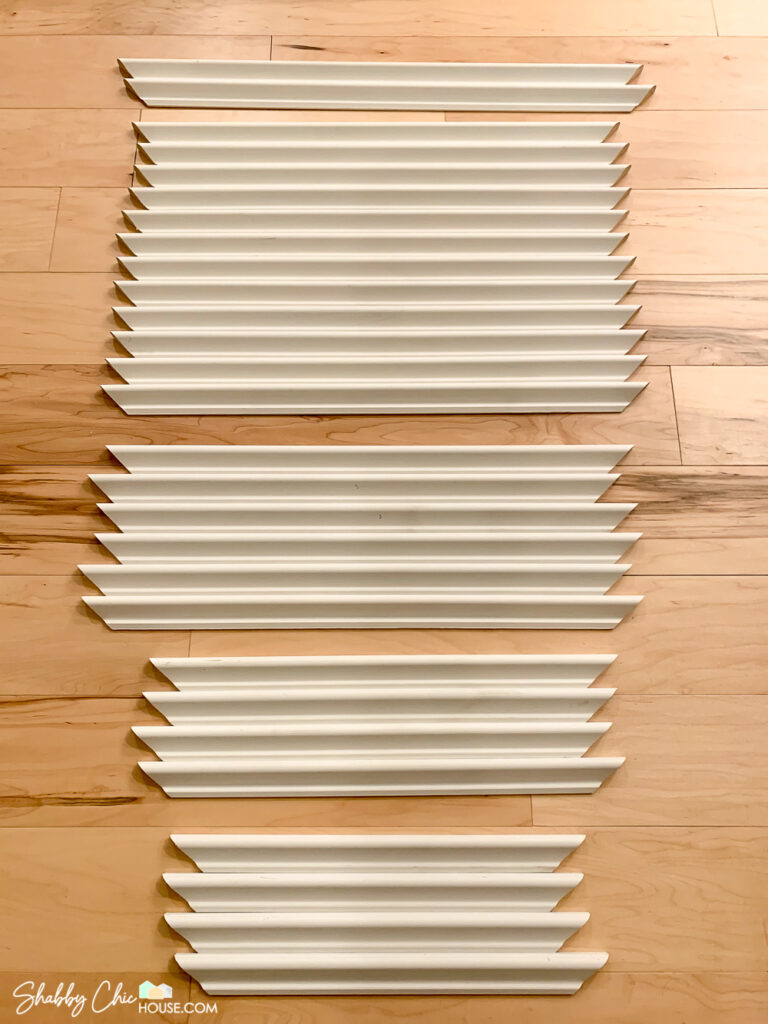
In order to build your box, you’ll need to make eight 45 degree cuts (two in each corner). For my wainscoting projects, I like to use a pre-primed PVC Base Cap Moulding.
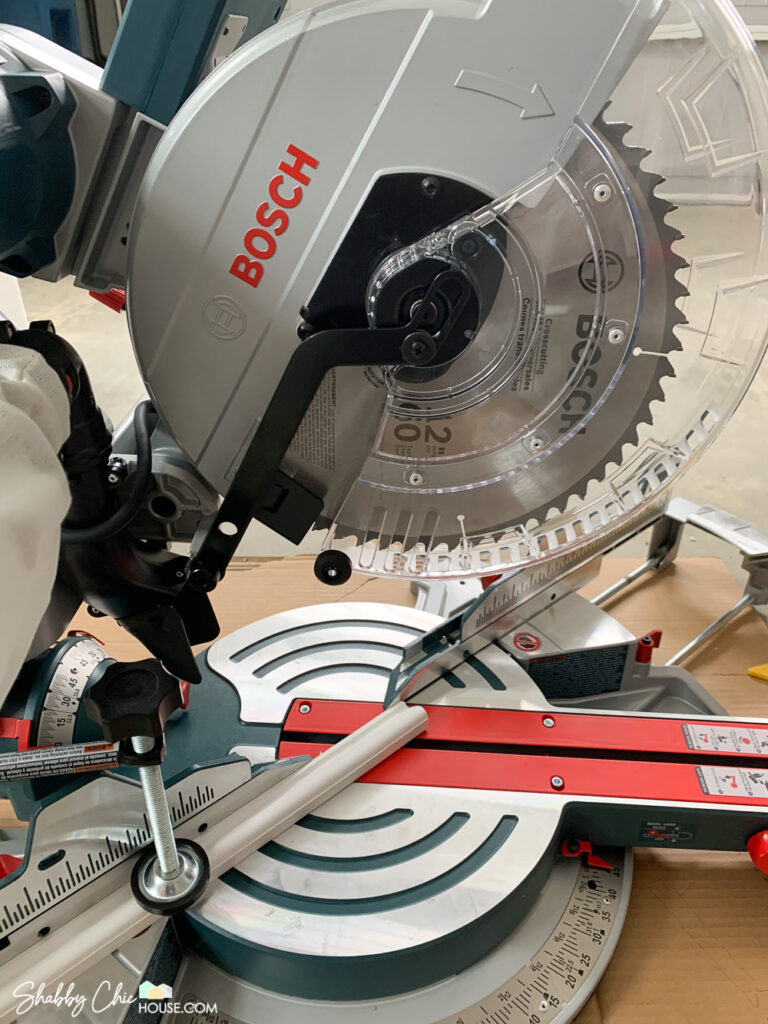
Also, while you could make these cuts by hand, a miter saw makes this project so much quicker and accurate. I was in the market for a new miter saw, so I scooped up this awesome Bosch miter saw. It’s truly amazing as it has a patented axial glide arm which allows you to set it on a bench near the wall. Most other miter saws have bars that the saw slides on and require you to have the saw 12 inches away from the wall.
If you’ve ever had or operated a traditional miter saw then you know this patented design is a game-changer!
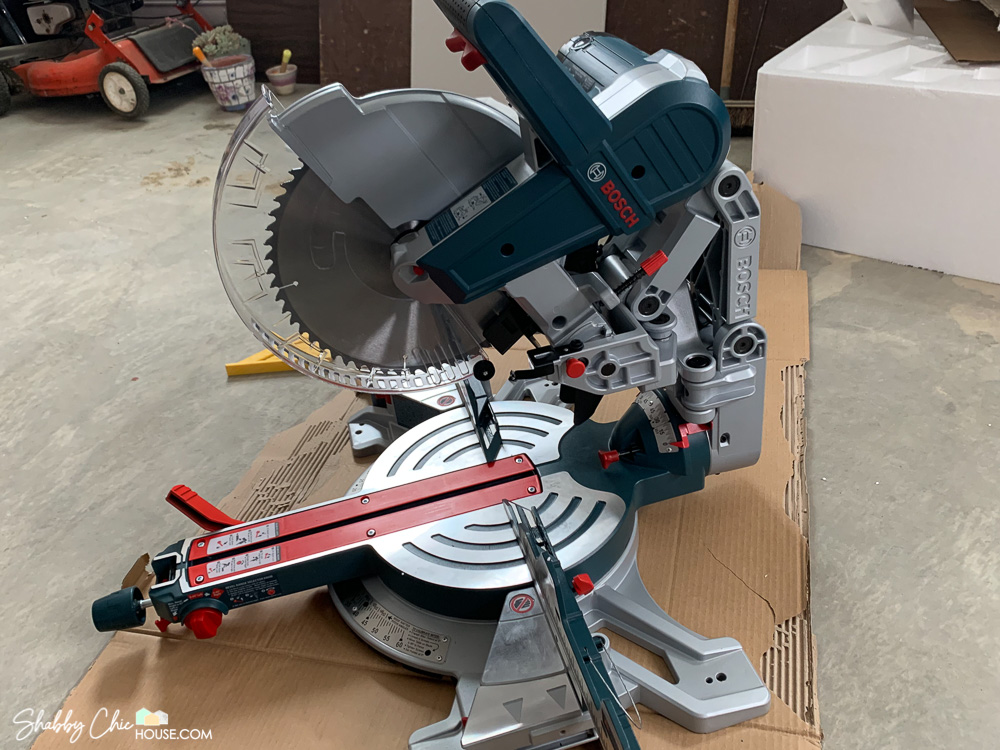

This saw is amazing and makes every project like cutting through butter.
Quickly set to 45 degrees and chop. Then measure from the outer corner, mark and cut. Think of your wainscoting boxes as a picture frame. The outer edges should be longer, inner edges shorter.
Putting up Your Wainscoting
In order to install your wainscoting you’ll need the following:
- Construction Adhesive
- A level
- Nail Gun
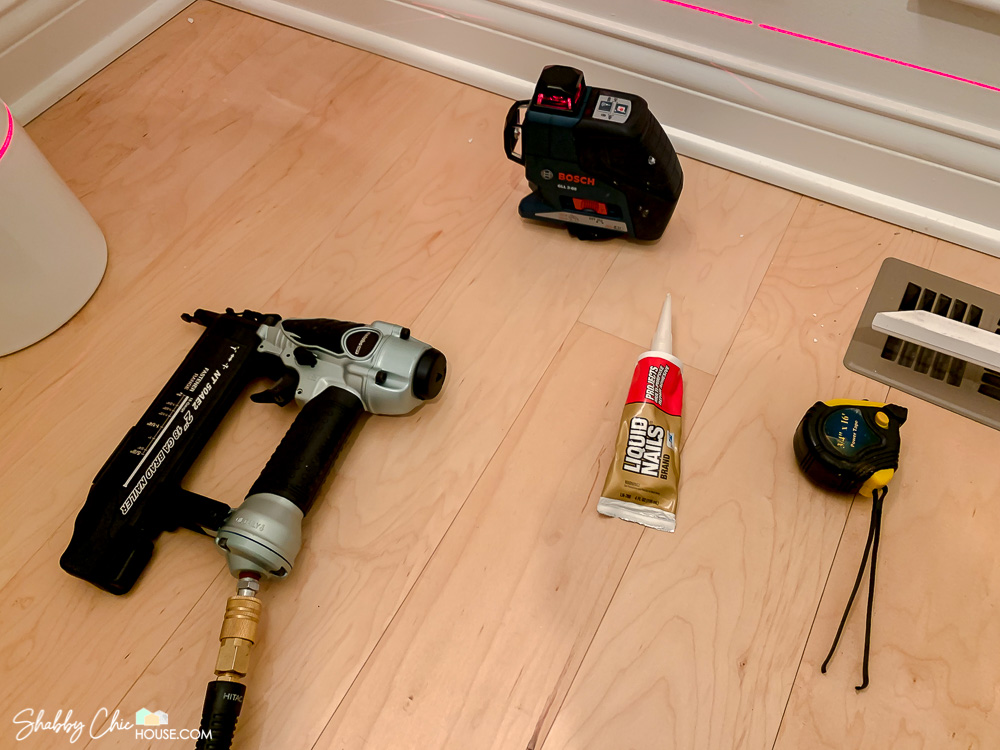
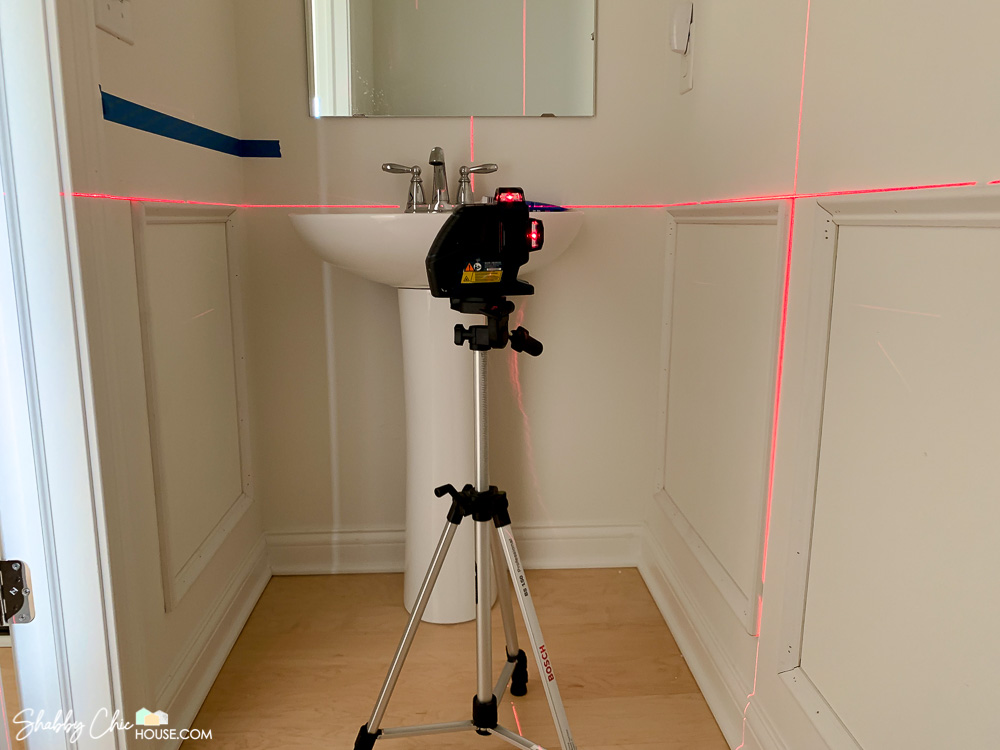
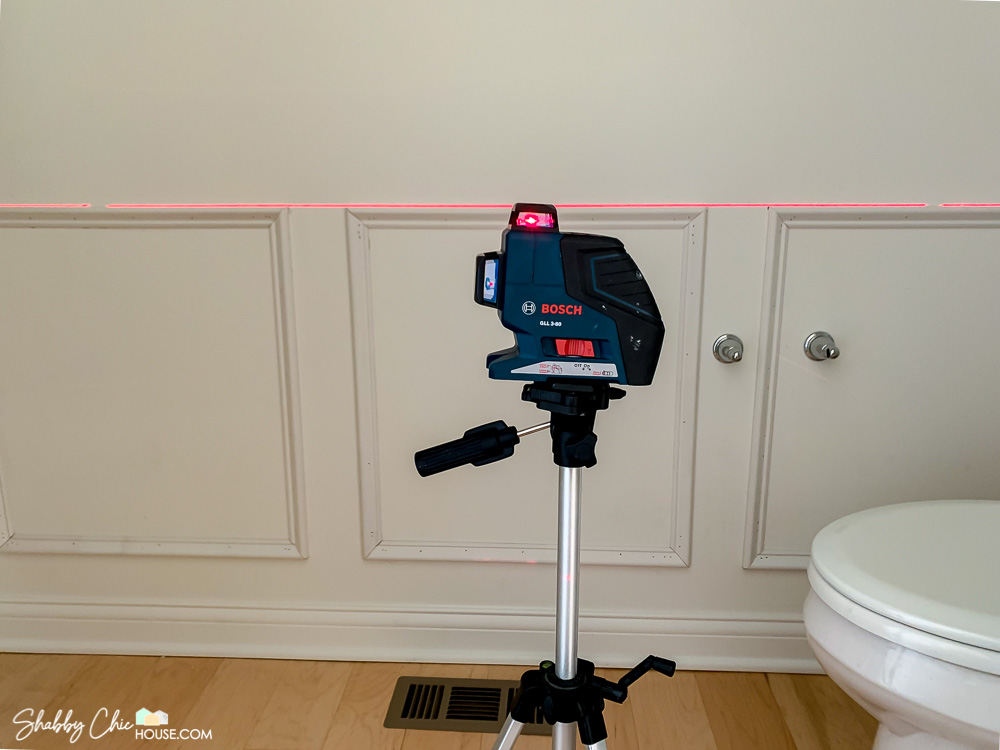
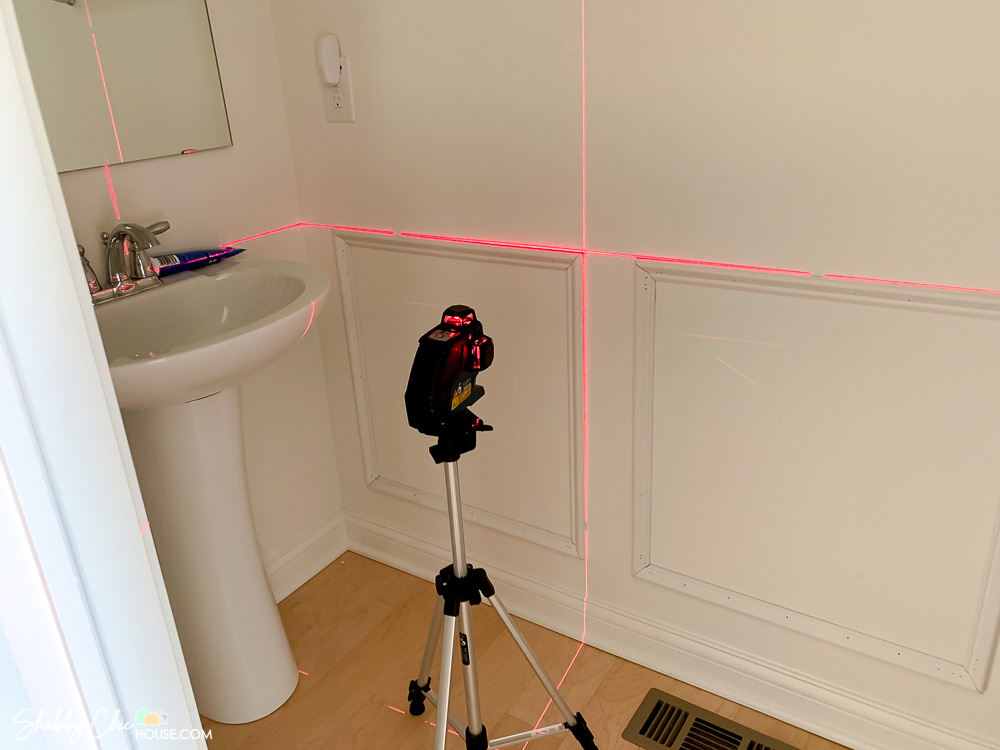
One of the most amazing tools ever created for wainscoting is the modern laser level. This tool will shoot a laser line around all four walls of a room helping you make sure that every wainscoting box you put up is perfectly level. I purchased this Bosch laser level years back and have used it on an endless number of projects. Check out how truly awesome this level is for wainscoting in the photos below!
Once you get your level set-up, place a generous amount of Liquid Nails on the back of your wainscoting. Place the wainscoting on the wall and permanently secure it in place using a nail gun.
My wife bought me this 18 Gauge Metabo brad nailer and pancake compressor a few years back. It’s served me well and I’ve used it for wainscoting, crown molding, filling the car tires with air and more!
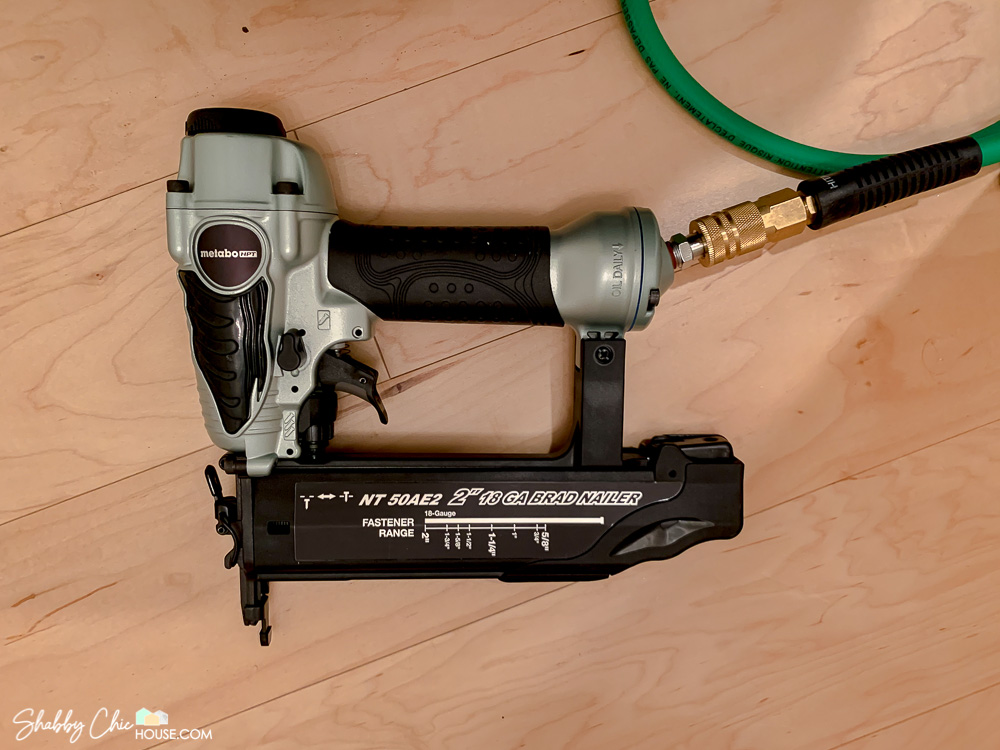
For this type of project, you’ll want to use around an 18 gauge 2″ brad nail.
Once you get the top of the box up, add both sides (again using your level) and then finally the bottom of the box. Check out the photo below and how the multi-beam laser level can help you great perfect 90-degree boxes.
Punch & Patch Your Holes
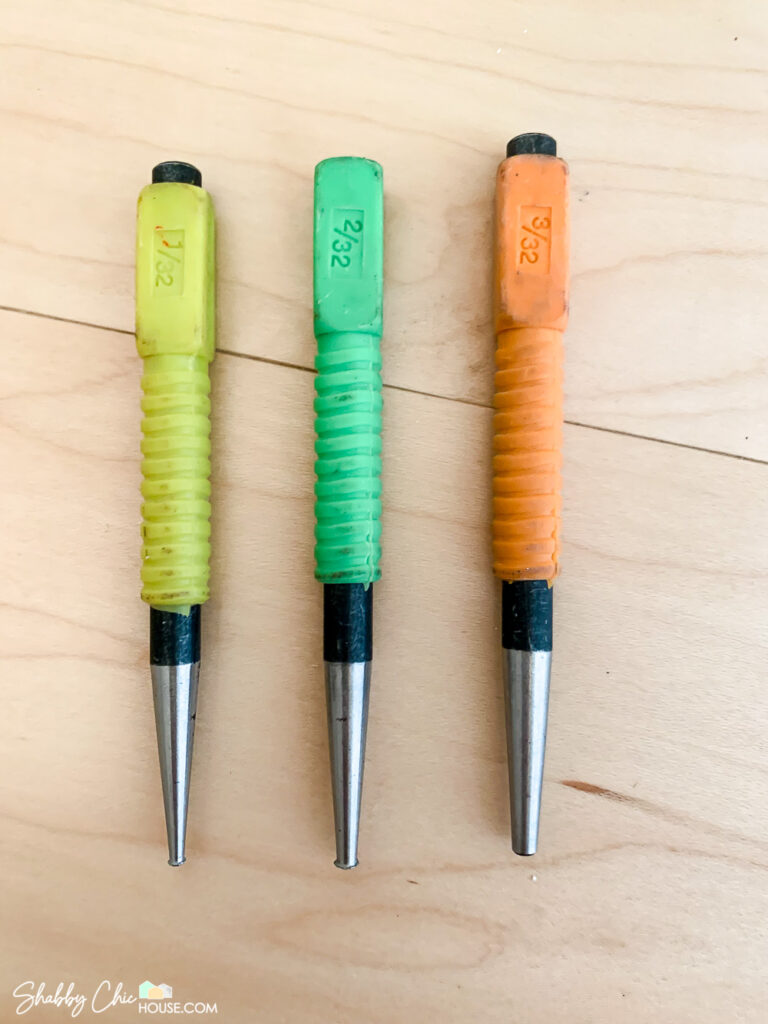
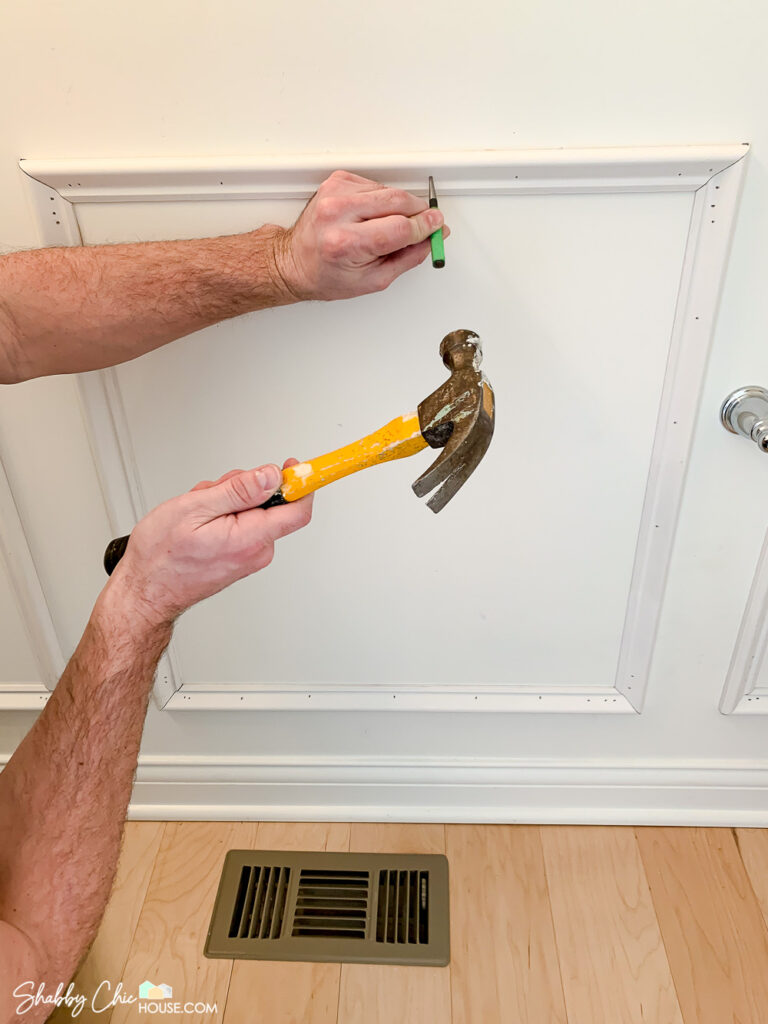
Now that you have your wainscoting up on the walls, the last step is to hide the nail holes and touch up the wainscoting. Start by inspecting each brad nail. Very occasionally you may have a nail that didn’t sink 100% under the wood. If so, use a punch set and a hammer to sink the brad nail under the wood.
Next, use a sandable and paintable putty to fill the nail holes. I love DAP’s DryDex as it goes on pink and turns white when it’s 100% dry and ready for sanding.
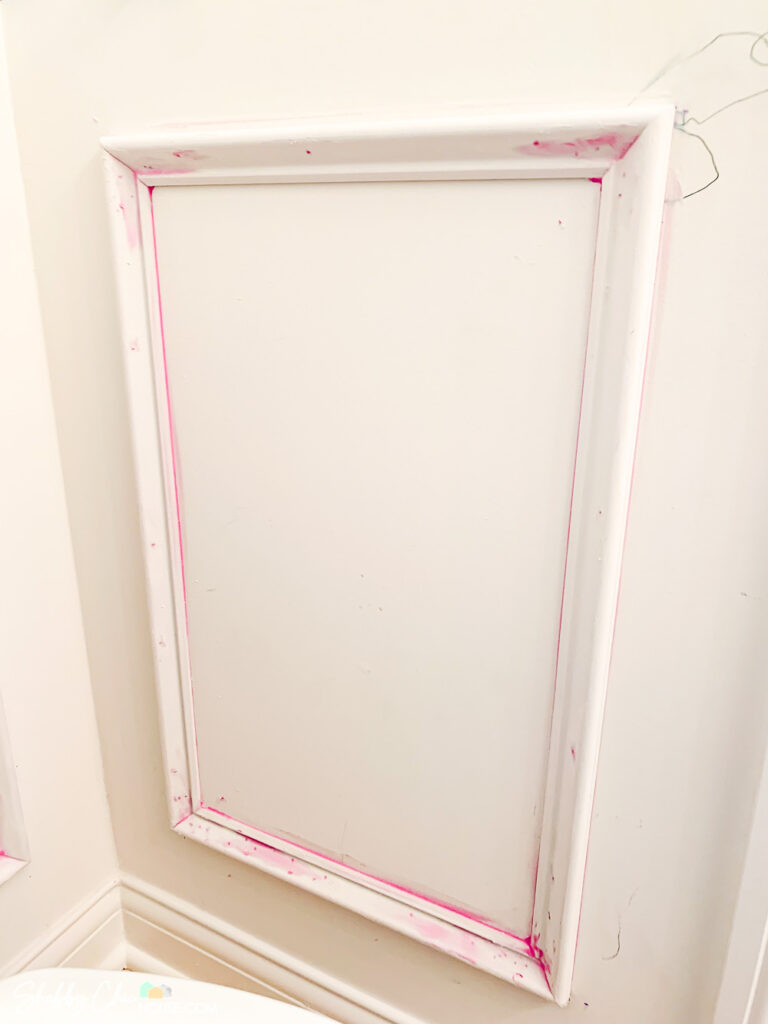
Last – sand, paint and enjoy!
If you liked this post and are still hungry for more wainscoting content, check out the ShabbyChicHouse featured on RealHomes.com story about DIY wainscoting.
And if our blue and white floral wallpaper caught your eye check out our other DIY tutorial on How to Install Wallpaper — Here!