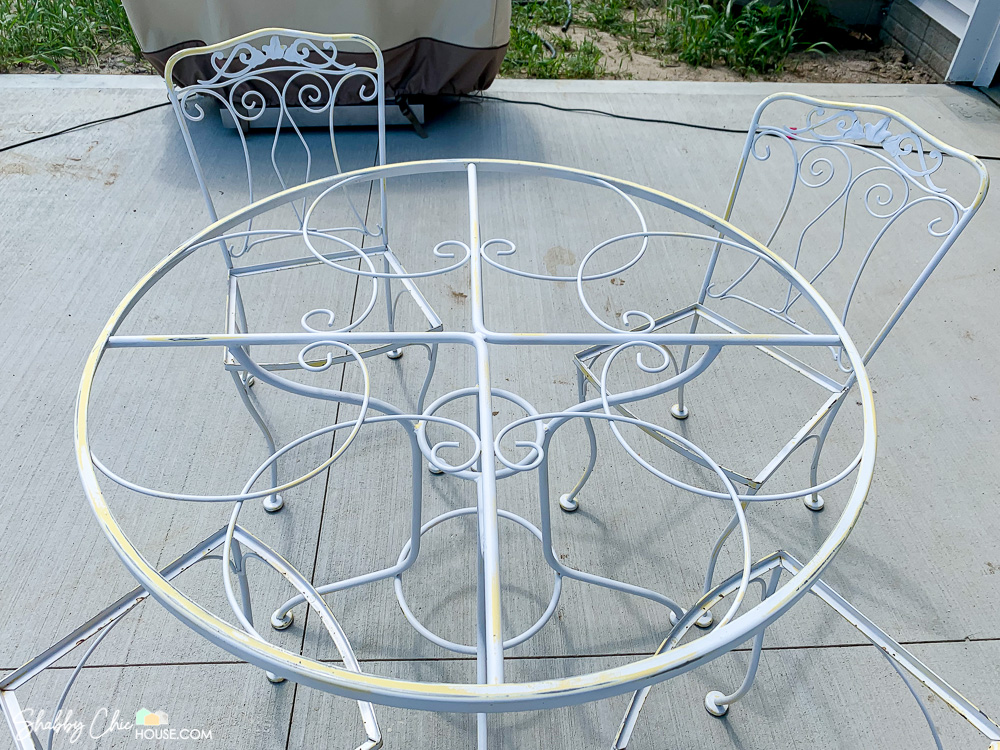
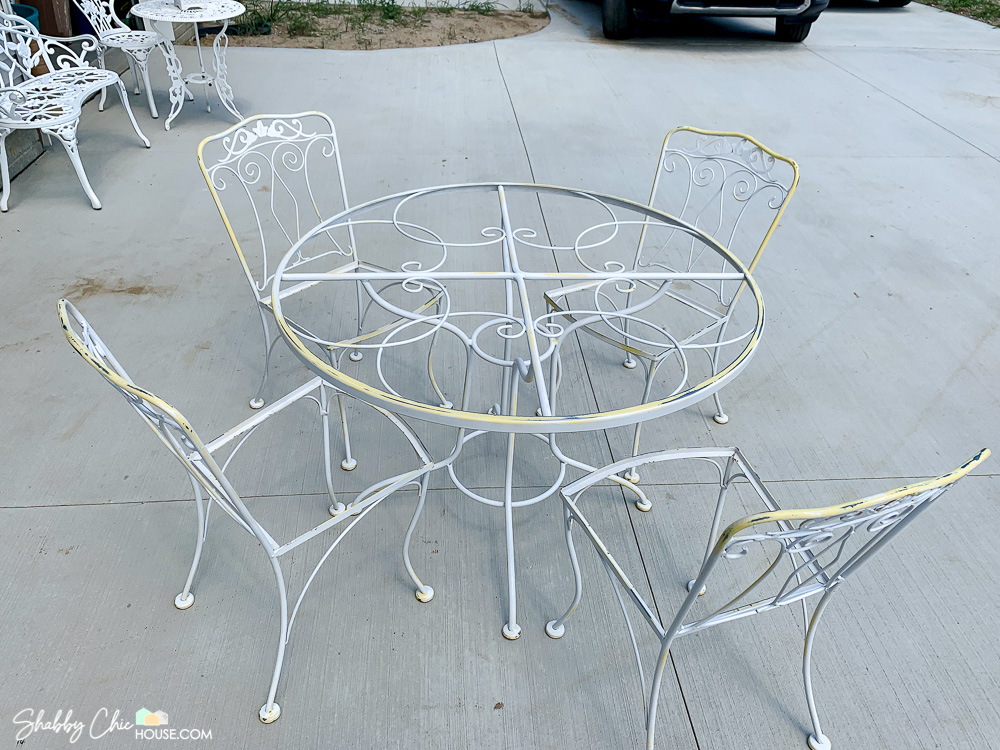
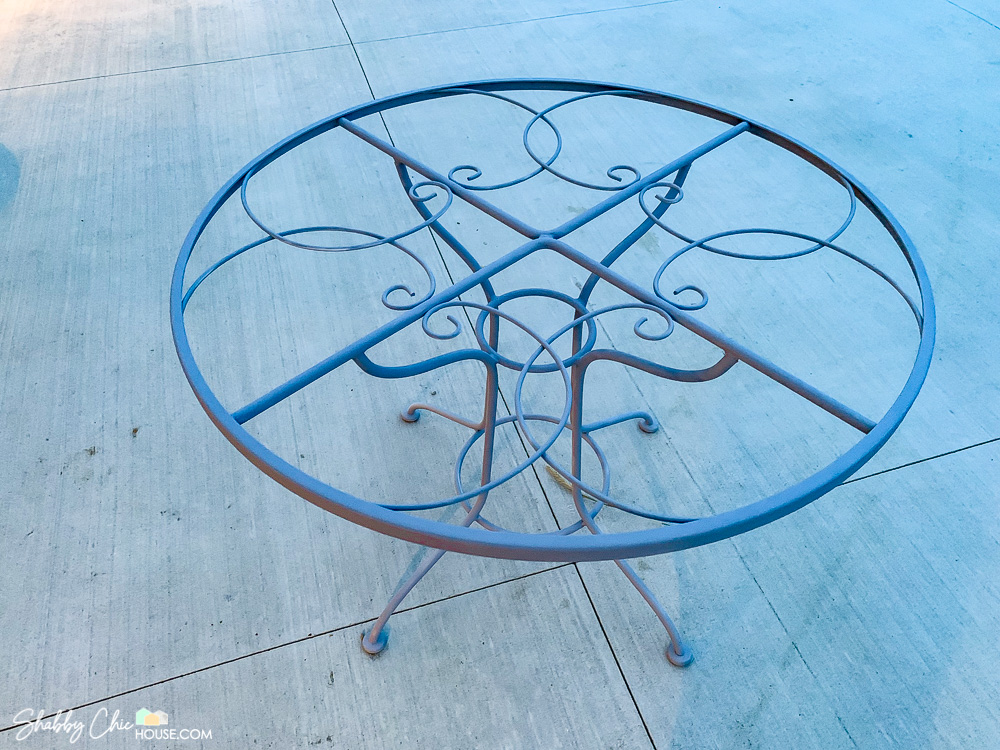
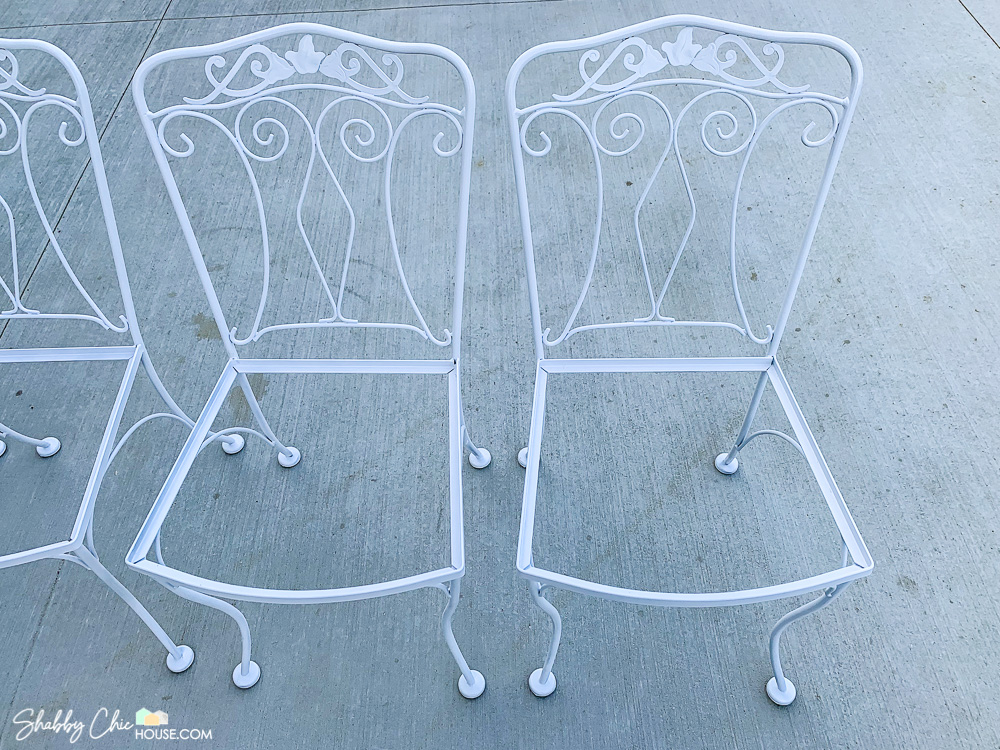
Vintage wrought iron patio sets are revered for their heavyweight, durability and unique decorative scrolls. However, with time the elements can deliver quite the beating.
In this short post, I’m going to show you how to restore a wrought iron patio set – giving it new life and making it feel like a brand new piece!
Some of our posts contain affiliate links. We often share links to the tools & products used in our home improvement projects and if you purchase one of these items using our link, we may earn a small commission (at no additional cost to you).
Sanding
Start by sanding any areas of the wrought iron where you see rust. Use 200-300 grit sandpaper.
Your goal here is to remove ALL signs of rust. In doing so you may remove quite a bit of paint and get down to the metal.
Use a lighter 400 grit sandpaper to create a smooth surface and transition between the layers of paint that will be covered later when we repaint the set.
Wash for a Clean Surface
Sanding creates dust particles from the paint and metal. To get the best level of adherence, give your wrought iron patio set a quick wash.
Hit with the hose, wipe down with a towel and allow 1-2 hours until fully dried.
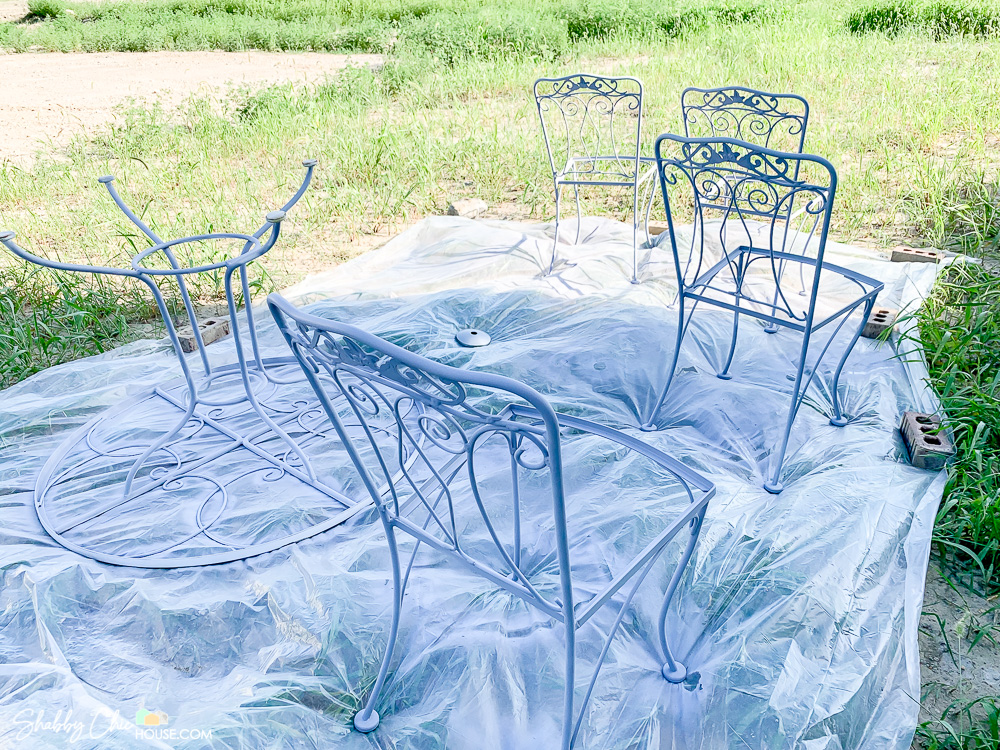
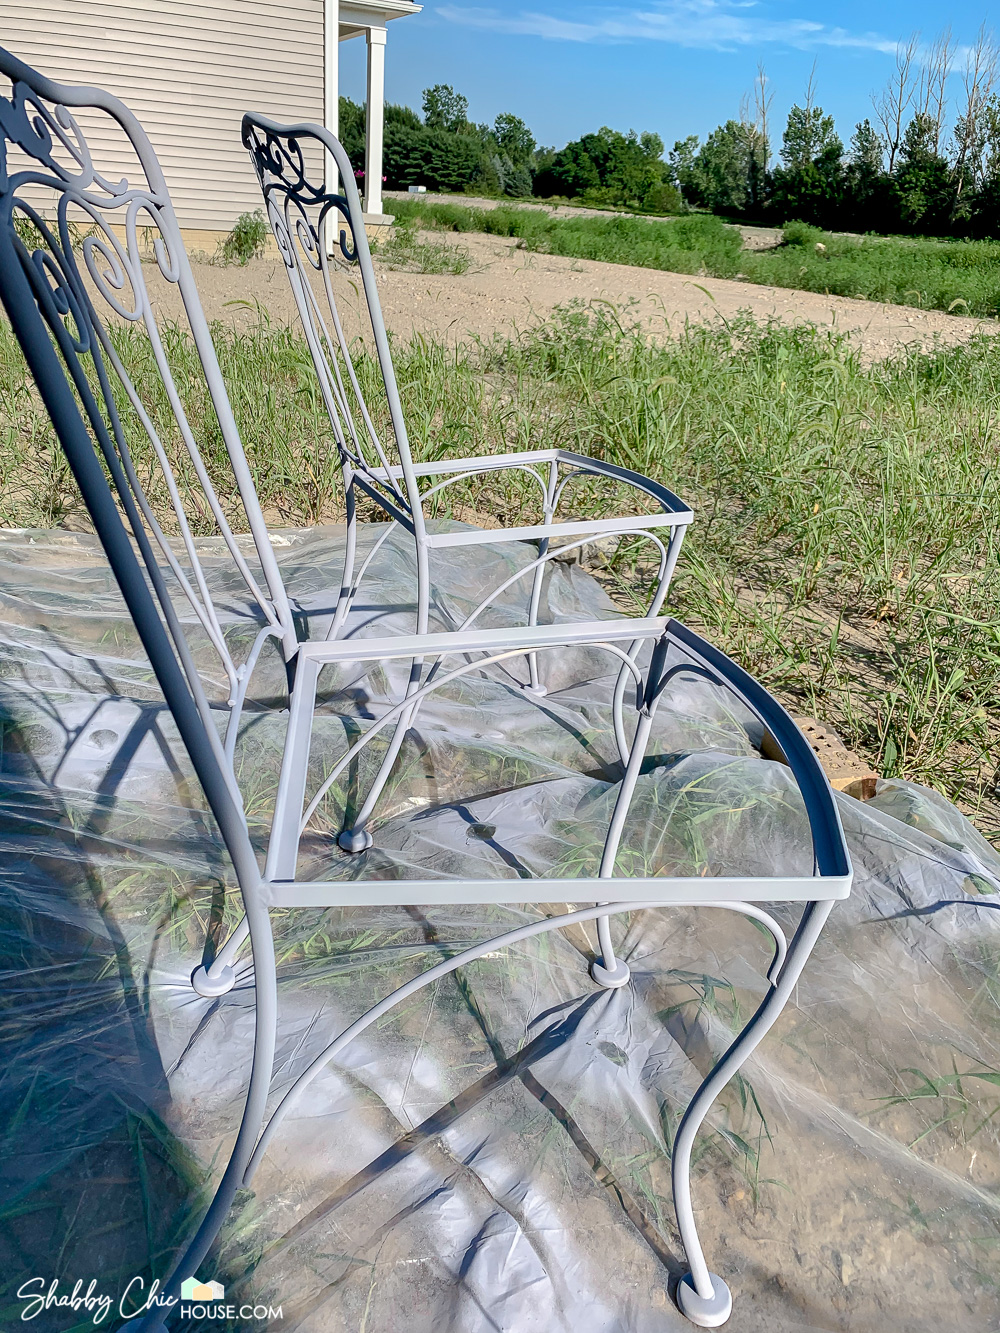
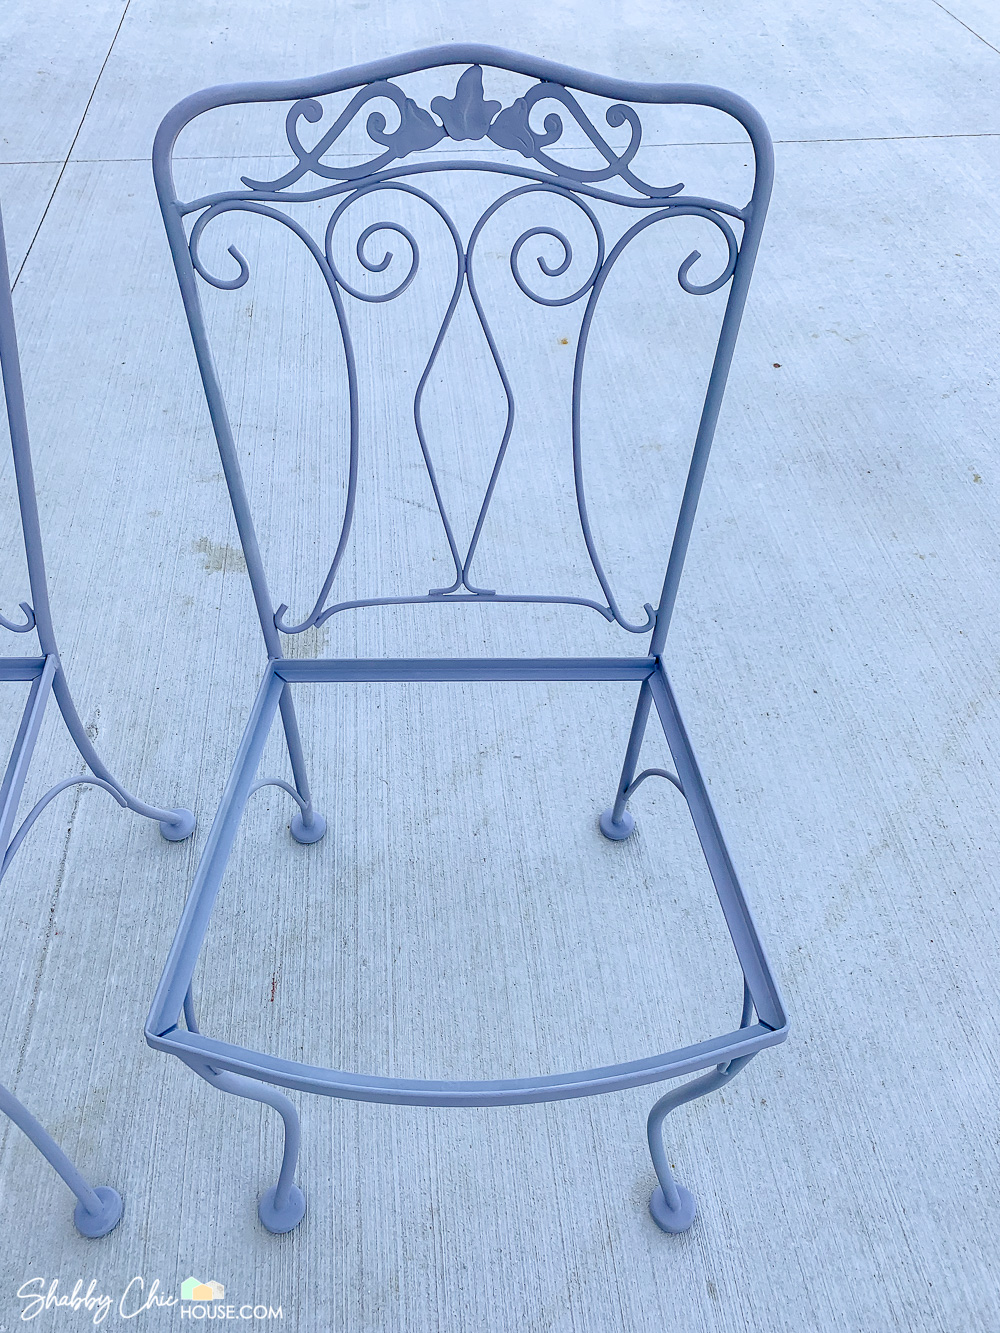
Prime Before Your Paint
Priming your furniture is an extremely important step that should not be skipped. Yes, it takes a little extra time and effort, but will ensure your new paint job lasts for years.
Priming is important as it adds an extra barrier between the raw metal and the elements. In addition, it allows for greater adherence of your paint.
I’ve had a lot of success with Rust-Oleum’s automotive primer. Coat thoroughly hitting all the nooks and crannies.
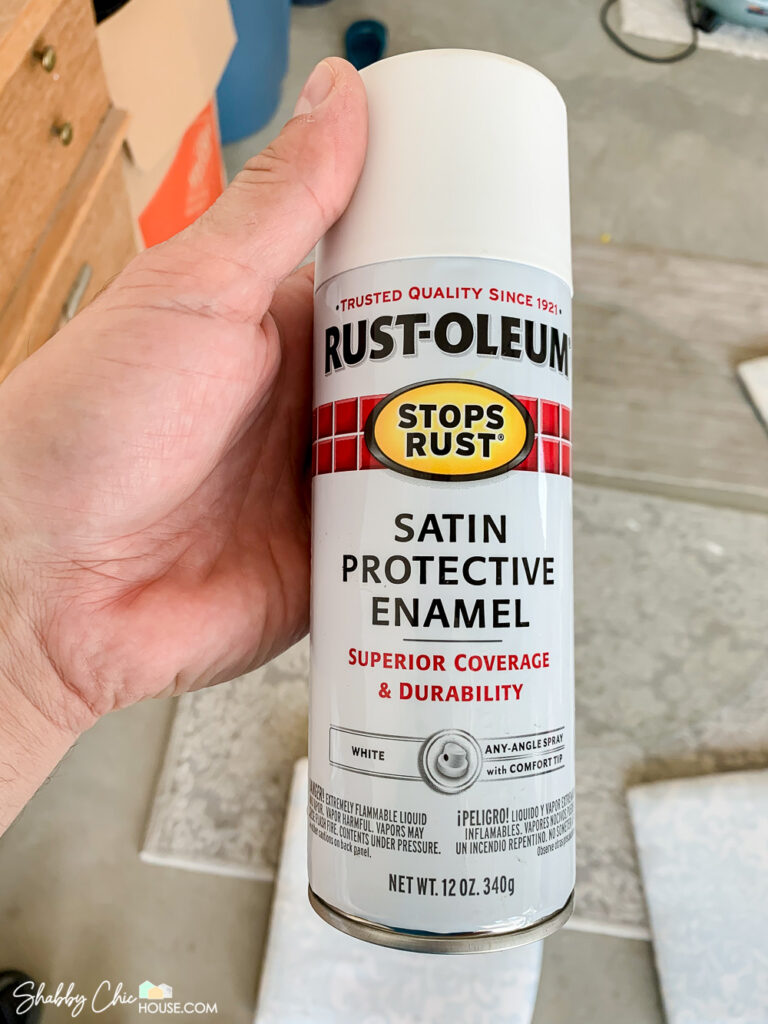
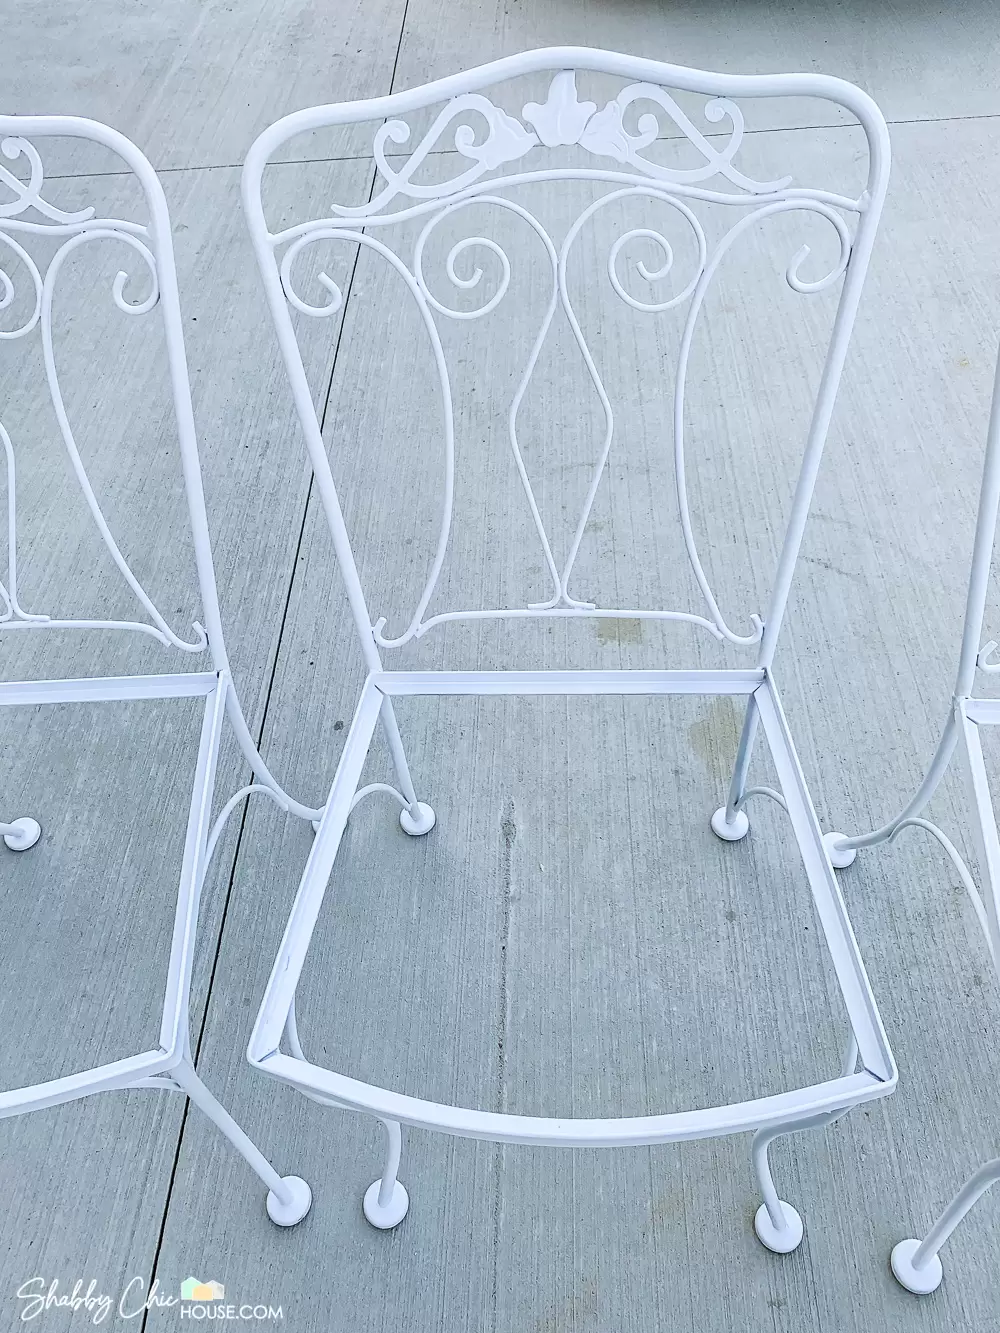
Spray Painting your Patio Furniture
For this particular project, I used Rust-Oleum’s Stop Rust Advanced Spray Paint in Satin White. It took around 5 cans of paint and 3 light coats to achieve full coverage.
While spray painting is pretty self-explanatory, here are a few tips to help you get the most of your project.
- Get a comfort grip to save your hand from cramping.
- Spray roughly 6-9” away in a light sweeping motion.
- Don’t try to get the job done in 1 coat. Rushing = Drippage. Be patient and aim for 3-4 coats.
- Use a cheap plastic drop to catch overspray.
- Paint outdoors or in a well ventilated area.
Protective Coating – Protect Your Hard Work!
If you’ve come this far and put in the time to restore your wrought iron patio set, it’s worth taking a few extra minutes to protect that investment. You can quickly do so by spraying on 2-3 coats of clear protective enamel.
I used Rust-Oleum’s crystal clear enamel which goes on clear and gives your patio set a nice finished shine.
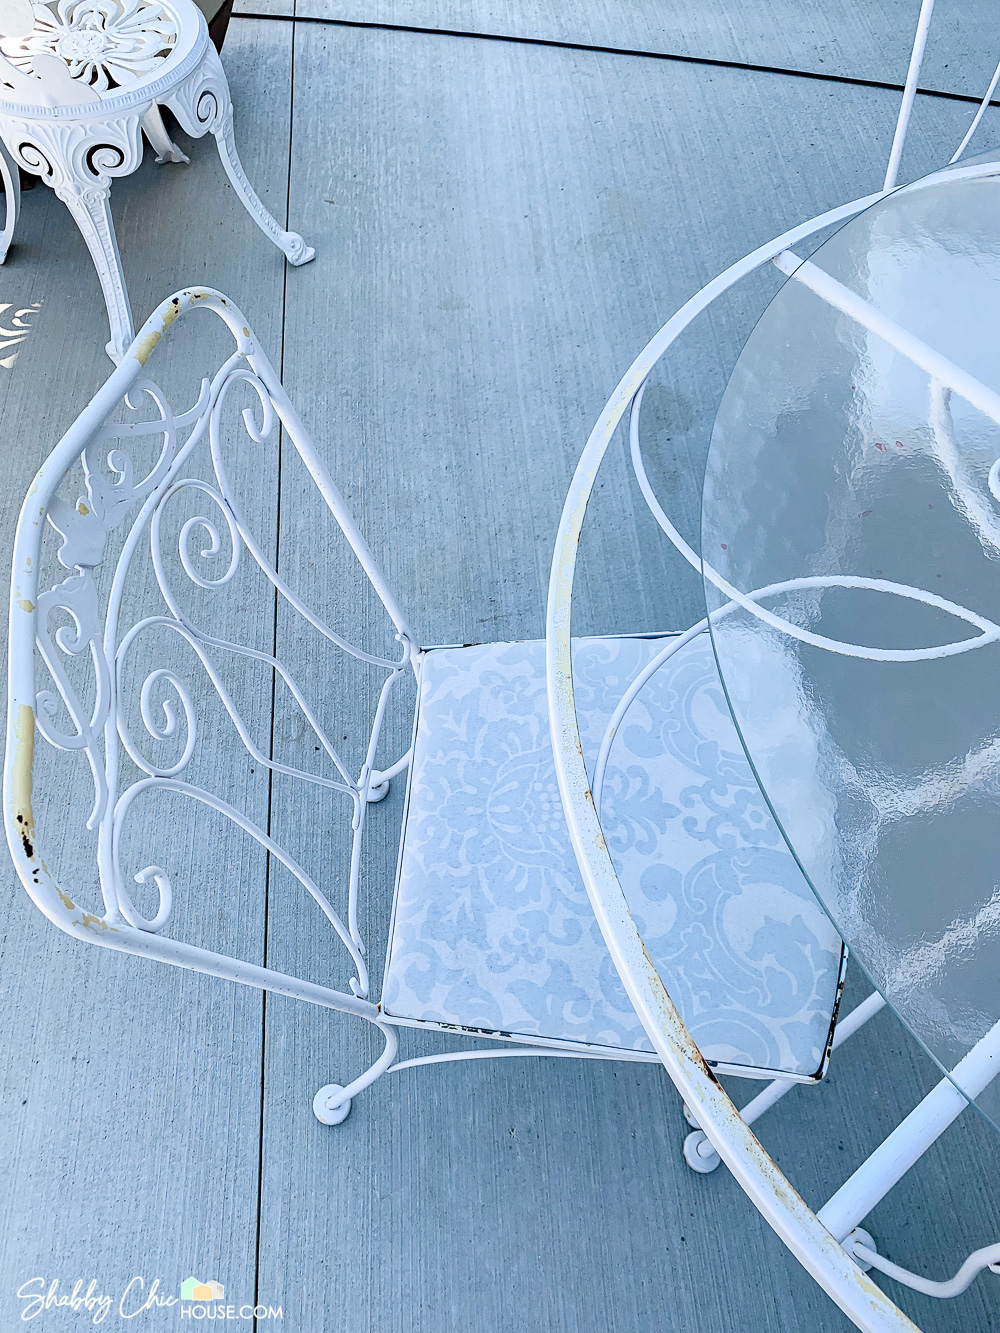
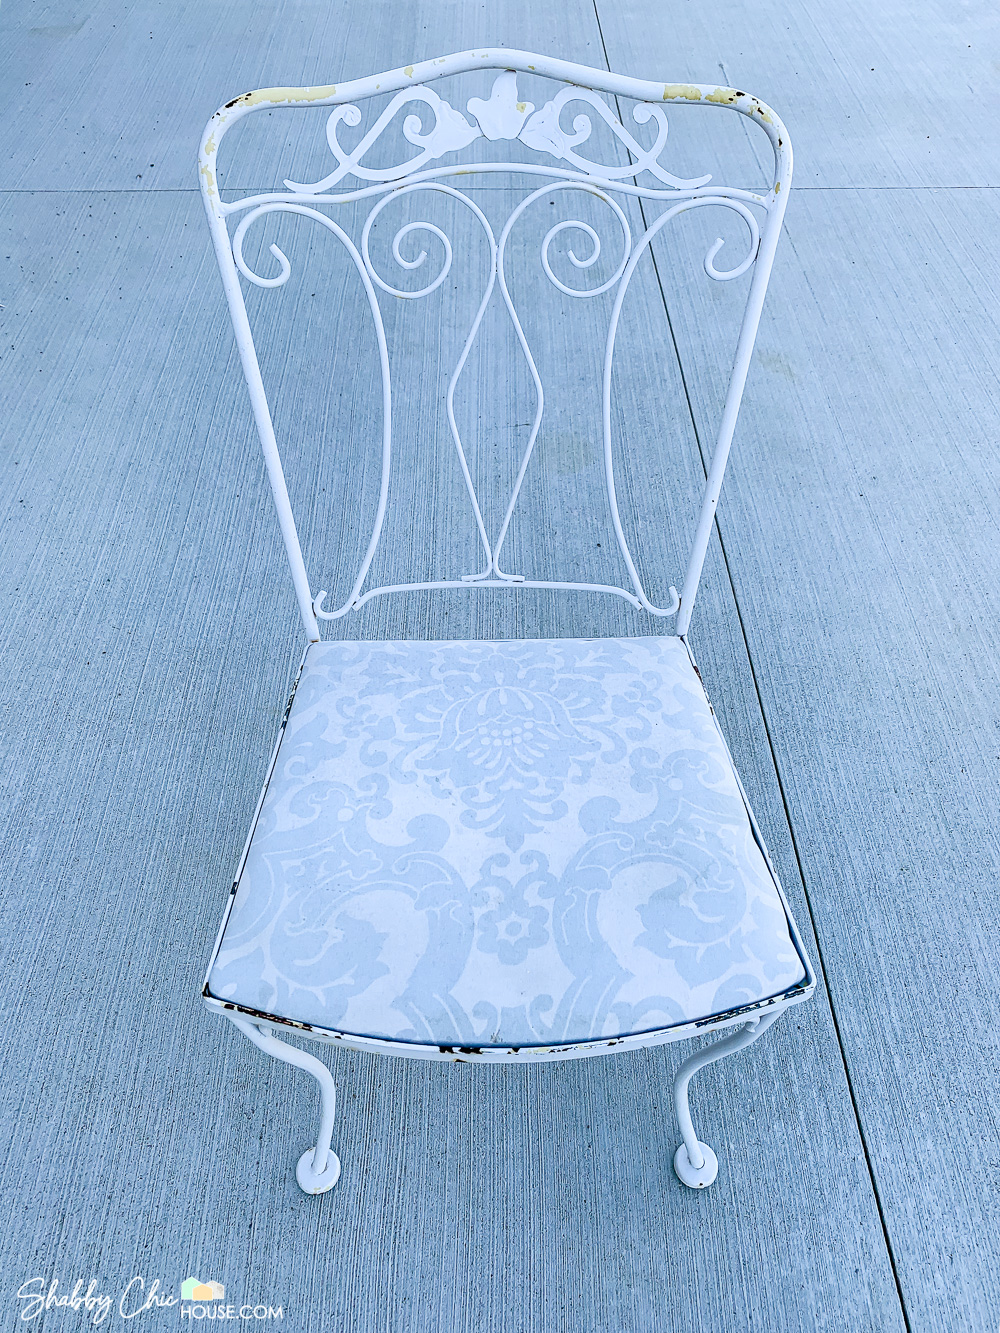
Replacing Old Seat Cushions
If the seat cushions that came with your wrought iron set are old, faded and dirty it may be time to replace them.
The previous owner of our wrought iron set had attached foam padding/cushions to a piece of composite wood/MDF that soaked up water and got moldy, so we wanted a fresh start.
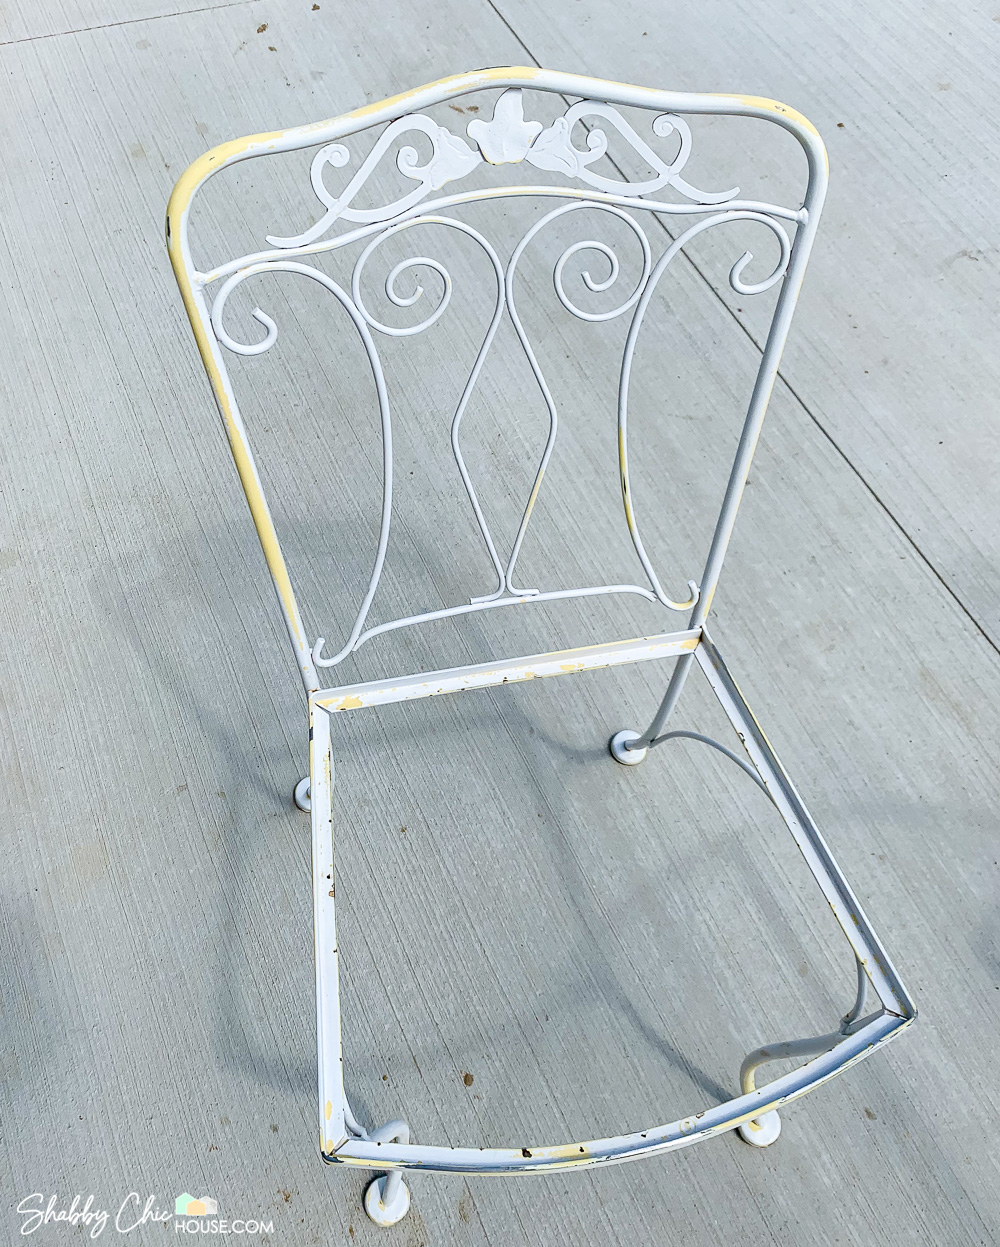
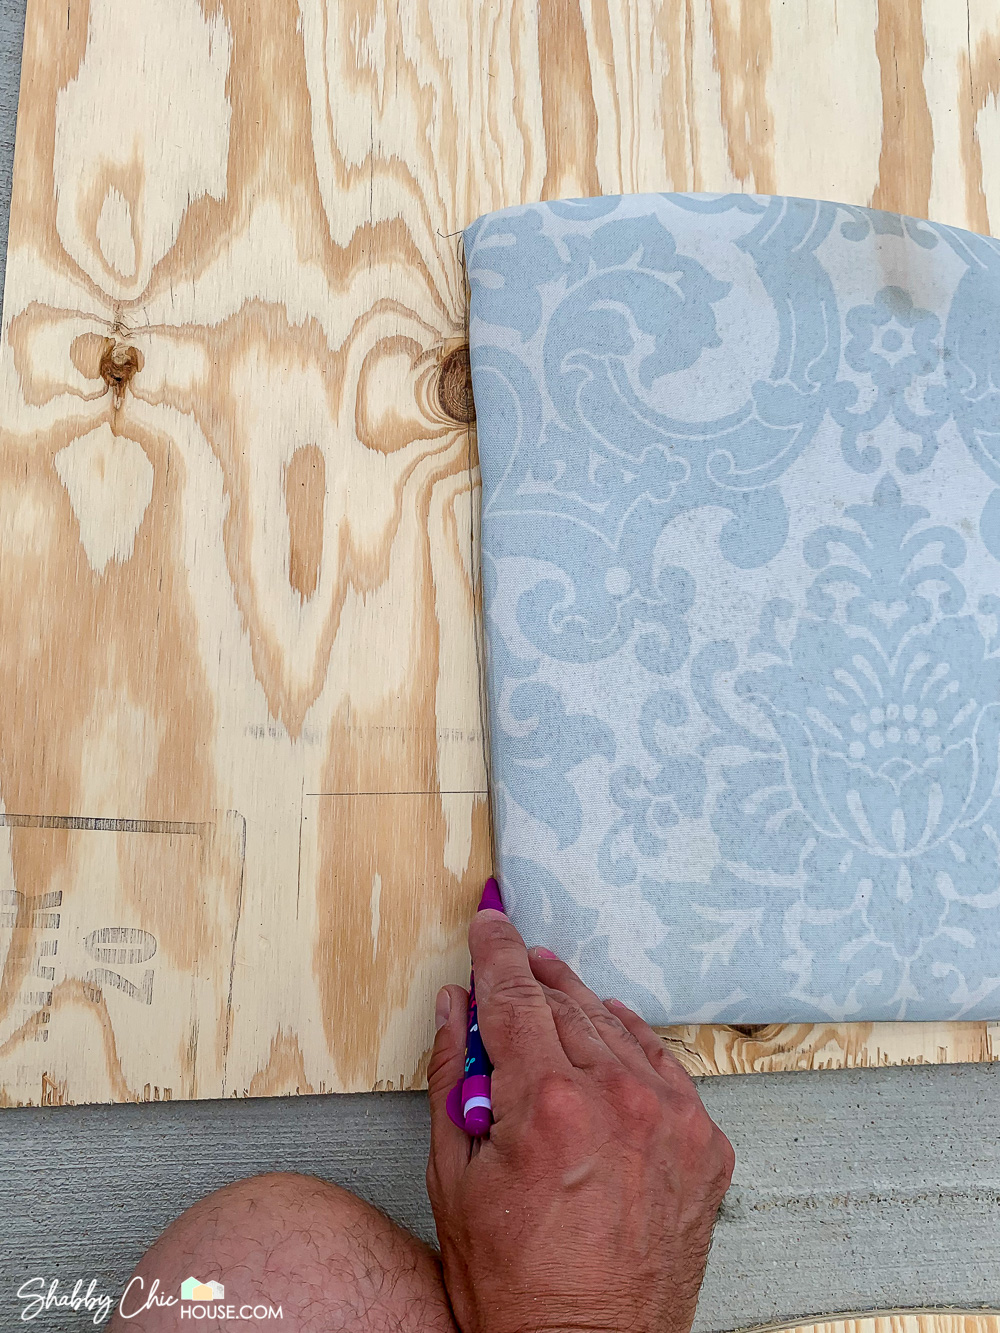
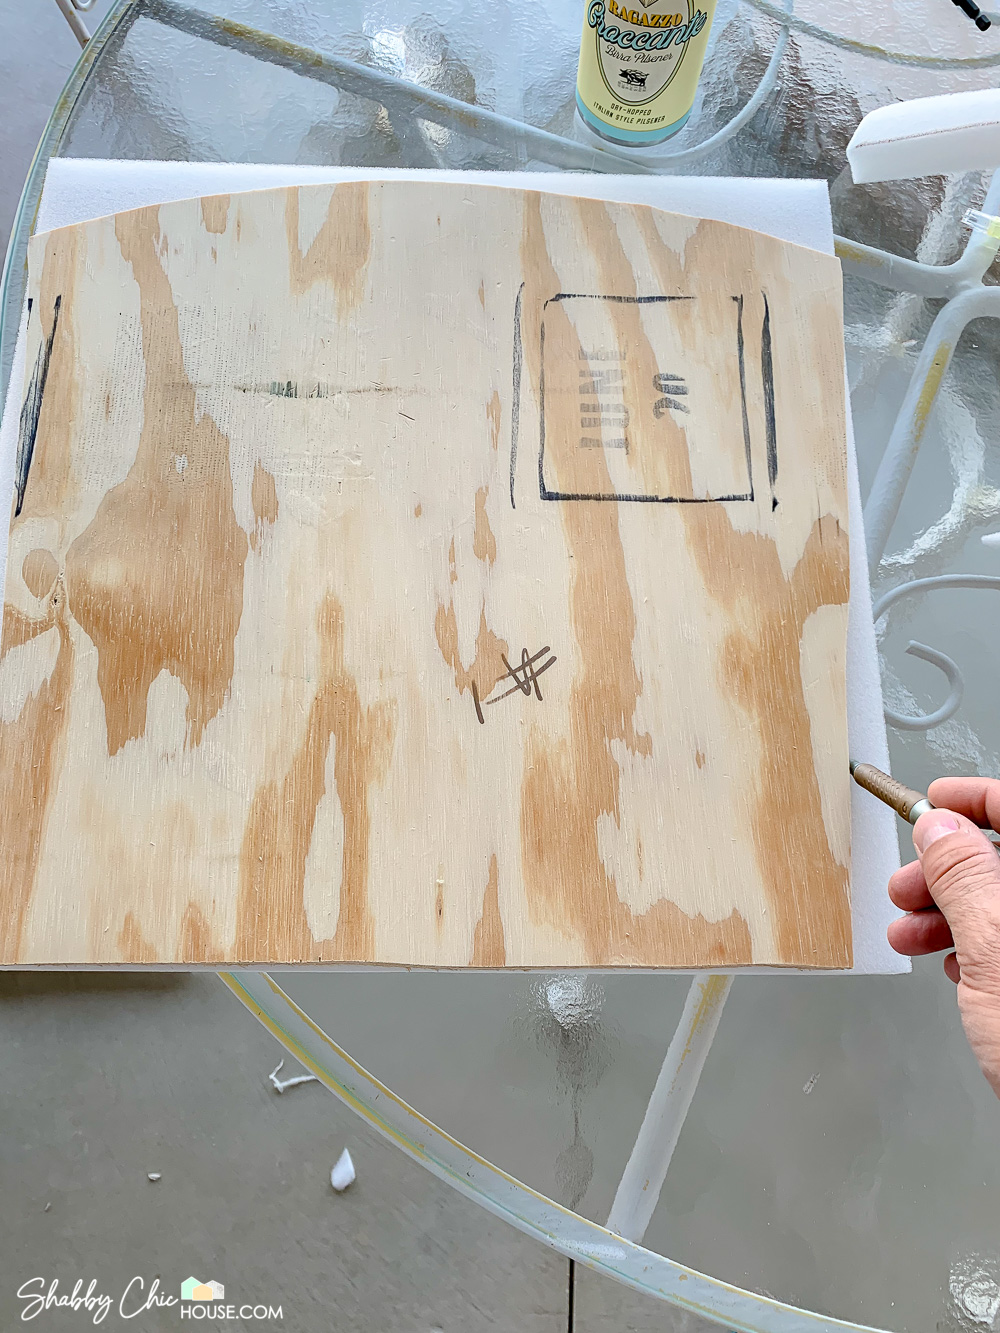
Step 1: Start by removing the existing cushion from the chair. Place that cushion on at least 1/4″ piece of plywood and trace the outline of the cushion.

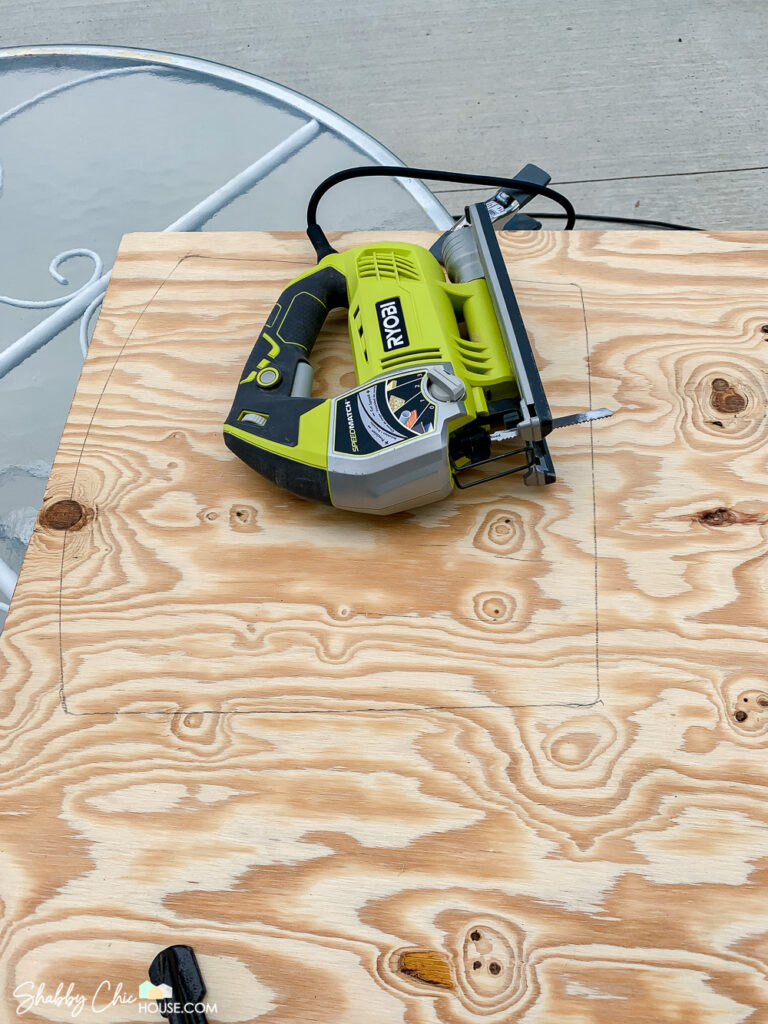
Step 2: Cut along the line using a jigsaw. I have and love this Ryobi which is extremely easy to use and has served me quite well over the years!
Step 3: Test in the corresponding wrought iron chair.
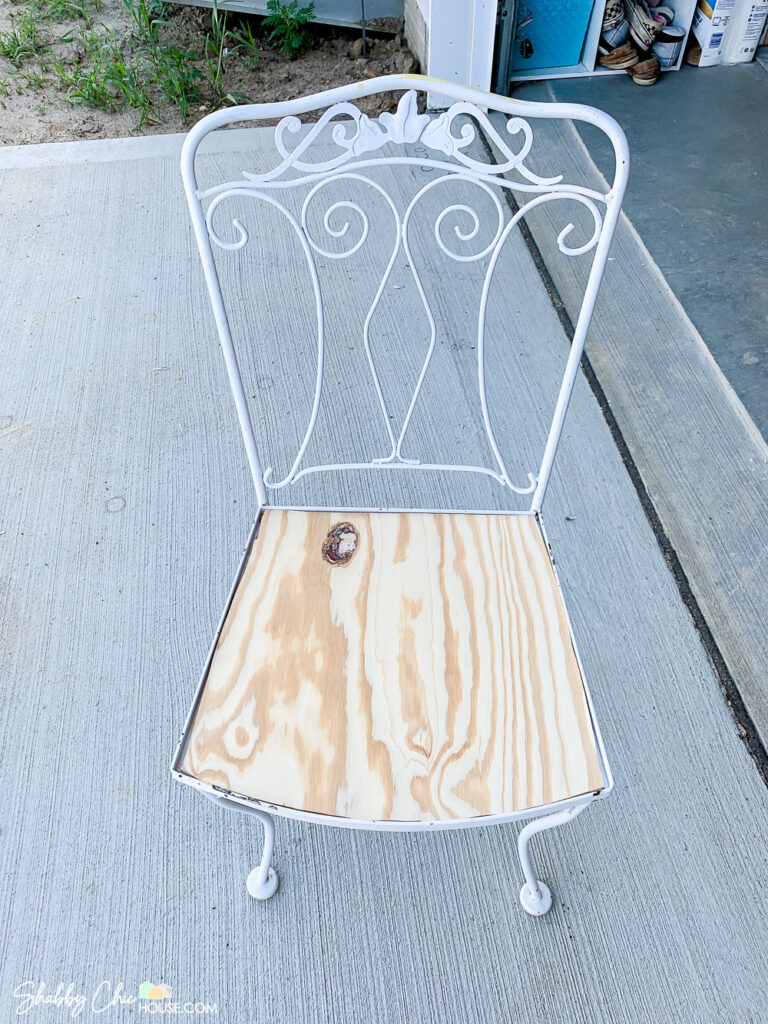
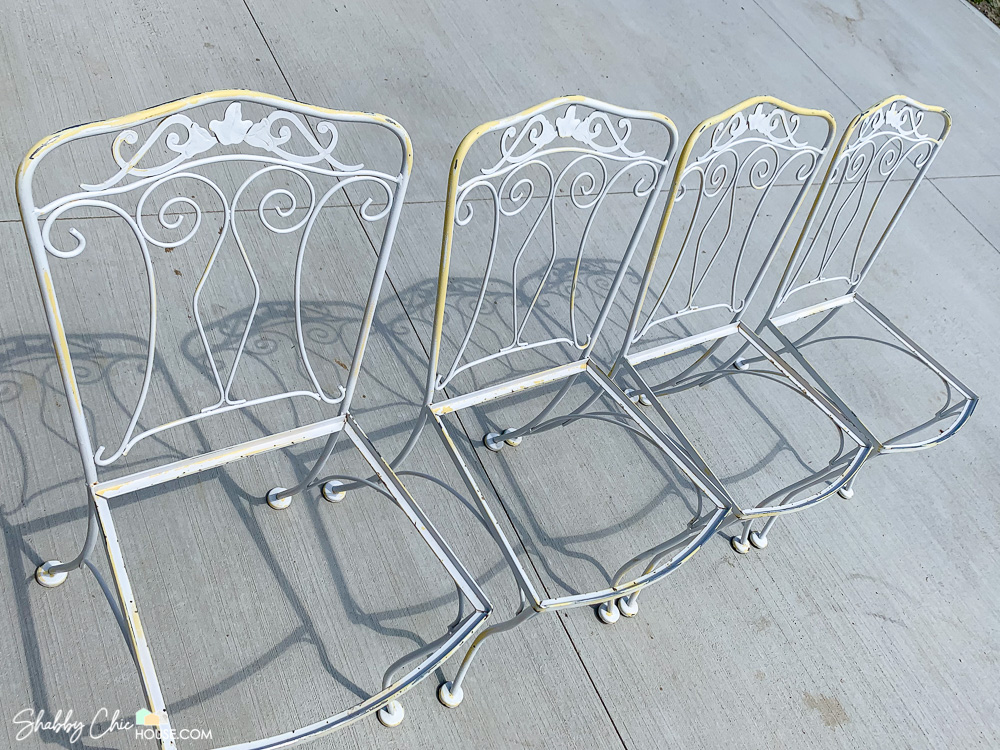
Repeat this process for all of your chairs.
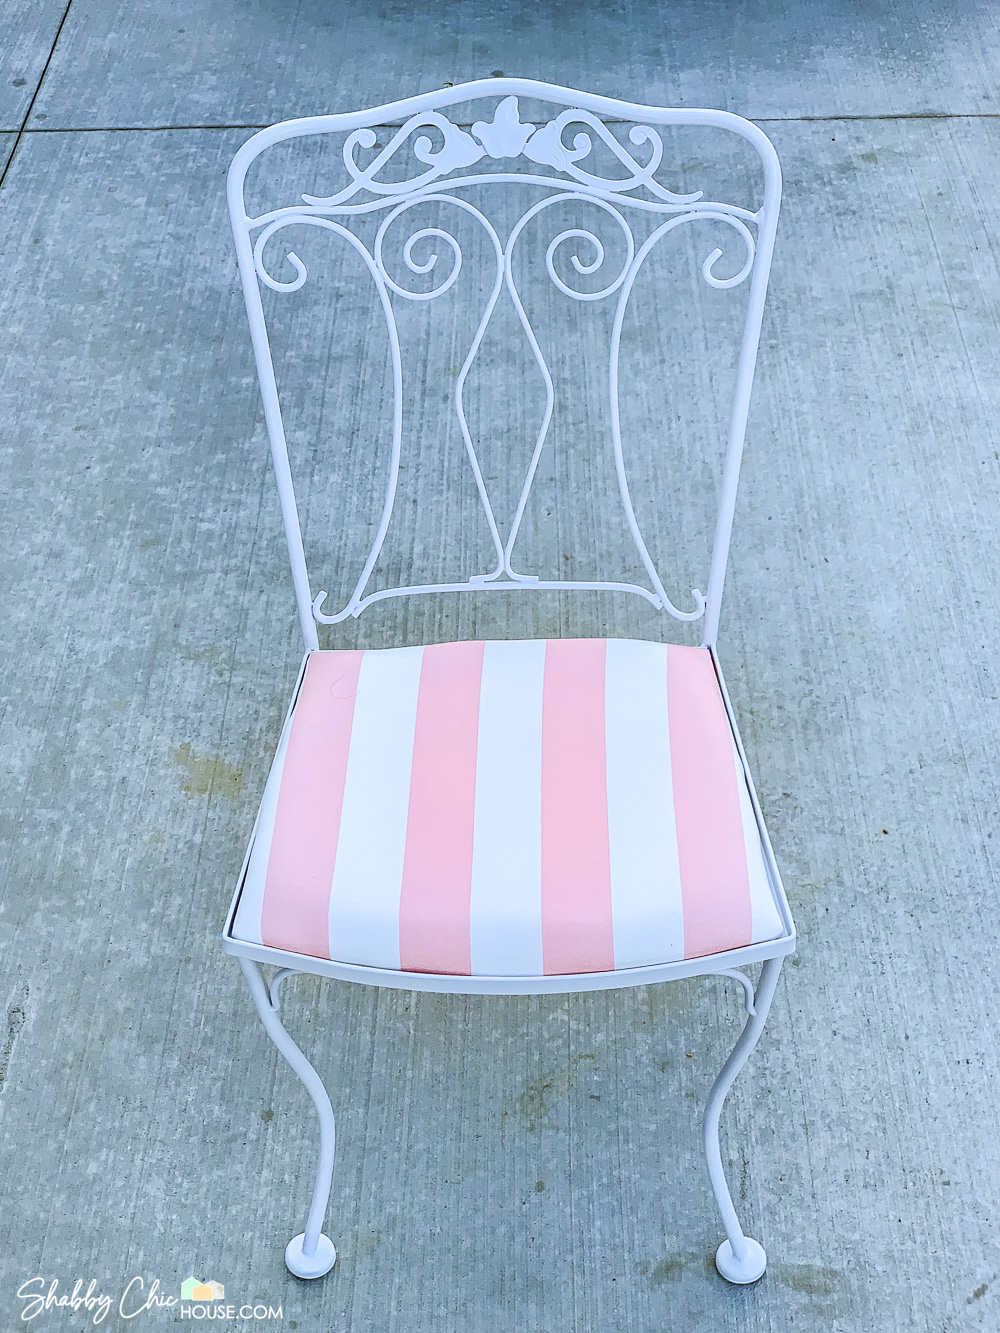
Reuphostering Your Patio Set
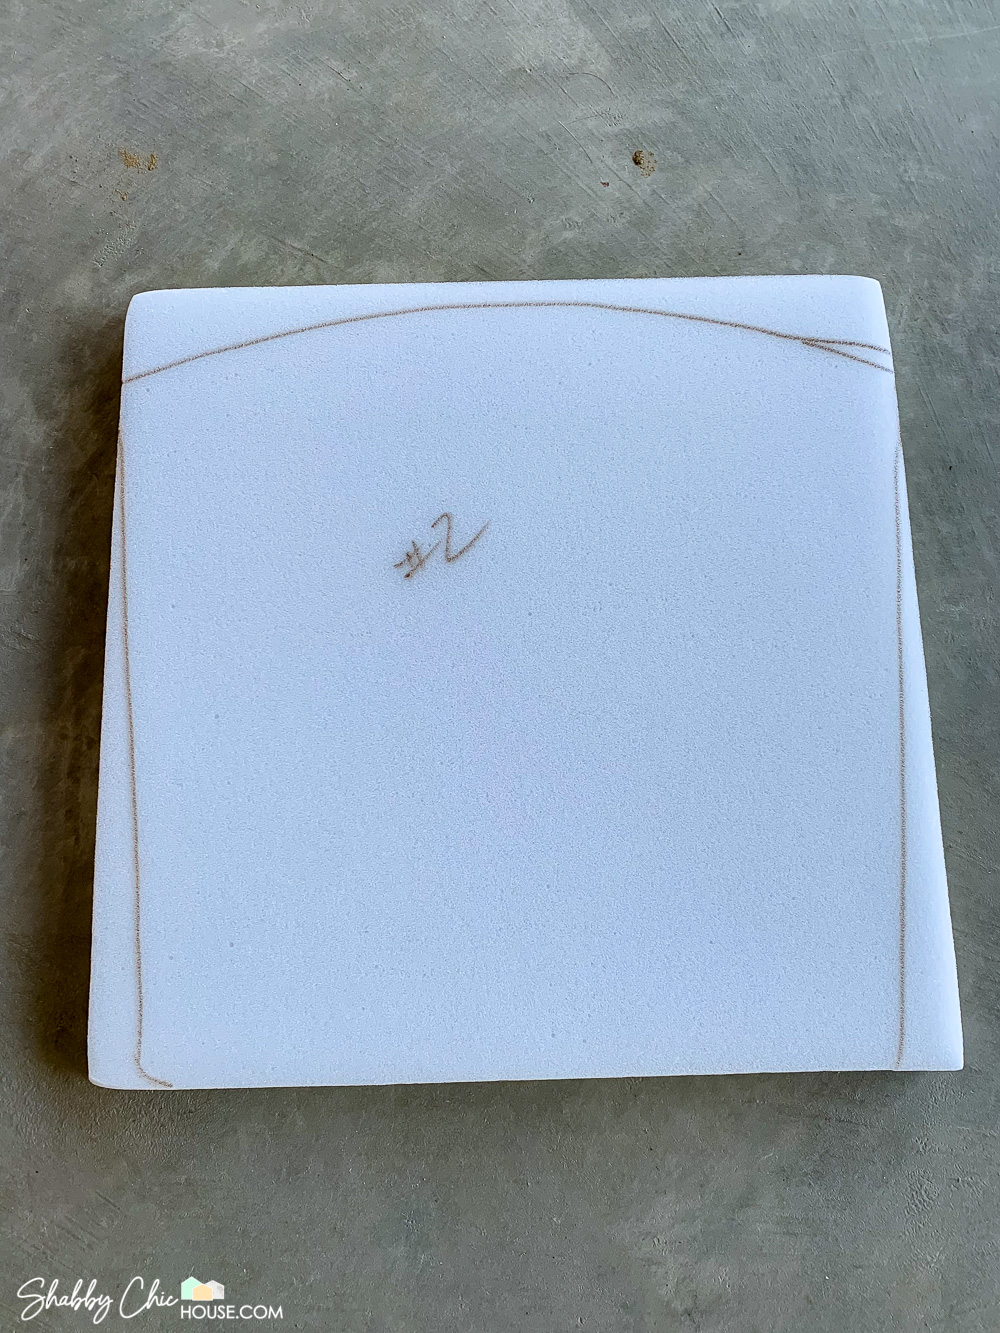
Now that you have the base of your seat cushion cut, place it on a piece of upholstery foam and trace. We went with a piece of 1″ upholstery foam from Amazon for our project.
If you like to stay organized, number your seats bases and foam to keep them paired together as each may have slight variations in shape.
Once all of your foam cushions have been cut you can start upholstering your seat cushion.
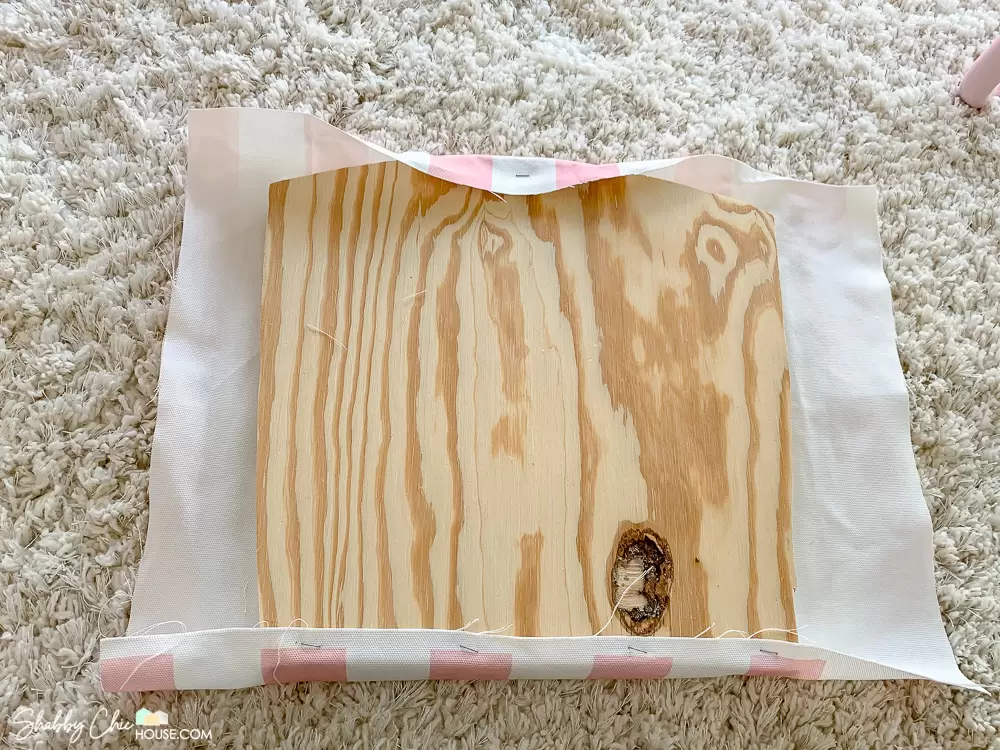
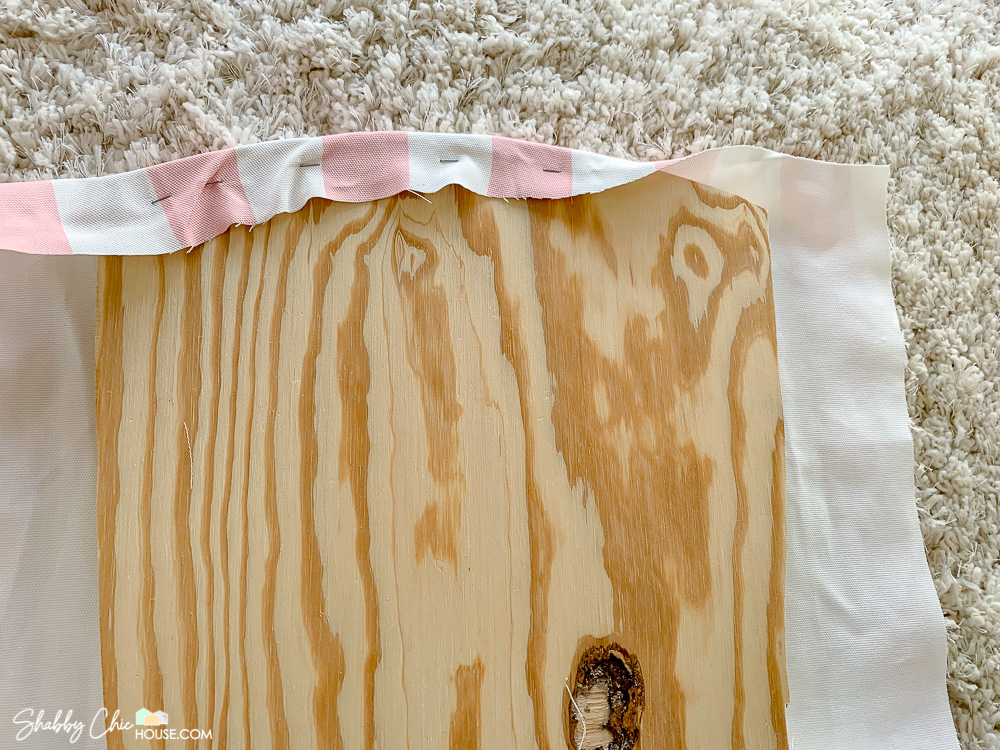
Step 1: Set your plywood base and foam on the backside of your fabric. Make sure to have a clean work surface to keep your fabric from getting soiled.
Step 2: Staple the back edge of your cushion making sure to keep your fabric straight and uniform on the seat. See how the stripes are centered and all start about the same place?
Step 3: Pull your fabric somewhat tight (not too tight) to the front side of the seat cushion and staple in the center.
Step 4: Continue to pull the fabric tight on the front side of the cushion and staple every 1-2 inches. While doing this make sure not to introduce any wrinkles or folds into the top side of the cushion.
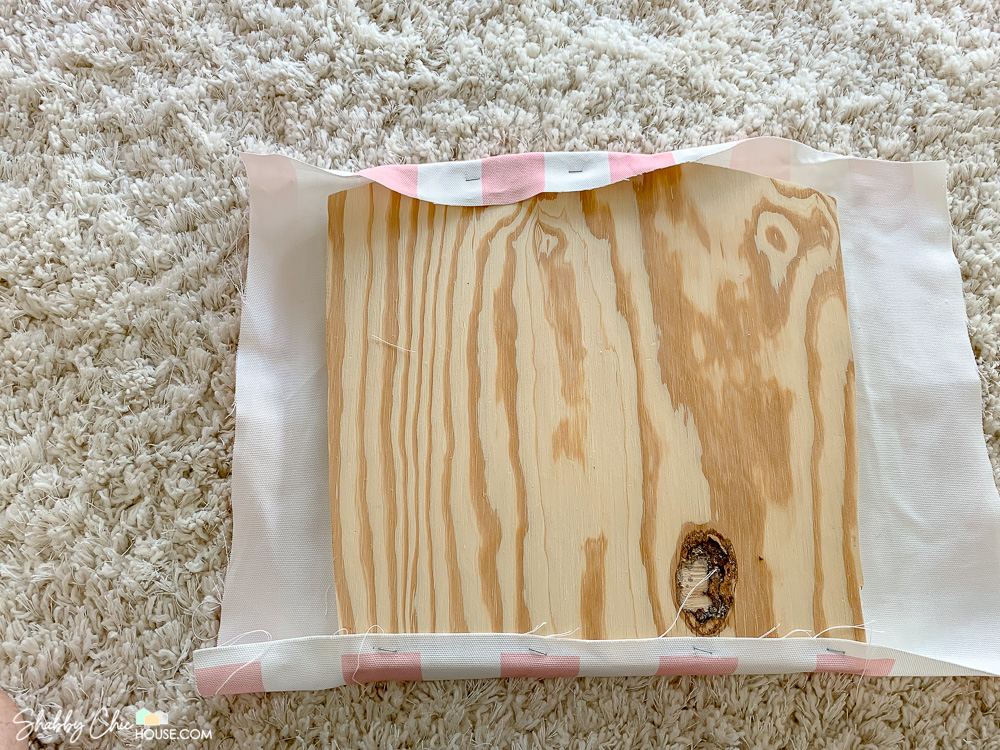
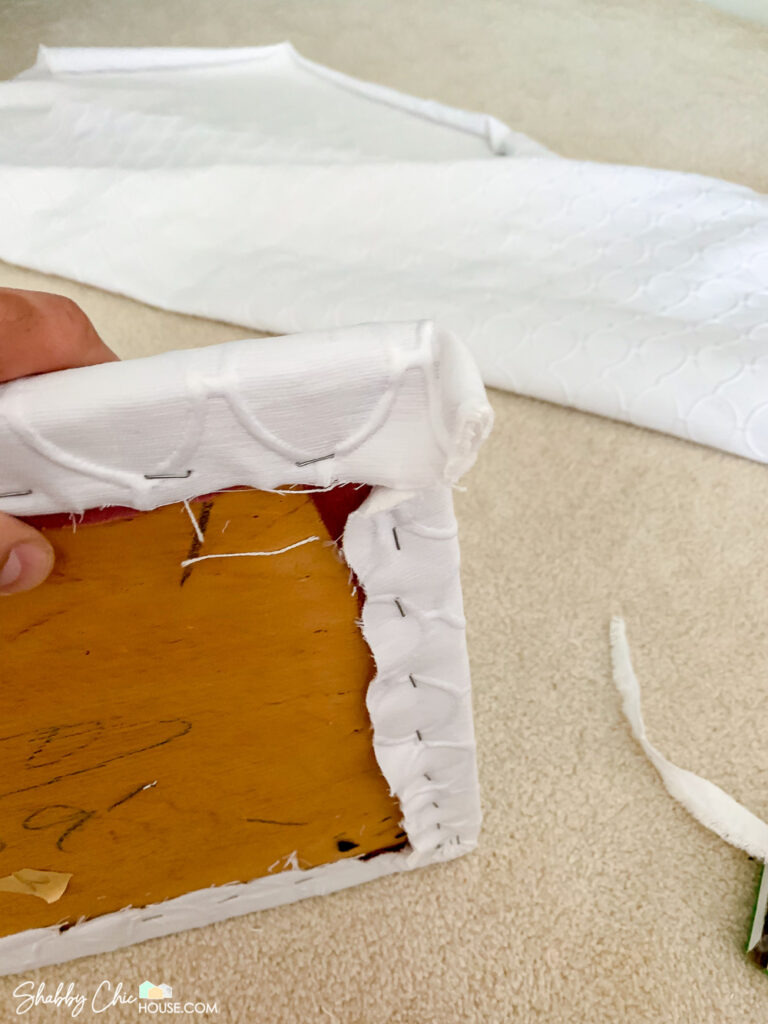
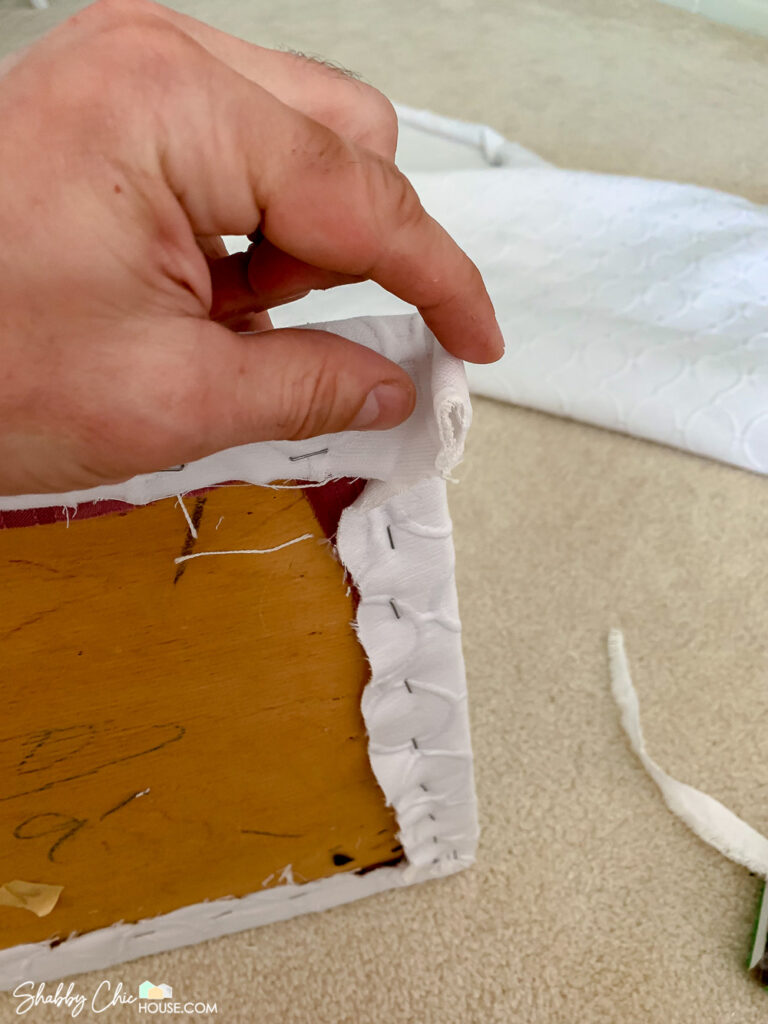
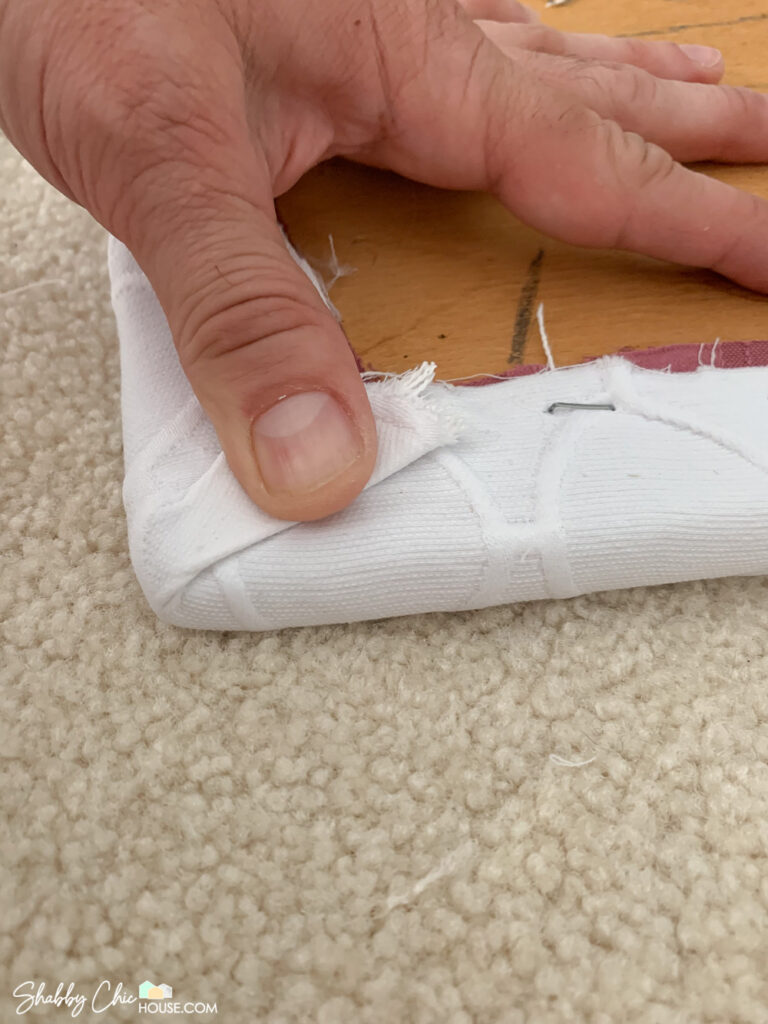
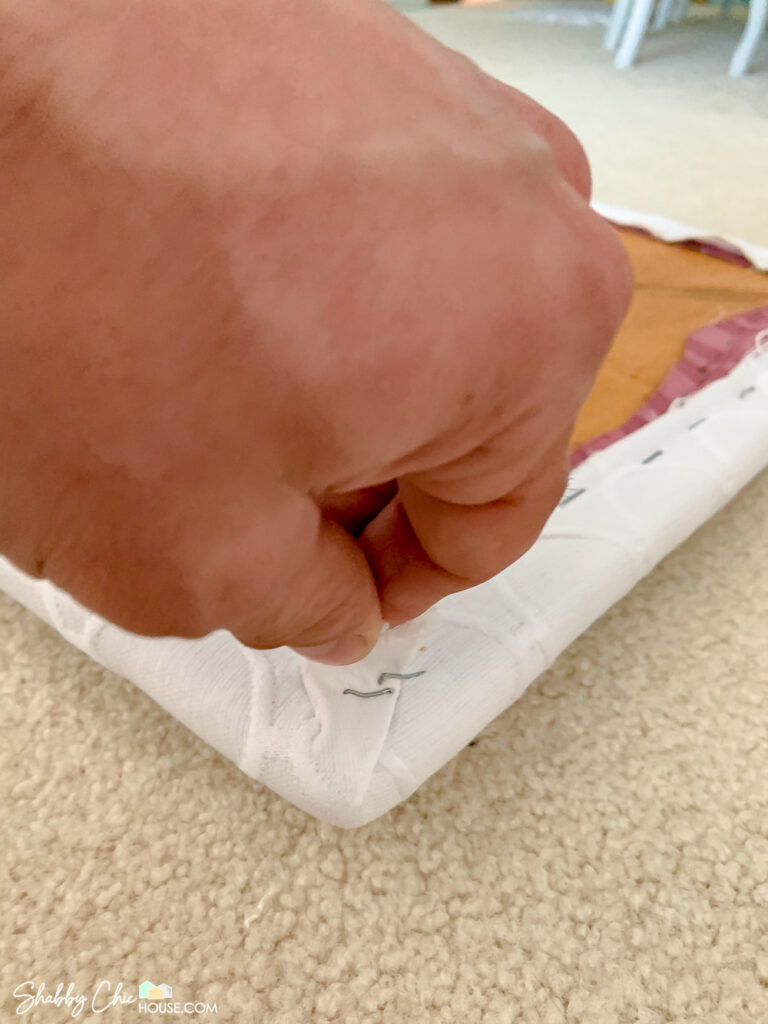
Step 5: Staple all four sides leaving the corners loose.
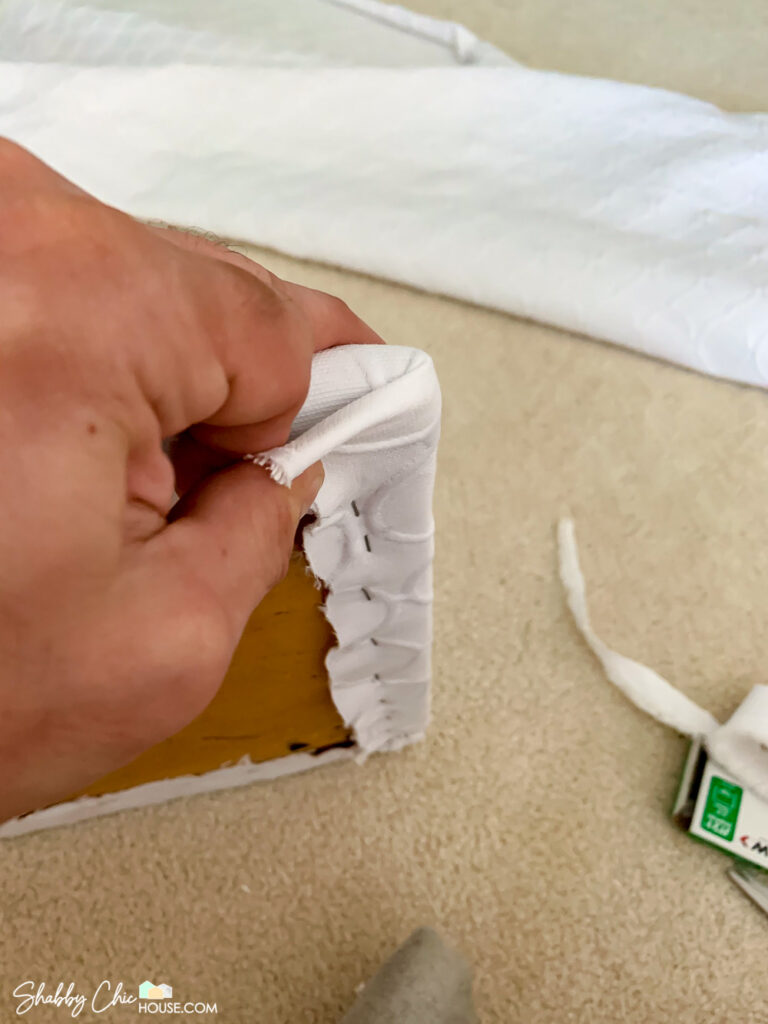
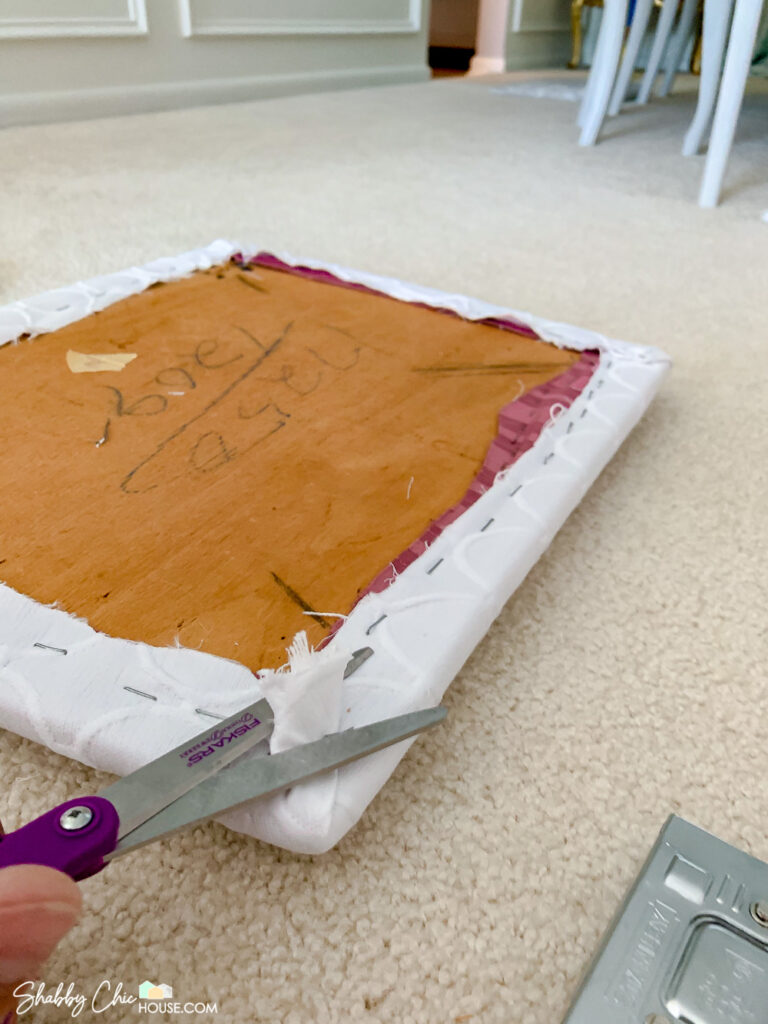
Step 6: Fold, staple and trim off any excess fabric like in the photos below.
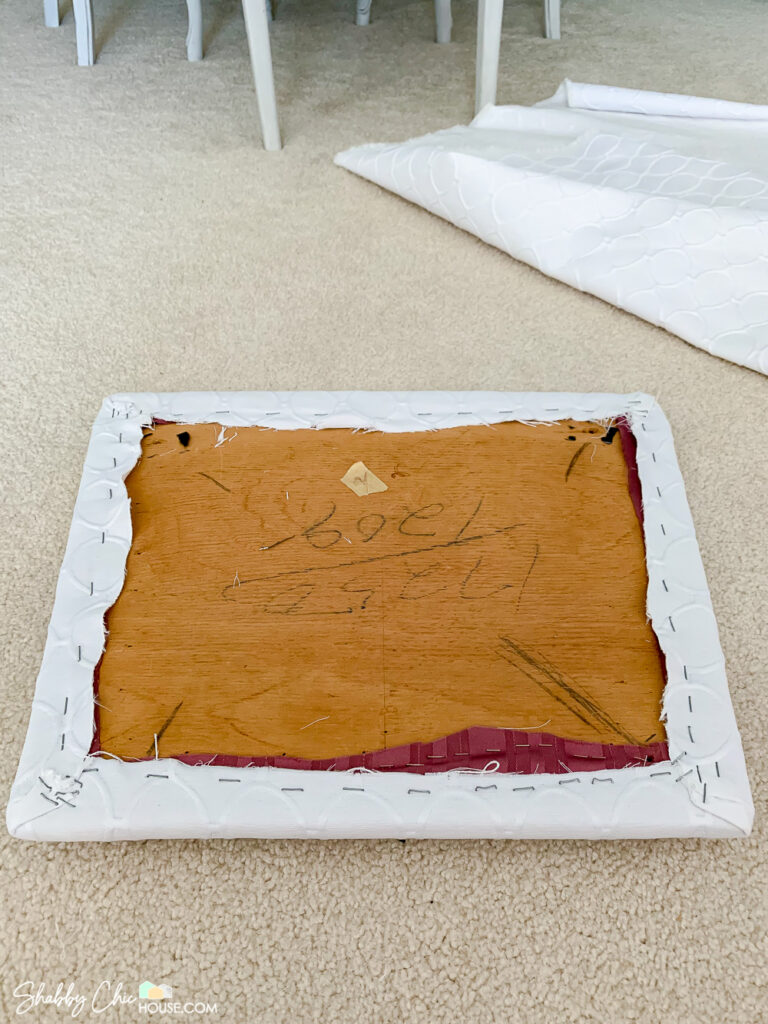
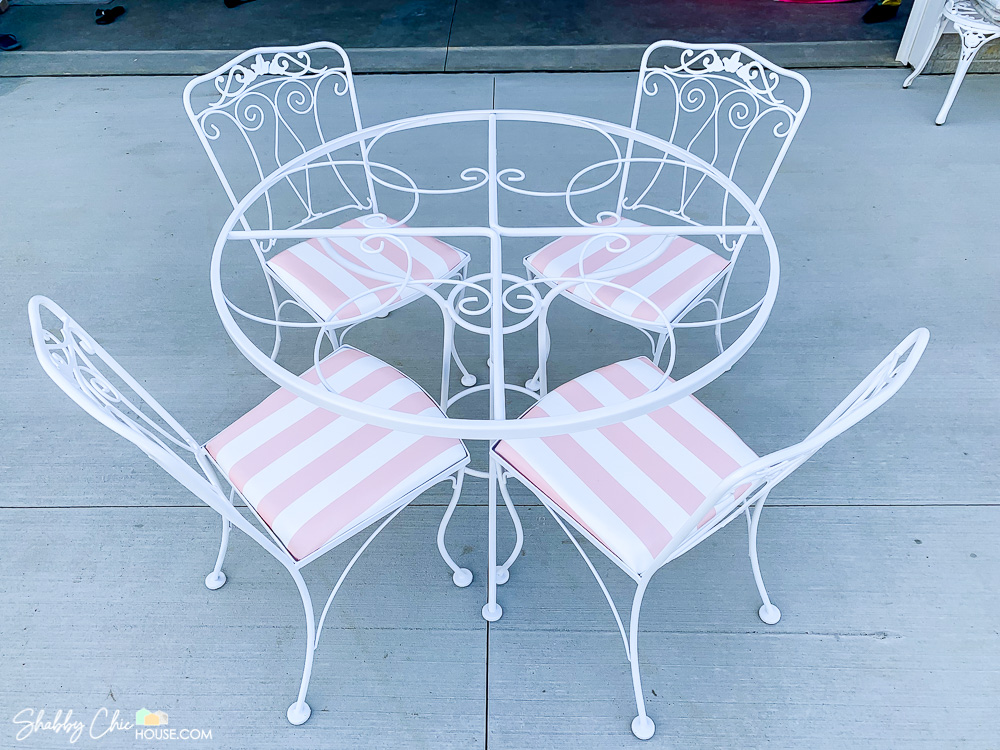
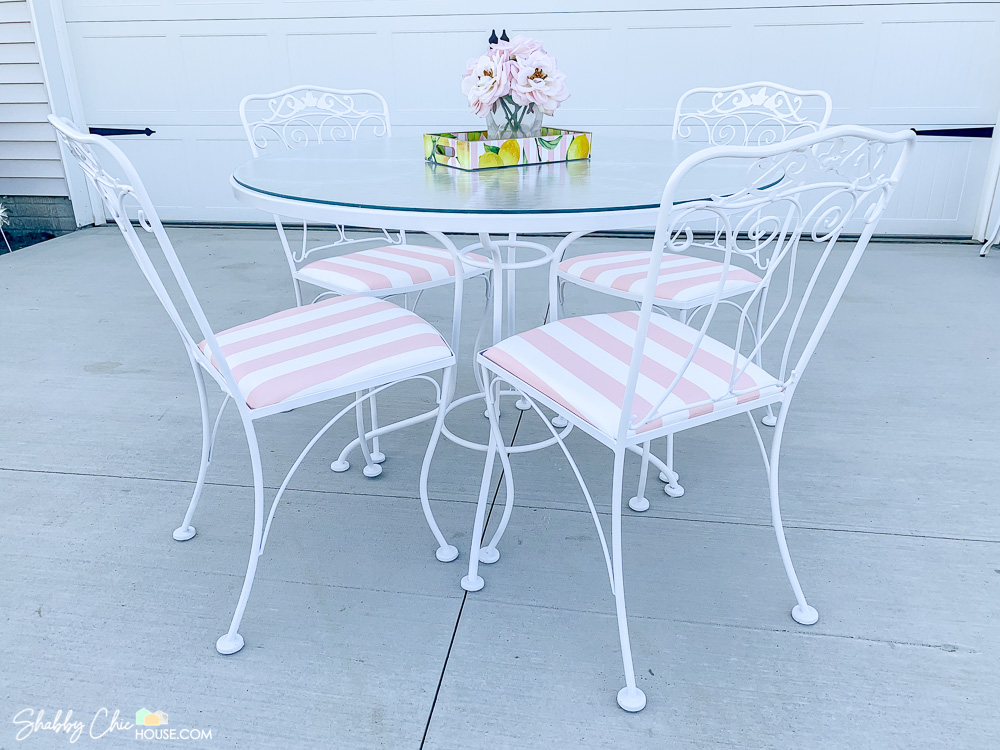
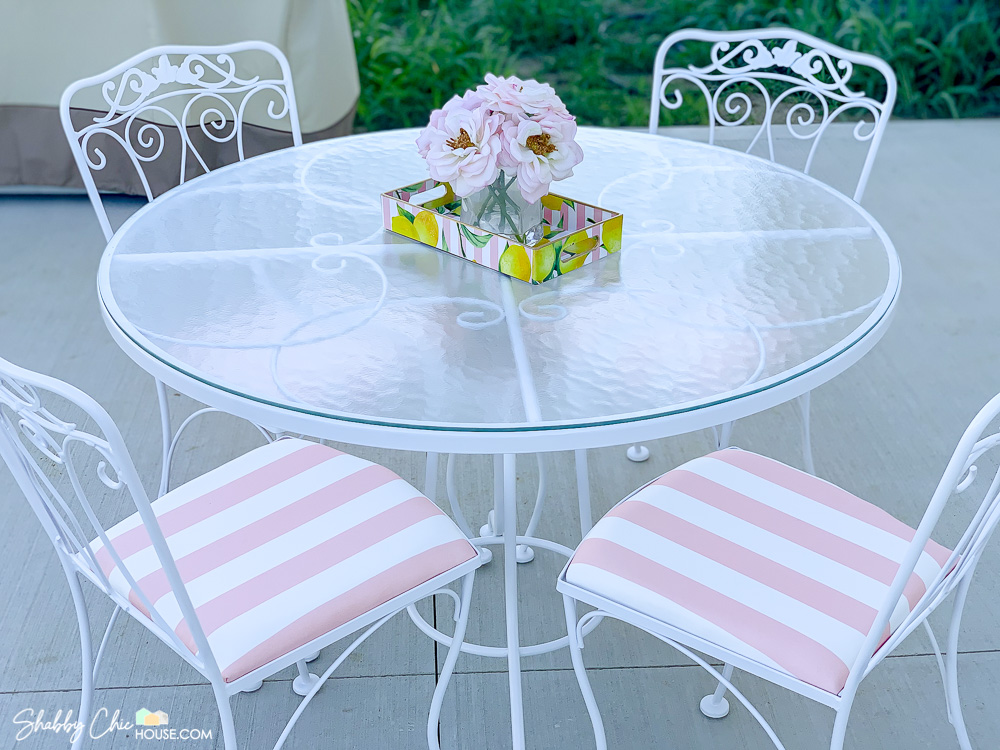
The Final Product
Wow! Check out those before and after shots. We couldn’t be happier with how this set turned out.
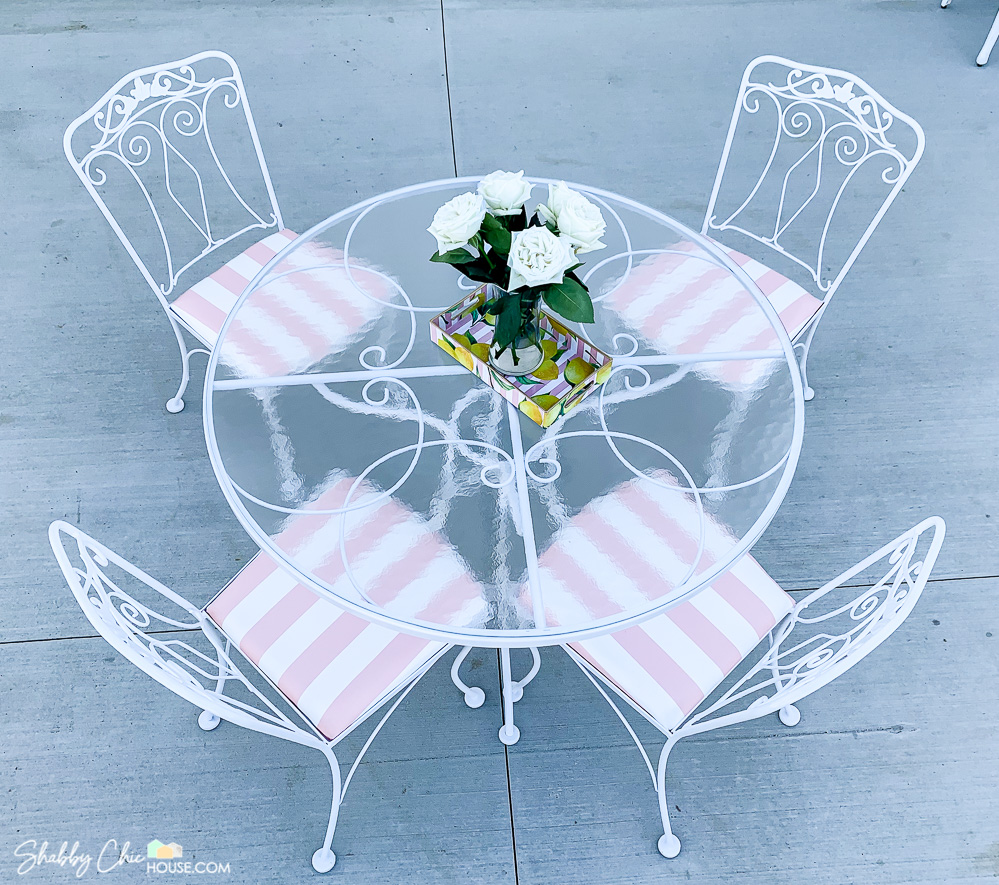
To keep this patio set in prime shape we Scothgarded the cushions with Scotgard’s special Outdoor repellent that not only protects from stains, but also reduces UV fading and repels rain and snow.
In addition, we store it inside during the winter months and when we’re not using it we keep it covered. We’ve gone through two of these inexpensive round bistro covers. They typically last a good 2 years before they get discolored and we order another.
Check out the fully completed set and additional photos below and let us know what you think!


Wrought iron furniture always looks so pretty-this is a great post!
We have the same set, appreciate the post. Have a few parts to replace first
How well does this work with rain? I’m thinking the edges where the cushion rests on the chair is going to stay wet as no sun or breeze will get there. Then the chair rusts and cushion gets moldy? Not sure how to avoid that. We have mdf boards and separate cushions and we bring both 8nside which means we don’t use the chairs…