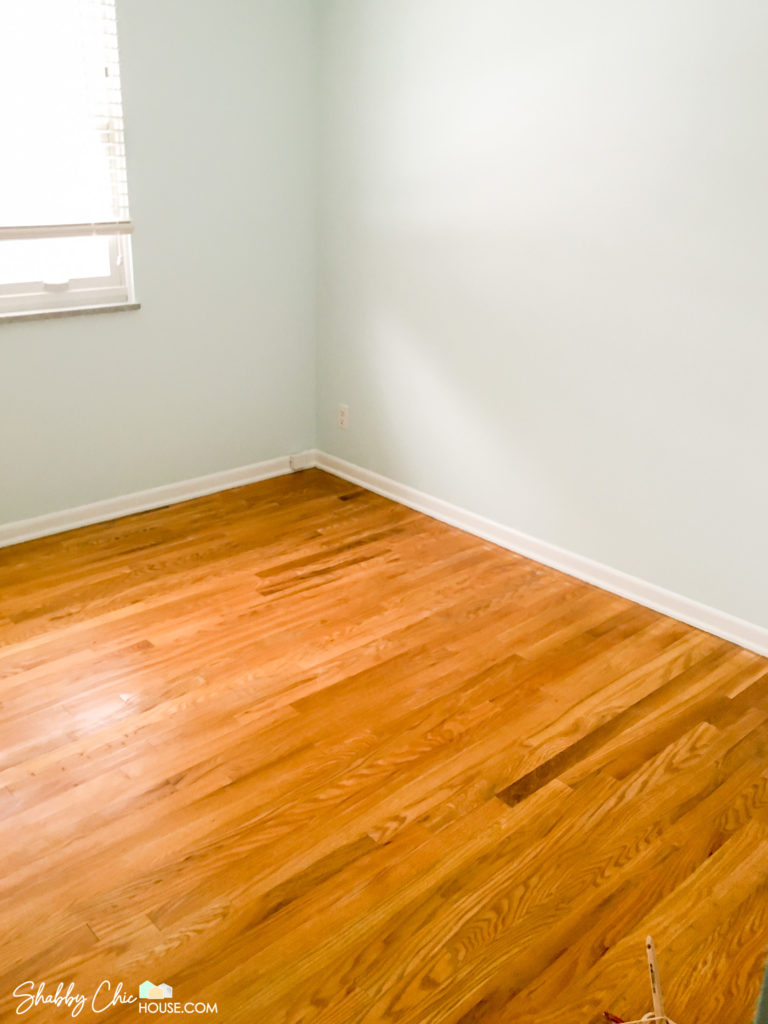
One of the things that drew us to us to our very first house (see the original ShabbyChicHouse), was that all four bedrooms on the second floor had the original hardwood floors underneath the carpet. We loved the idea of ripping out the carpet and restoring the hardwood floors.
After living in the house for a year to two, we ended up ripping out the carpet in all four rooms and painting the hardwood floors white in a single room – our newborn daughter’s room.
In this article I’ll take you through the process of ripping up carpet and tack strips, properly cleaning, sanding and prepping the floor and then finally, painting your hardwood floors white.
Affiliate Link Disclaimer: Every product we recommend we love and use on used on our own projects. If you do decide to purchase one of the products we mention, you won’t pay a penny more, but we may get a small commission which helps us keep the site up and running/bringing you new and awesome content. Thanks so much for your support!
How to Know if there’s Hardwood Floors Beneath your Carpet
Before you just start ripping up carpet, you’ll want to be 100% certain you have hardwood floors underneath. If you have a house that is fairly old (1960’s or older), you have a significantly higher chance of finding hardwood. If you have a house that was built in the 80’s, 90’s and beyond, you’ll most likely find an inexpensive plywood subflooring beneath your carpet. But you never know, unless you look!
You can quickly figure out if you have hardwood floors without ruining your carpet by taking a pair of need nose pliers and lifting up a very small section of carpet/padding in the corner of your room. If you pull up the corner and find plywood subflooring, simply lay the padding and carpet back down and apply pressure to resecure the carpet to your tack strip. If you lift up your carpet/padding and find hardwood, congratulations you’ve found gold!
How to Pull Up Carpet
This is a surprisingly dirty project! Dirt, grime and all sorts of gross things collect underneath your carpet and padding. Be prepared to get filthy.
As you pull up your carpet use a fresh razor blade to easily cut the carpet and padding in roughly 2′ x 7′ sections. Then roll then up the carpet and padding and secure with duct tape for easy removal and disposal on the curb.
After you rip up your carpet you’ll be left with tack strips around the exterior of the room. I’d suggest wearing a pair of heavy duty work gloves when removing the tack strips as you’ll be dealing with sharp old rusty nails.
Use a pry bar to lift and pop up the the tack strips and make sure to remove any nails that might be left over in the hard wood. I have this awesome pry bar which I use for all my remodeling projects and it’s a must-have for demolition!
After removing your tack strips you’ll then need to sweep, mop and scrub the hardwood floor 2-3 times with a mixture of hot water and dish soap to get the gunk and grime up that may have collected over the years.
Prepping Hardwood Floors before Painting
Before you dive right into painting your hardwood floor you need to prep the surface to ensure that the paint sticks well and also patch up the holes left over by the tack strips.
I utilized a tub of DAPs Plastic Wood-X and a spackling blade to fill in the holes around the exterior of the room. Once the wood filler is dry take a palm sander and begin sanding not only the wood filled holes, but the entire room. Your goal should be to rough up your hardwood floor and create a good surface for the paint to adhere to. After 2-3 sessions of light sanding, wash your floor 2-3 more times to ensure all dust and dirt is removed and you’re ready to paint.

Painting Hardwood Floors White
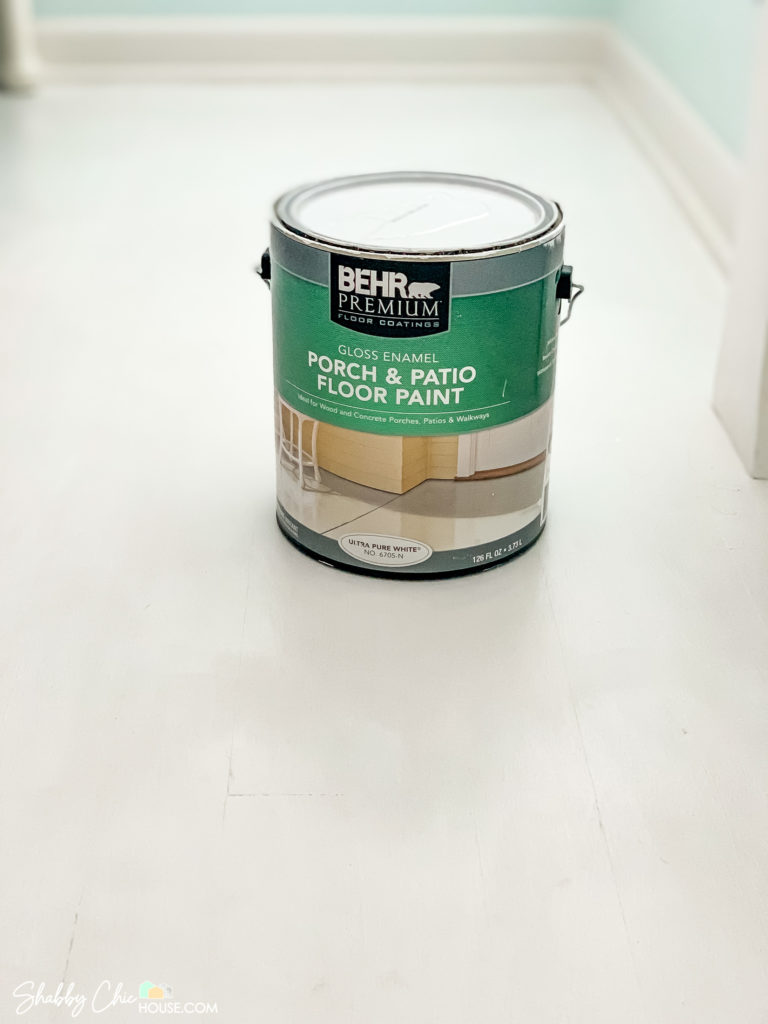
We found the best paint for hardwood floors is Behr’s Premium Porch & Patio Floor Paint. Using a floor paint is extremely important as you need a coating that is designed specifically for floors. A regular paint meant for walls will not be able to hold up to the traffic and will begin to chip, scratch and show wear almost immediately.
For application purposes I tested a large roller, small roller as well as a 2″ brush. I found when I used a brush and painted in the same direction as the hardwood planks I got the look I was going for.
Also I found I got significantly better coverage with a brush as both size rollers did not allow the paint to go on very thick. For this project I used a special Purdy High Capacity brush. This brush is more expensive than most, but awesome as it can hold tons of paint and therefore helps you get the job done quicker with fewer coats of paint.
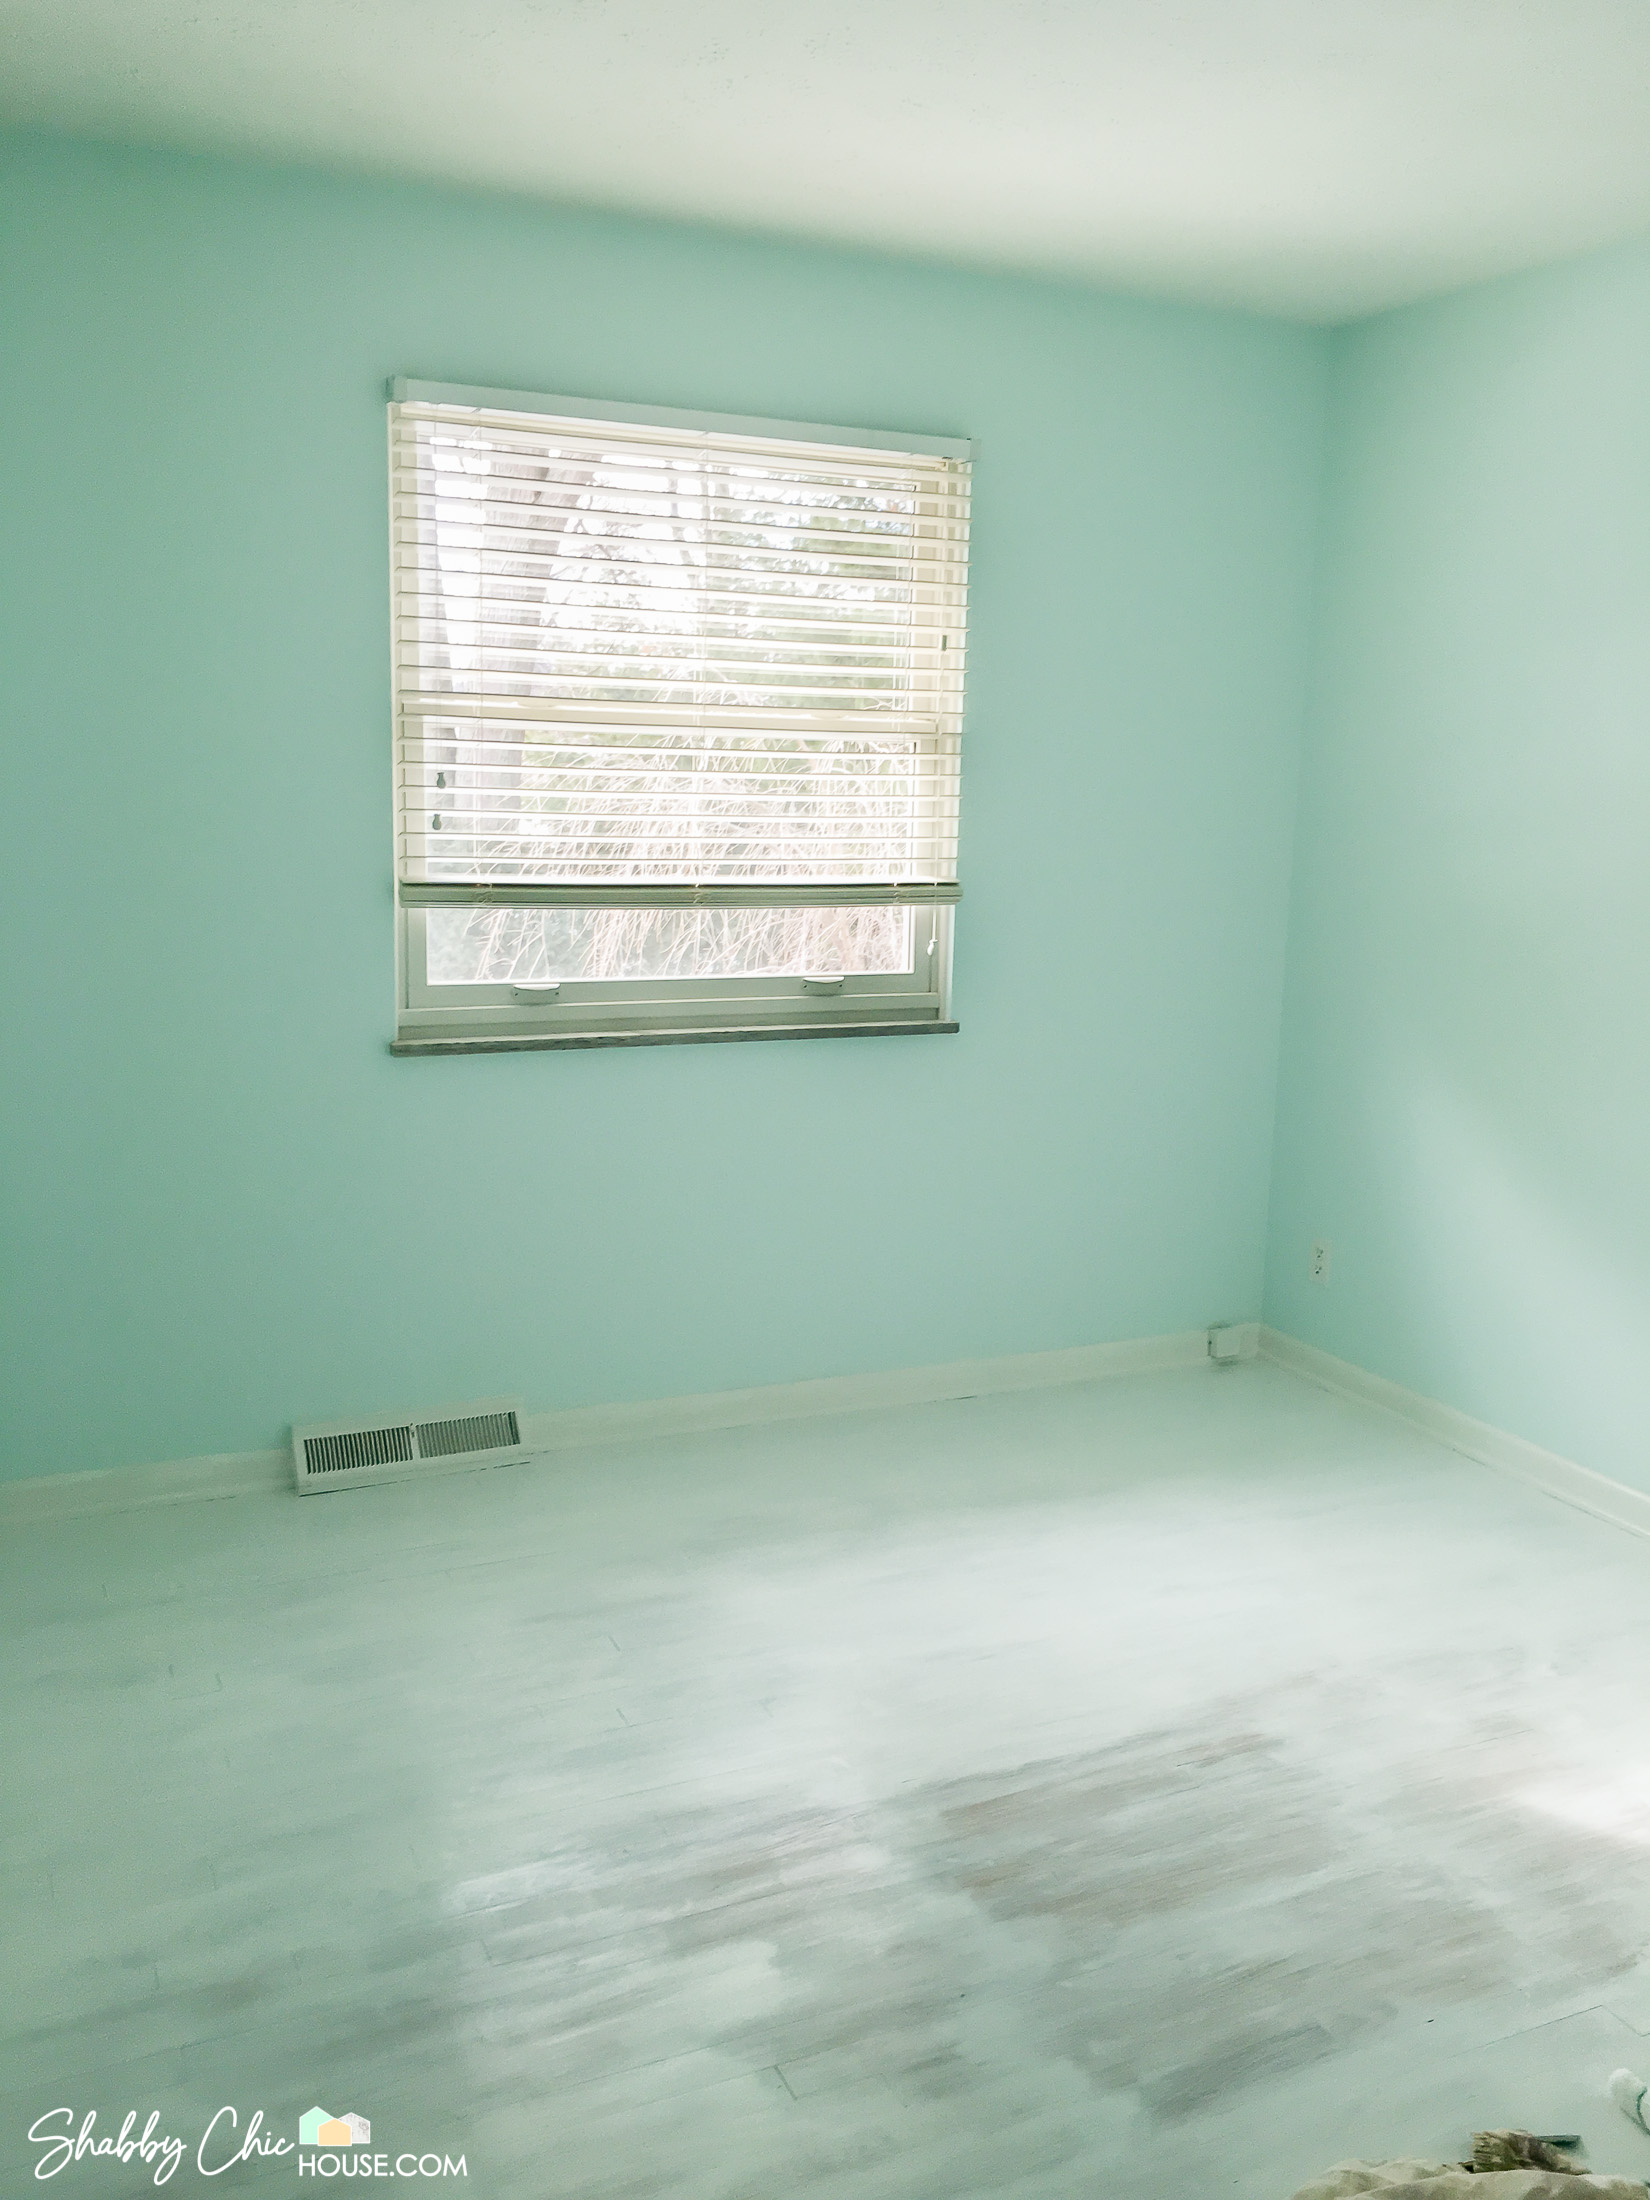
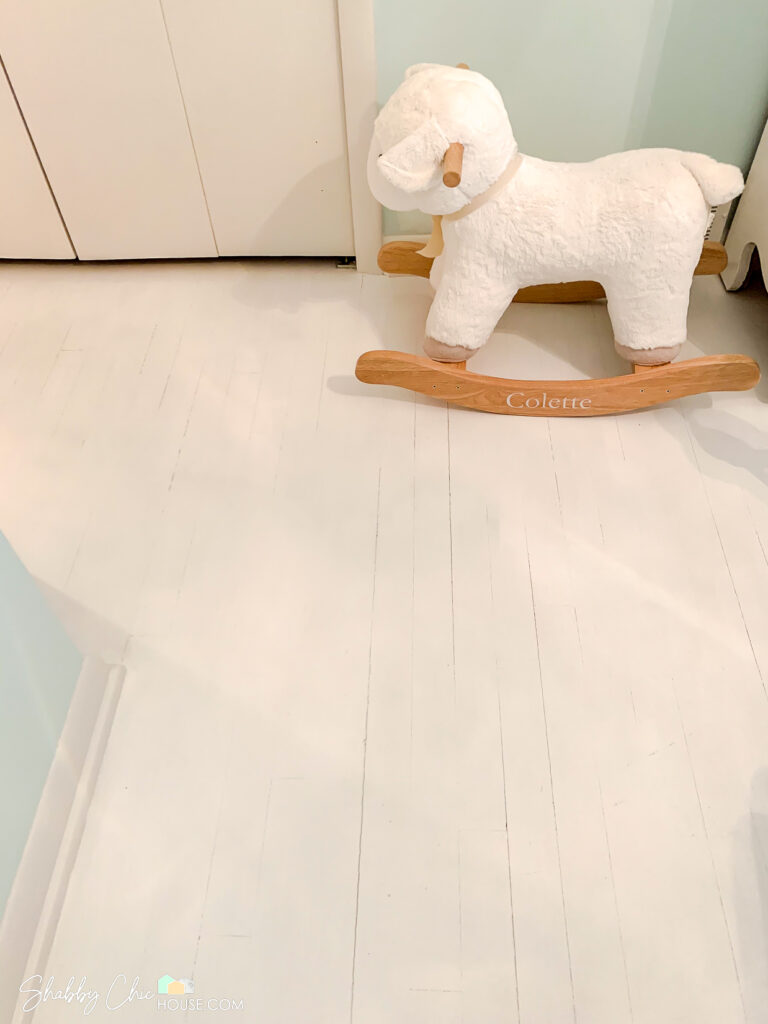
One of the scariest parts of painting your hardwood floors white is putting the first coat on. You won’t get complete coverage with the first coat and you’ll still be able to see the hardwood (see image below). However, stay committed to this project and two heavy coats later, you’ll have that awesome white glossy look.
How Not to Paint Your Hardwood Floor White
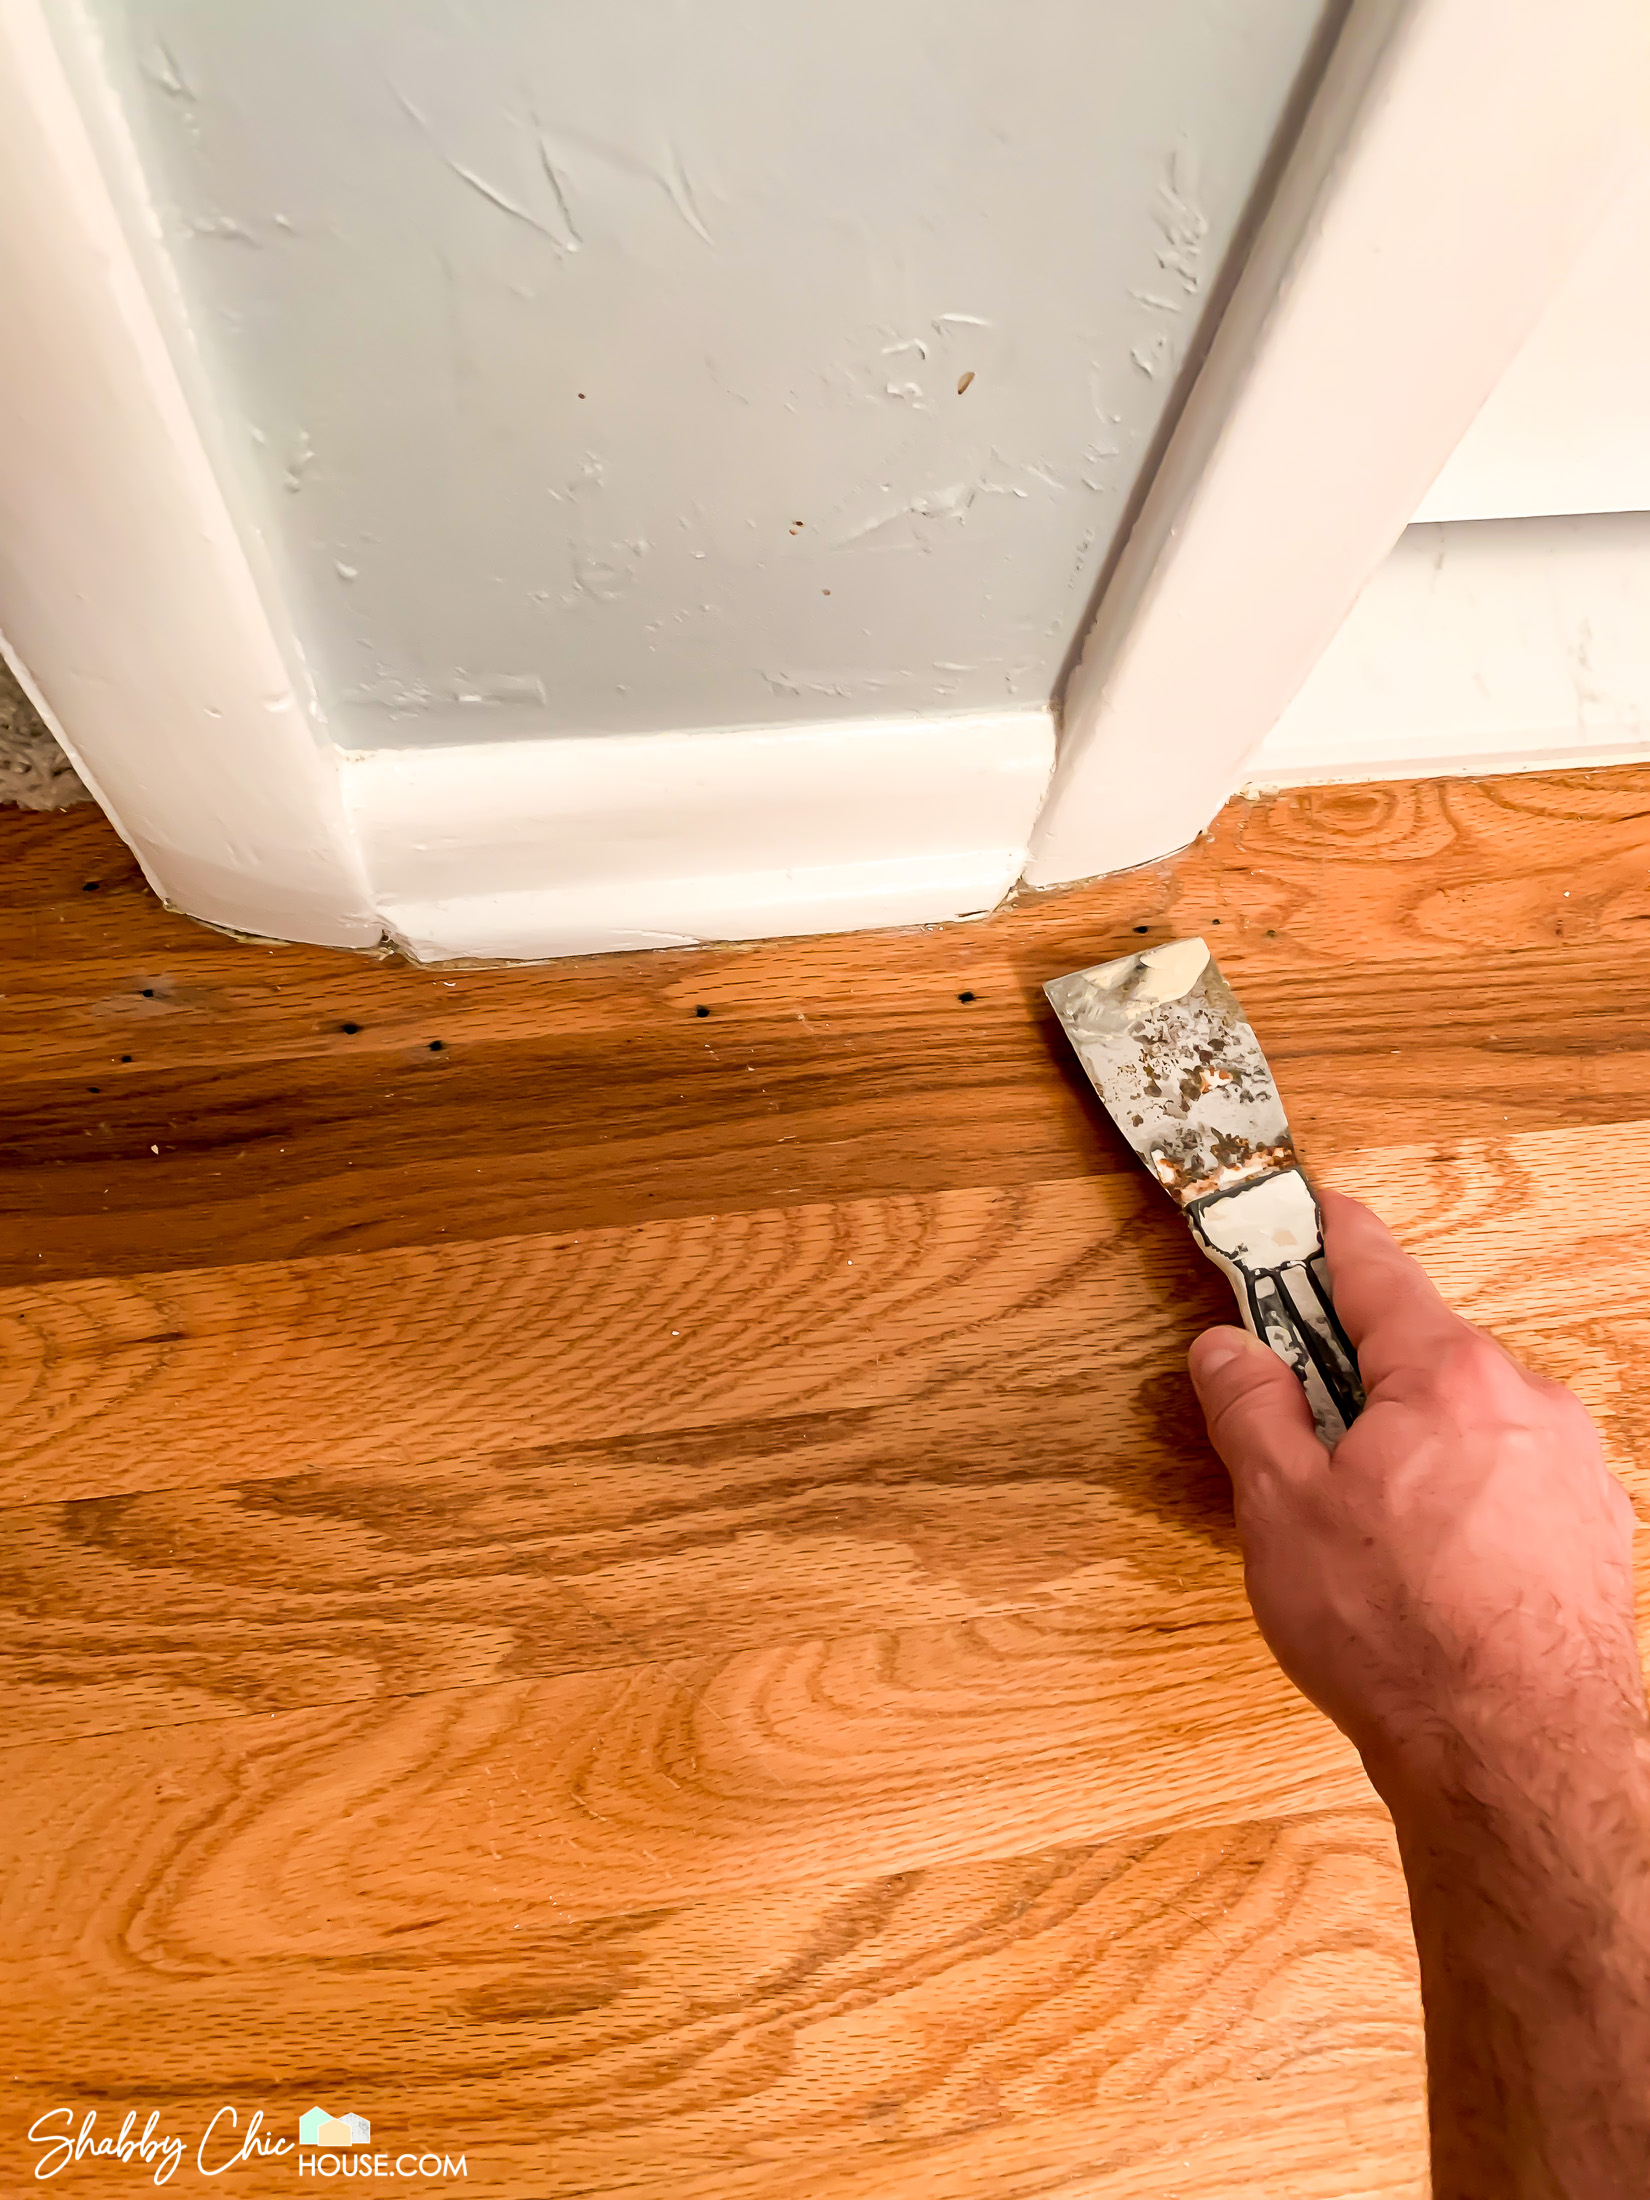
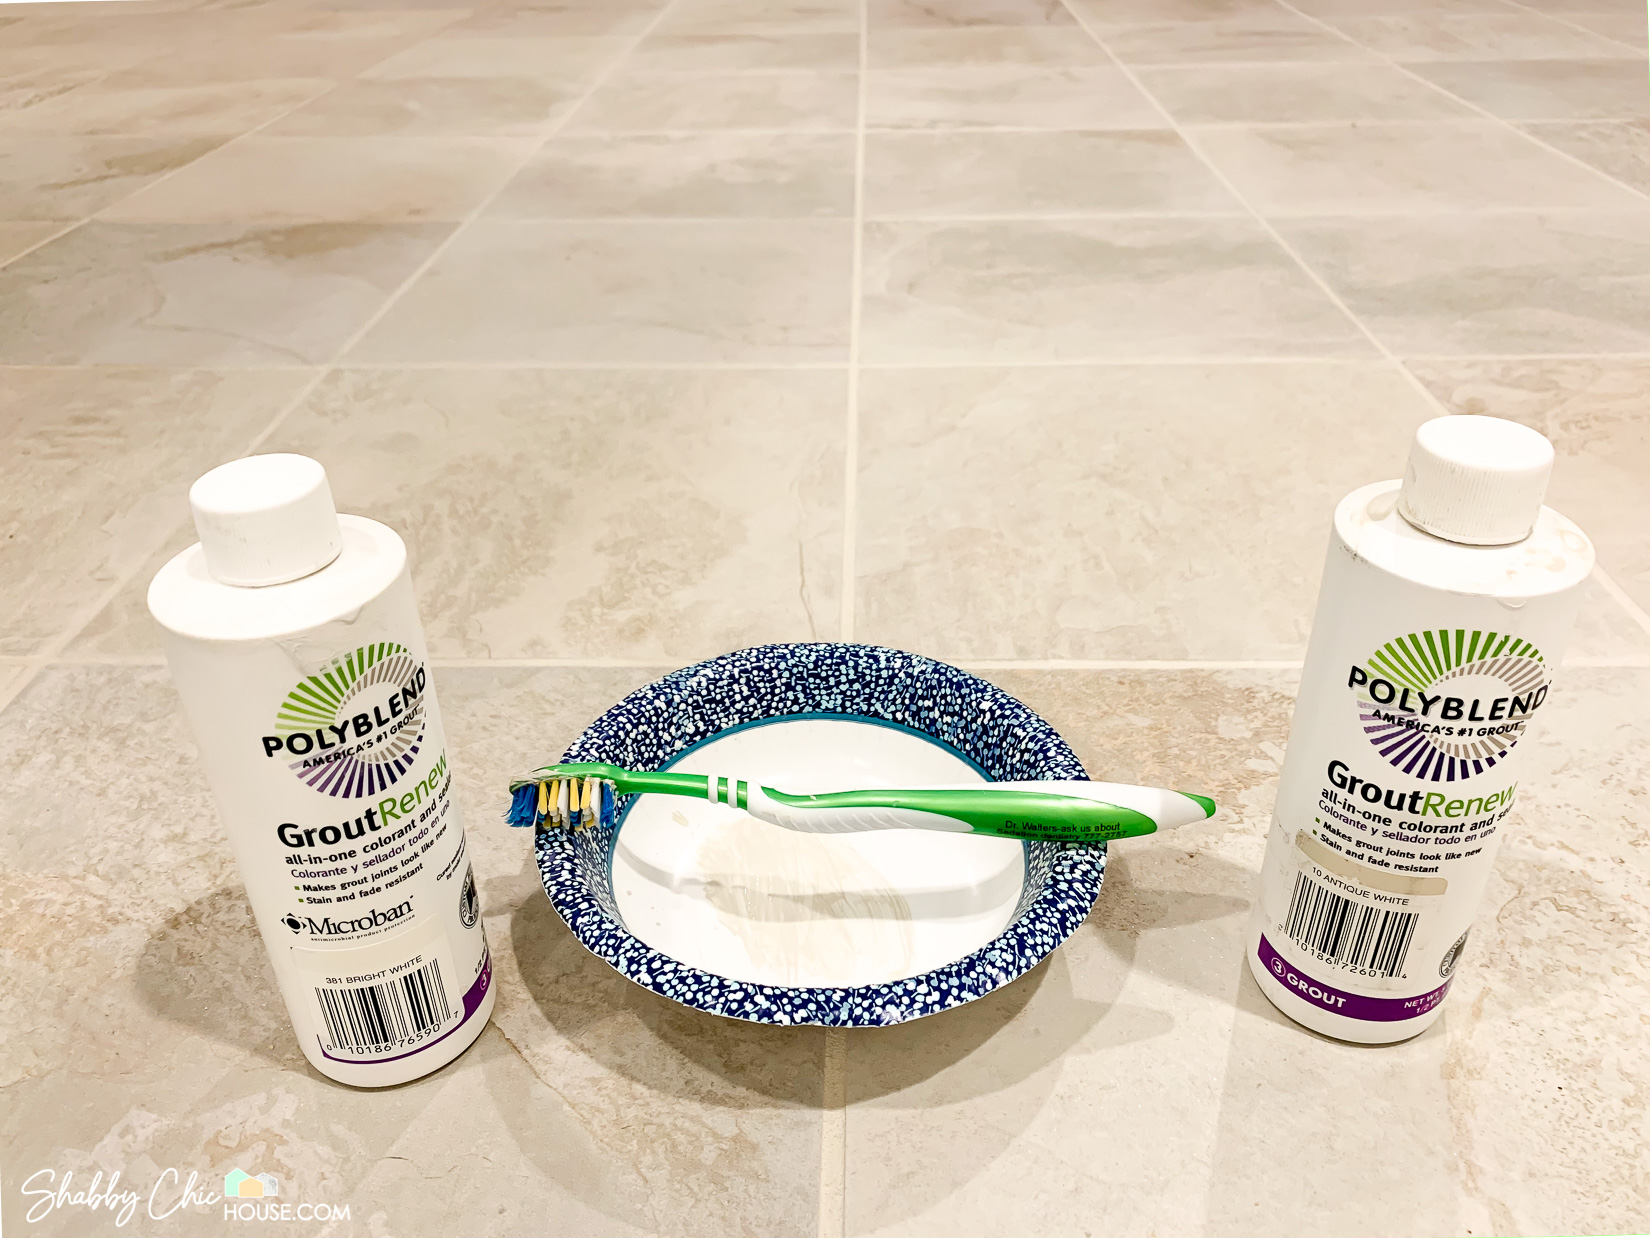
A big thing that I learned painting my hardwood floors is DO NOT use a silicon based caulk to fill any of the larger cracks/gaps that you might have. Although these products are paintable, overtime these products will collect dirt and you’ll have discolored caulked gaps. I my instance I was able to rub off the silicon, but wanted to share and save you the trouble!
Second, this may see obvious, but don’t paint yourself into a corner! Start on the opposite side of the room furthest from the door and work your way out.
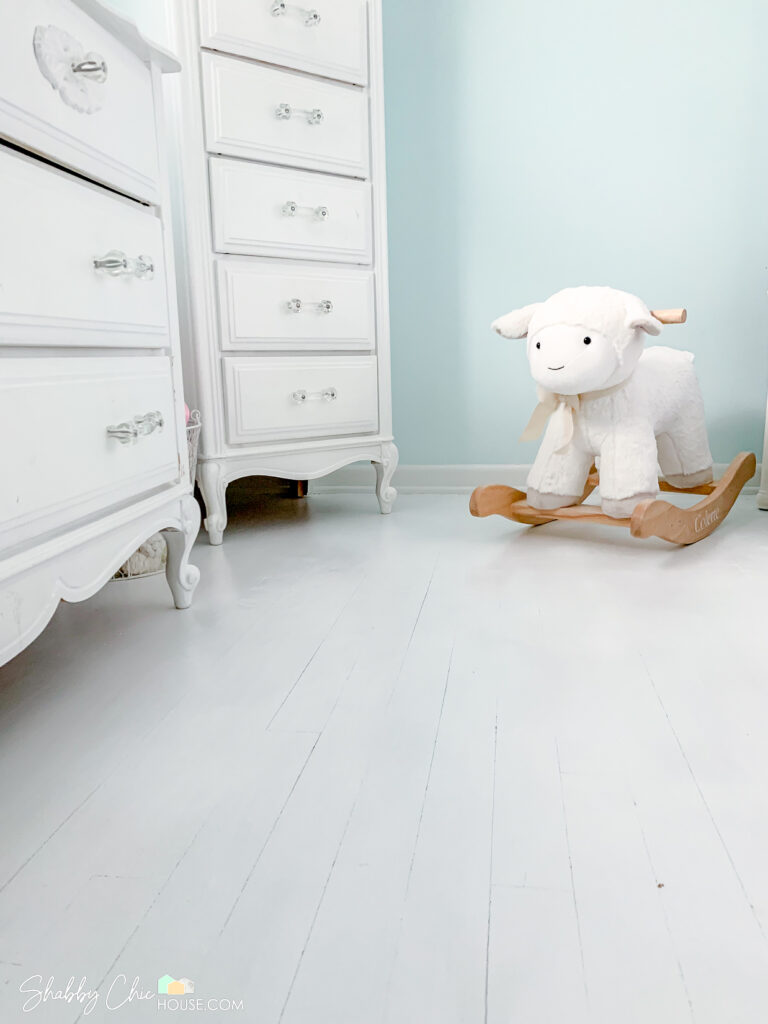
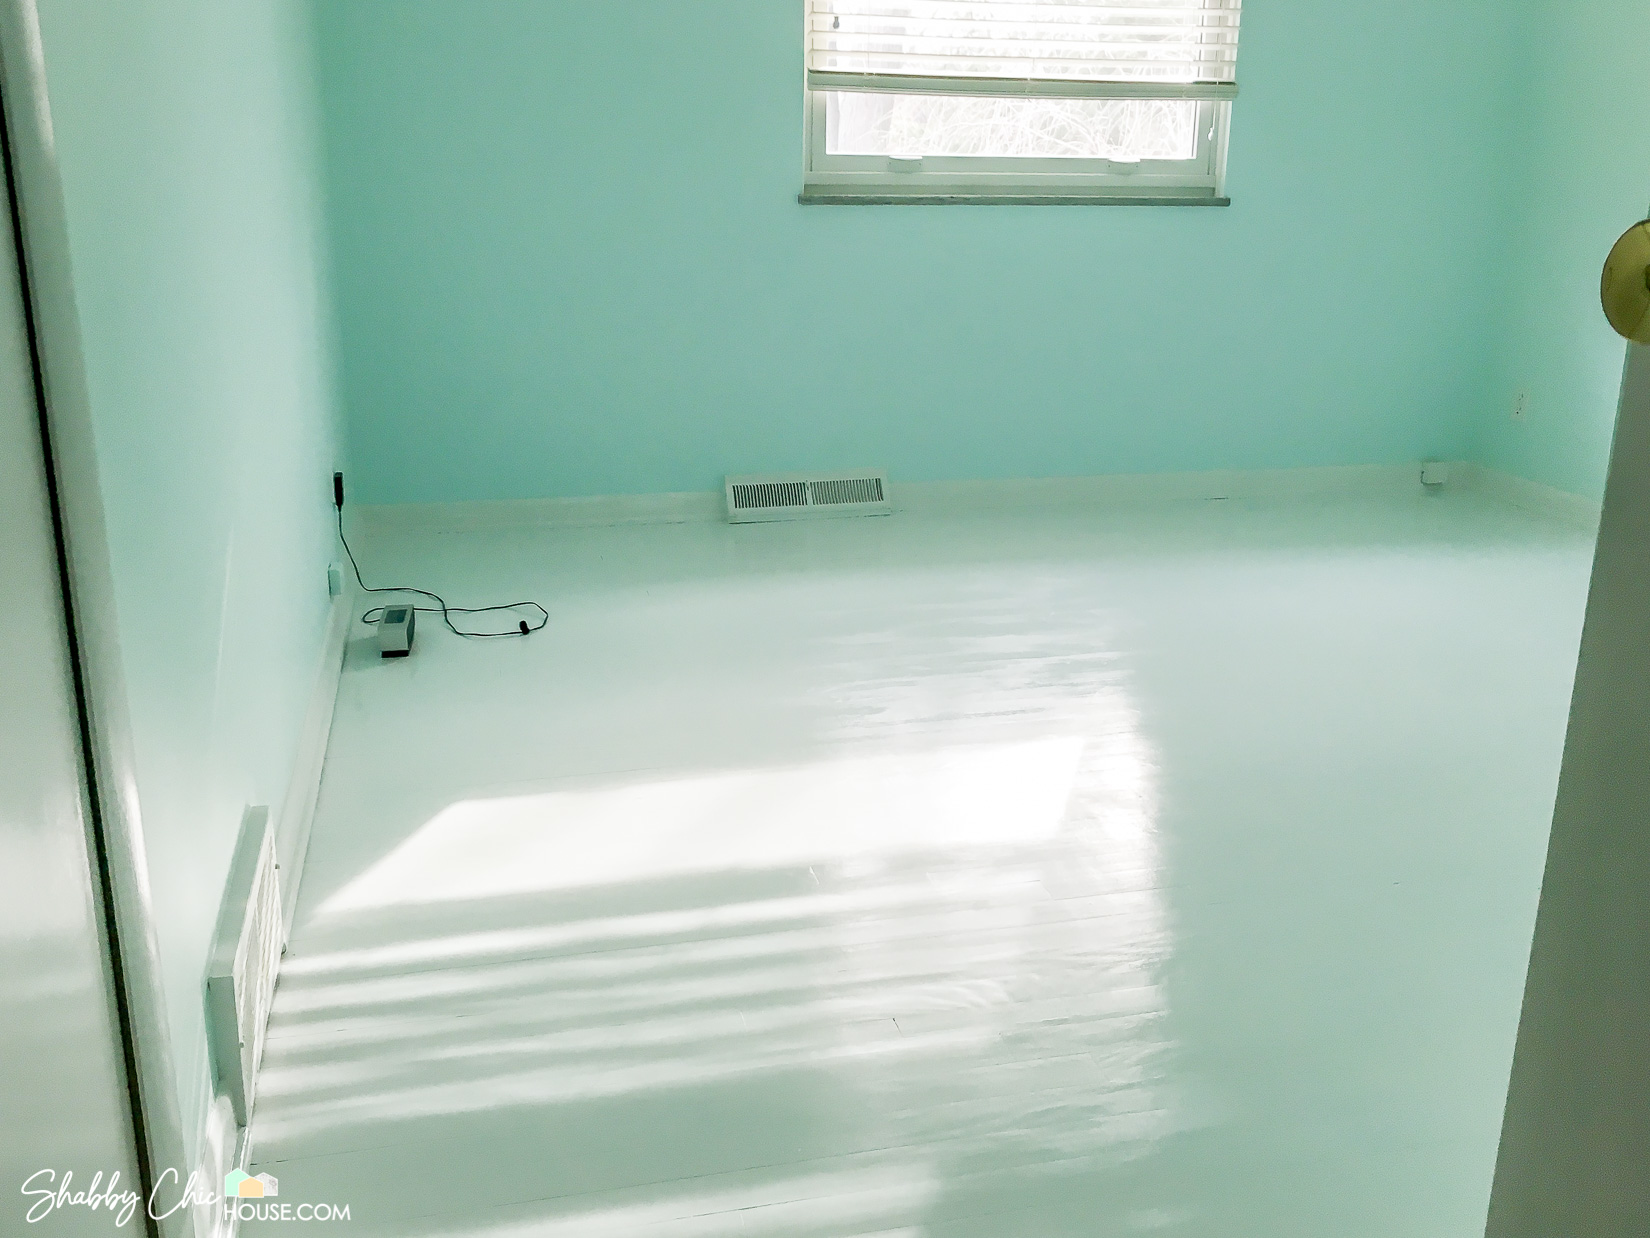
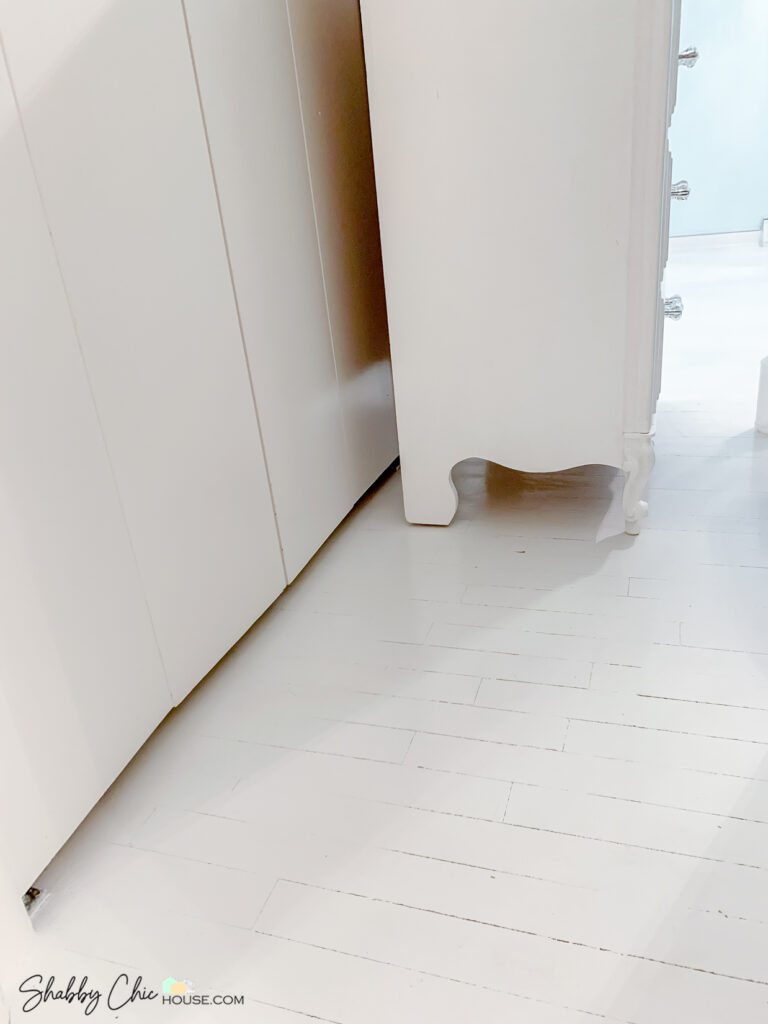
After 2-3 coats your floor should start looking amazing and shiny like in the 2 shots below.

Painting Wood Floors Pros & Cons
If you’re on the fence about painting your hardwood floors below are several pros and cons we noted after having our floors painted for 2+ years.
PRO: Painting Your Hardwood Floors Can Brighten a Room
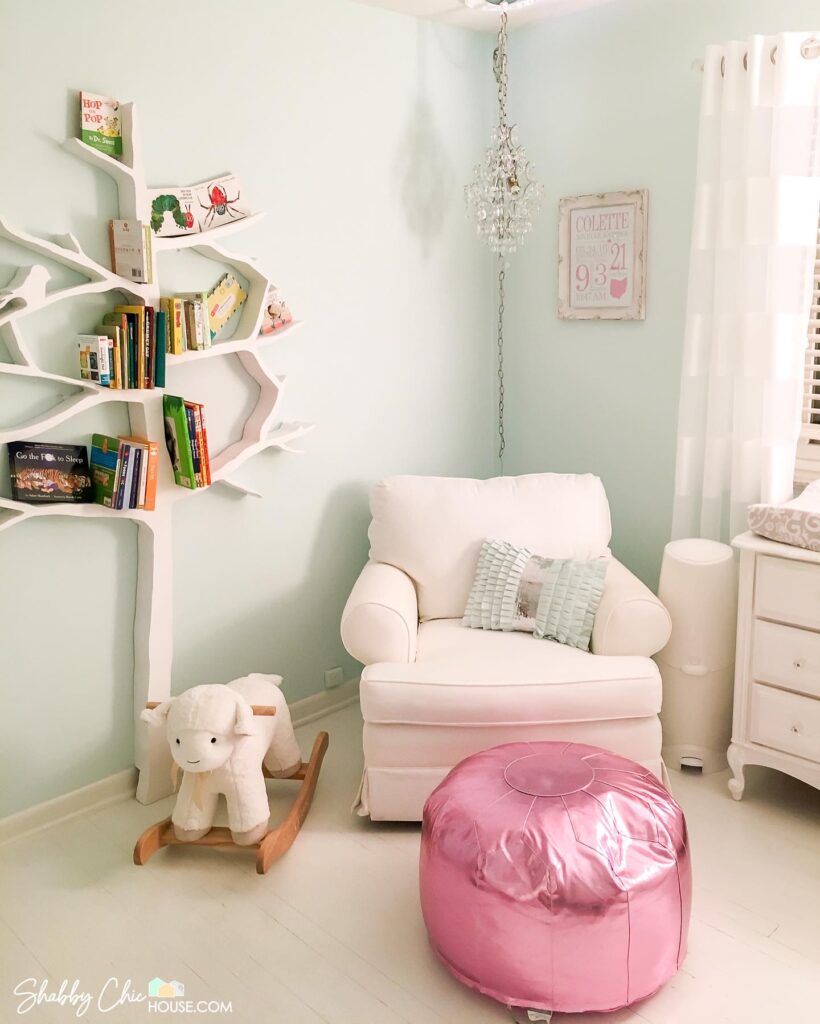
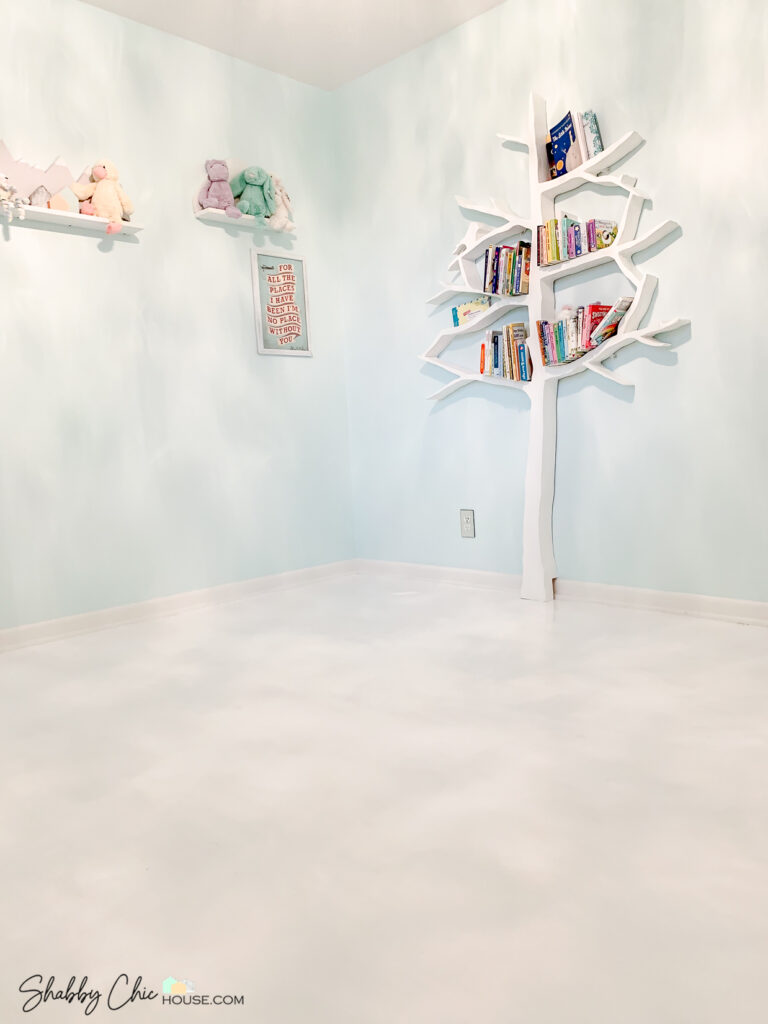
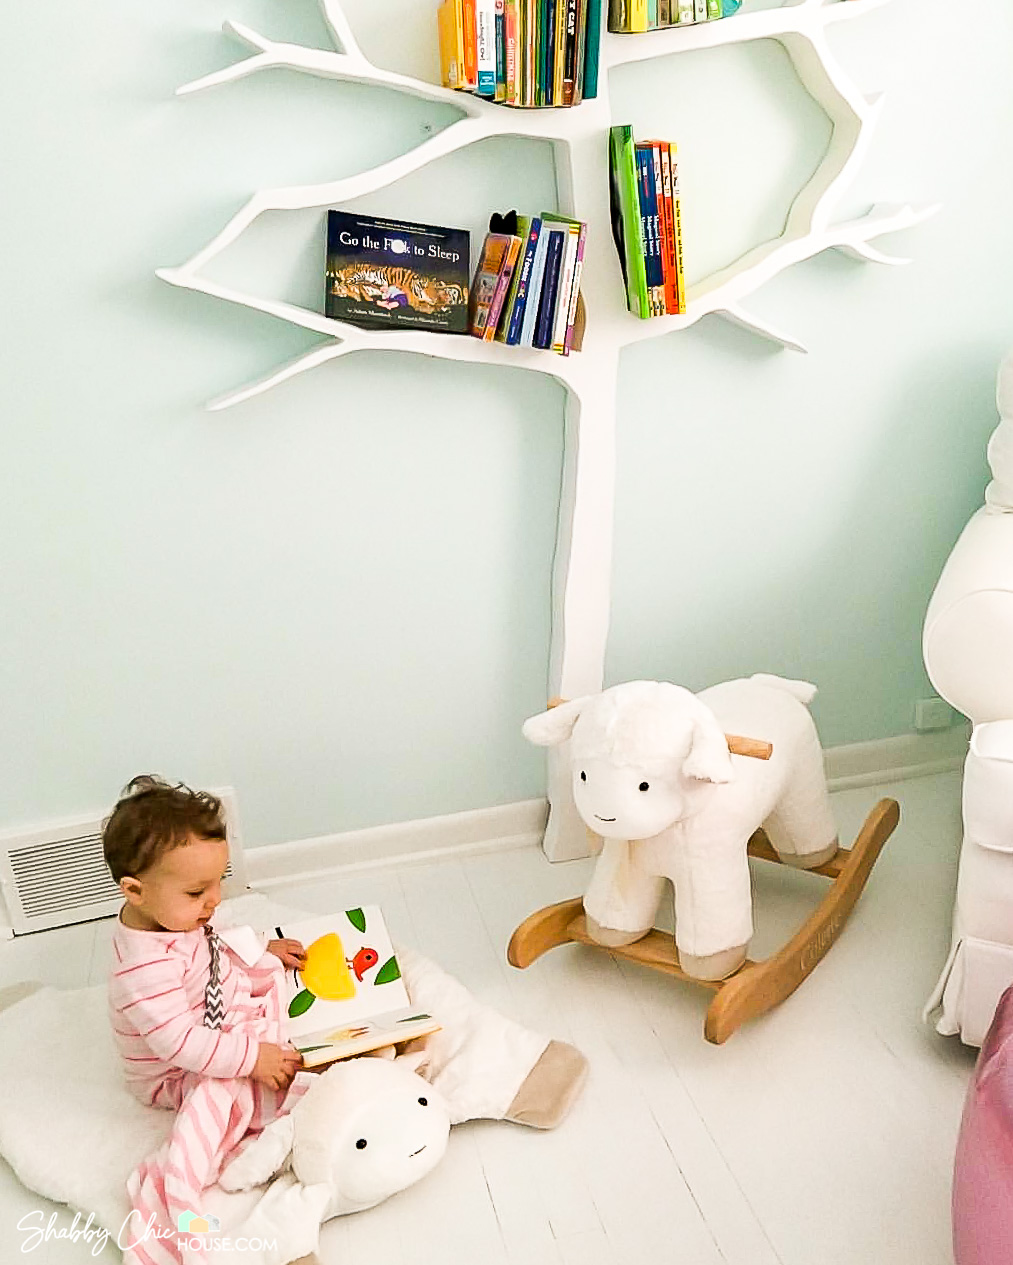
Painting our hardwood floors white significantly brightened the room. Prior to painting, our spare room was somewhatdark and dingy. Painting the hardwood floors white transformed the room and you can almost see the glow in some of the photos.
PRO: Easy DIY Project
Overall, this is fairly easy DIY project that can be tackled in a weekend if you’re painting a small to medium sized room. Also, while it takes 3-4 coats of paint, your best hardwood floor paints will be fairly dry in 30-45 minutes.
PRO: Easy to Clean
Our painted floor was insanely easy to vacuum and any sort of spill wiped up easily with a wet paper towel.
PRO: Cost Effective Way to Cover Up Damaged Wood Floors
Painting your hardwood floors is a fairly cost effective way to cover up heavy cosmetic damage. This could include nicks, water stains, discoloration or general wear from traffic.
CON: Removing Paint is Fairly Difficult
Removing the paint from your hardwood floors would be an extremely labor intensive and messy project. You would need to spend several hours sanding your floors, followed by cleaning up the dust/paint and then lastly, refinishing the floors to restore to their original wood look.
CON: May Cause Difficulties When You Go to Sell Your Home
Painting your hardwood floors could possibly make it more difficult to sell your home. Some buyers might like the look, others would prefer to have the original hardwoods floors.
In our case, we touched up our painted floor prior to putting our house on the market and were lucky to find a buyer who had similar taste.
CON: Occasional Touch-up Required
While the best hardwood floor paints are fairly durable, over time nicks and dings will occur due to normal wear and tear. About two years in our hardwood floors were still in great shaped, but I spent a quick 10 minutes touching up just my nicks/scratches with the leftover paint from the original painting.
In Conclusion
While ripping out the carpet and cleaning up the floor prior to painting was extremely labor intensive, actually painting the floor was fairly easy. In the end we loved the white hardwood floor look and how it helped really light up our daughter’s room!
I hope this article was helpful and gave you some awesome insights/ideas. If you have any questions please feel free to comment or reach out to me directly at [email protected]m.
Also, if you loved this article, check out my other article on How to Build a Tree Shaped Bookshelf which you might have seen in a few of the photos above.
Thanks again!
– Mike from ShabbyChicHouse.com

Thanks for this helpful info! What colour white did you end up using? The room looks great!