SOME OF OUR POSTS CONTAIN AFFILIATE LINKS. WE OFTEN SHARE LINKS TO THE TOOLS & PRODUCTS USED IN OUR HOME IMPROVEMENT PROJECTS AND IF YOU PURCHASE ONE OF THESE ITEMS USING OUR LINK, WE MAY EARN A SMALL COMMISSION (AT NO ADDITIONAL COST TO YOU).
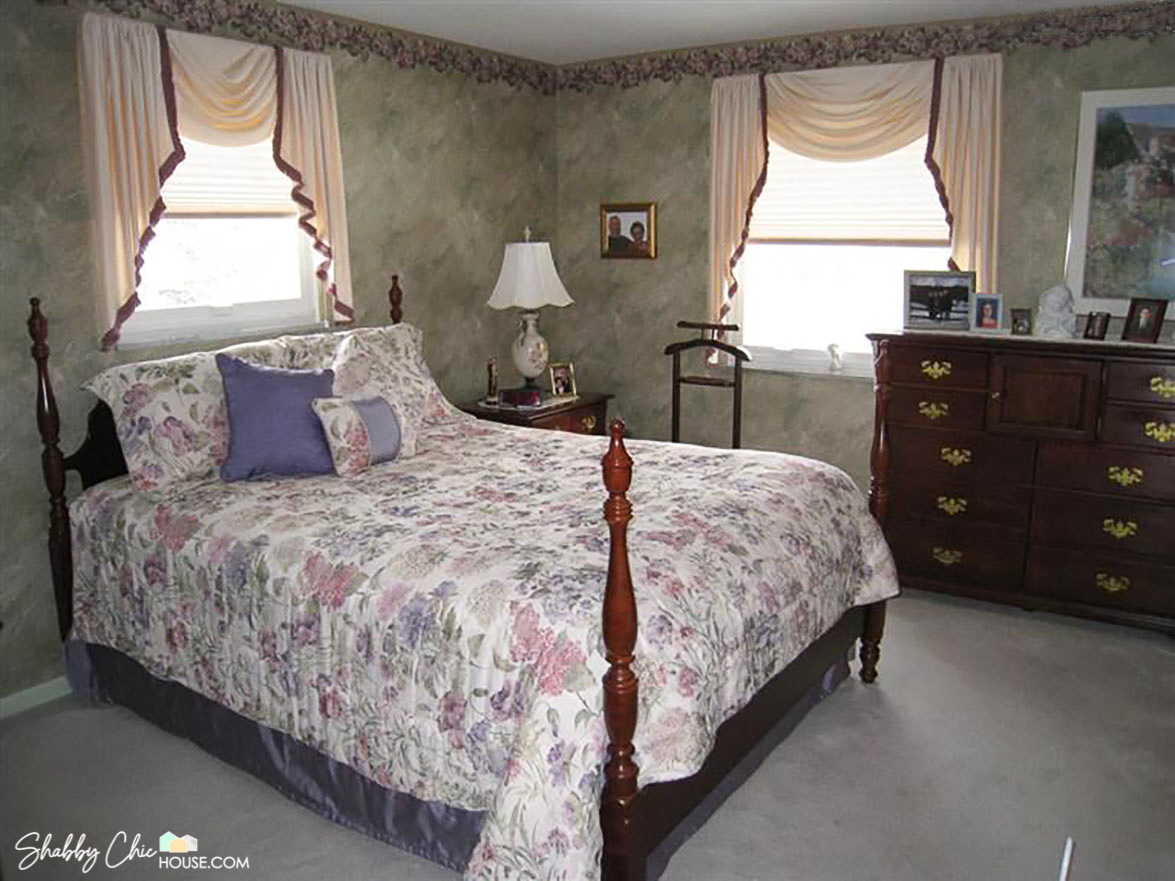
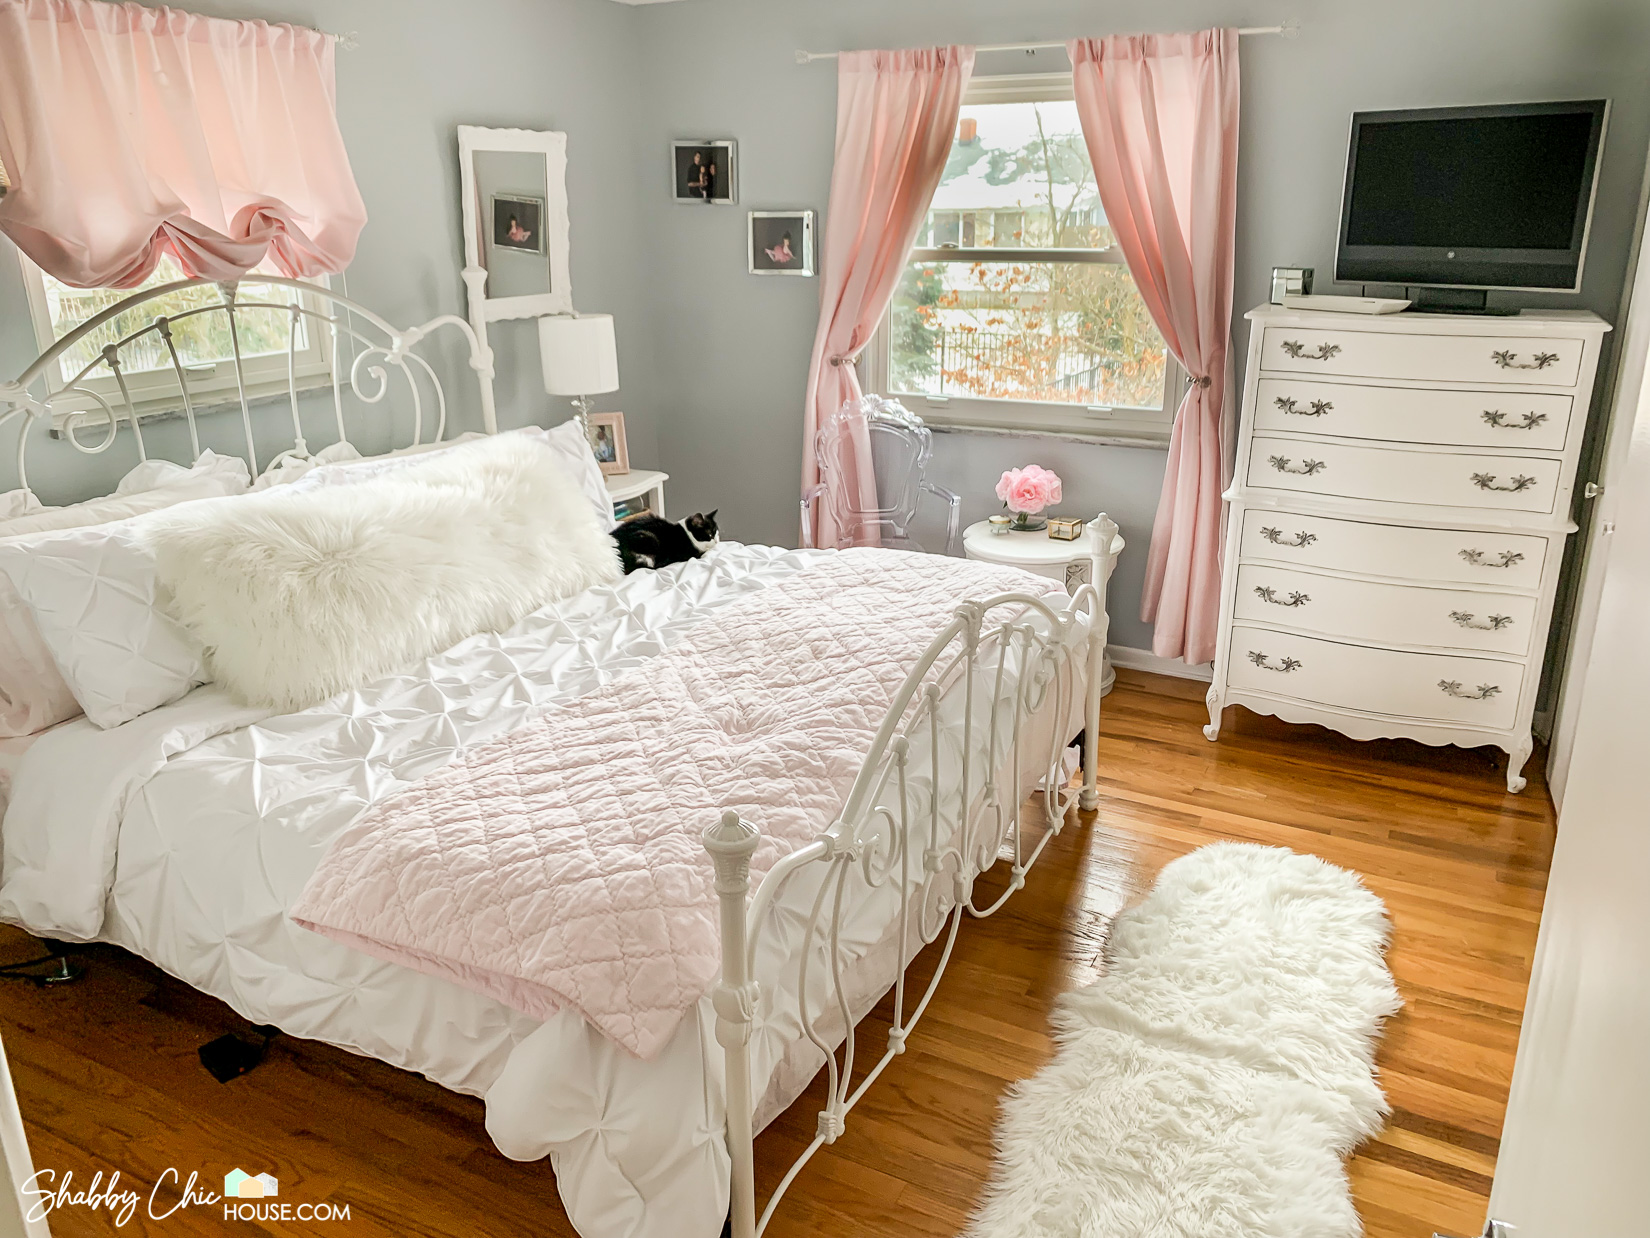
Check out the transformation of our master bedroom in the photos below. This room went from dark and dingy to bright and beautiful. In this article, I’ll take you through the removal of the outdated wallpaper (Ew, 90’s grossness! I bet there are some hanging grapes somewhere in that floral border), these hotel-like drapes, as well as the old carpet. Also, I’ll share a little bit about the french provincial bedroom set that we revitalized with Annie Sloan’s Pure White chalk paint as well as some of the super awesome decor we hand-picked for this master bedroom makeover!

Removing the Old Wallpaper
One of the very first things we did in the makeover of our master bedroom was remove the outdated wallpaper and border. While you’ve probably heard some nightmare stories about wallpaper removal, it’s actually pretty easy.
Items You’ll Need:
- Disposable Plastic Drop Cloth
- Wallpaper Scoring Tool
- Wallpaper Stripper
- Spray Bottle
- Putty Knife
- Garbage Bags
Before you get started, make sure to purchase a disposable plastic drop cloth to protect your floor. Now while I own a canvas drop cloth, I’ll still use a disposable plastic drop cloth for easy clean-up. At the end of the project, I can just grab the four corners, bring it together and just throw out all the pieces of wallpaper that didn’t make it into the trash. Talk about easy clean-up!
After you put your plastic drop cloth down, start by scoring your walls using an inexpensive scoring tool. This small tool creates tiny holes in the wallpaper which will allow your wallpaper stripper’s enzymes to get behind the wallpaper and breakdown the glue.
Once you’ve perforated the wallpaper, apply your Wallpaper stripper using a spray bottle. Apply the Dif lightly and start by doing only a 5-foot wide section of the wall. If you try to do an entire wall at once, there’s a good chance most of the Dif will dry and you’ll be wasting a good amount of your stripper. After you’ve sprayed roughly a 5′ area, allow the solution to soak in and go to work breaking down the wallpaper glue for a good 15-20 minutes.
Next, go back and respray the small 5′ section you just let sit and begin removing any sections of the wallpaper that are loose. If you can peel them off go for it, just do it slowly and evenly to avoid damaging the drywall behind it. If the wallpaper cannot be peeled off by hand, you may need to use a putty knife or scraper. It can be pretty easy to get overaggressive with a putty knife, so do your best to carefully remove both the wallpaper and backing without damaging the wall.
Repairing the Wall – Skim Coating vs. Stucco Finish
Often when removing wallpaper your walls will get damaged and the adhesive from the wallpaper glue will remove large chunks of your drywall. Before you can paint or put up new wallpaper you need to repair the wall surface. You can do so by skim coating the wall or in our instance we chose to create a textured stucco wall.
Now in order to stucco the wall, you’ll need drywall compound and a drywall taping knife. Simply scoop a small amount of compound onto your blade and spread lightly across the wall. The goal here is to spread a very light amount of compound and create random textures and patterns across the wall. When doing so, try varying your application techniques and patterns. Apply some compound in a left to right, a right to left motion and again, keep the application light.
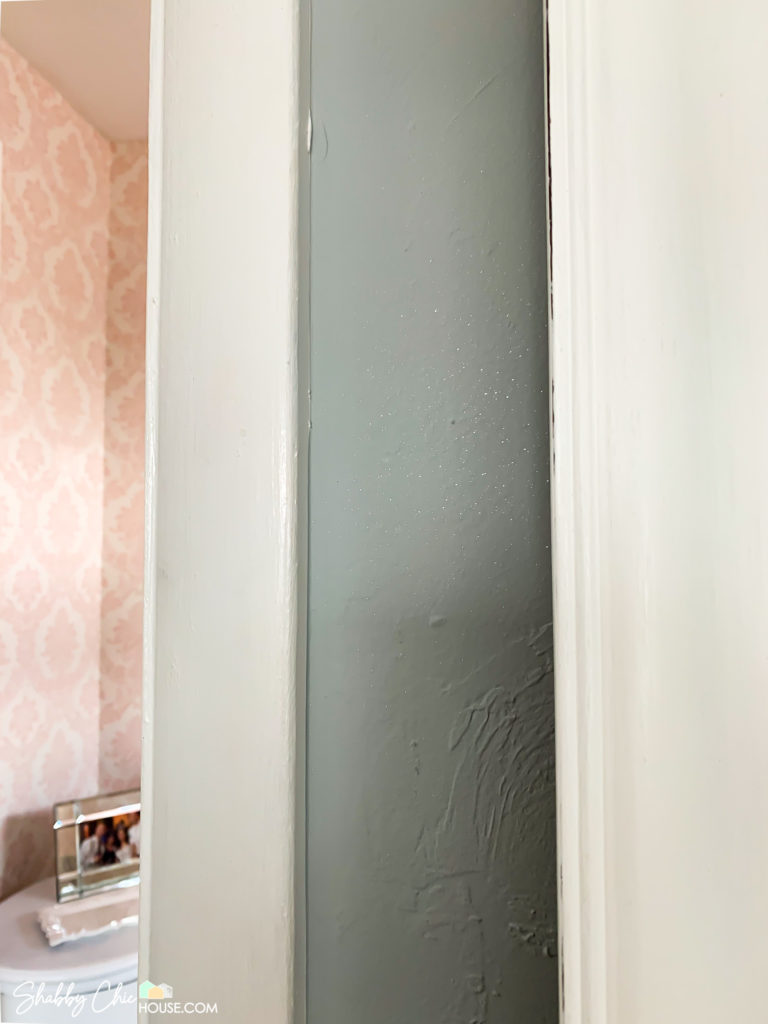
In our room we gave the stucco finish a full 24 hours to dry. A day later we were ready to paint. For our Master we wanted a fun color, but nothing too overpowering, too bright or too dark. Just something right in between.
We ended up going with Sherwin-Williams’ North Star and added some awesome Silver Paint Crystals. These crystals are extremely subtle and you only notice them about maybe 10% of the time. That’s because the light has to hit the wall just right, but when it does it give the room a super glam feel. Funny thing is, even when you’re looking at the photo below as you scroll the sparkles seem to change as if you’re looking at it from different angles.
Painting the Wood Trim/Door & Replacing the Handles
Originally this room had quite a bit of brown wood in it. That included two separate double door closets, the entryway door as well as the attached half bath door. We painted the trim in the room as well as all of the doors a bright white. For the closet doors, we removed the old and outdated pull handles and put up some inexpensive crystal handles. For the main entryway door, we removed the old, outdated, weathered and worn bronze handles and put up these fresh scrolling satin chrome handles.
We loved these handles so much we ended up putting them throughout the entire house.
Removing Carpet & Cleaning Hardwood
While the carpet in our room wasn’t in too rough of shape, we found out there are beautiful hardwood floors underneath that were original to the house.
Removing carpet is a surprisingly dirty project! Dirt, grime and all sorts of gross things collect underneath the carpet and padding, so if you ever decide to remove your carpet, prepare to get dirty.
As you pull up the carpet use a fresh razor blade to cut the carpet and padding in roughly 2′ x 7′ sections. Then roll then up the carpet and padding and secure with duct tape (for easy removal) and disposal on the curb.
After you remove all of your carpet, you’ll be left with tack strips around the exterior of the room. I’d suggest wearing a pair of heavy-duty work gloves when removing the tack strips as you’ll be dealing with sharp old rusty nails.
Use a pry bar to lift and pop up the tack strips and make sure to remove any nails that might be leftover in the hardwood. I have this awesome pry bar which I use for all my remodel projects and is a must-have for demolition!
After removing your tack strips you’ll then need to sweep, mop and scrub the hardwood floor 2-3 times with a mixture of hot water and dish soap to get the gunk and grime up that may have collected over the years.
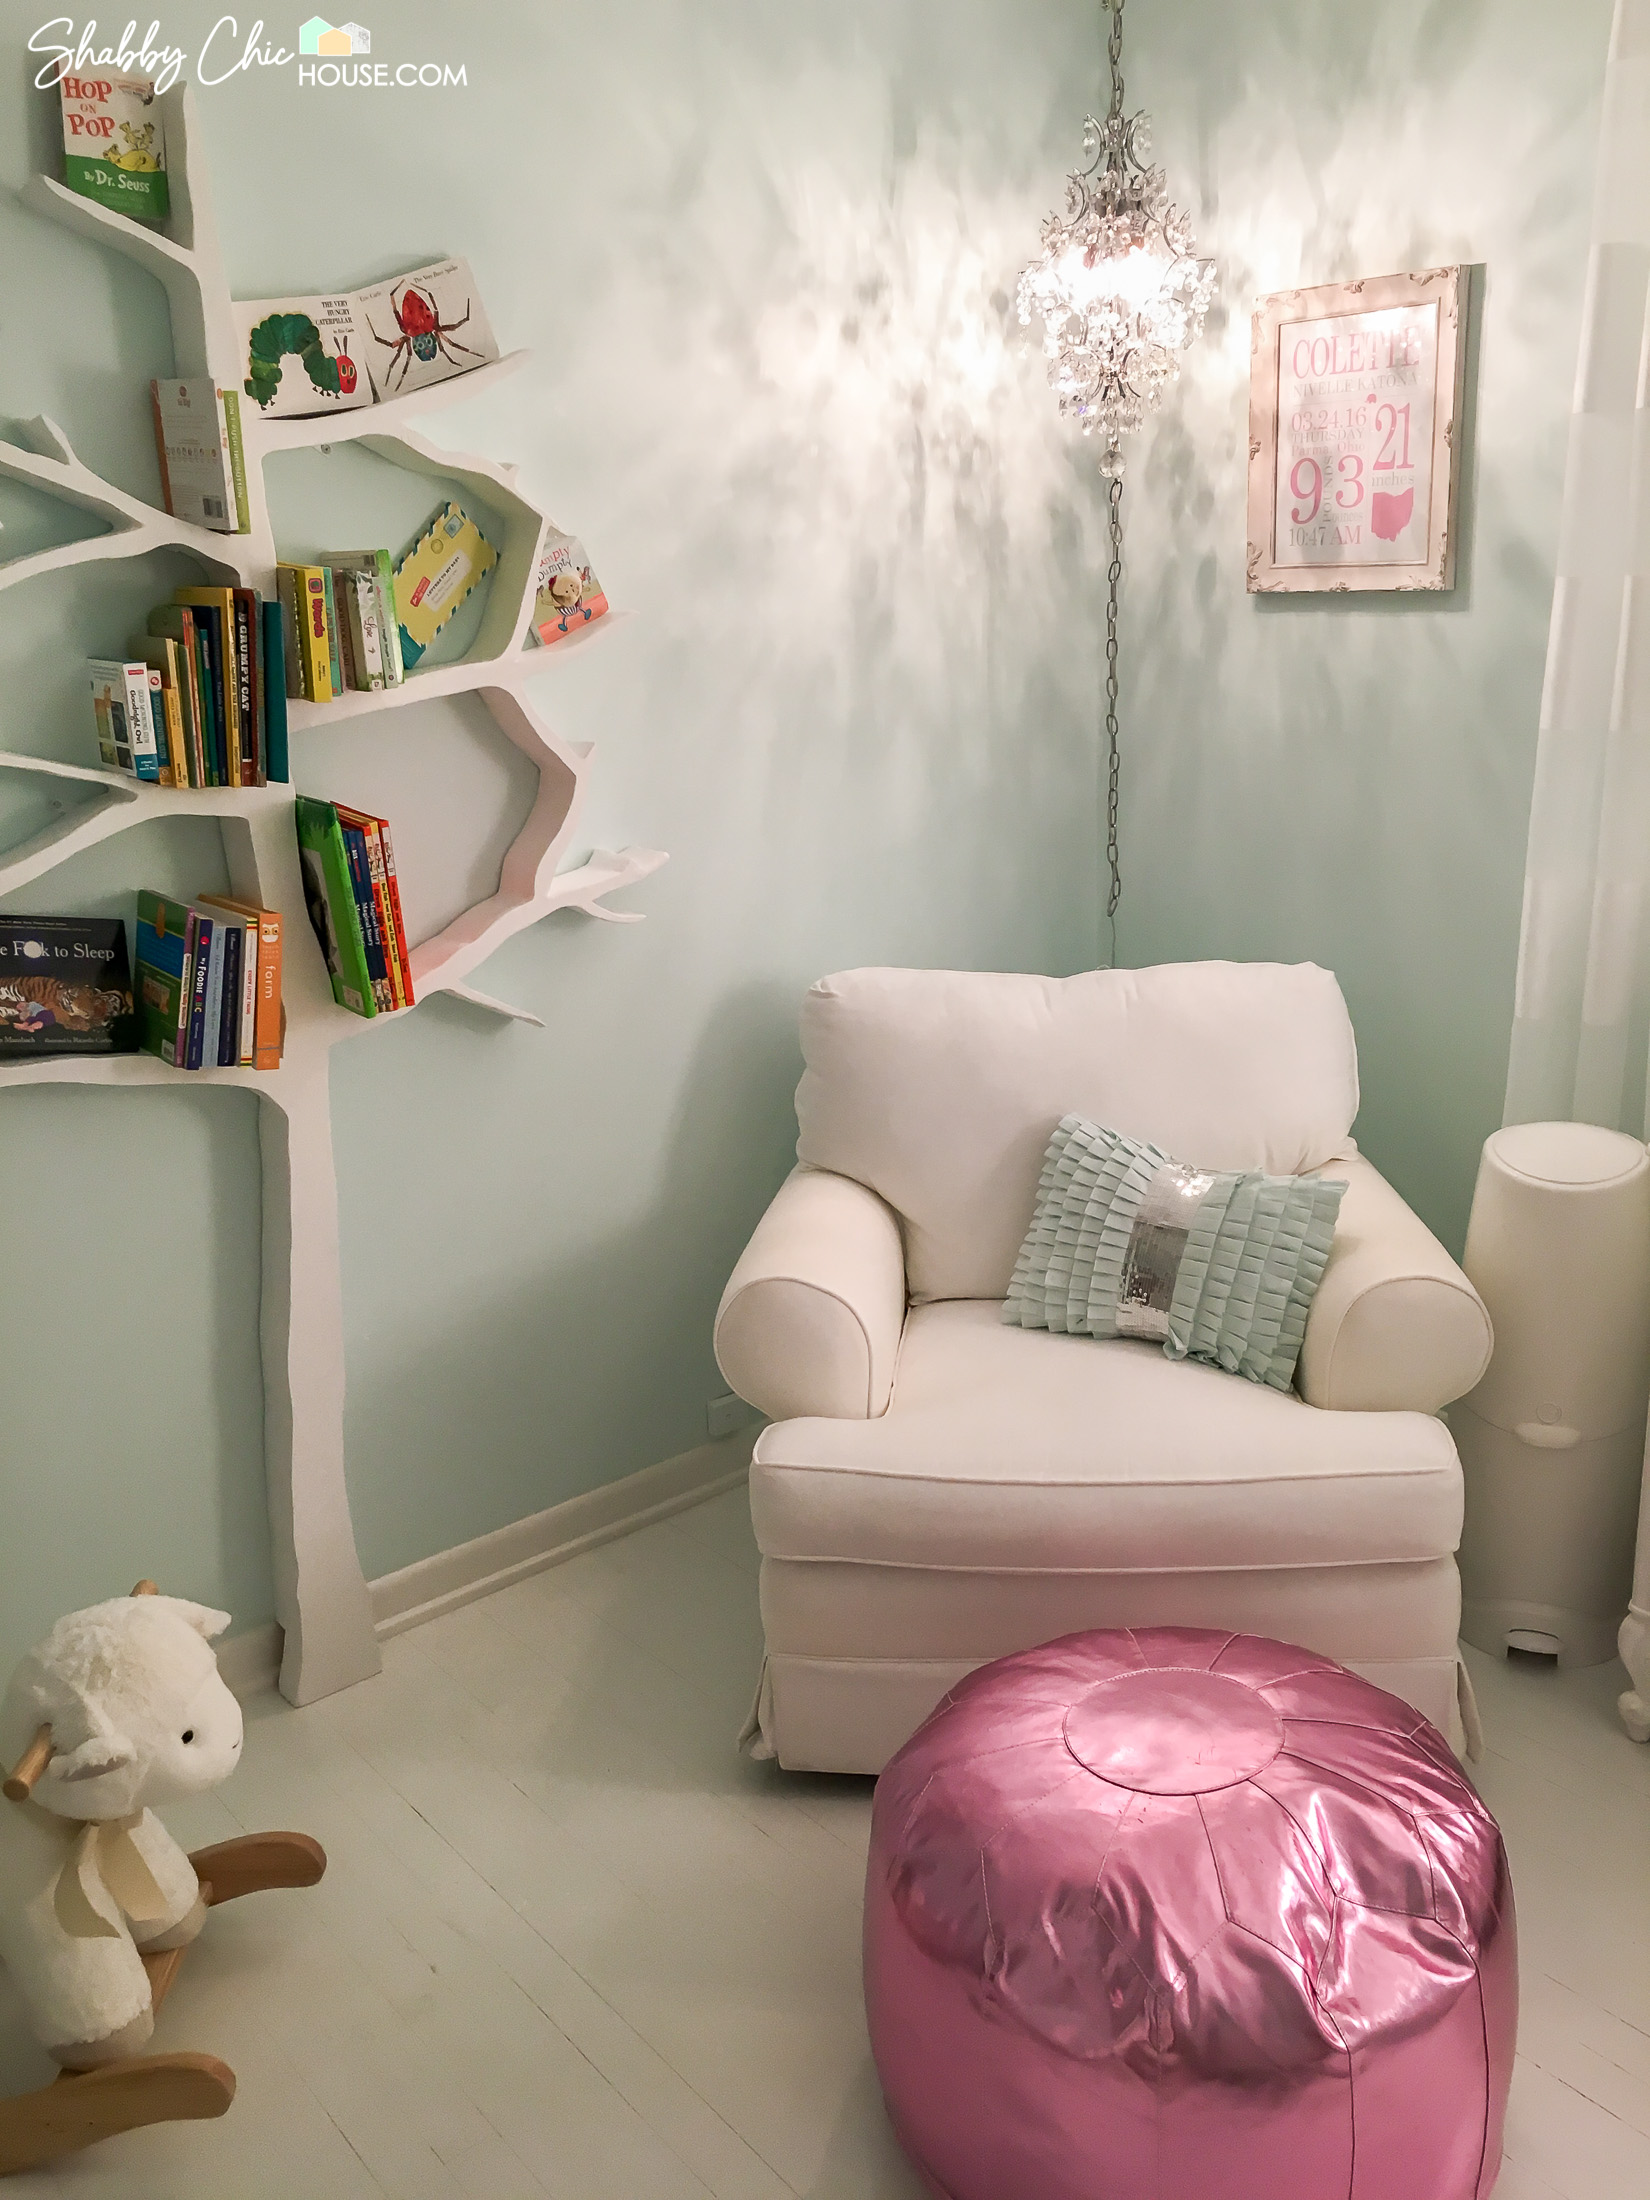
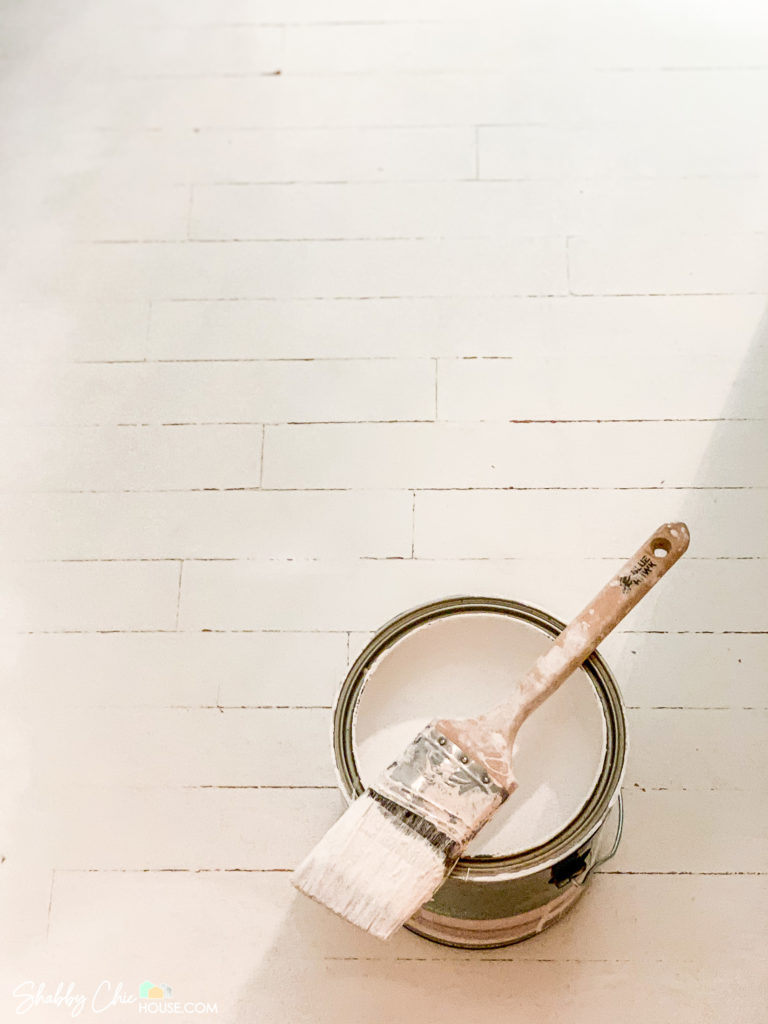
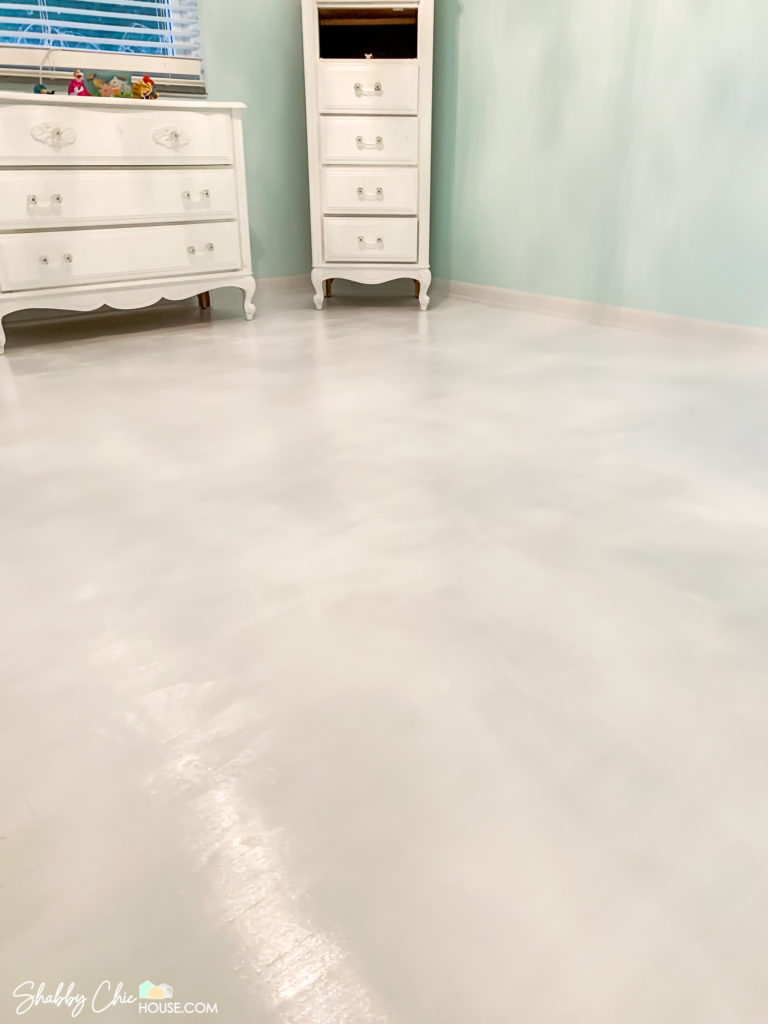
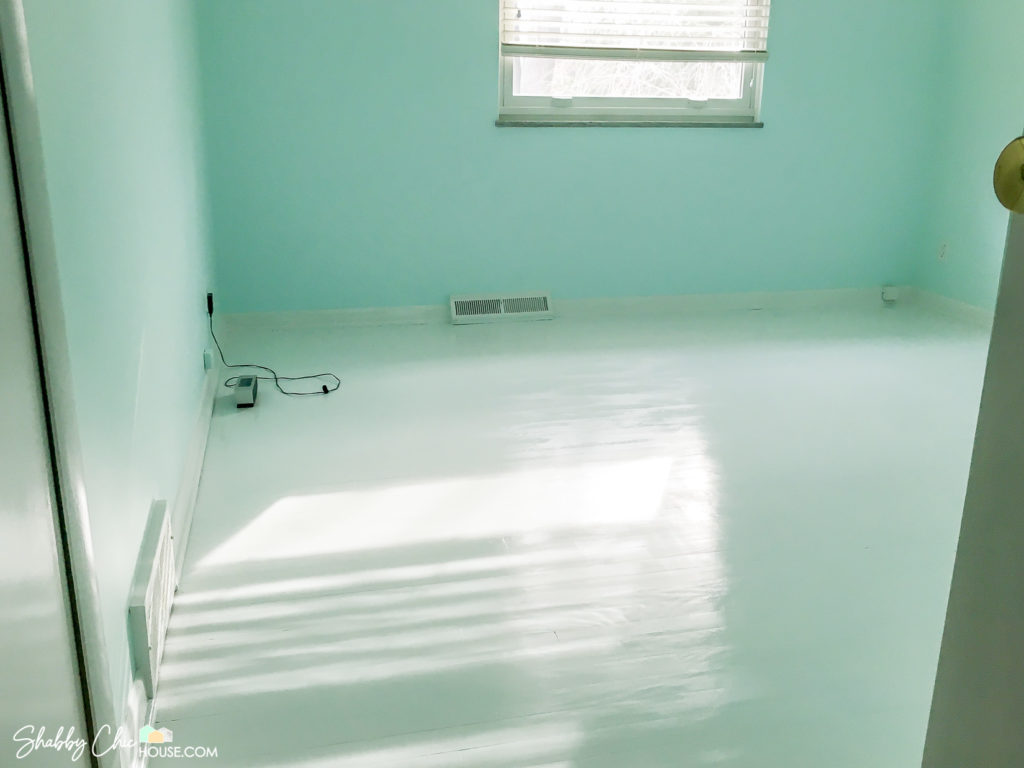
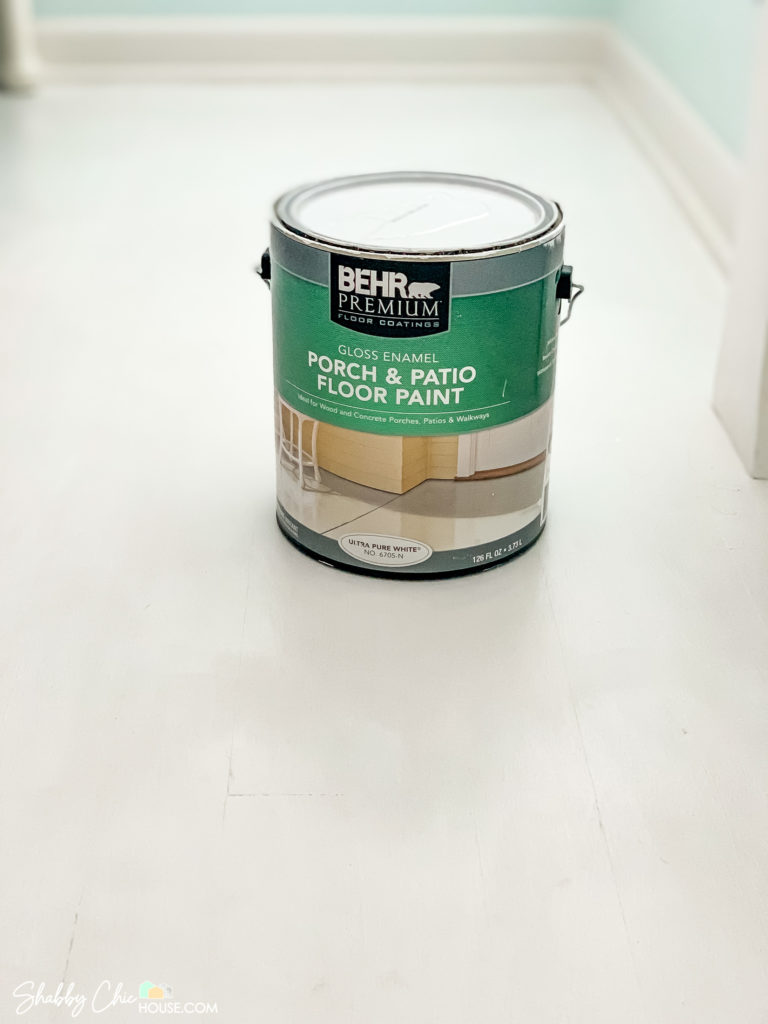
In this room we left the floors their original color, but in our daughter’s room we ended up painting the hardwood floor white. If you’d like to learn more and see that project check out the blog post below.
How to Paint Hardwood Floors White
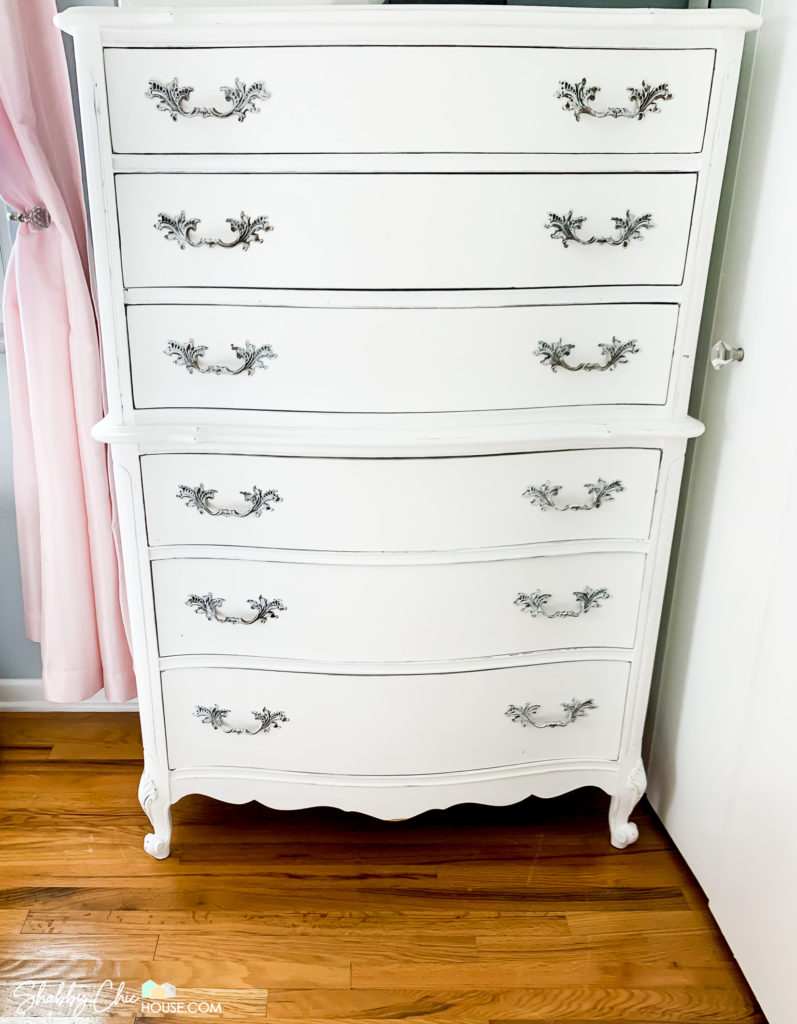
Chalk Painted Furniture
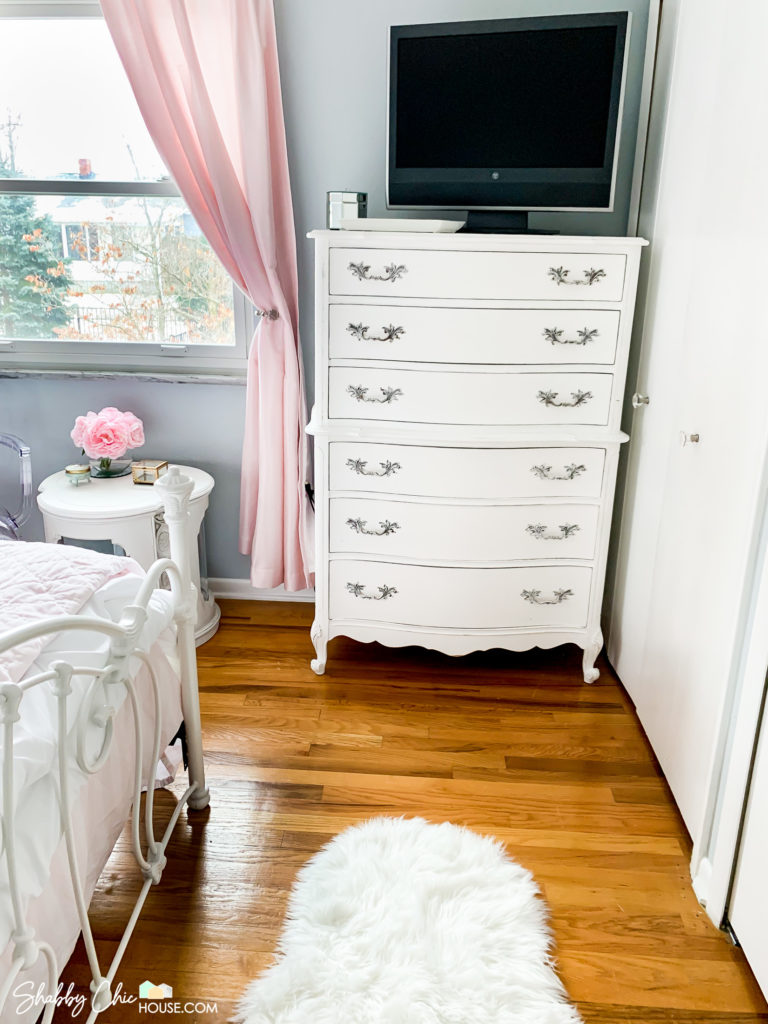
One of the best parts of this room is the chalk painted french provincial furniture. Annette ended up inheriting this awesome French Provincial bedroom set from her mom’s neighbor that consisted of one tall 6-drawer dresser, one short/wide 13-drawer dresser and a nightstand. Originally, these pieces were your standard maple brown wood and we painted them with Annie Sloan’s Pure White white chalk paint.

If you love this French Provincial bedroom set check out the dining room set, vintage TV stand, numerous end tables, curious and even chalk painted chandeliers that we’ve created over the years.
The Master Bedroom Bed
One of the most important pieces of a master bedroom is the bed. And in our room, we did not skimp on the bed. We have a split King Tempur-pedic with adjustable bases. This thing is huge, comfortable and both my wife and I can adjust to our own preferences.
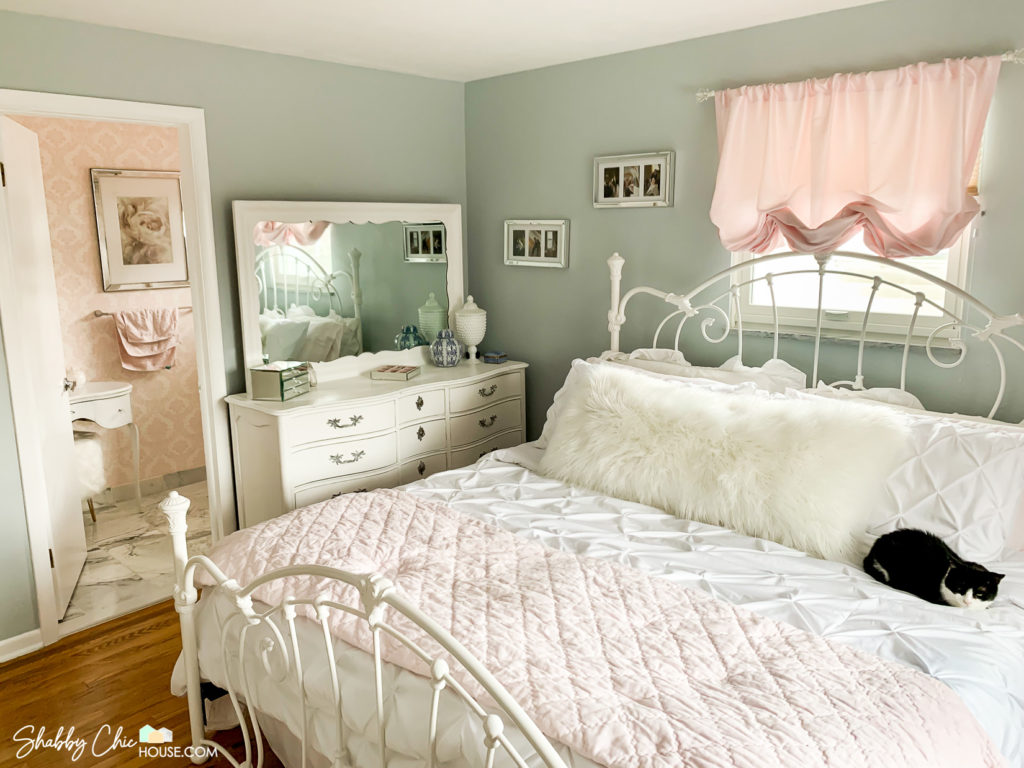
While this bed is super comfortable, a huge component that really spices up its visual appeal is this old school curved/round bed frame.
Comforter, Pillow Cases, Quilted Blanket and Bed Skirt
My wife Annette did an awesome job creating an inviting and comfortable space here, which all starts with this awesome white pintuck comforter and matching pillowcase set. She had read that having all white bedding is conducive to the best night’s sleep, which is why you see pure white bedding in most hotels and decided to make that a theme of our room.
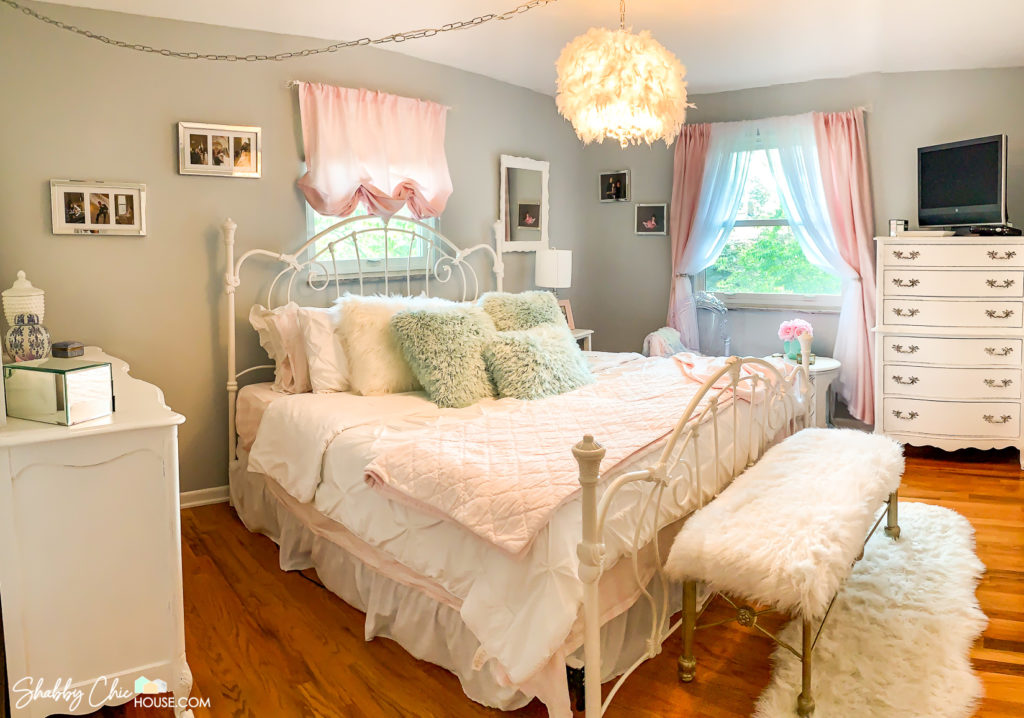
She then picked out quite a few big pillows that add some awesome complementary colors and texture. Last, she topped it off with this light pink quilted blanket and then at the foot of the best, a DIY gold and fur bench and super awesome white faux fur rug.
This is most definitely a killer bed. Even our lazy cat Larz approves. See his raving review below!
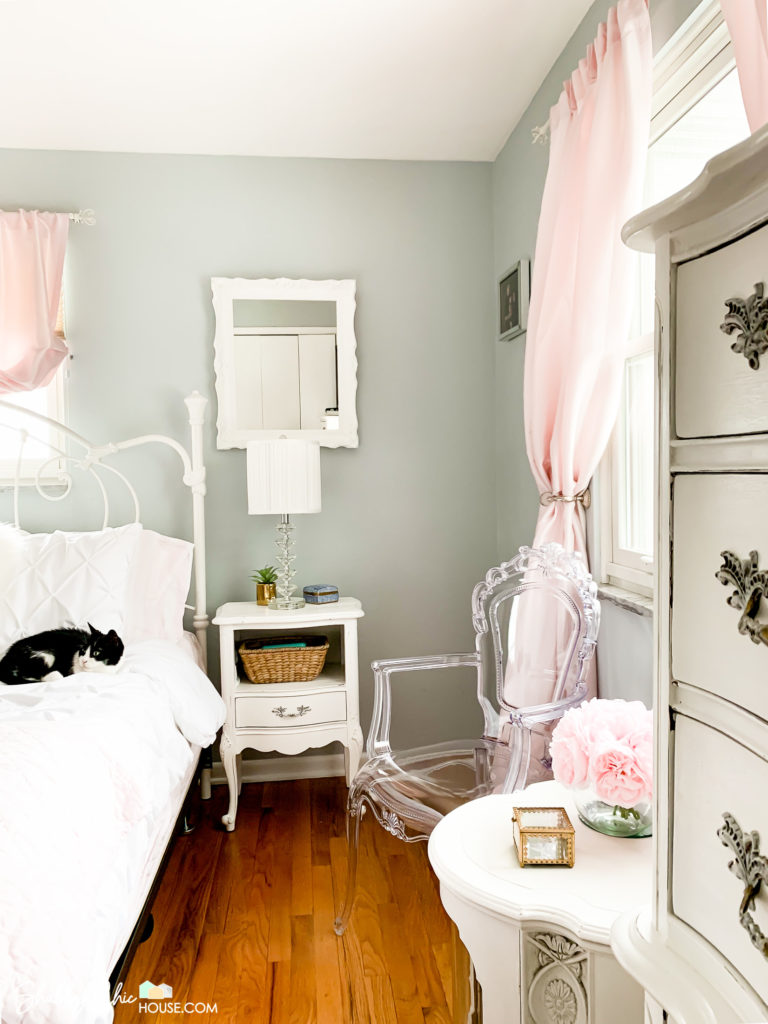
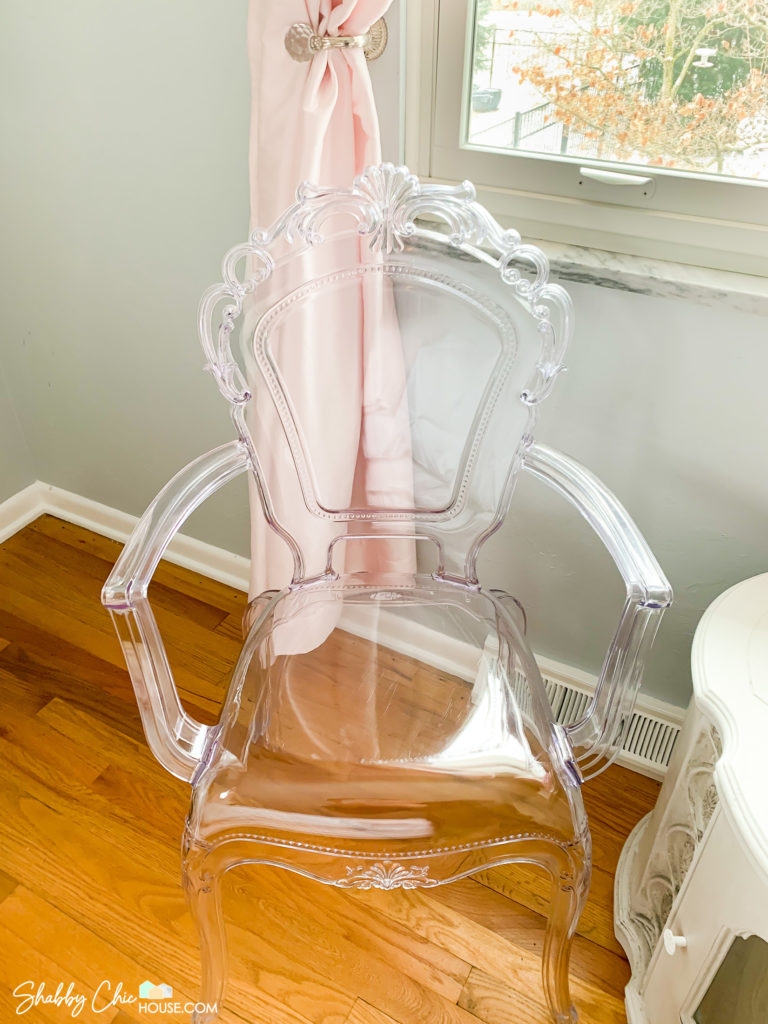
Creating a Fun Sitting Area
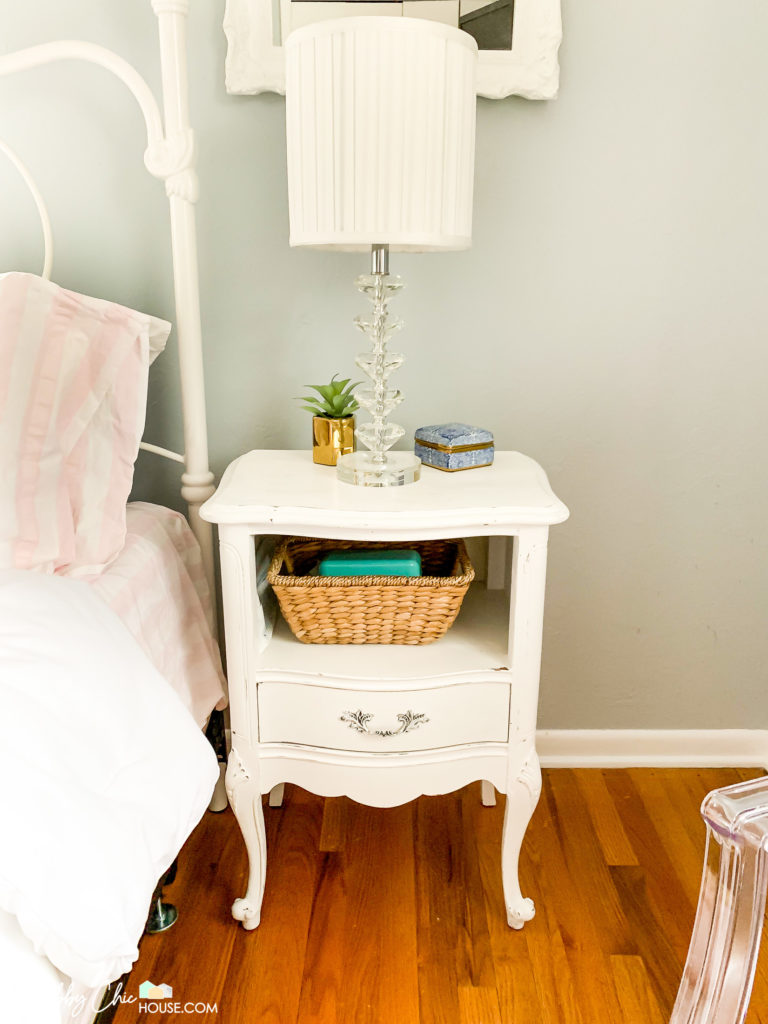
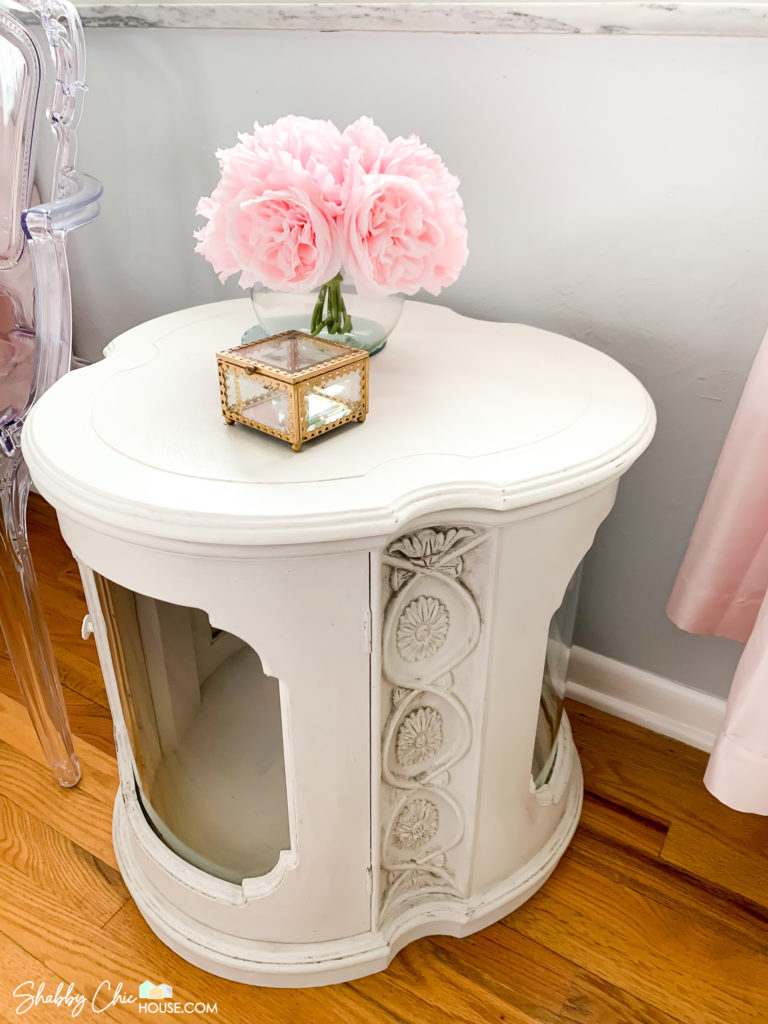
Even after getting this monster Tempur-pedic bed, we still had some extra room, so we decided to create this little sitting area. In this space, we got an awesome clear acrylic armchair to play off the lamp as well as another custom chalk painted end table for books flowers or anything else you might want to store there. Annette likes to sit clad in a robe in this luxurious space, apply cold face masks and either read historical nonfiction or watch The Bachelor.
I can’t remember exactly how we got this end table, but I’m pretty sure we got it for free. It was a weird gold color with a dark wood top. We painted the body of this piece with Maison Blanche’s Silver Mink chalk paint. I love this piece as it has some cool detail and ornamental patterns on the side. After painting this piece Silver Mink I also used Maison Blanche’s Le Dirt Antiquing Dust to make the super detailed carpentry pop out and seem more three dimensional.
I painted the dark top with Annie Sloan’s Pure White to match the french provincial nightstand and dressers.
Again, if you’d like to learn more about chalk painting, check out our blog post with TONS of photos here!
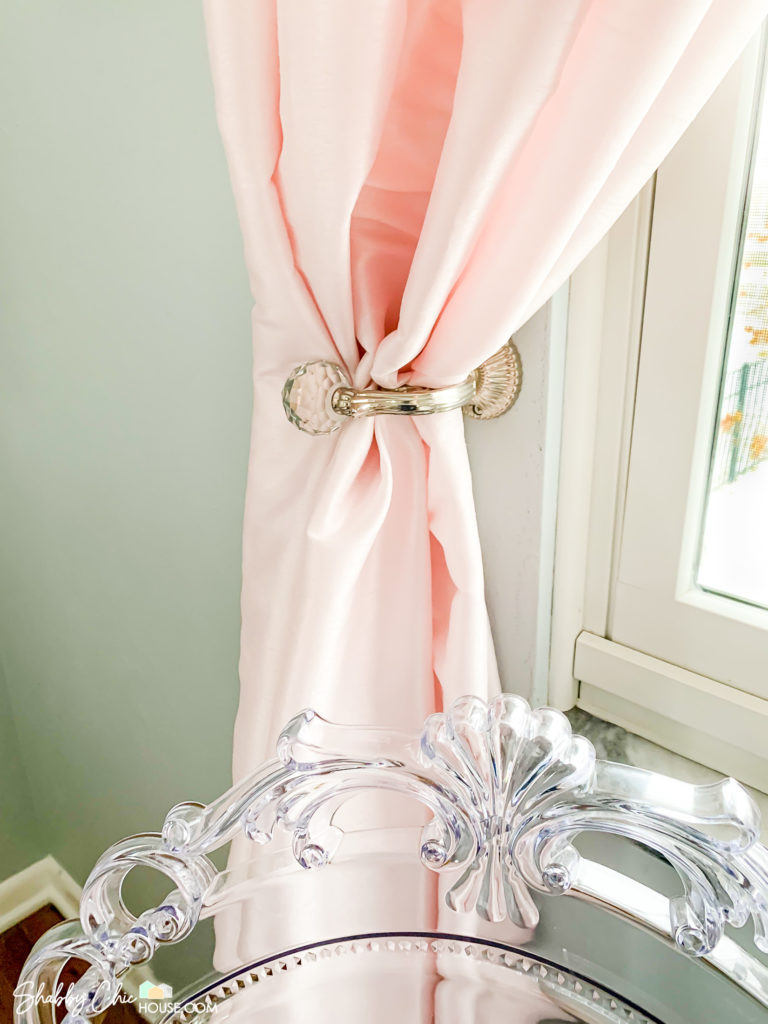
Pink Curtains, Curtain Rods & Holdbacks
With a mixture of gray and whites in our master, we wanted to add a bit of color and pop with our curtains which could also easily be changed. Check out the fun color pallet below.


These fun pink/blush curtains, a poofy curtain over the bed and fun decorative curtain rod were picked up by my wife at Target – all part of their Simply Shabby Chic line.

Also, we love to think through the tiny details and accents that make a room unique and different than others. One of my favorite accents in this room are these Curtain Holdbacks. These were super easy to install, look awesome and are also functional when we want to let light in and have the curtains held back.
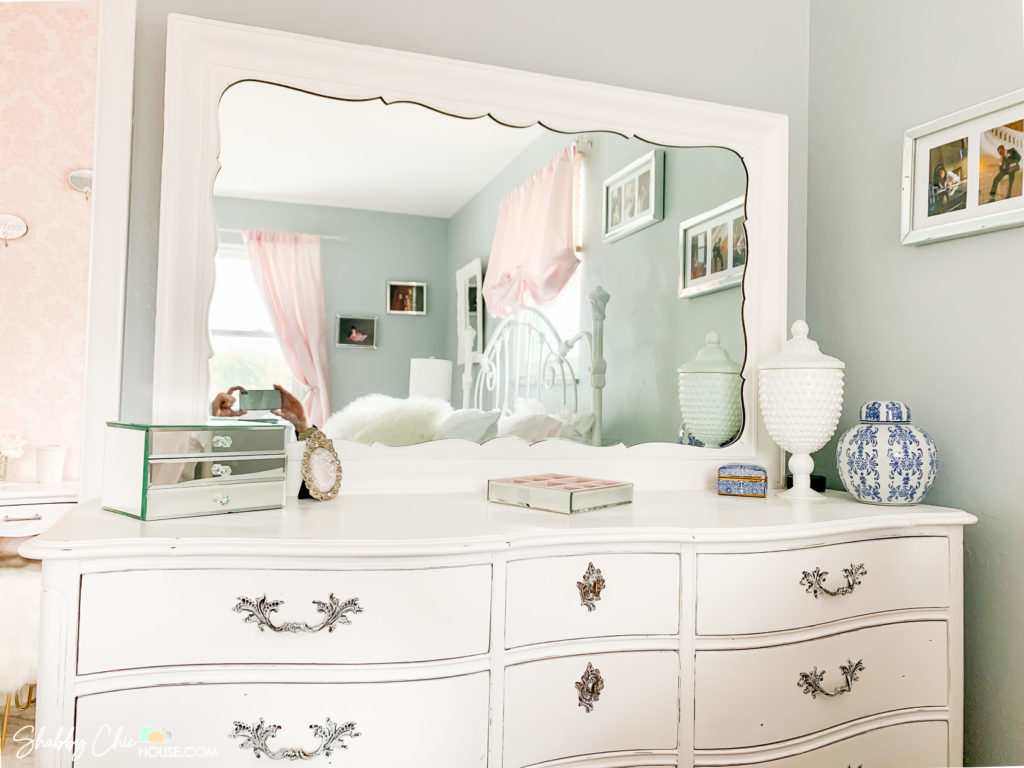
To finish the room, Annette opted for mirrored frames for some of our favorite wedding photos and our family photos. She also added the pops of color with the addition of the chinoiserie blue and white ginger jars and other accents – all from HomeGoods. A few strategically placed touches of gold accessories added the final layer of glam to this perfectly curated master.
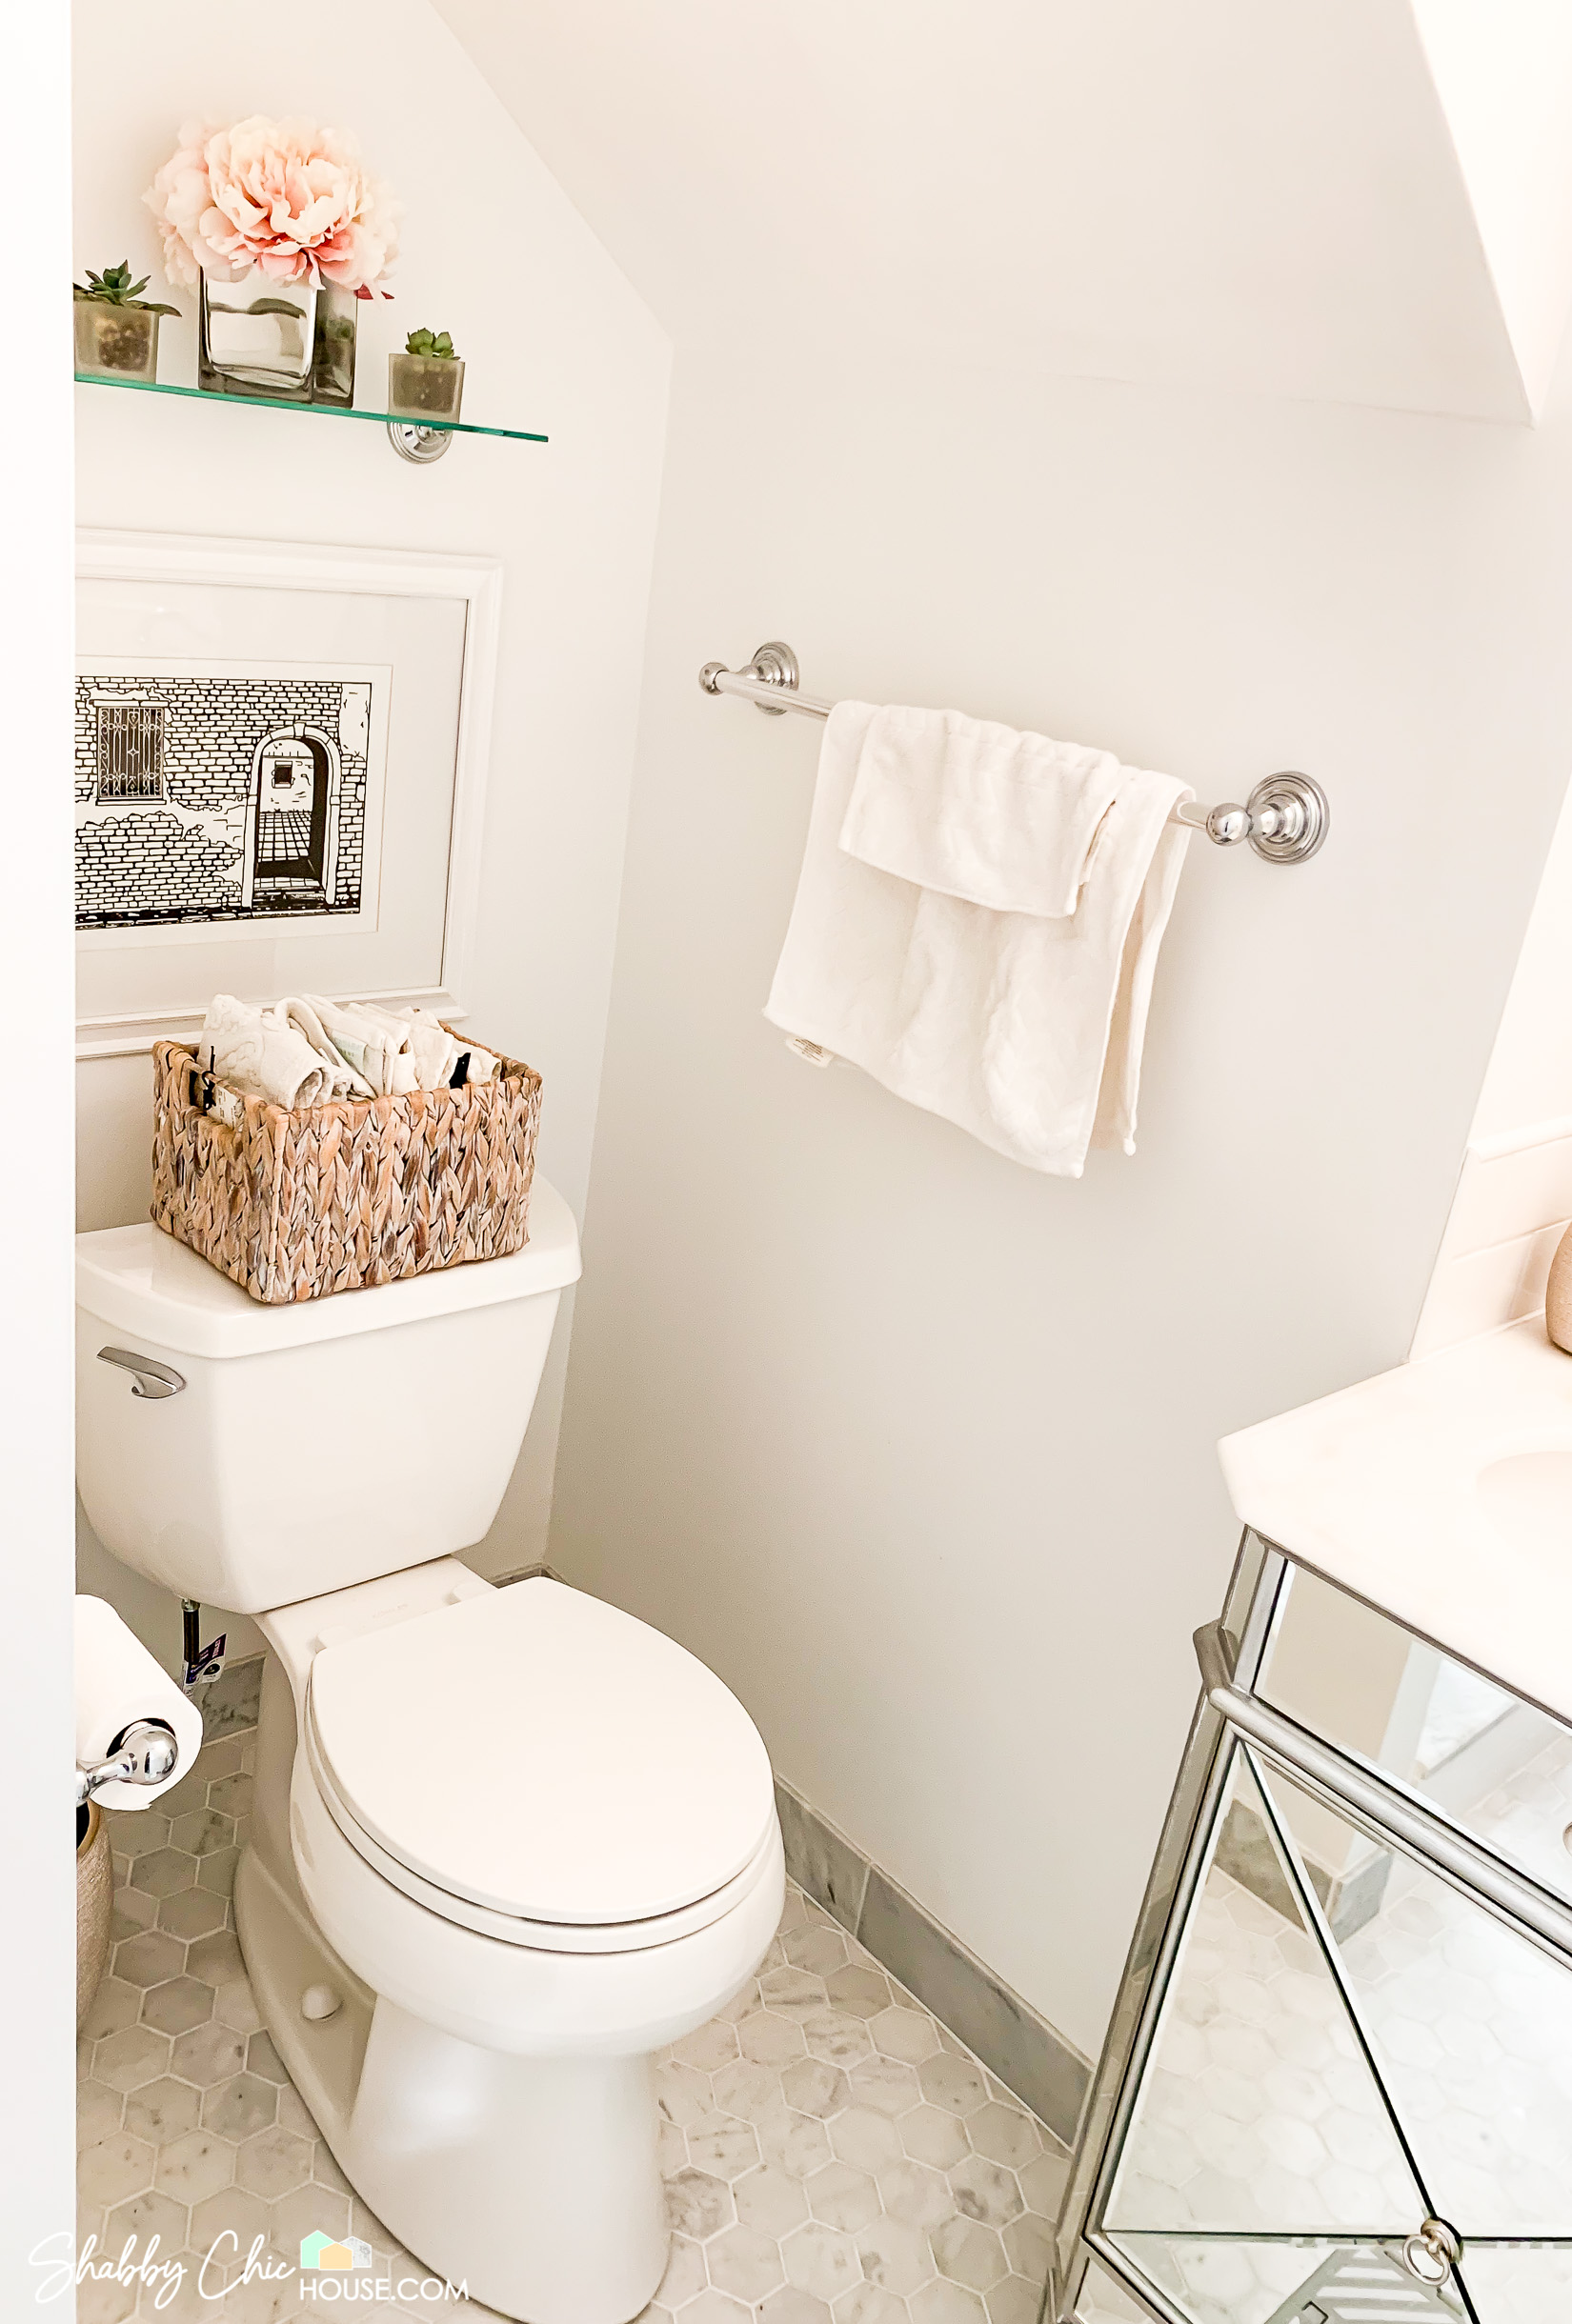
Overall, we couldn’t be happier with how our master bedroom makeover turned out. It is truly a sanctuary, a place we made our own at every level. Next, we’ll be doing a short post on the remodel of the master bath.
In the meantime, please comment below and let us know what you think!
Thanks for reading!
– Mike from SCH