Recently I received a honey-do list. One of the items on it was “install under cabinet lighting“. Little did I know this was going to be one of the easiest DIY projects I ever took on. In the end I spent less than 30 minutes researching and installing these awesome under cabinet LED lights.
EZVALO’s Under Cabinet LED Lights
I started this project by researching products online and after reading a dozen or so reviews I decided to go with EZVALO’s Under Cabinets Lights. To start, they came in a 5 pack which was perfect for my kitchen. On top of that, they had over 2,400 ratings on Amazon and averaged 4.1 stars. To seal the deal, they had a 50% coupon which dropped the price from $69.99 to $37.26 with taxes and everything.
Some of our posts contain affiliate links. We often share links to the tools & products used in our home improvement projects and if you purchase one of these items using our link, we may earn a small commission (at no additional cost to you).
Installation
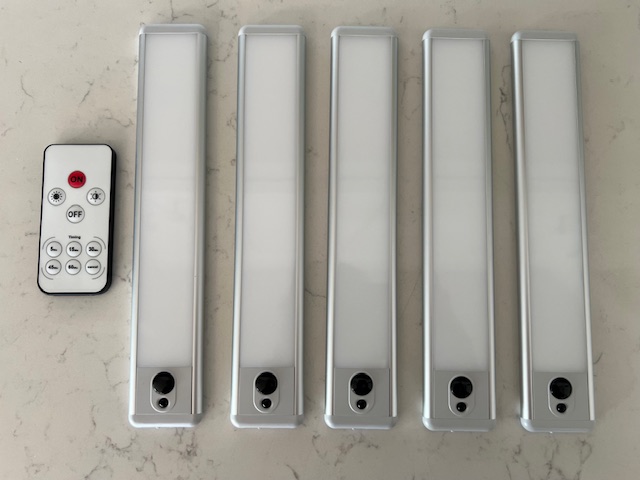
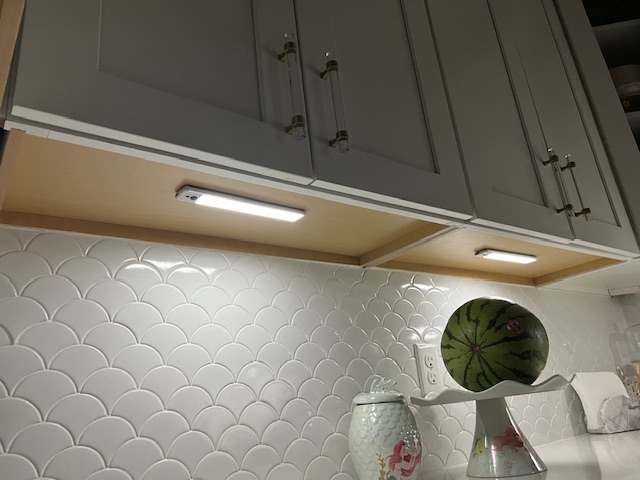
Installation was insanely easy. Each LED light comes with two magnetic mounts. Just place the two magnetic mounts on your LED light, peel off the adhesive cover and press under your cabinet in the desired location.
What’s awesome about the magnetic mounts is you can take down your lights at any point in time just by pulling them off the magnets. This makes it easy to take down the light and use the included USB-C charger to recharge the unit.
Size
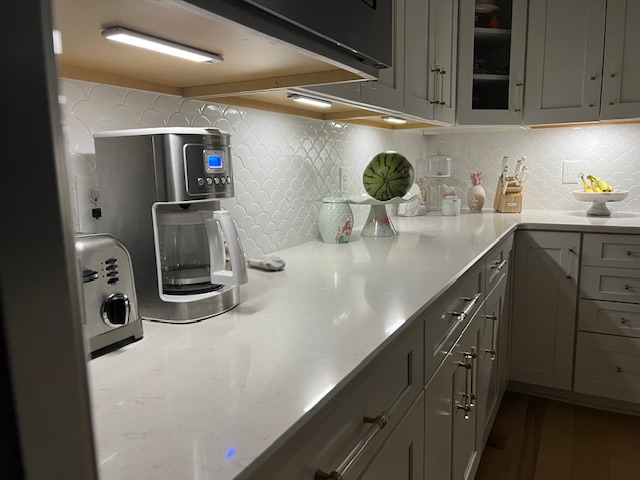
The entire unit is 9″ long by 1.5″ wide and a hair more than 1/4″ thick. The LED light itself is about 7.5″ long. The underside of my cabinets are about 22.5″ wide and ideally I would have loved a LED light that was somewhere around 18-20″ wide. However, these do the job just fine and if we wanted we could install two under each cabinet.
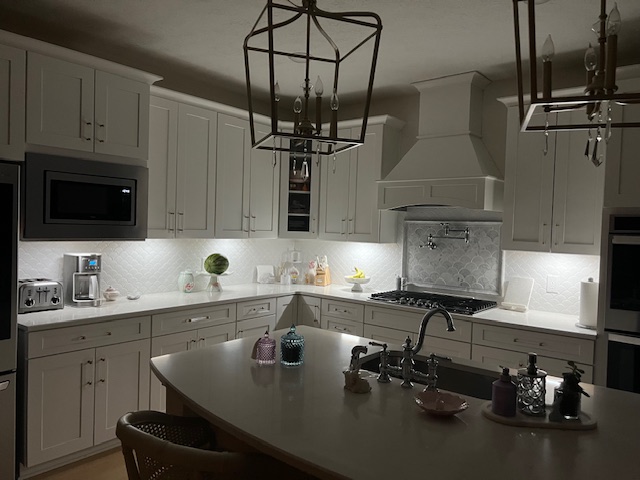
In terms of thickness, these LED lights are perfect. They hide nicely beneath the facade of the cabinest and are not visible unless you were to kneel down and look for them.
Functionality
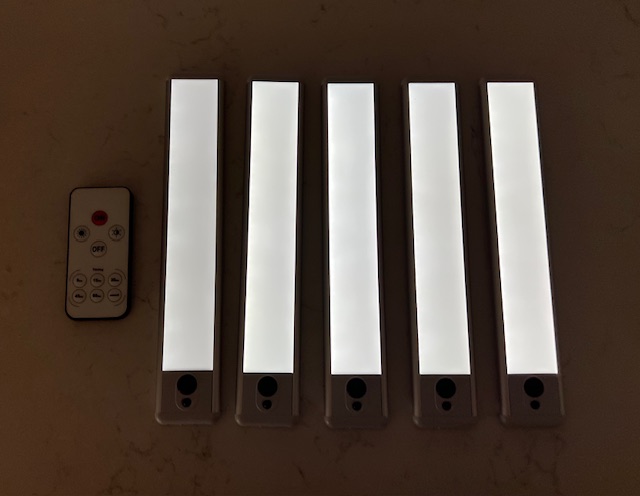
Each light has a switch on it allowing you to choose from three different settings. The “ON” setting simply turns and leaves the light on. The “OFF” setting turns the light off. The “Auto” setting utilizes the units sensor to turn the light on and off.
For our purposes, we use the “Auto” setting. The great thing is, this setting will only turn the light on if it is dark. This means the motion sensor will not turn the light on during the day and waste the battery. At night when you trip the motion sensor the light will turn on and will stay on until it does not sense motion for at least 30 seconds.
The Remote
The remote is nice and small and powered by a CR2025 button battery. It has “ON” and “OFF” buttons as well as buttons to turn up or dim the brightness.
In addition, it also has several “Timing” options (5, 15, 30, 45 and 60 minutes). These buttons will keep the LED light on for a desired amount of time and automatically shut off once that time has elapsed.
Longevity
We’ve had these LED under cabinet lights installed now for a month and a half and have yet needed to recharge one of the units. However, again we only really have them kick on when they sense motion late at night or before sunrise. Obviously, if you were to use them more often or to leave them on for mood lighting during a party, I’d imagine they’d need a recharge a bit sooner.
In Conclusion
If you’re looking for a super easy (and cheap!) project that can give your kitchen some extra appeal and functionality while also earning you a few points with your significant other, this under cabinet lighting project is it!
Check the EZVALO LED Under Cabinet Lights on Amazon and comment below with your thoughts and questions.
DIY on my friends!
– Mike from the ShabbyChicHouse