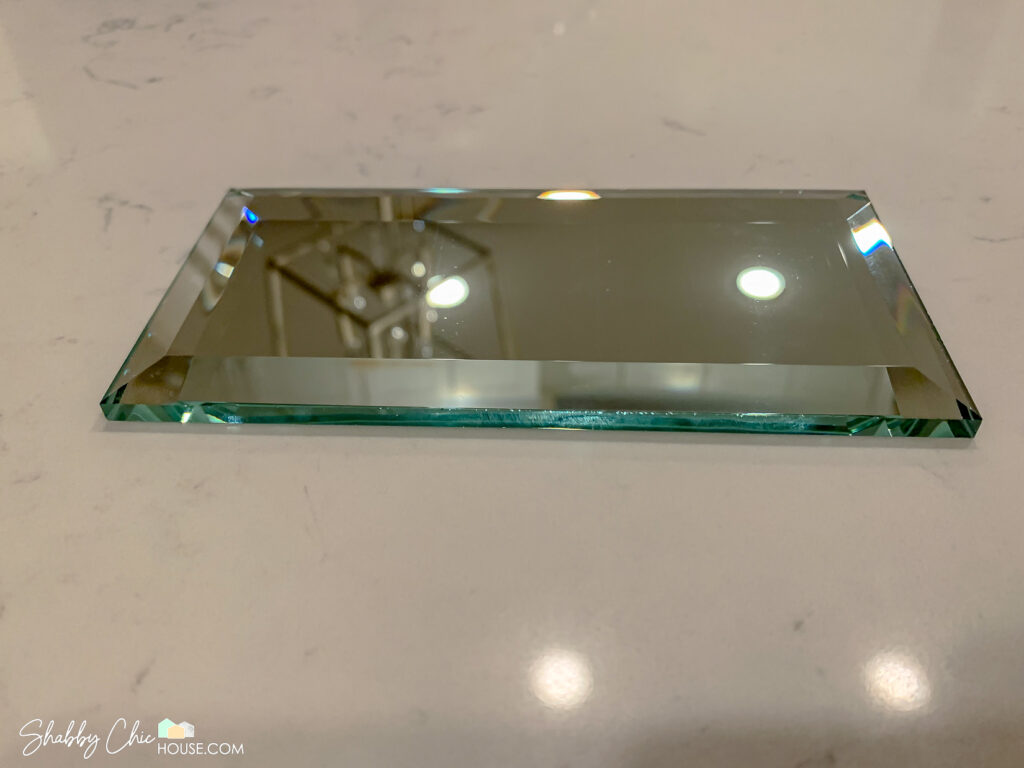
Working with both a beveled and mirrored subway tile is insanely challenging. Over the years I’ve done quite a few tile project (floors, showers, backsplashes, fireplaces) and worked with numerous materials (marble, porcelain, ceramic), but none were as difficult to work with as mirrored subway tile.
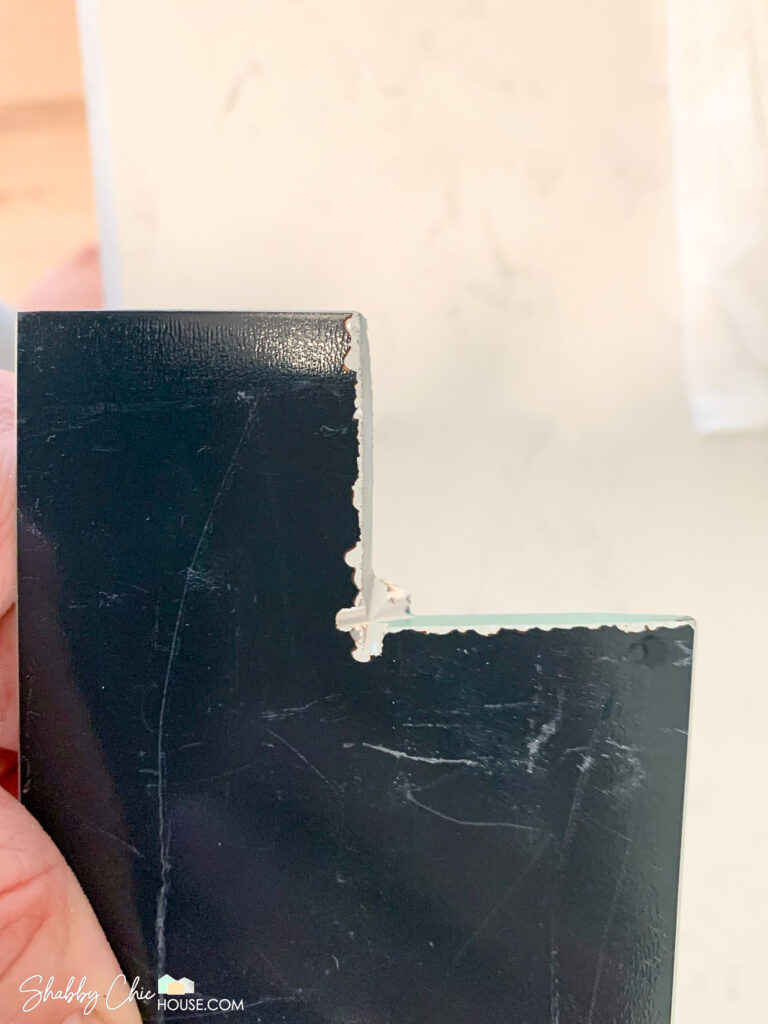
Due to the fragility of the glass and multiple surface angles created by the beveled edges, more tiles that I expected broke at a weird angle, splintered or got damaged as I was handling them. It is truly an art form to get these glass tiles to break properly.
I searched the web for any sort of tip or trick on how to cut mirrored subway tiles and found nothing, so I decided to make this post which I think you’ll find helpful if you’re working with a similar material or even just looking to learn how to install any sort of backsplash.
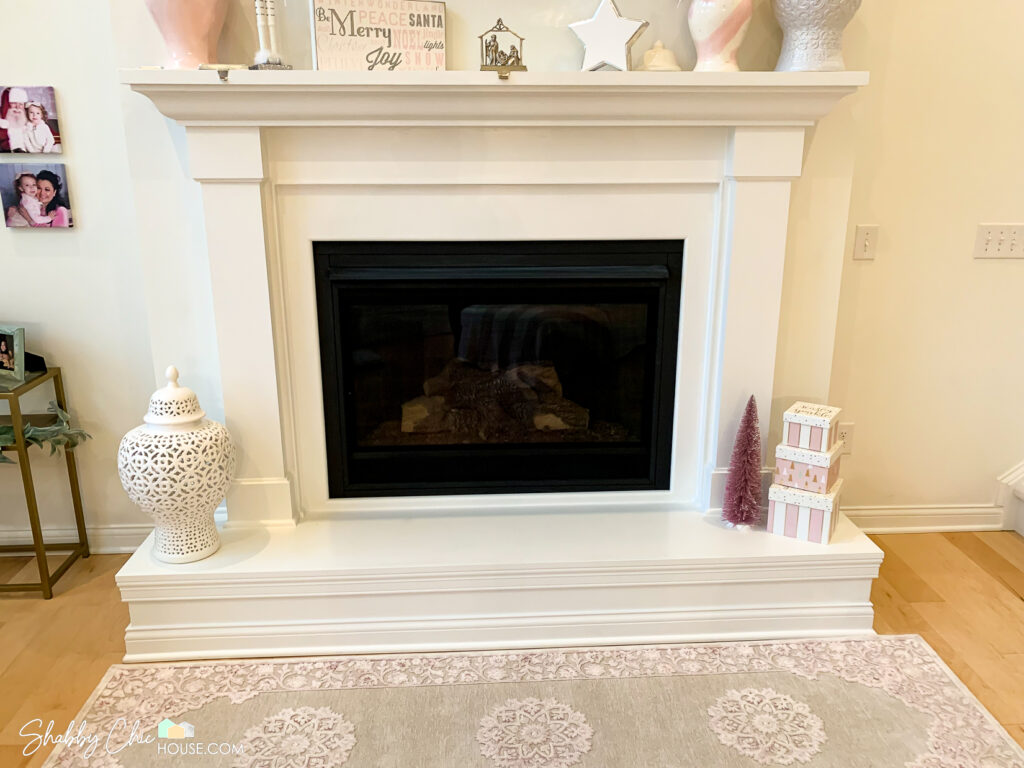
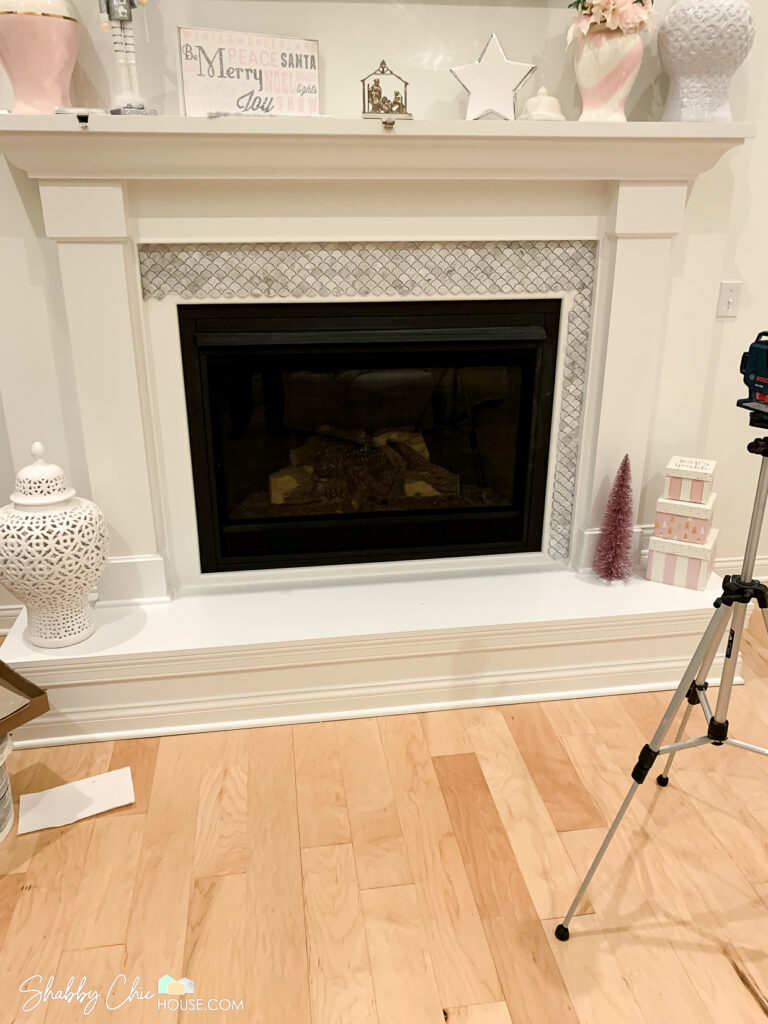
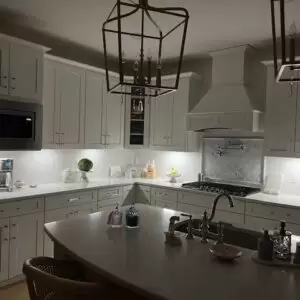
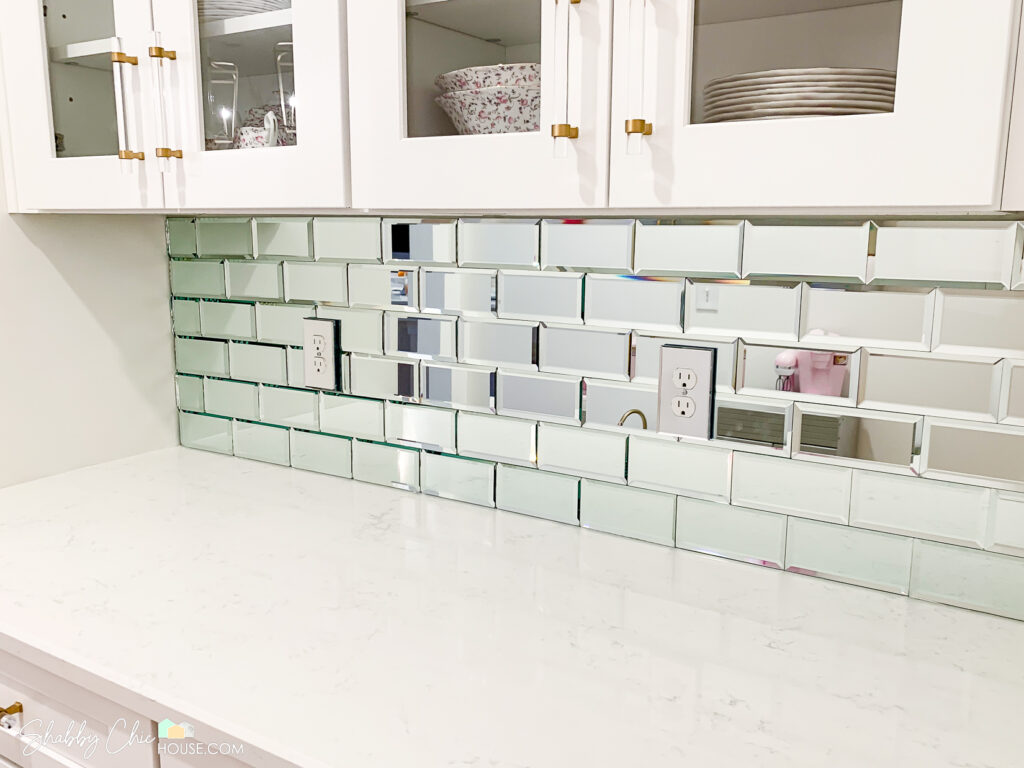
Below are a few before and after photos to kick things off. Now let’s dive in!
Purchasing Mirrored Tile
We love subway tile and had installed several subway tile backsplashes and showers in the original ShabbyChicHouse. In fact, in the newly built ShabbyChicHouse we installed a white beveled subway tile in our second bath and loved the look so much we decided to do a mirrored subway tile in our Butler’s Pantry.
Mirrored Subway Tile Styles & Colors
We went with this 3″ x 6″ mirrored tile in graphite which has a silver look to it. We also considered the same mirrored tiles with a gold tint and also these really cool aged/antiqued mirrored tiles.
How Much Tile to Order?
Before purchasing your tile you’ll need to measure the length and width of the area you’ll be tiling. Next, multiply the length by the width. This will give you the square footage for the wall(s) you’ll be tiling.
For this project my wall measured 5′ wide x 1.5′ high. That’s 7.5 Square feet.
For most tile projects you want to purchase an additional 10% in tile materials due to wastage. This will account for tiles that might arrive damaged, break incorrectly or are unusable in some way or another.
Due to the insanely fragile nature of these glass tiles, I would recommend purchasing an additional 15-20% for wastage. I bought 10 square feet (which is a TON extra) and nearly used all the additional materials.
Planning Your Pattern – Dry Fitting
Before diving right into a tiling project, it’s best to plan out your pattern. Where will you start tiling? How and where will your tile end/terminate?
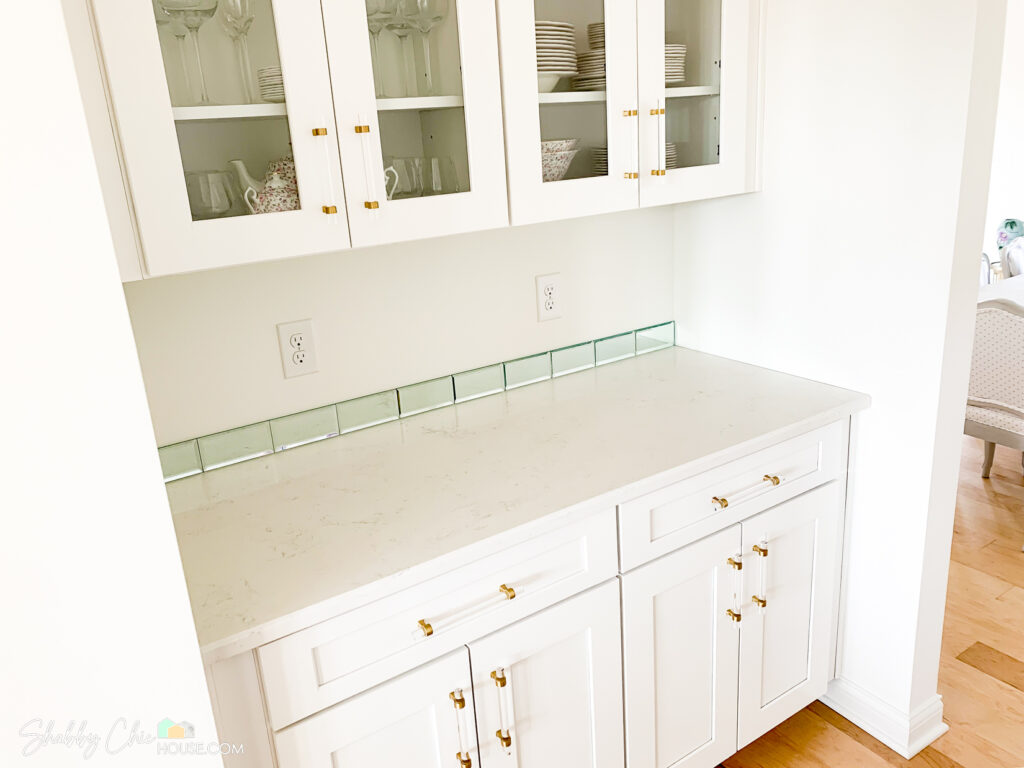
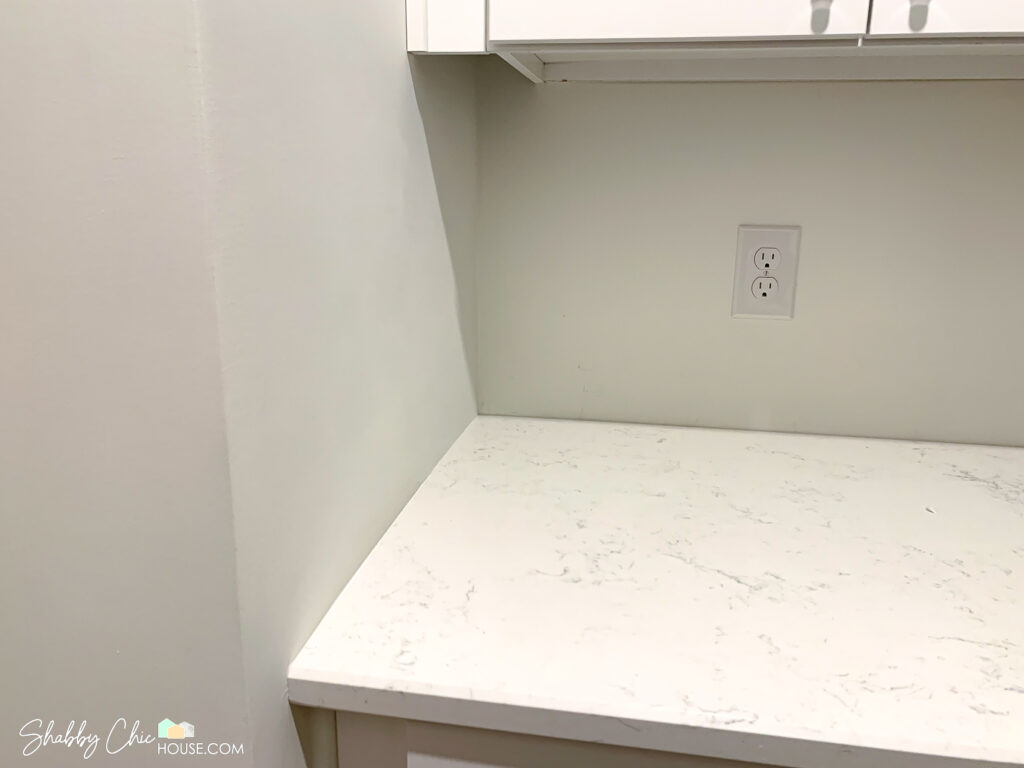
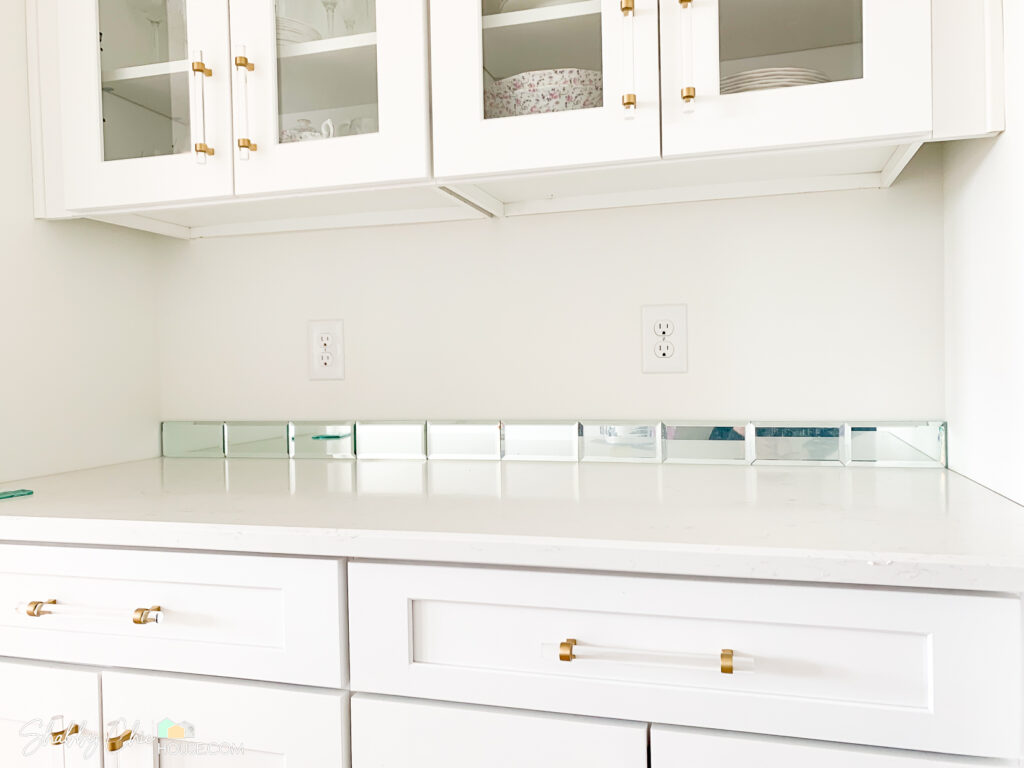
In my project – the most visible area of the backsplash is the first row of tiles adjacent or above the countertop. Alternatively, the very top of the backsplash will be obstructed by the upper cabinets.
With this being the case – it’s best to place your first row of tiles by the countertop and work your way up. This way if do need to have a cut or partial tile it’s less visible and obstructed by the cabinets above.
Also, once you have your tile in hand you can lean it up against the wall without adhesive to do a dry run. This will help you visualize that first row of tile and you can even hold up a tile or two on the second level to start planning your second row.

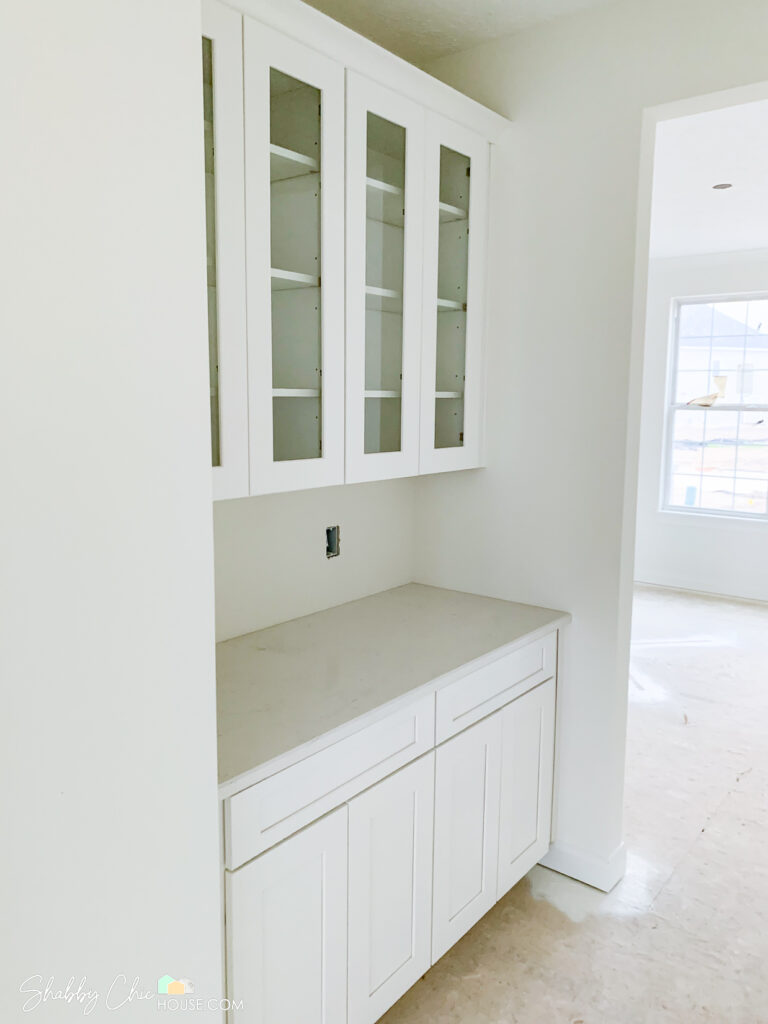
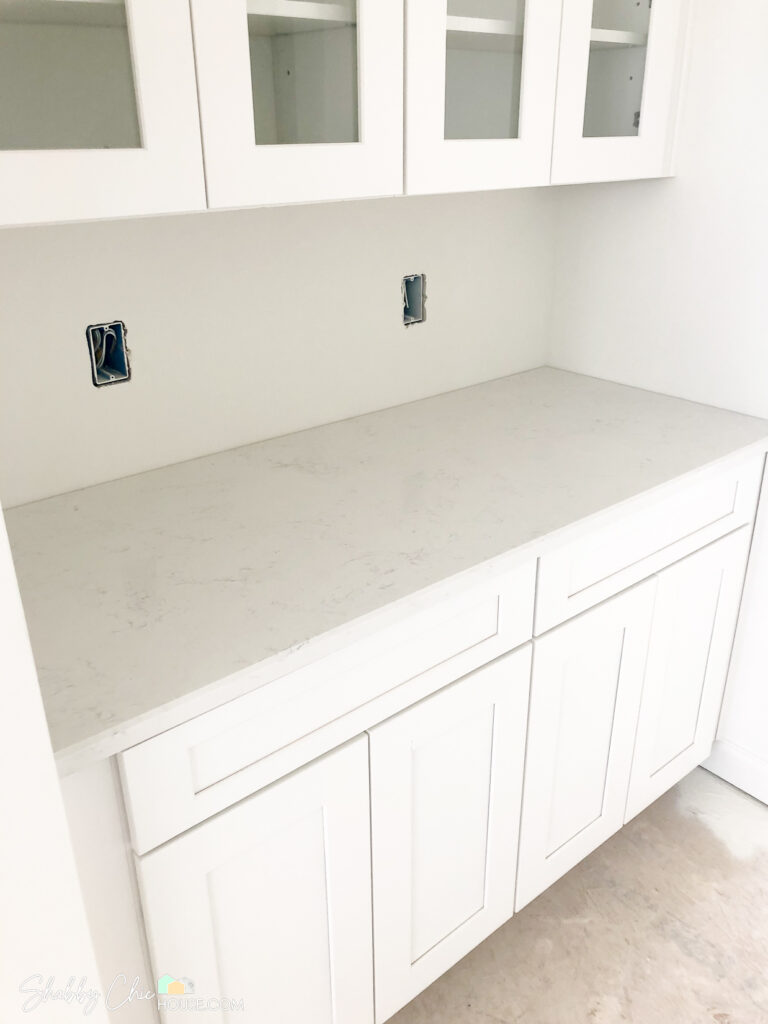
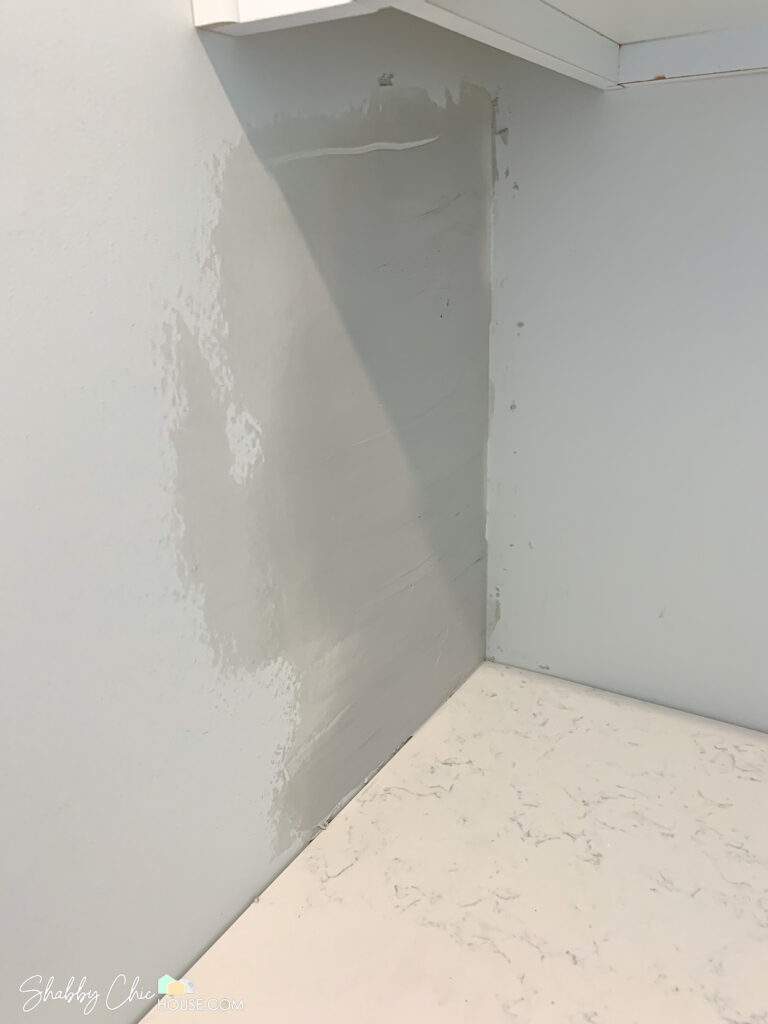
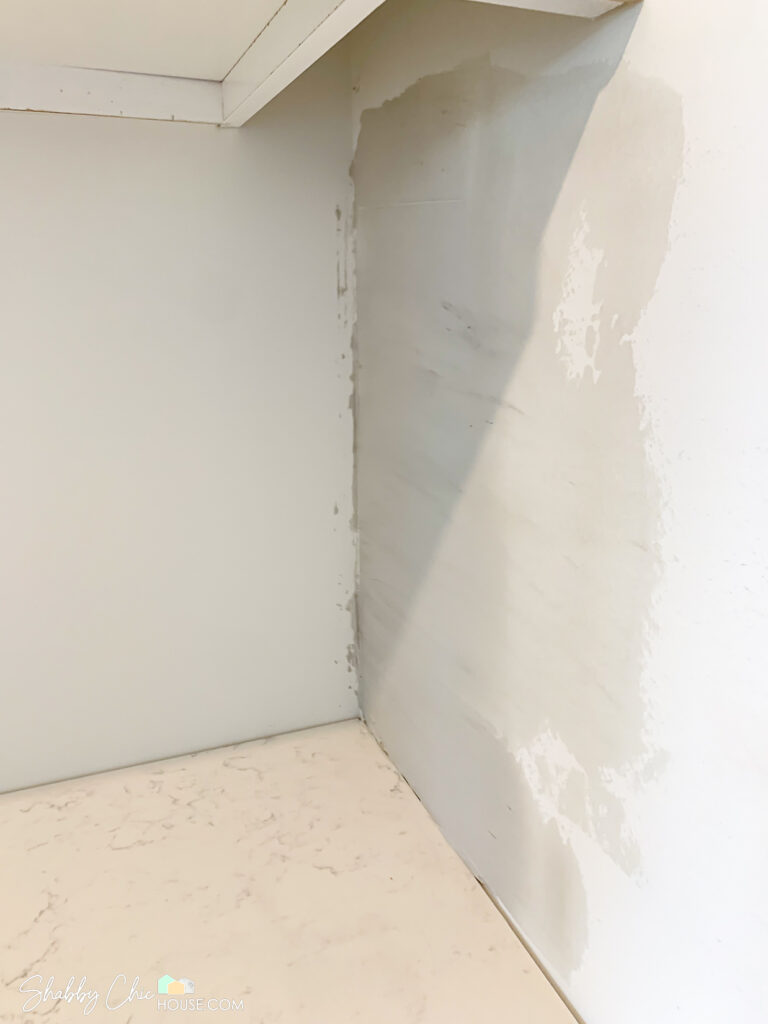
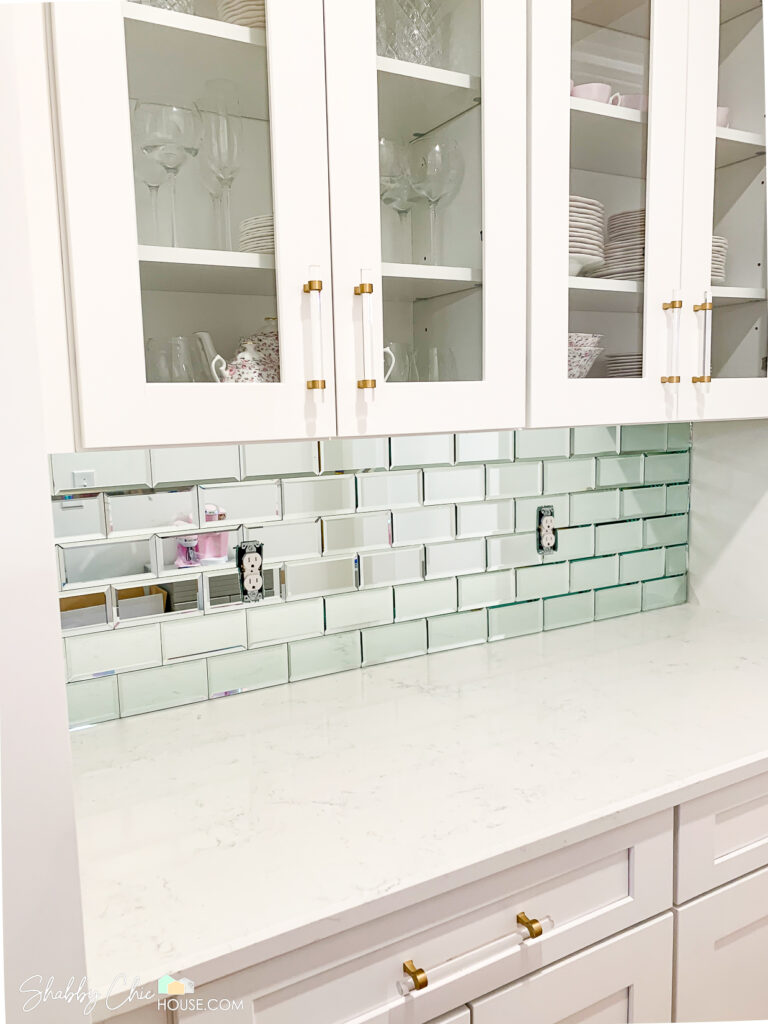
In my Butler’s Pantry, the opening between the two walls where I would be installing my mirrored backsplash was 60.25″ (just over 5′). With my tiles being 6″ wide, that left a 1/4″ gap I needed to address before I could start tiling.
Below are two pretty good photos were you can see these awkward gaps.
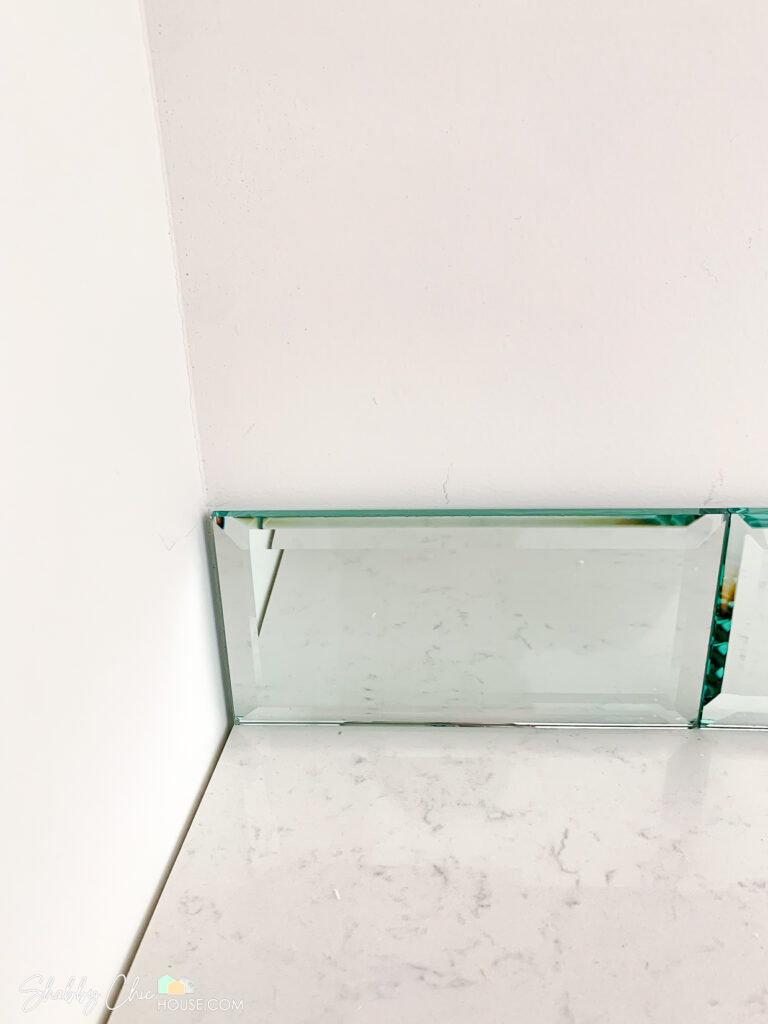
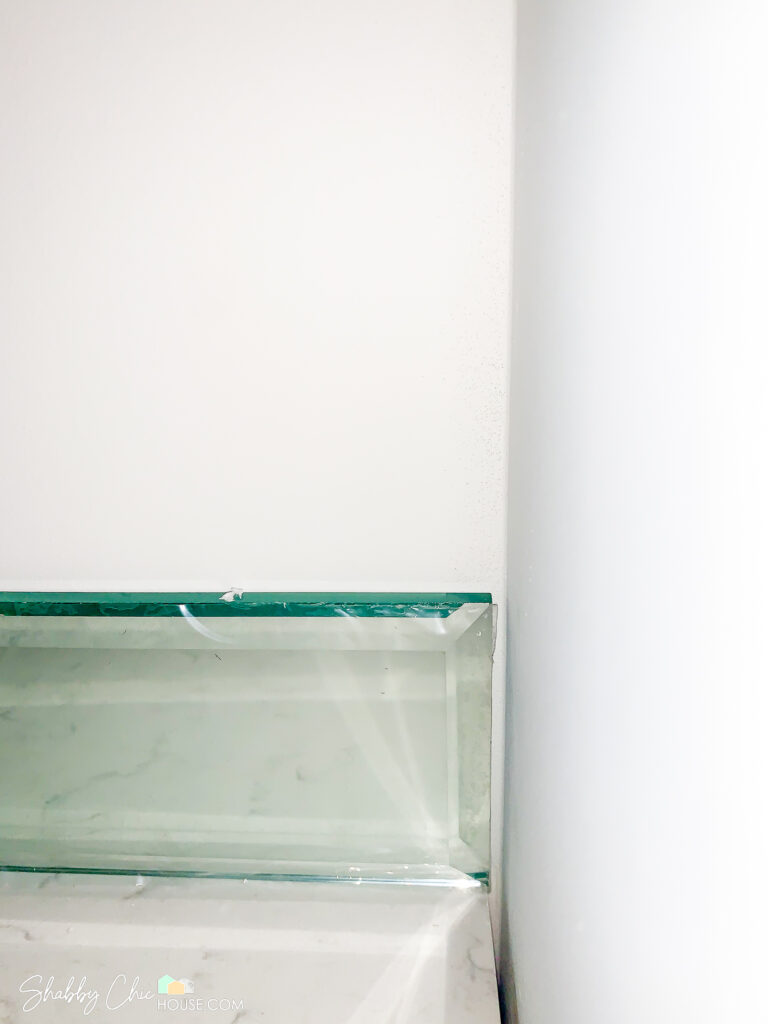
I decided the best solution would be to postpone my tiling a few days and fill that gap with a very think layer of drywall that I cold taper out so it was completely unnoticeable.
Also, By splitting the 1/4″ gap between both walls I would only have to make up a 1/8″ gap on both walls.
Tapering Drywall to Close a Gap
Tapering your drywall to close a gap like this is fairly easy. Start by getting a fairly decent amount of mud on your tapping knife making sure it is evenly distributed across your blade.
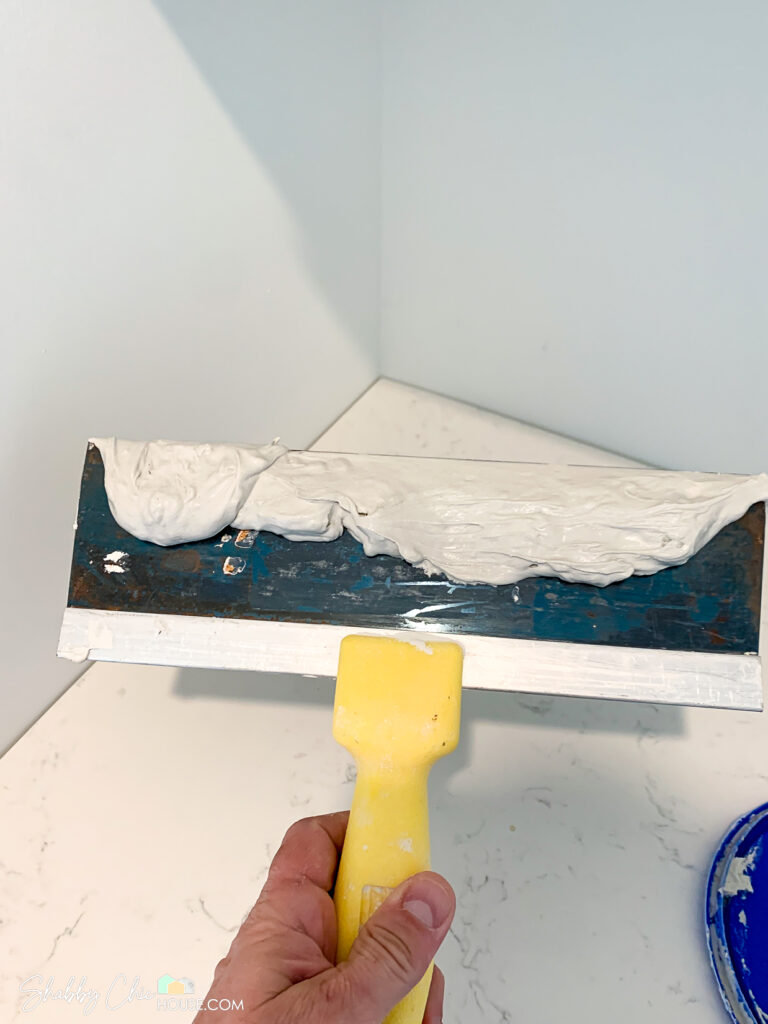
Next place you blade in a 45 degree angle to the wall and apply the mud pulling towards yourself.
The goal of your first swipe is to get the mud on the wall. After it’s on, clean your taping knife, place it back in corner at a 45 degree angle and smooth out. Repeat this process until your mud is nice and smooth and your taper is unnoticeable.
Tapering out the wall is nearly impossible to do properly in a single run. To get an even and completely unnoticeable taper you need to Mud, Sand and then dryfit, Mud, Sand, Dryfit and repeat until you have a perfect fit with your tiles.
Once you taper is perfect, use a fine grit sanding sponge to level out your wall. Last, apply 2-3 coats of paint to blend in your tapered wall.
Finally we’re ready to tile!
Adhering Your First Row of Tiles
I was lucky as my backsplash wall was exactly 5′ wide and fit exactly 10 tiles. My first row of tiles I backbuttered and slapped right up without having to make a single cut.
If you’re not familiar with “Backbutering”, it’s the process of spreading your tile adhesive on the back of the tile as if you were buttering a piece of bread.
Many professional tilers would probably frown on backbuttering and say it’s less efficient. These pros would recommend you use a square-notch trowel and apply a thin layer of tiling adhesive to the wall and then place your tile. Doing it this way allows for speed and efficiency.
However, for this project I chose to backbutter my tiles. This gives you greater control of the amount of adhesive being used and avoid the adhesive rising through the tile joints. This is extremely important for when using these mirrored tiles as they are essentially clear glass tiles with a mirrored backing, meaning any adhesive that rose through tile joints could be easily seen and at the same time, hard to clean up.
Joint or No Joint for Mirrored Tile Backsplash
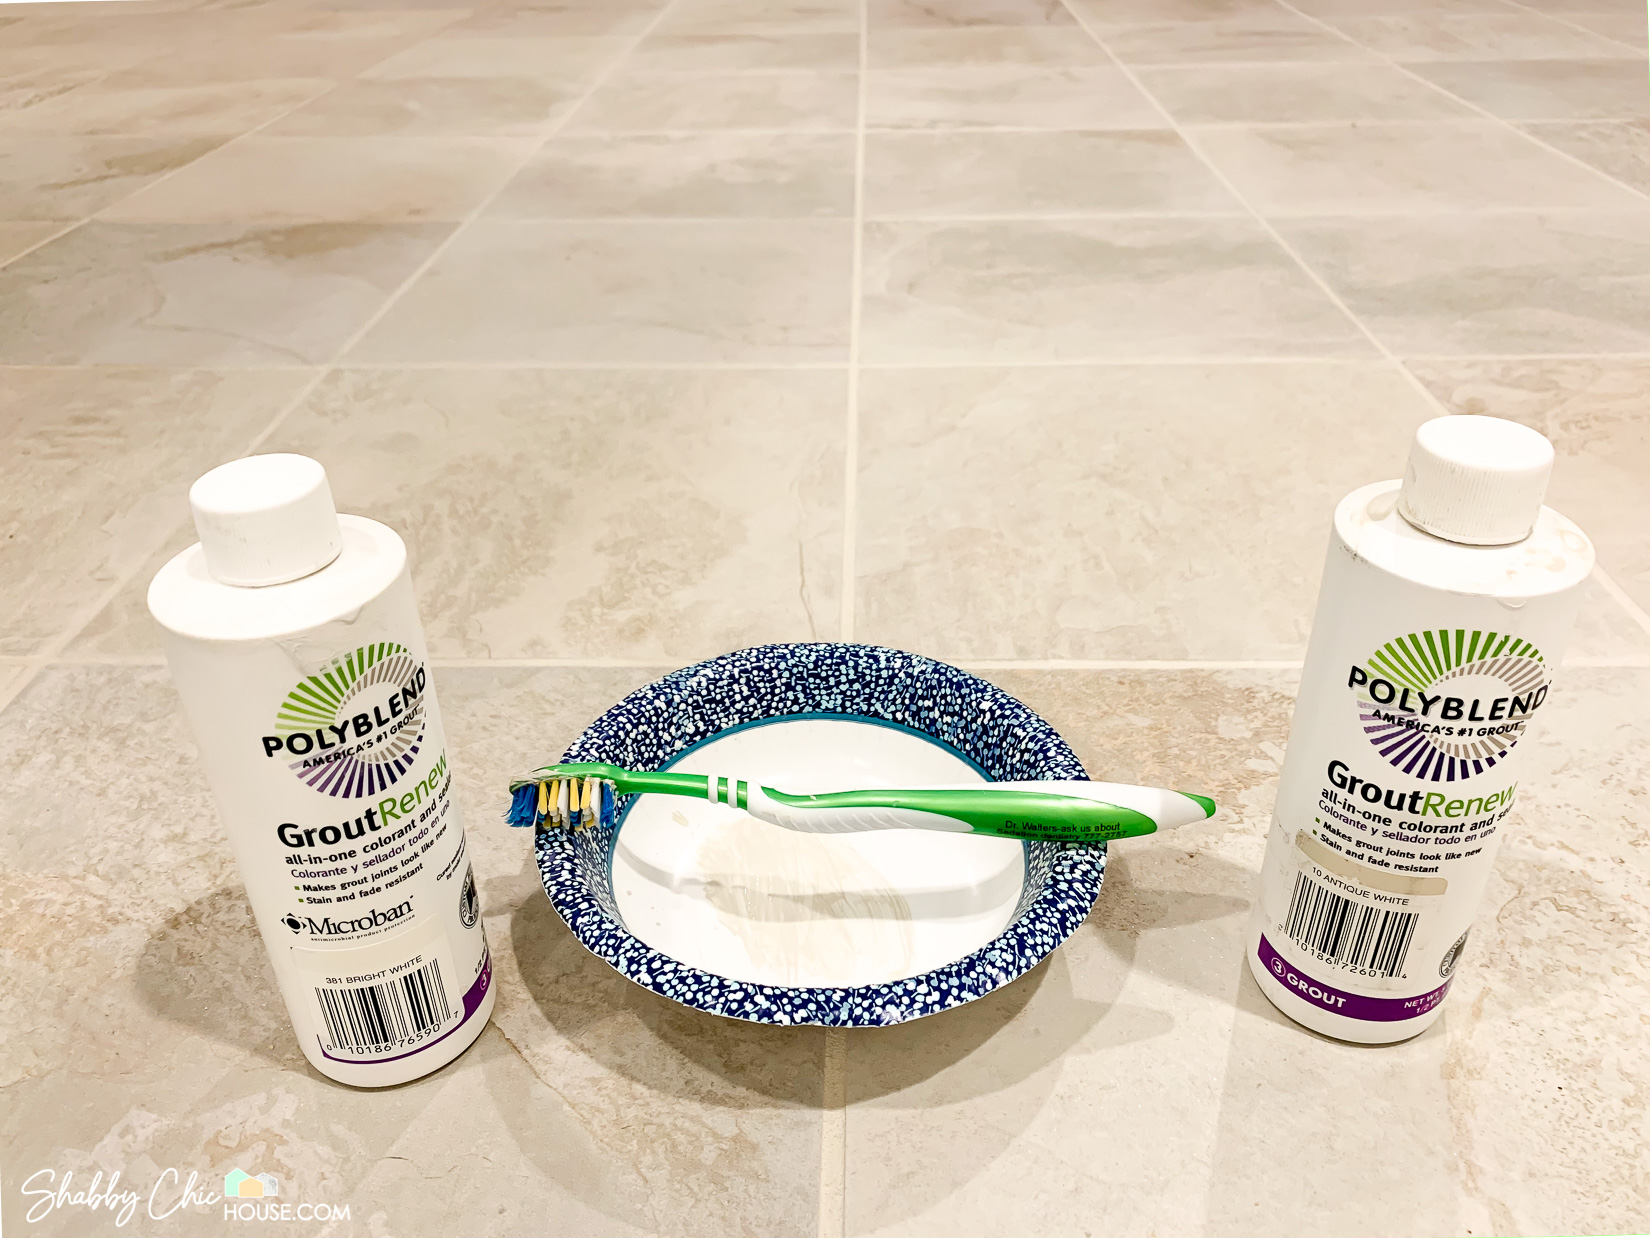
For this project I chose to tightly fit my tiles together without grouted joints. Most people choose to go this route with mirrored tiles as using grout (sanded or unsanded) could potentially scratch the surface of these delicate tiles.
Adding Your Second Row of Tile & Beyond
After adding my first row, I then began with my second. I started placing my inner tiles and worked way way out until I could no long put up a full length tile.
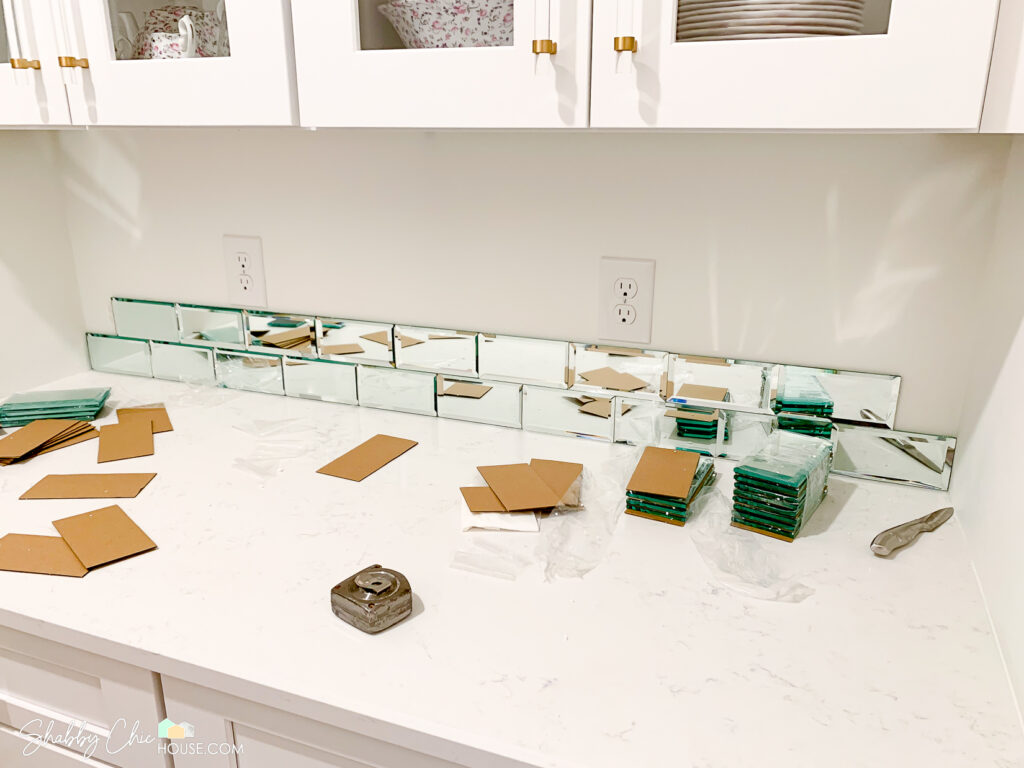
By starting on the inside I could quickly get multiple tiles up and just eyeballed their placement. Then while the adhesive is wet, you can slide the tiles so that the joints of our first row are centered (3″) on the tiles in the second row.
Now you just need to cut two half tiles and you can move up to the third row.

Learning How to Cut Your Material
Each and every tile project is different from the last. You might work with different materials (marble, porcelain, ceramic, glass) that vary in durability as well as size and thickness.
I found that up experimenting with 3-4 tiles and different cutting techniques to see which works best for that project. When going through this testing, I typically test on the damaged and defective tiles that I know I will not be using in my project.
Cutting Mirrored Tile with a Wet Saw
For this project I started out my testing with a wet saw. To ensure you get the best cut, use a fresh blade (I like QEP’s Diamond Ring Blade). Old blades can dull and even warp causing wobbling and ultimately, broken tiles.
Unfortunately, the wet saw left jagged edges on the front of the tile and at the same time tore up the mirrored backing. This cutting method would not allow for a clean/finished look, so I began exploring other options.

Cutting Mirrored Subway Tile with a Handheld Cutter
After failing to get a clean cut with the wet saw I turned to my trusty handheld tile cutter and on my first try had moderate success. After practicing on a few tiles I found a few tricks and tips that helped me get the cleanest break which I’ll share below.
Step 1: Measuring & Marking Your Tile
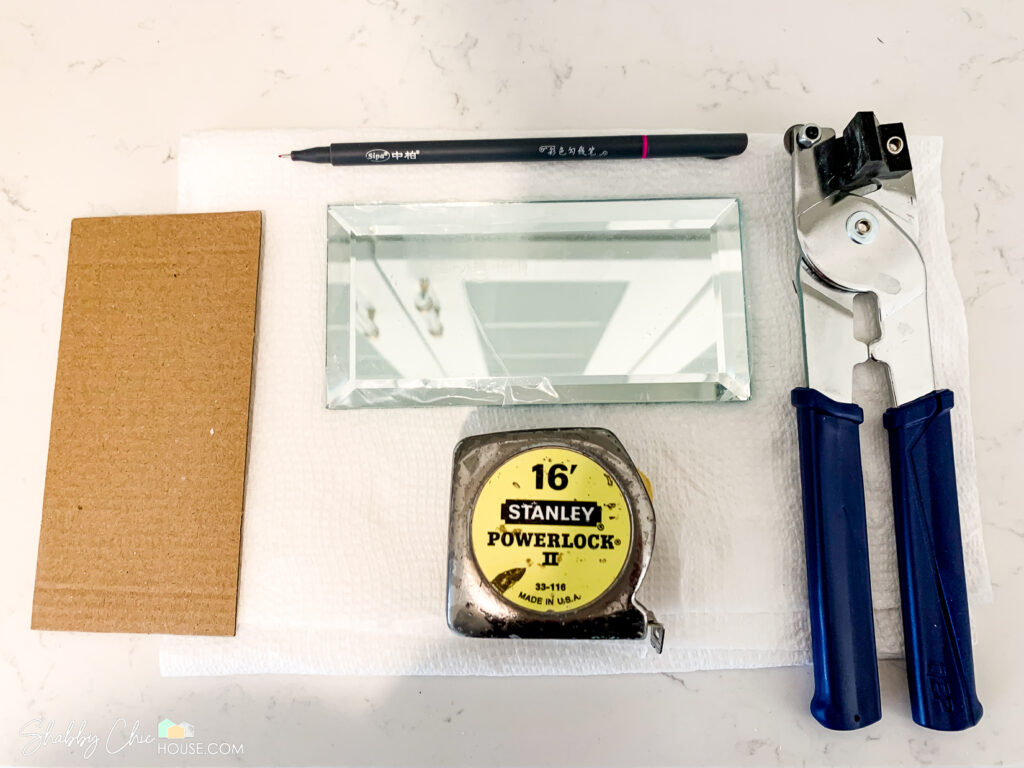
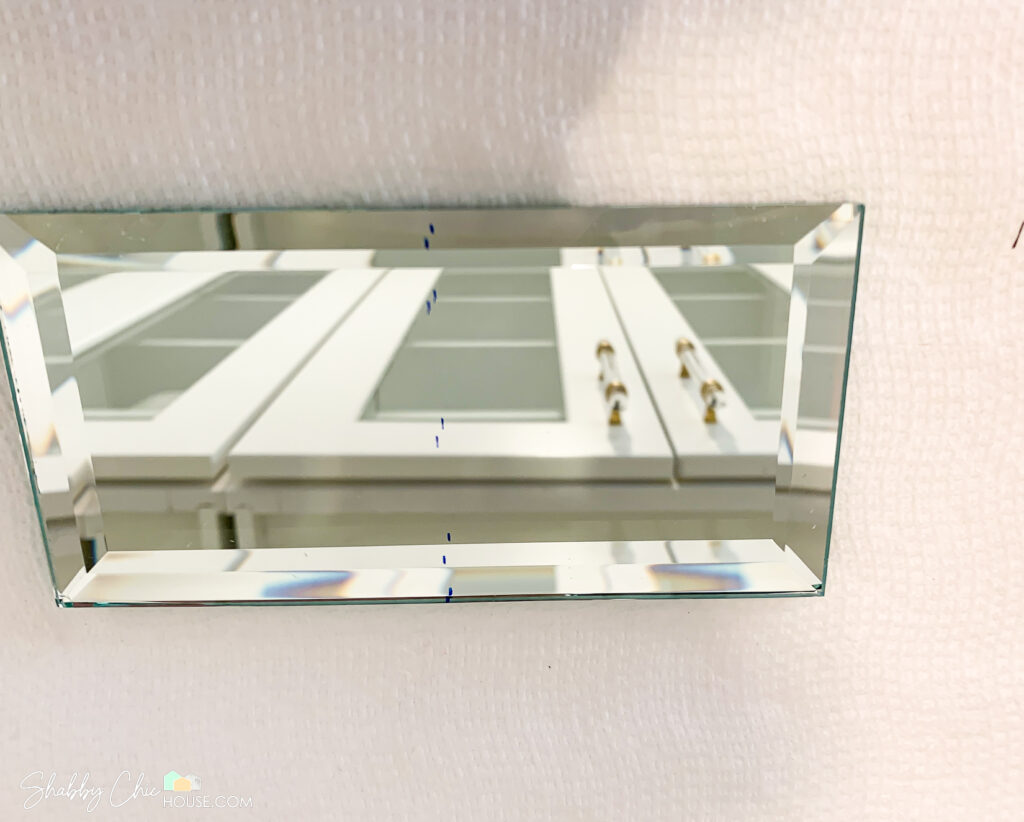
Using a measuring tape and felt tip pen, mark your beveled tile in 5 places. Once on each bevel, then three times on the top surface of the tile. This will help you get a straight and even line across the top of the tile.
Step 2: Scoring Your Mirrored Tile
Next, use a tungsten carbide blade to score your tile.
I had the most success when I scored the top of the tile, both beveled edges, both sides of the tile as well as the back.
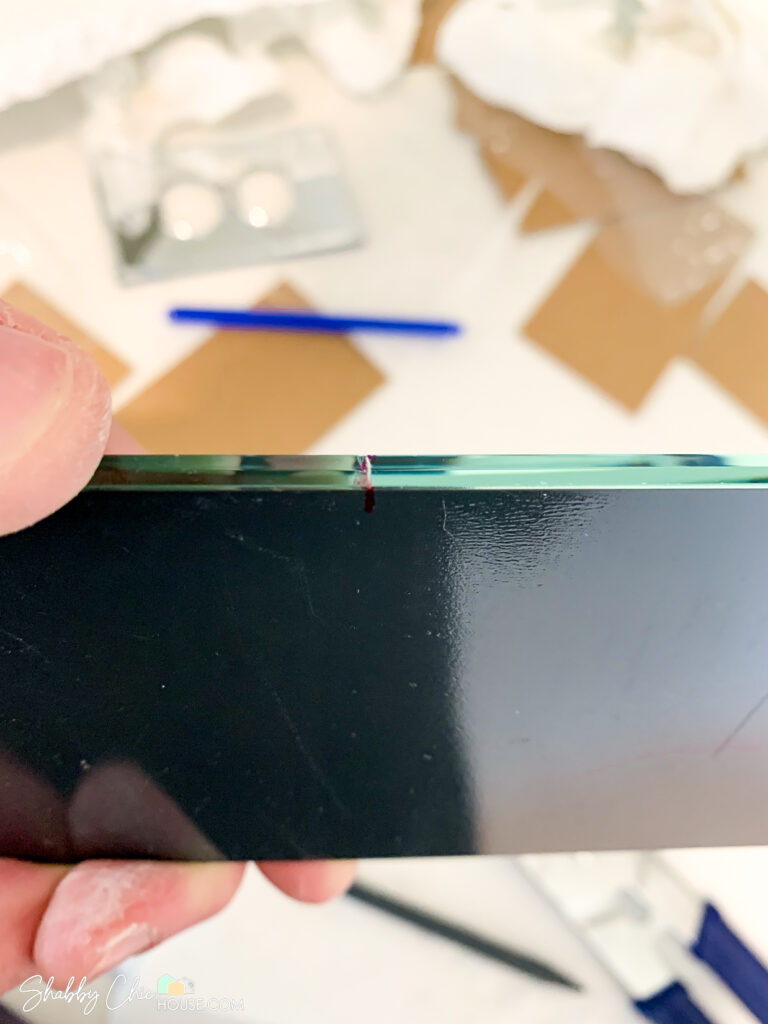
Apply a medium amount of pressure to score the tile. If you don’t score deep enough you won’t get a clean break. If you apply too much pressure the tile will splinter or even crack.
Step 3: Breaking Your Mirrored Tile
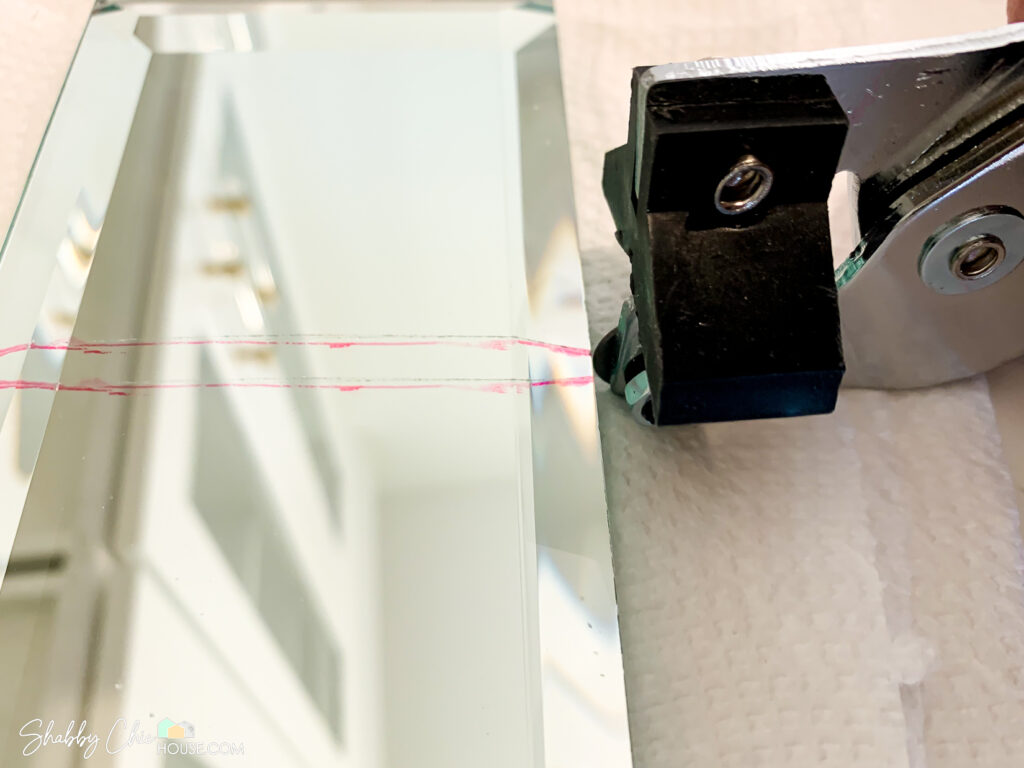
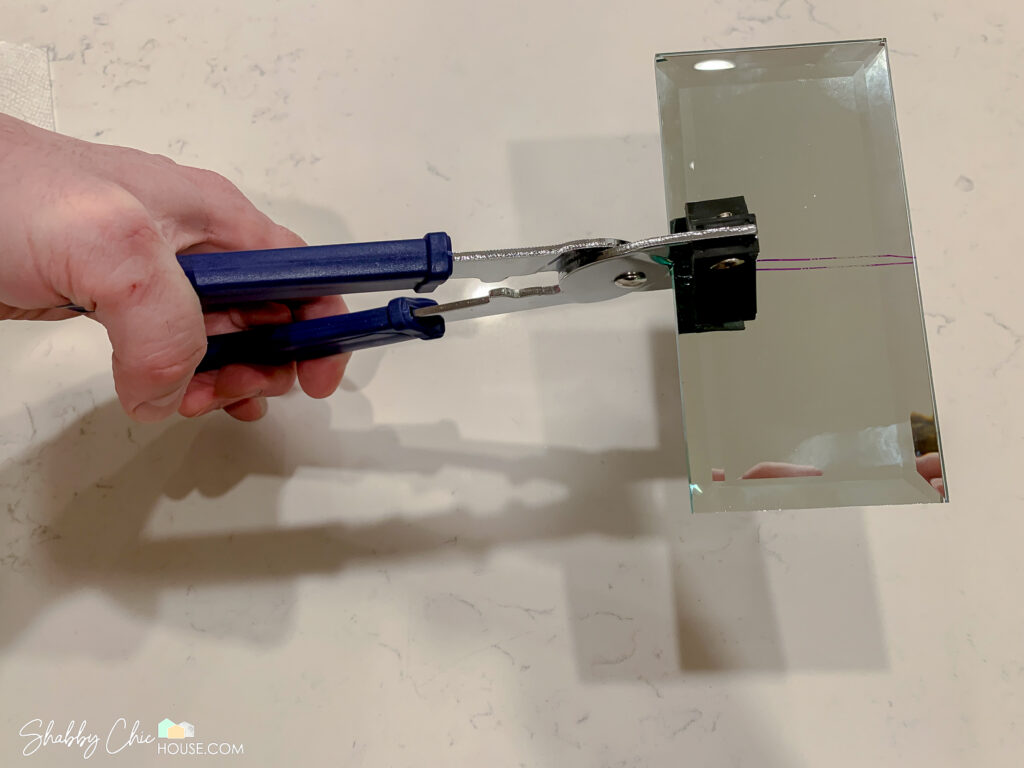
After you’ve scored your mirrored tile all the way around you’re ready to break it in half. Using your handheld tool, place it in the breaker like show in the photo below and apply light and a slowing increasing amount of pressure until the tile breaks.
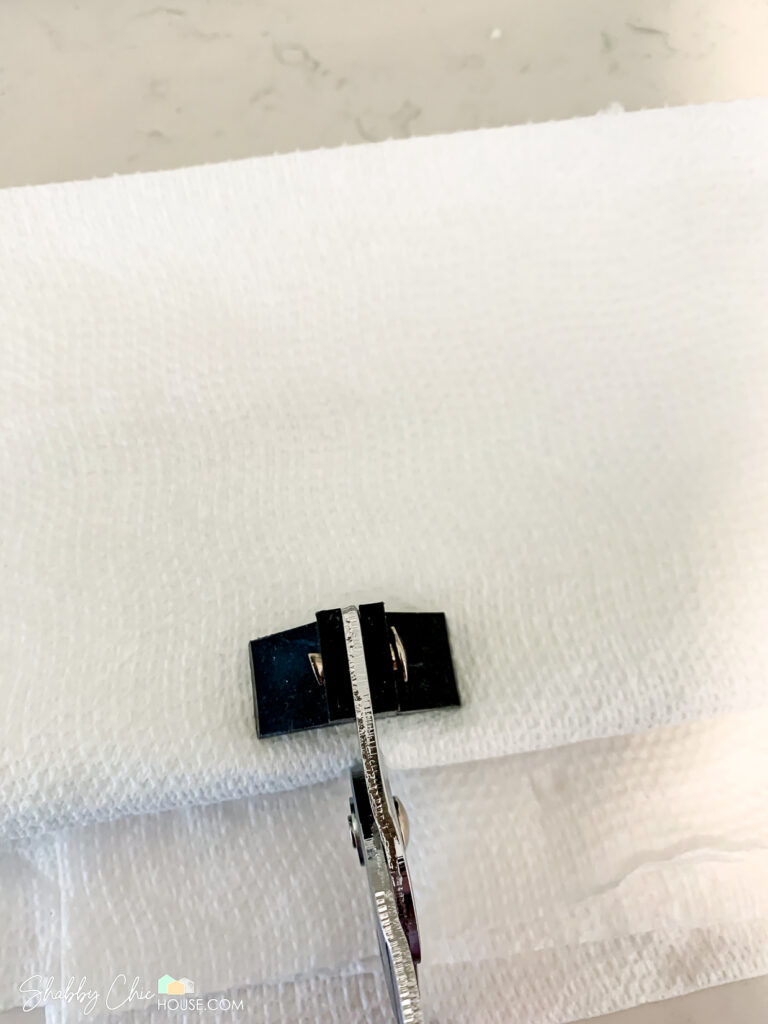
With these extremely fragile tiles I found it’s best to wrap them in paper towels. This also helps protect the tile as well as yourself from any glass shards that could go flying when you break the tile.
Also, when breaking your tile make sure to hold it good 6-7 inches above your work surface. As the tile breaks the center will break in an upward motion and the to outside edges of your tile will break violently downwards towards your work surface. If you mirrored tile is too close to your work surface you can easily chip the corner of your tiles.
Even after figuring out how to get a decent score and break, I still had times when I still just could get a clean break. A few times it took me 2, 3 even 4 tiles to get a perfect break.
However, once you get the hang of it and when you have extra tiles on hand to account for this issue, it’s not a big deal.
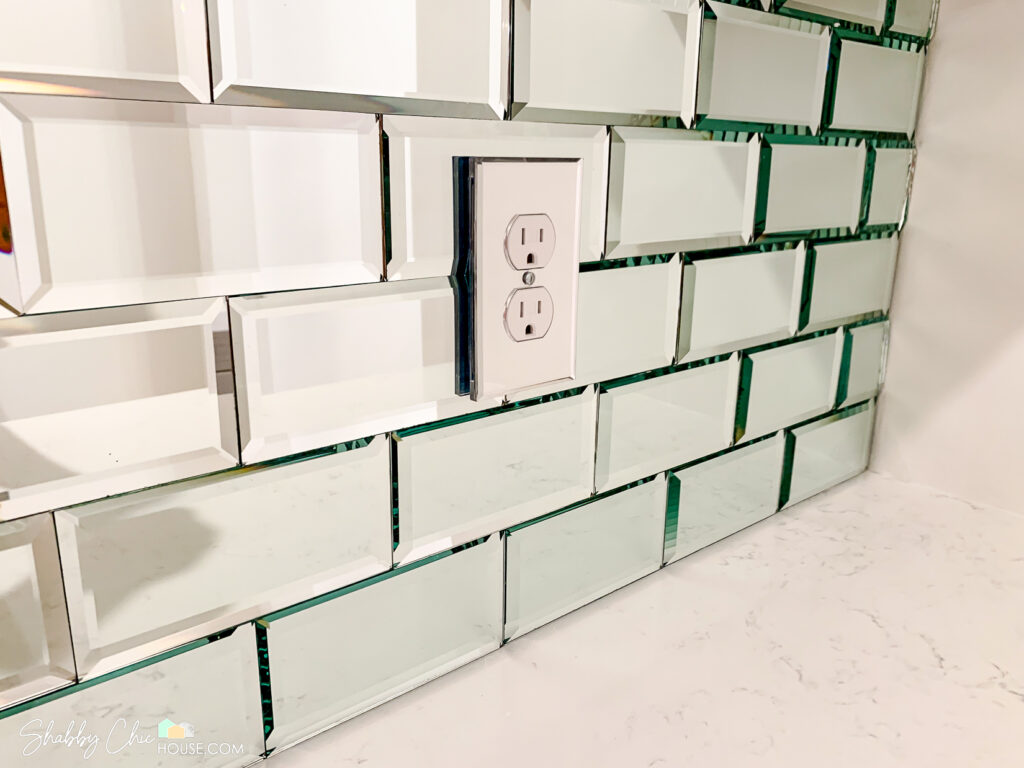
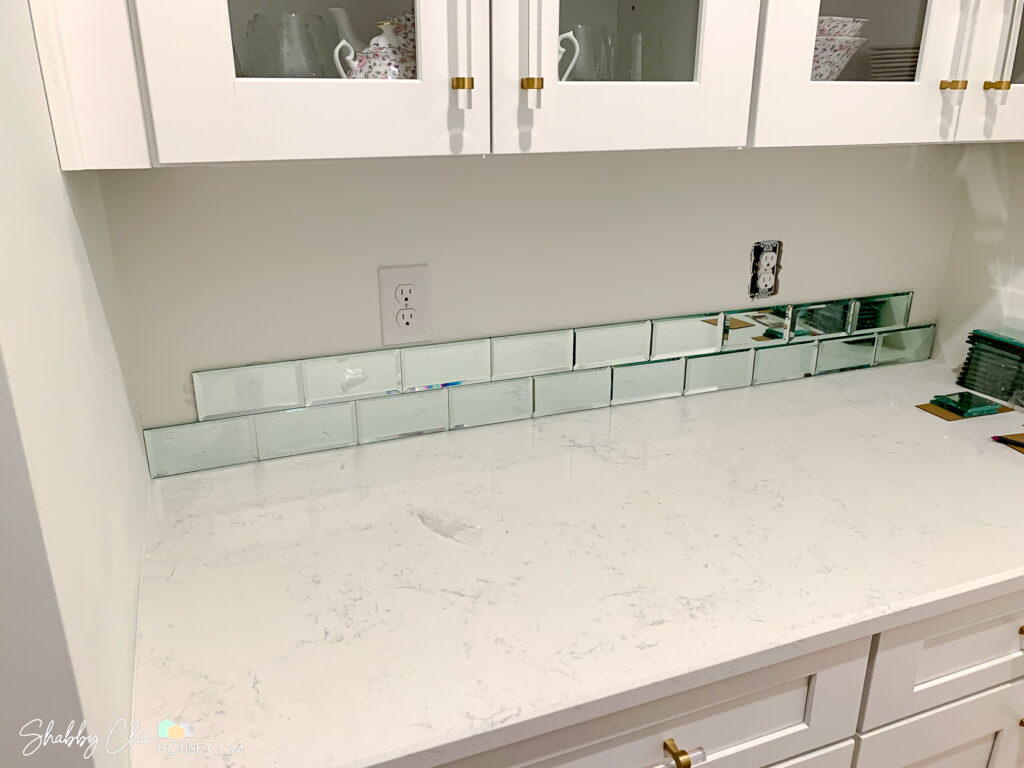
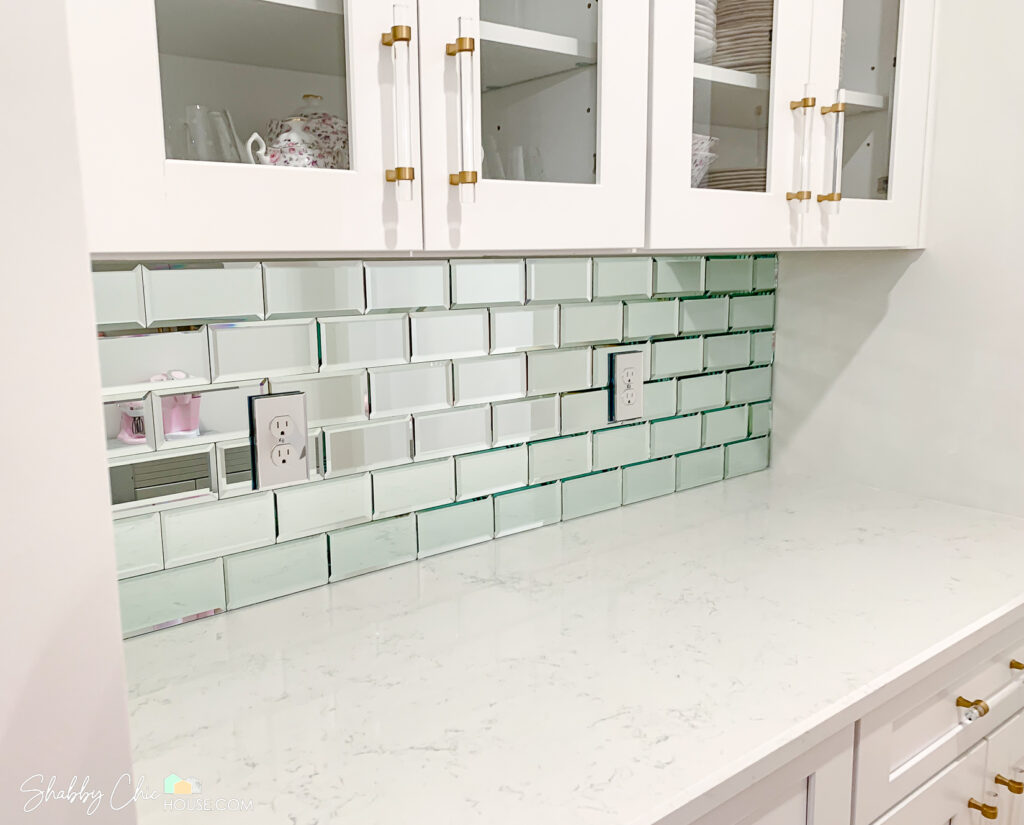
Cutting Mirrored Tile to fit Around Your Outlets
Cutting the holes for your outlets is significantly easier as you don’t need a perfectly clean edge as the cut tile will be covered by your outlet cover.
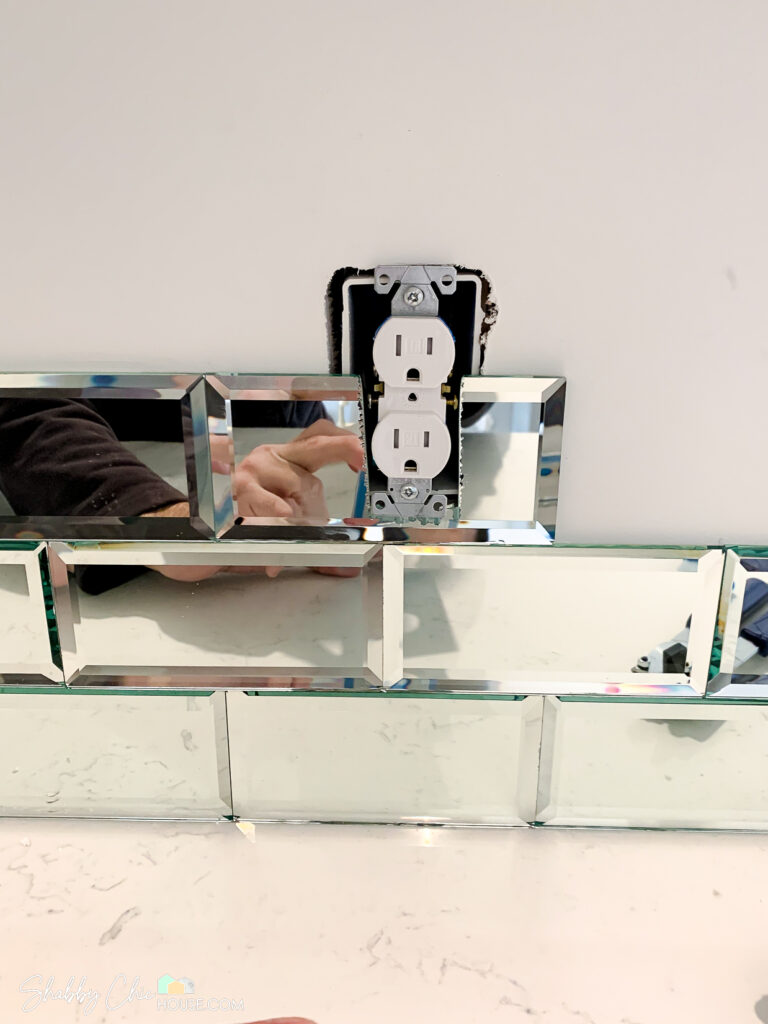
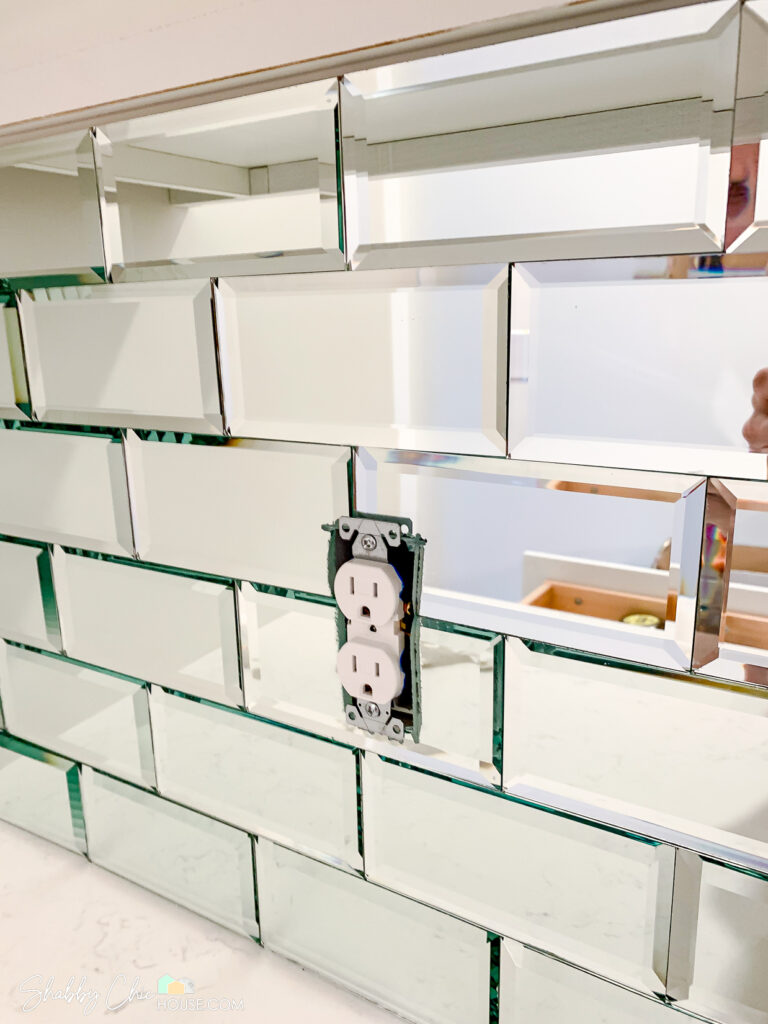
Start by applying you neighboring tiles until you get to the tile that will need to be cut. In the photo below you can see I tiled until I got right next to the outlet and now I can measure and draw the area I’ll need to cutout for my outlet.
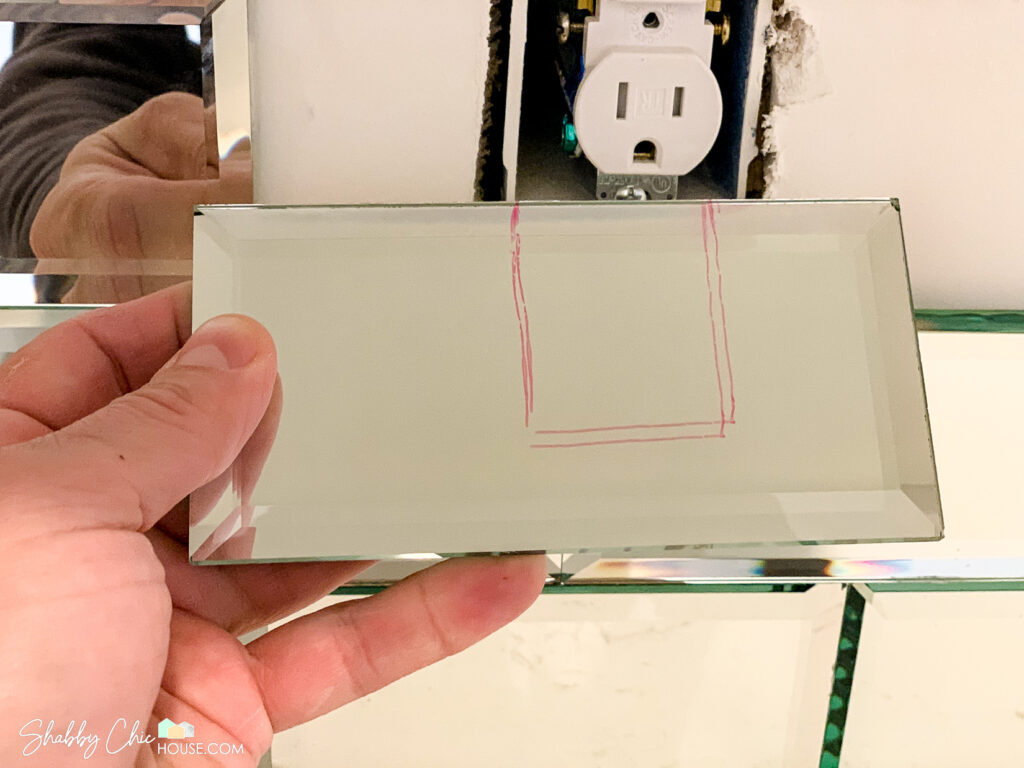
Cutting a Center Outlet
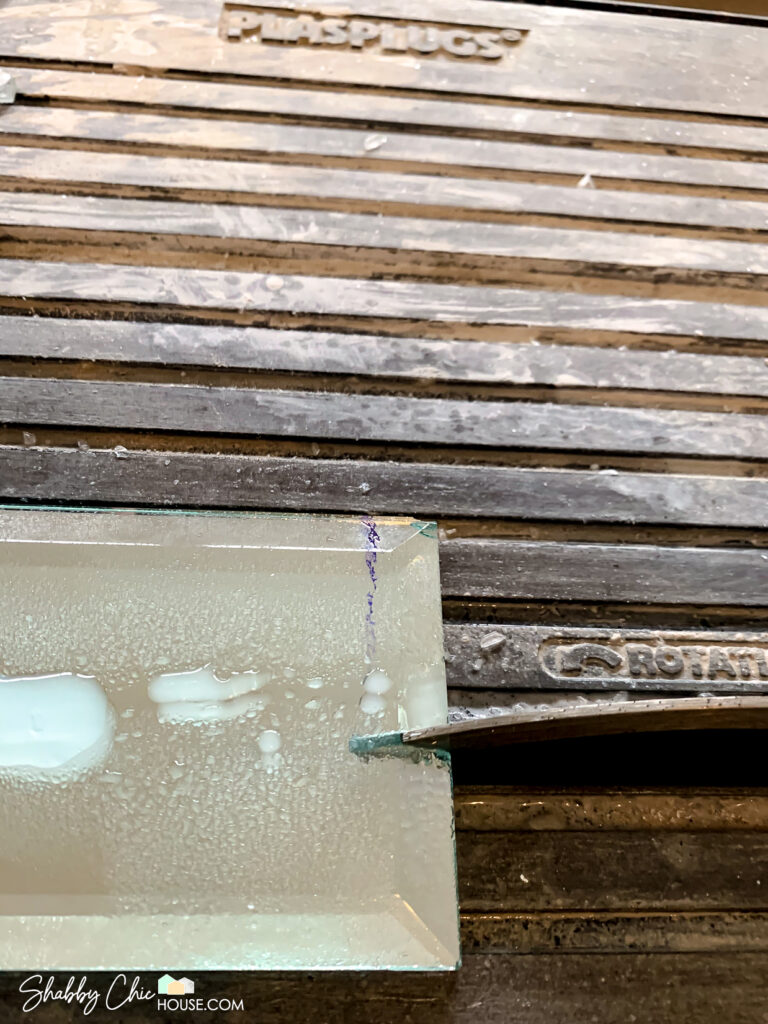
Using a wet saw make your first two cuts along the vertical lines in the photo above until you get to the bottom of line.
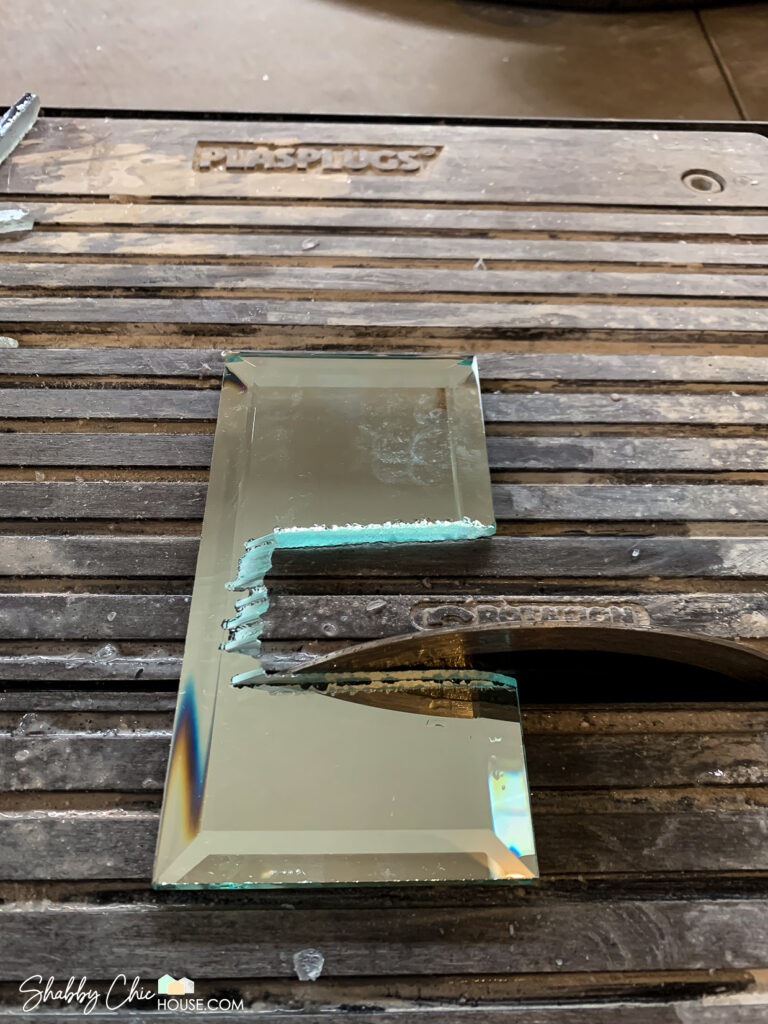
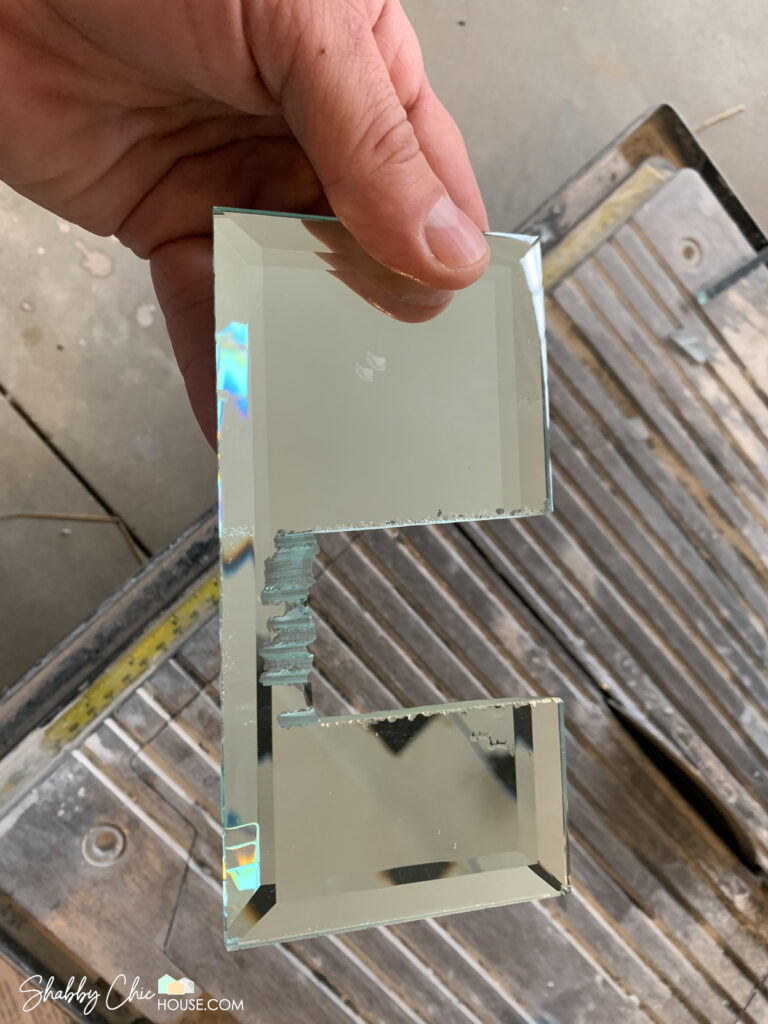
Next, cut out the center section of the tile my making parallel cuts every 1/4″ or so.
Since the wet saw blade is round and we’re working with a clear glass tile you can actually see I made about 8 parallel cuts in the images below to remove the center.
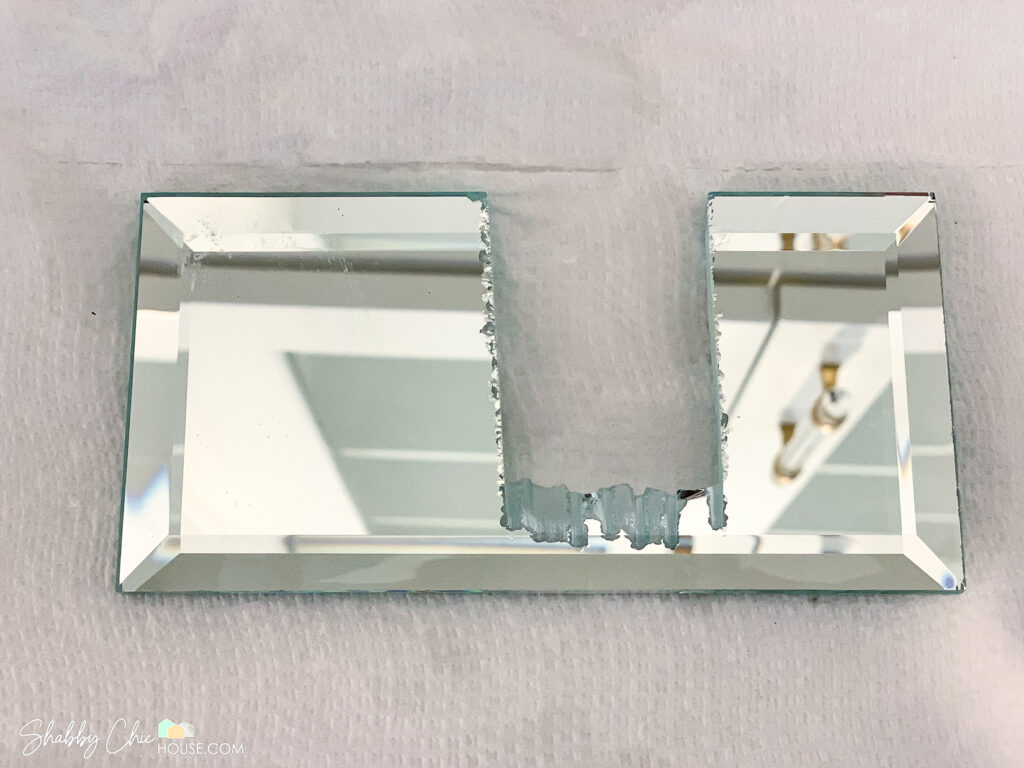
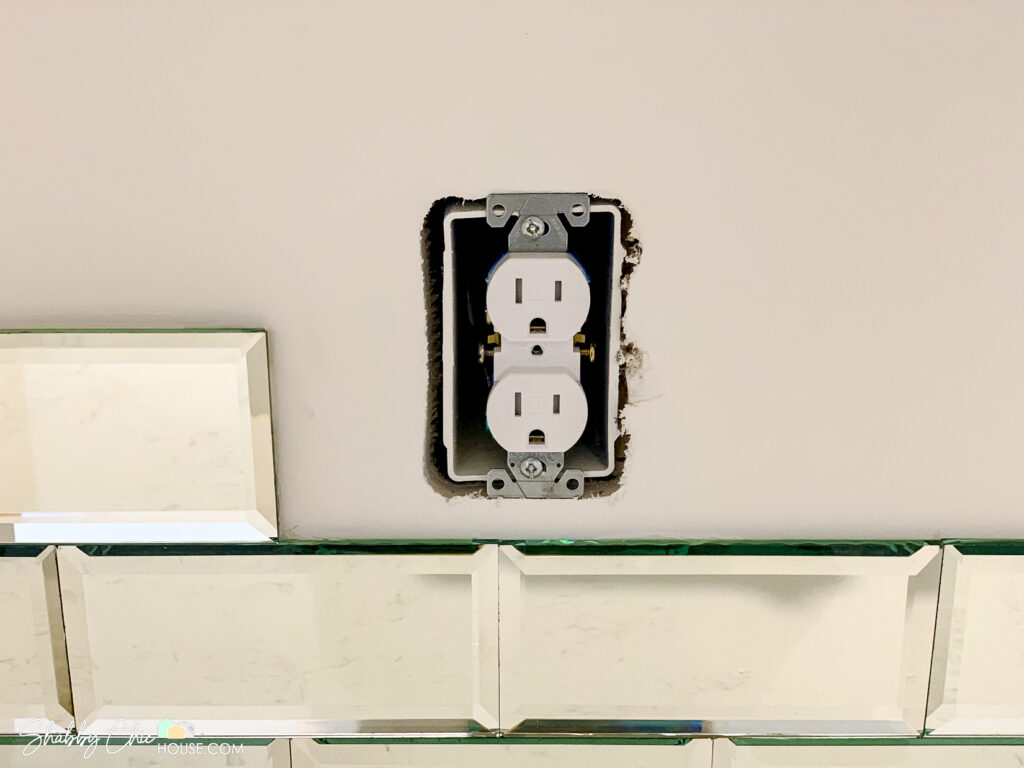
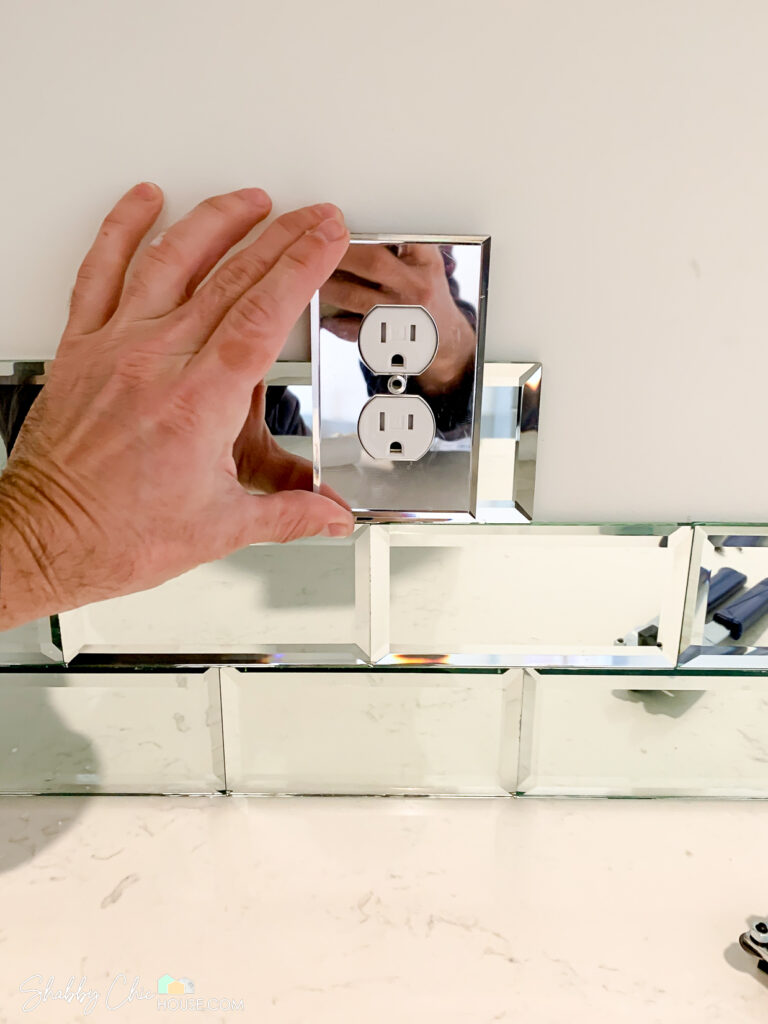
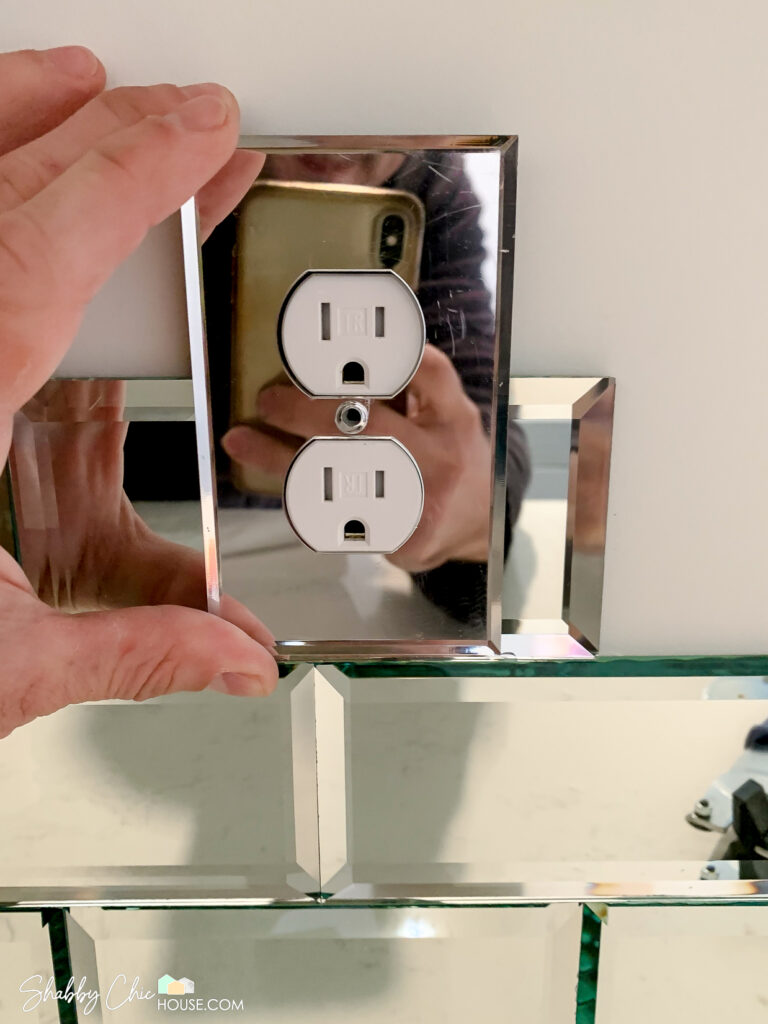
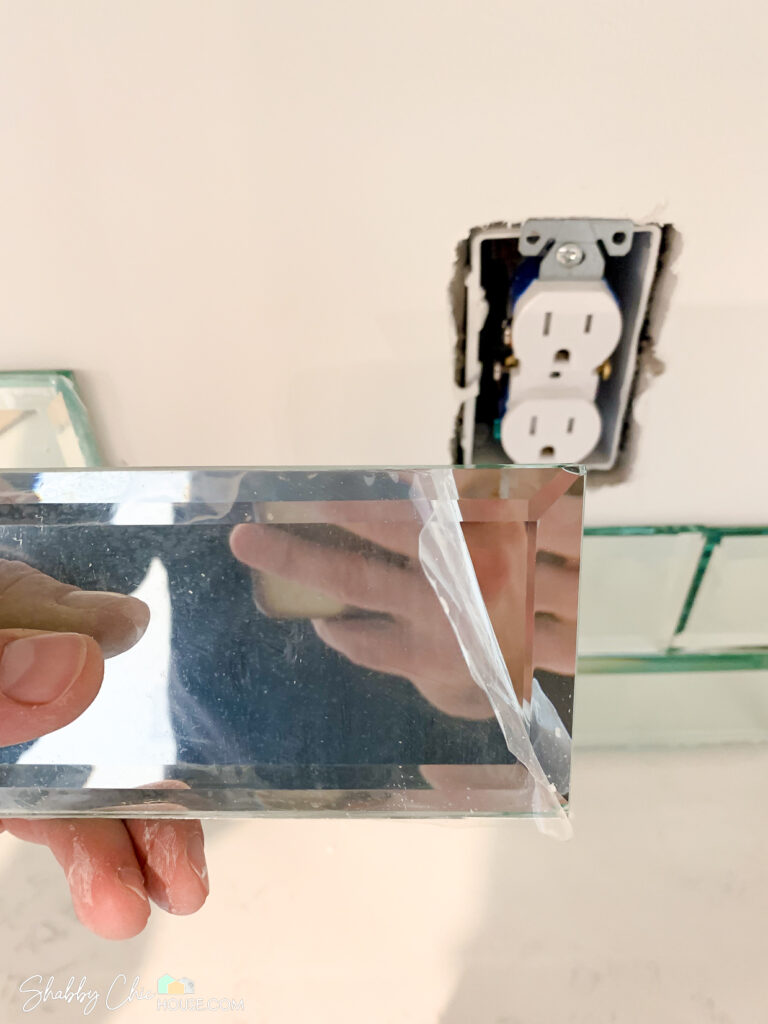
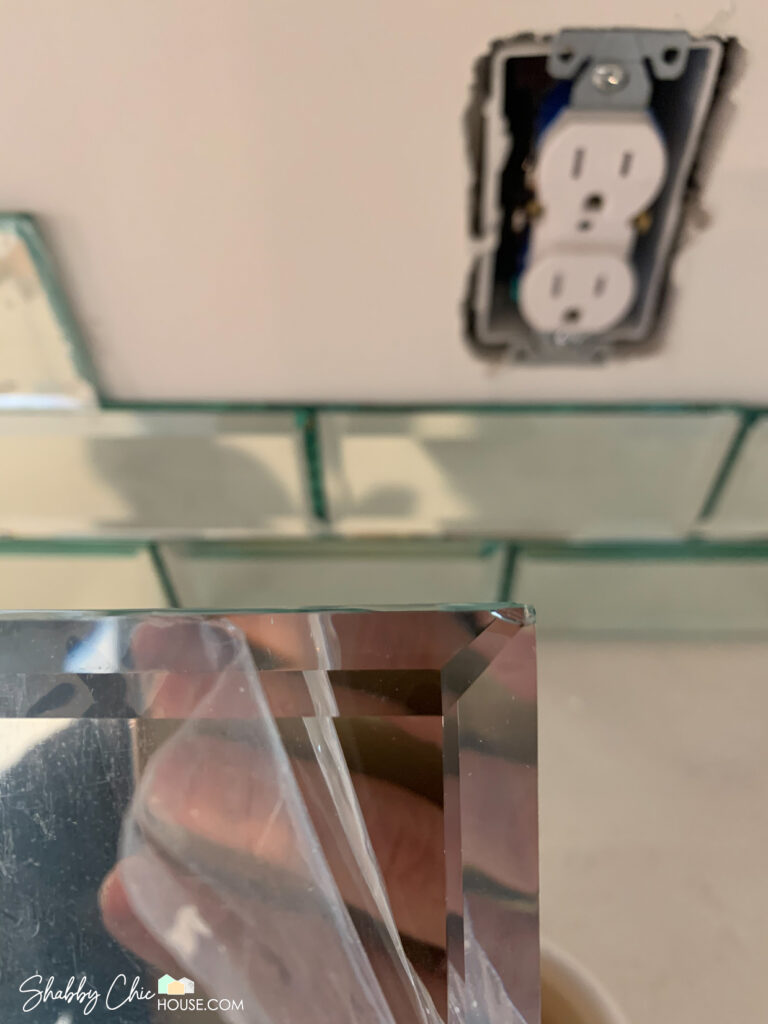
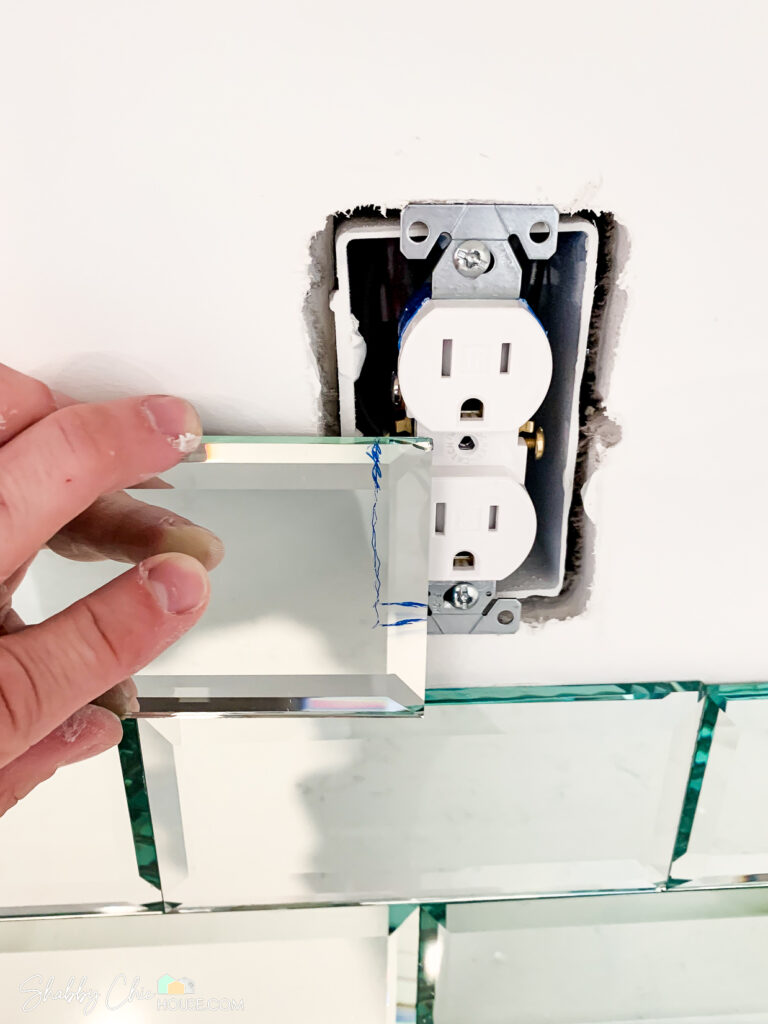
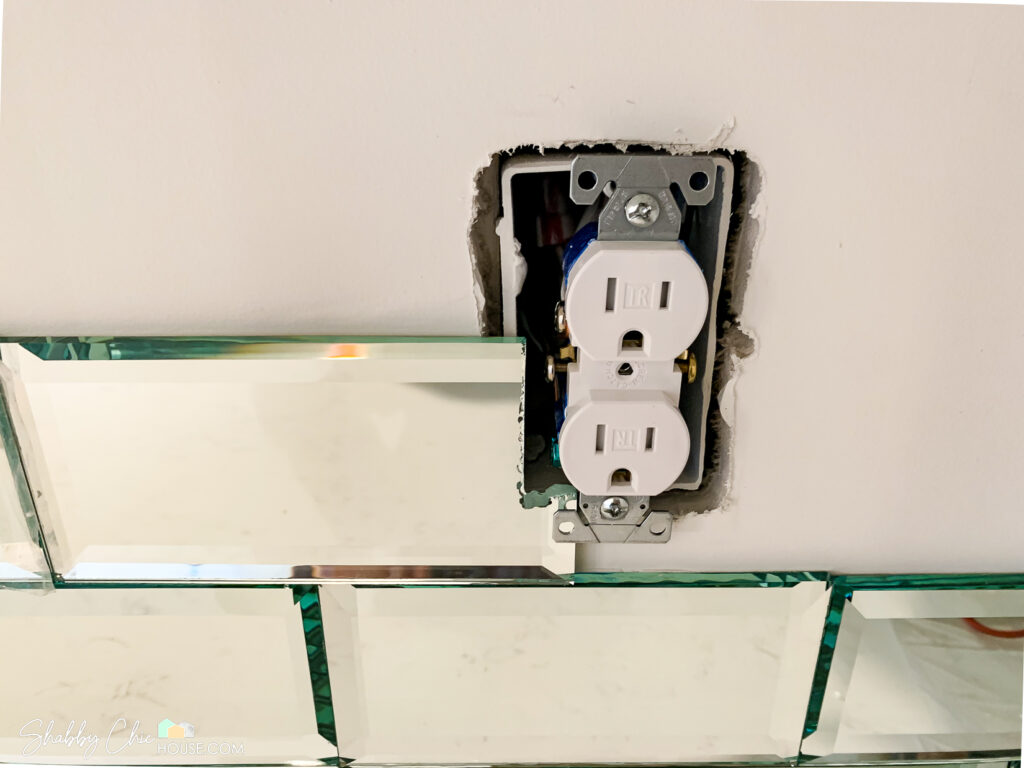
Next dry fit your tile to make sure it will fit around your outlet. As you can see in the second photo below my outlet cover conceals the cut edges of the time.
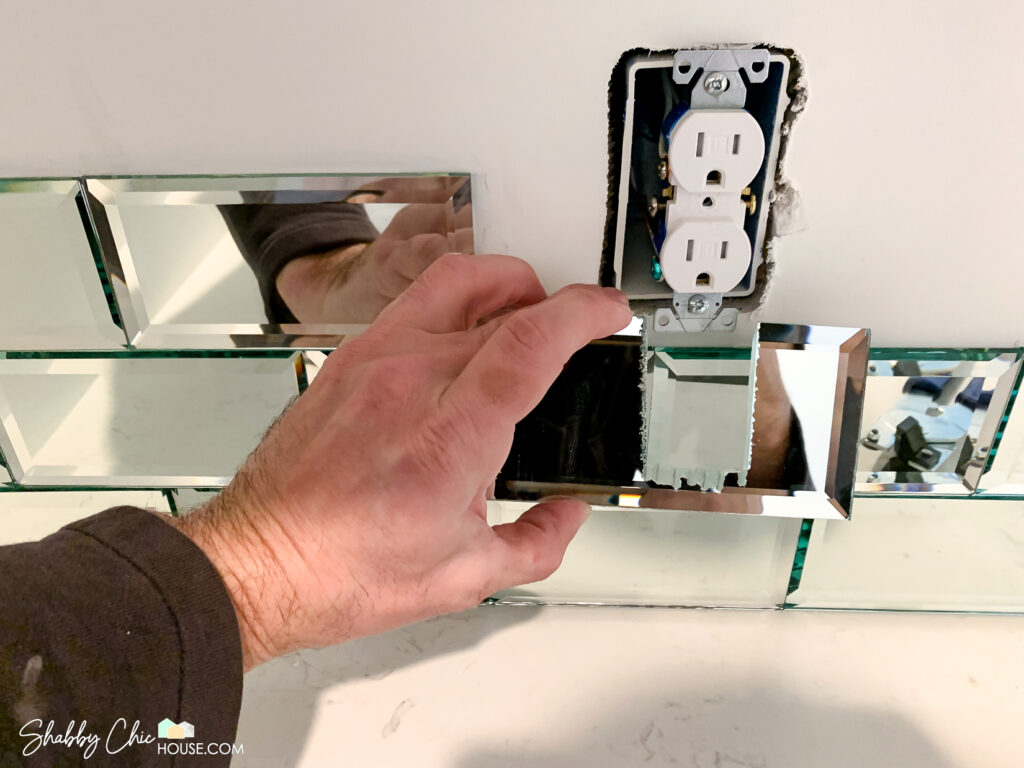
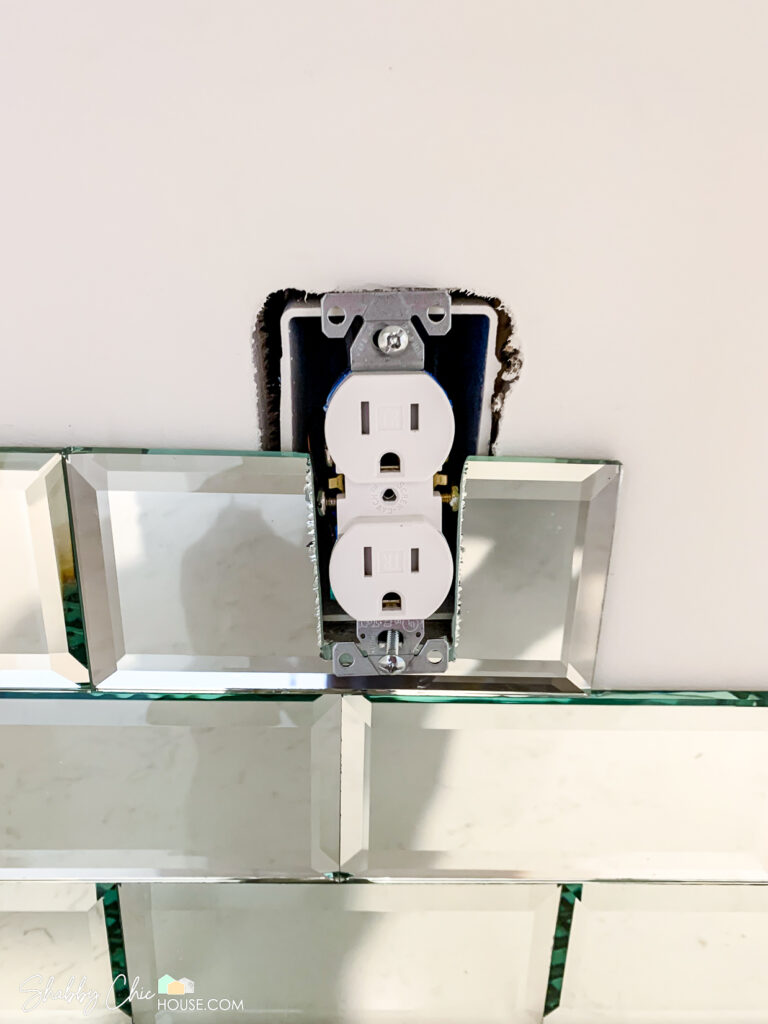
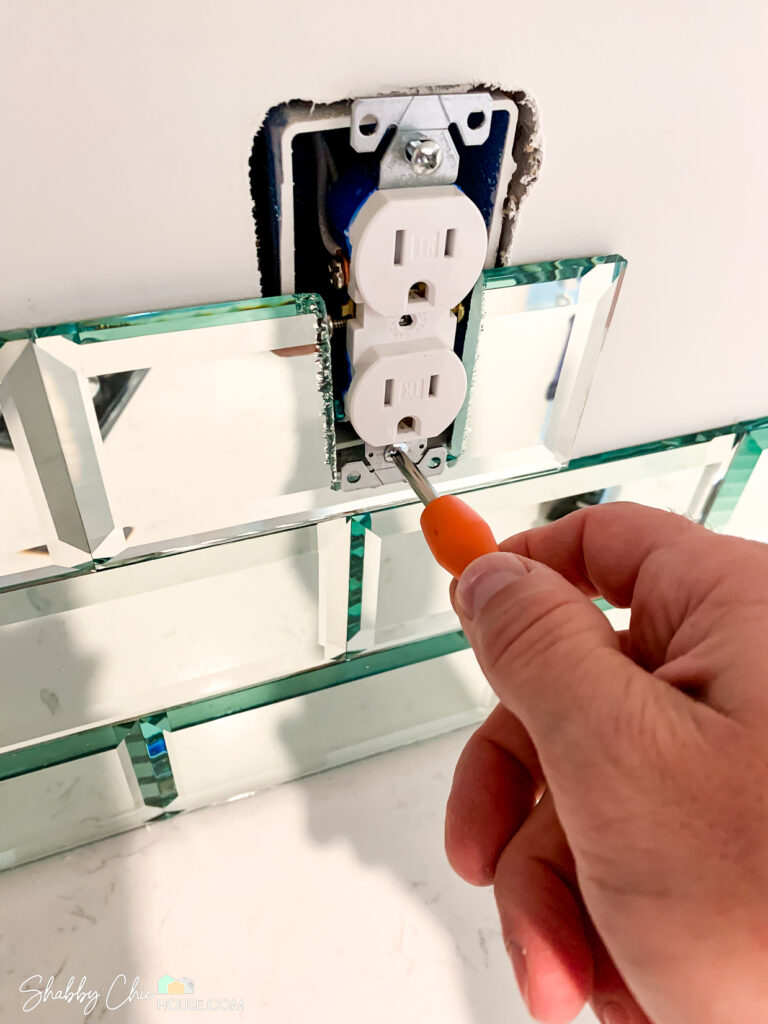
To ensure that your outlet sits at the proper height with your tile and outlet cover you’ll need to loosen the outlet’s top and bottom screws. This will allow you to pull the outlet out just enough to slip your cut tile under the metal prongs.
Before pulling your outlet out make sure to cut off your outlet’s power at the breaker box and test with a multimeter to make sure the power is off.
Once you confirm that you have a good fit, backbutter your tile and place it permanently.
Last, take care not to tighten down your outlet too much and avoid breaking your newly cut tile.
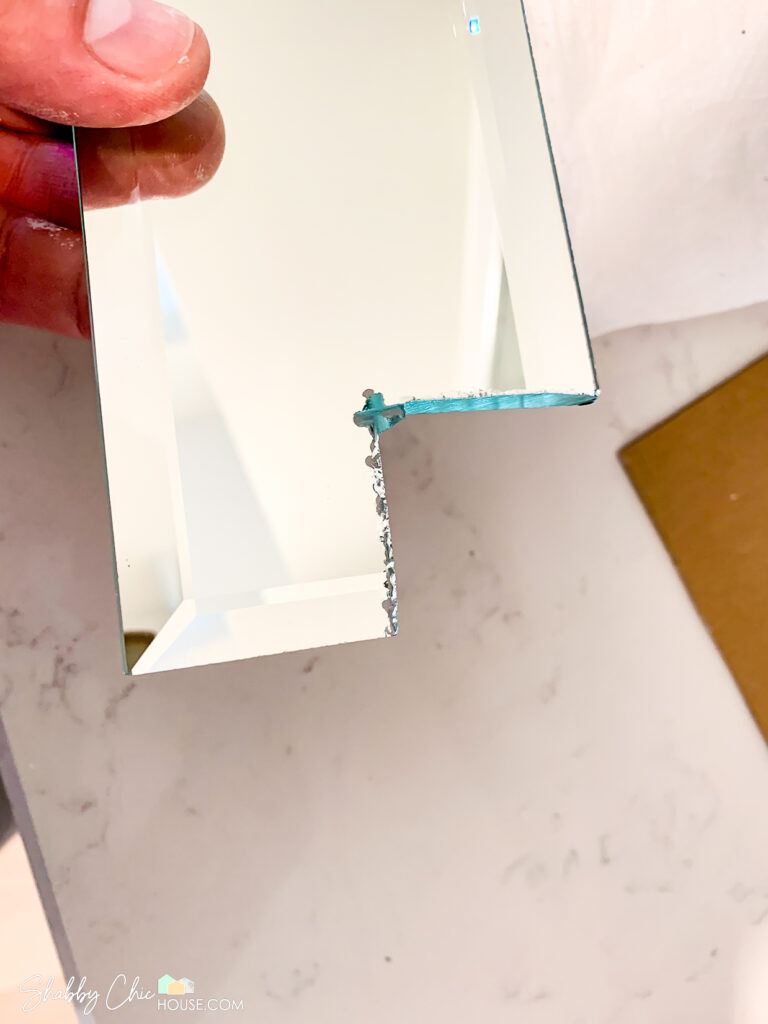
Cutting the Edge of a Mirrored Tile
At the start of every tile project inspect and set aside all damaged tiles. Anytime you’re making a cut where you’ll be tossing out part of your tile, try to use a tile that is damaged in area that you’ll be throwing away.
For example – As you get to an outlet like the one above you can look through your damaged tiles and find a tile that’s upper right corner is chipped or broken.
This allows you to utilize some of your damaged tiles to avoid running out of materials and minimize wastage.
Make the smaller cut first. Then follow up with your longer cut.
Terminating Your Mirrored Tile
Deciding how to terminate you tile is typically one of the hard decisions to make and plan out in most tile projects. However, when installing a backsplash that has overhead cabinet that top tile is often obstructed. You can typically cut and place a partial tile there to finish off you project.
In my case I was left 1/8″ which I decided to leave as is and luckily due to the overhead cabinets, I have never seen it again.
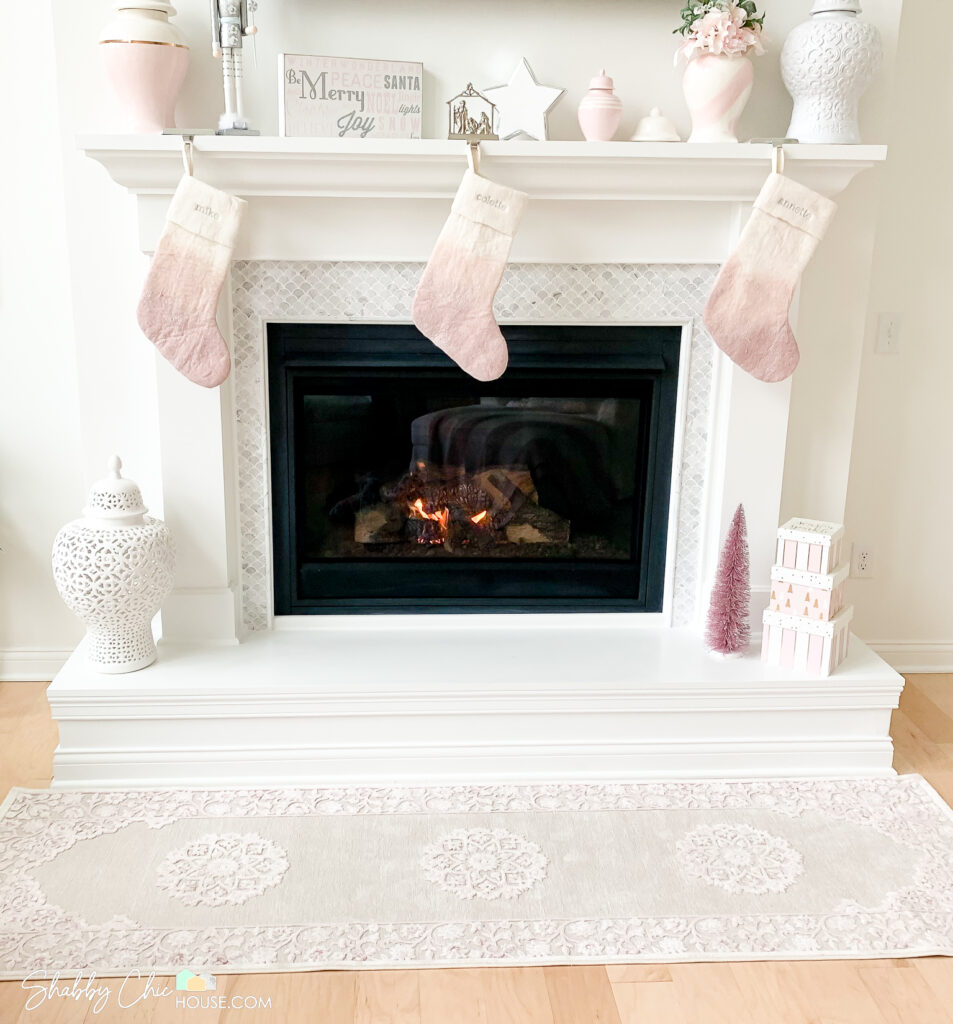
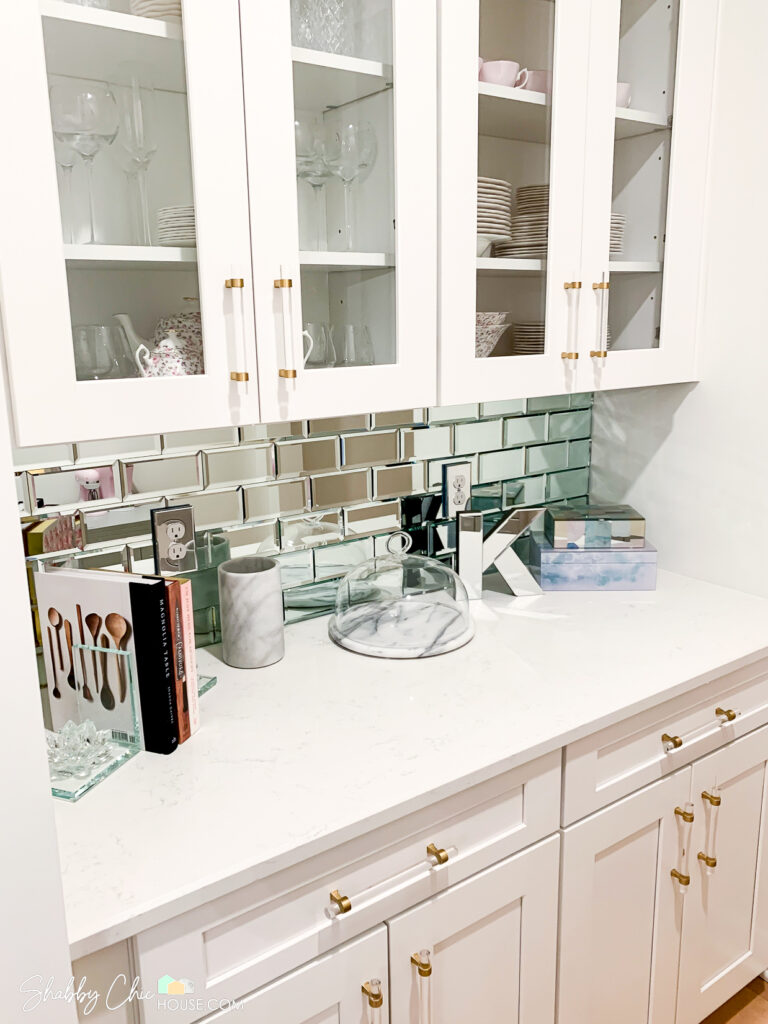
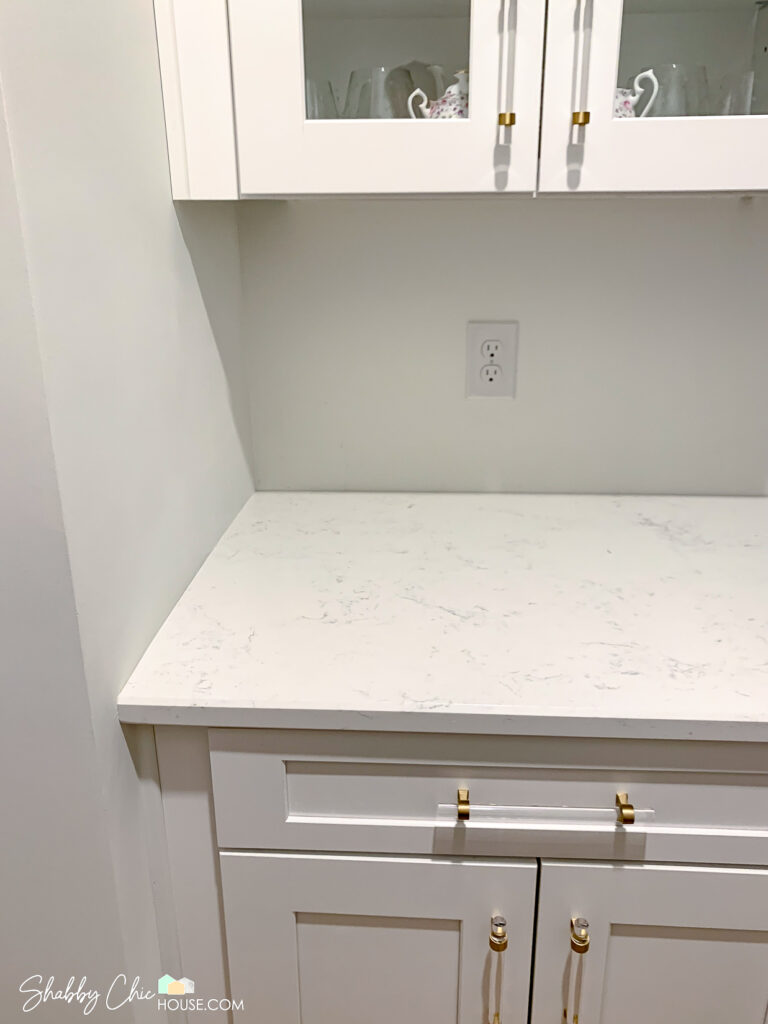
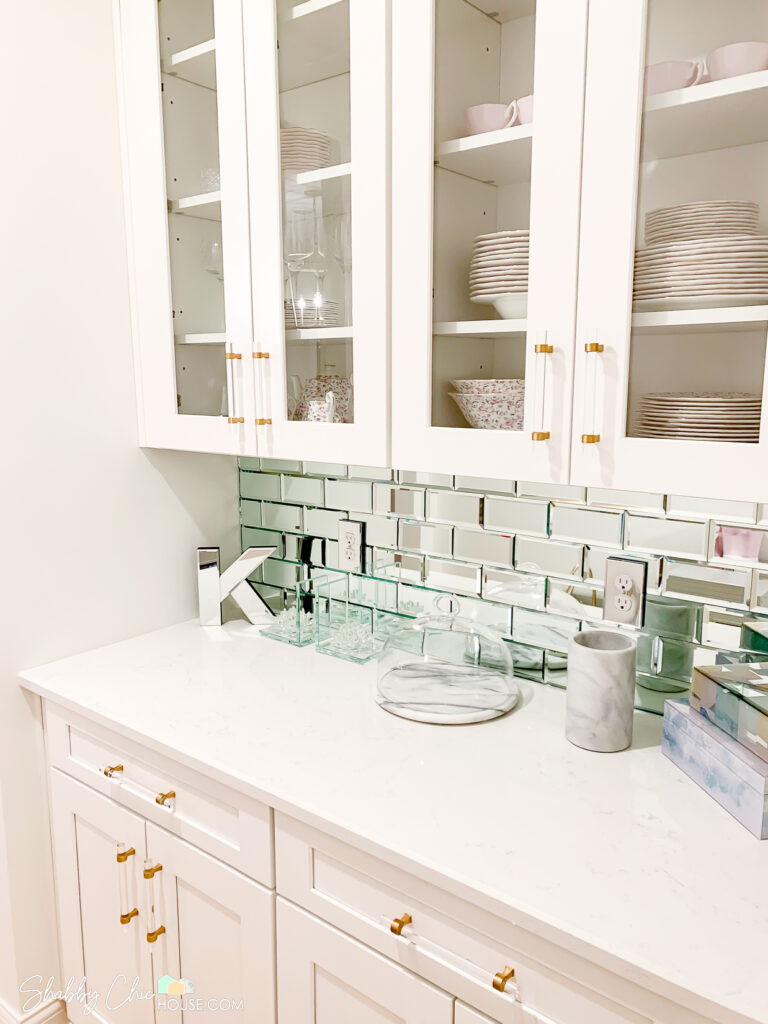
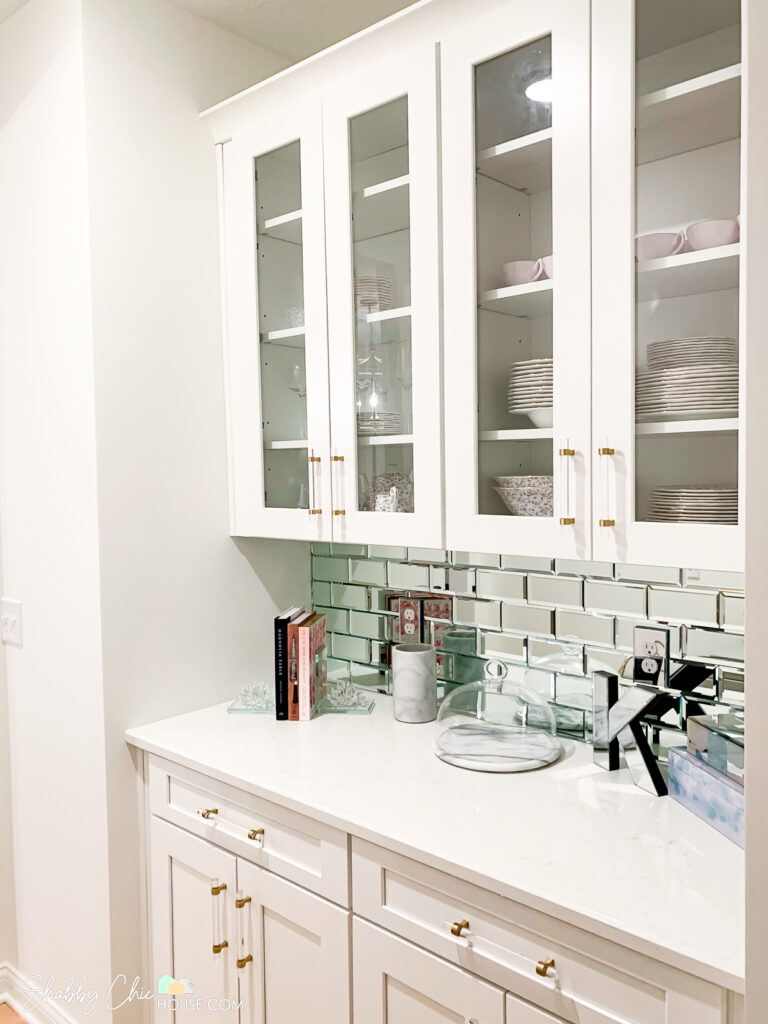
The Finished Product & Conclusion
Overall, this has to be one of the hardest tile projects I’ve taken on. However, with a little bit of time and patience and extra tiles to burn through, it wasn’t that bad.
Please check out the photos below of the finish product and I’d love to hear what you think.
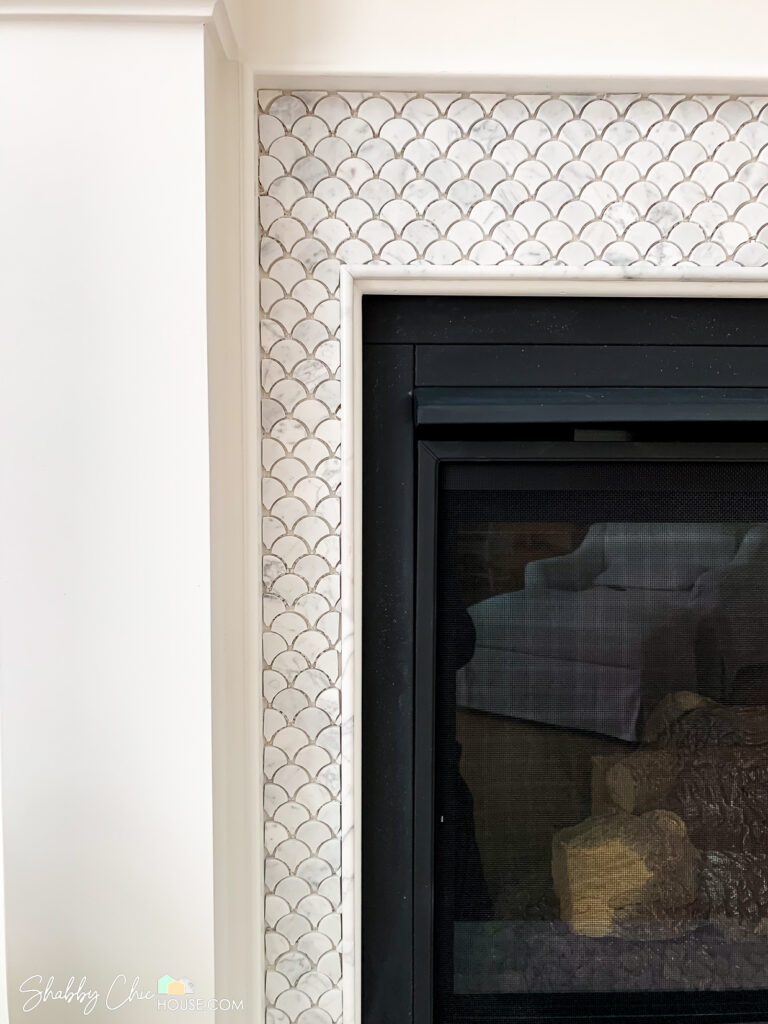
Also, if you enjoyed this post check out the scalloped Italian Carrera fireplace surround I recently finished and will writing about next.


This thing felt like a dang mosaic 1,500 piece puzzle!
If you’d like to get notified when the post is ready please join our email list below!