The Ultimate Planning & Installation Guide
Installing landscape lighting is an amazing way to make your house stand out from your neighbor’s and look like the ultimate show home. By adding just a few lights you can boost your nighttime curb appeal, maintain a well-lit house for easy entry/exit and provide additional security from burglars and other unwanted pests.
The best part is…installing landscape lighting is fairly easy. You don’t need to be an electrician as it utilizes low voltage wiring and this job can be tackled in only a weekend.
In this post, I’ll walk you through several types of landscape lighting, how to plan your lighting layout and most importantly, how to successfully install a transformer and lights.
Some of our posts contain affiliate links. We often share links to the tools & products used in our home improvement projects and if you purchase one of these items using our link, we may earn a small commission (at no additional cost to you).
Solar Powered vs. Hardwired Landscaping Lights
When we first began researching landscape lighting, solar-powered lighting was a very interesting option. As we read online reviews and observed neighbor’s lighting, we found that solar-powered lights didn’t quite have the power to adequately light up a house.
In the end, we decided to go with hardwired landscaping lights as they offered greater consistency and a higher light output. Go with a hard-wired option to make your landscape lighting project look like it was done by a pro!
With that being said, solar-powered lights are great if you’re looking for a quick plant-and-go solution or if you’re looking to illuminate a tree or other feature that may be too far away to run wire to.
Uplighting
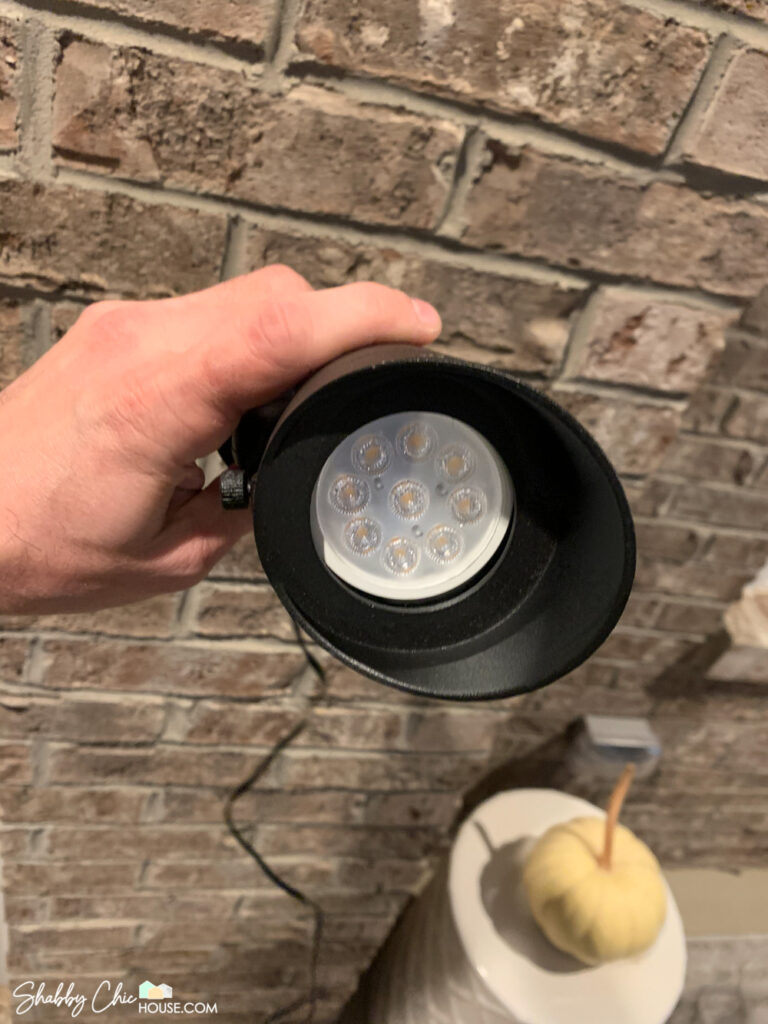
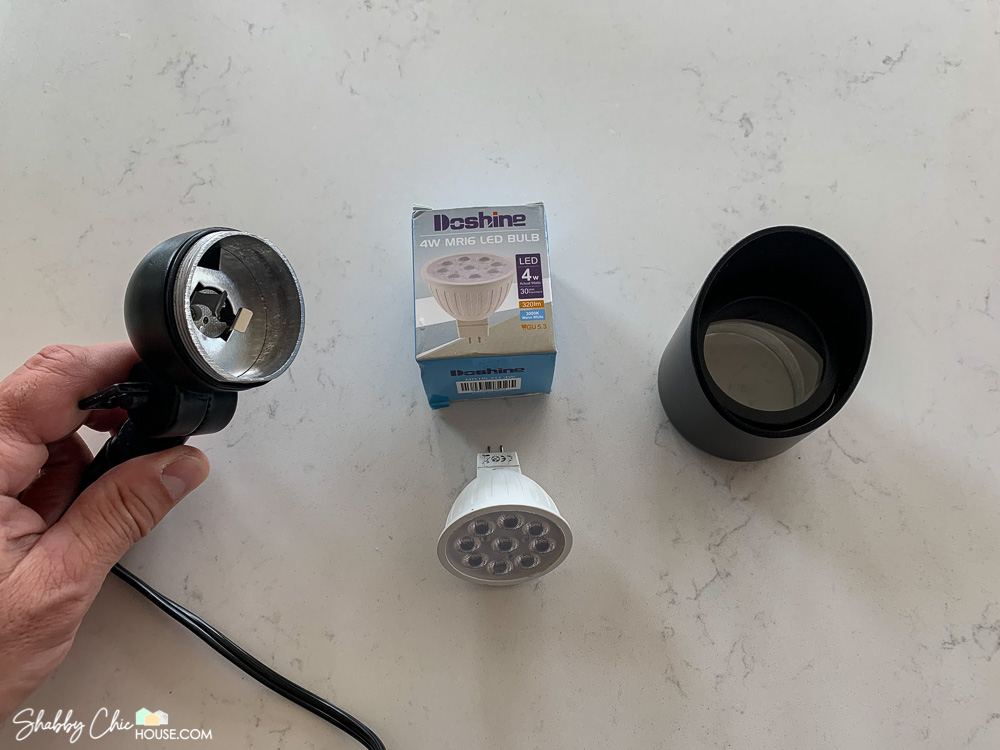
The most common type of landscape lighting is uplighting. You may have heard these lights called “Cans” and essentially they are an upward-facing spotlight.
There are a lot of options out there. I like Doluck’s 4W LEDs. These LED cans come in black as well as bronze.
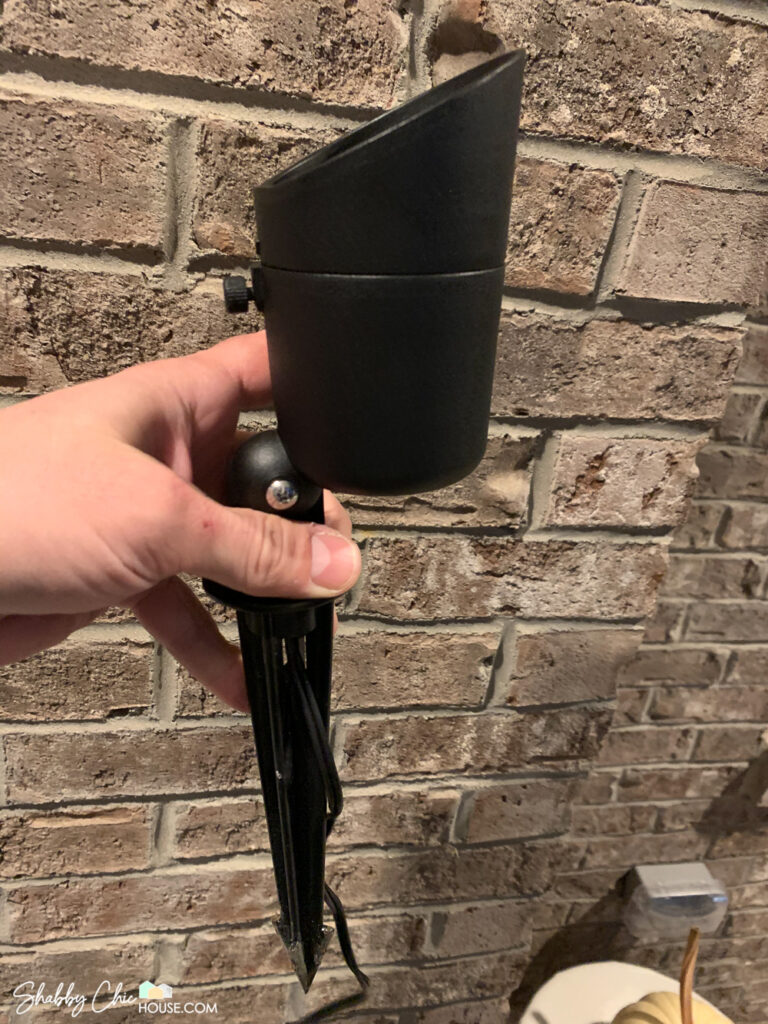
Initially, I purchased Doluck’s 8 pack and when I added a new feature tree in the front year I needed a 9th can light. Unfortunately, Doluck’s LED cans were sold out, but I was able to find pretty comparable 5W LEDs.
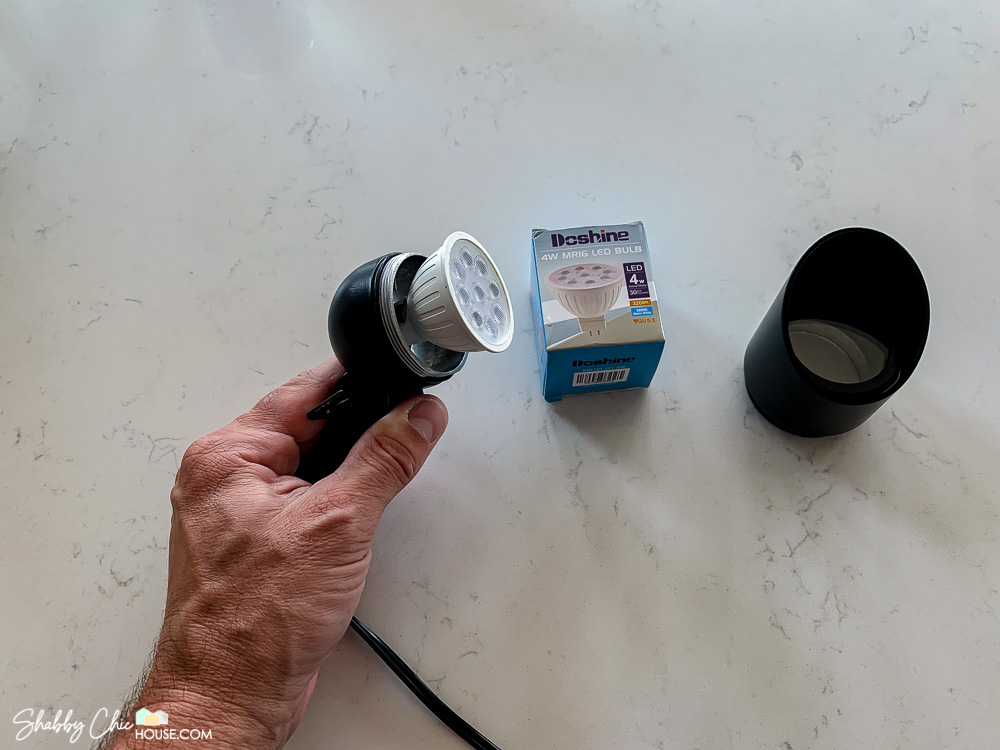
I absolutely love these two specific uplighting options because they are powered by an actual LED bulb instead of being hard-wired. When the bulb burns out you can simply unscrew the unit, pop out the bulb and put a new one in. Also, the bodies of both of these landscape lights are made from cast aluminum, so they feel well made and durable. I’d expect they’ll last for years and see several LED replacement bulbs.
Pathway Lights
Uplighting is the most common type of landscape lighting. However, if you want to add some additional dimension, simply add some pathway lights.
Pathway lights are great for illuminating walkways and ensure visitors can safely enter/exit your house at night.
Being big fans of Ring products, we checked out the Ring pathway light. However, their style did not match our house. Instead, we found these cool pathway lights below that have a farmhouse barn light look and match the exterior lights on both sides of our garage.

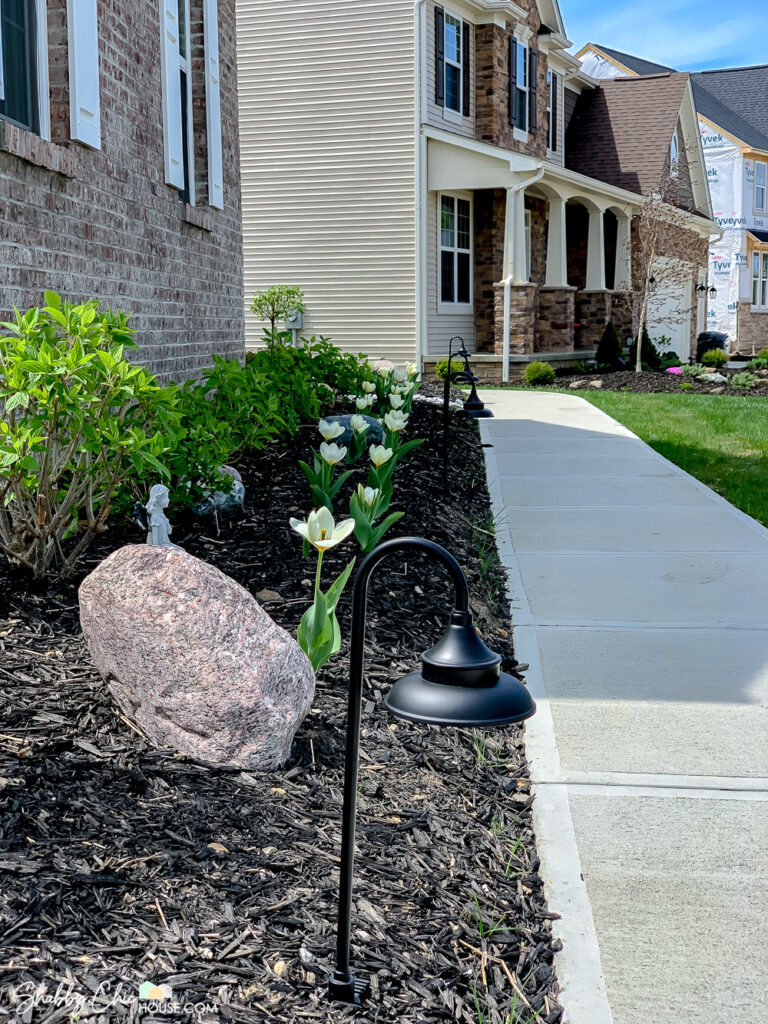
Unfortunately, Home Depot discontinued this light which we had hoped to also utilize in our backyard. However, when the time comes we found a fairly similar replacement that has that barn light look.
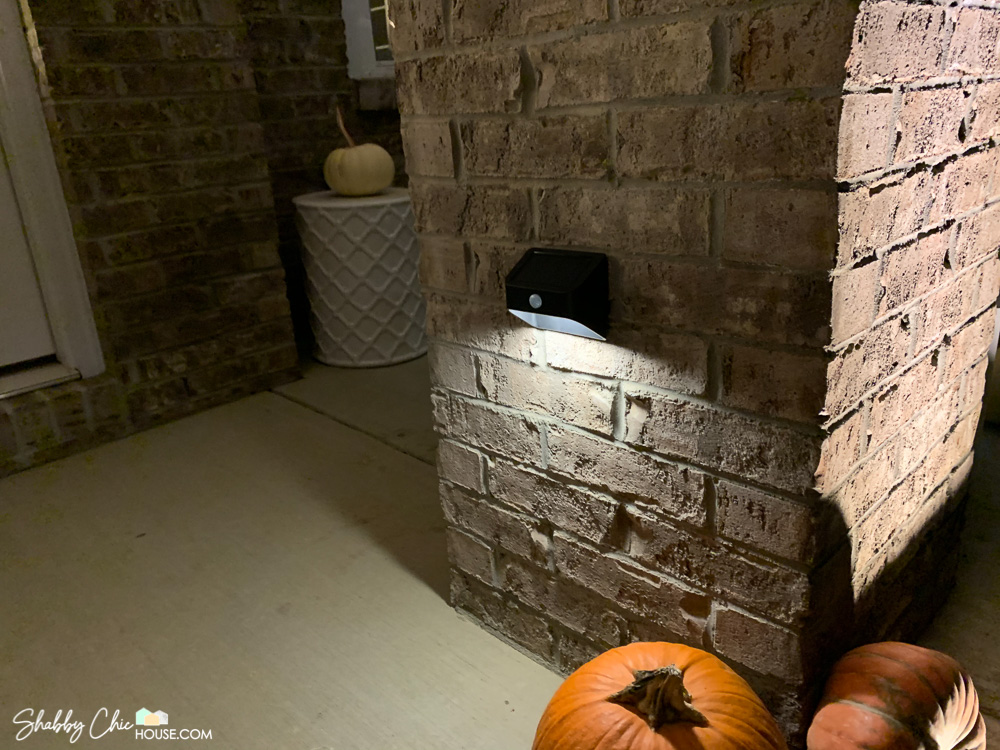
Ring Step Lights
While Ring’s pathway light didn’t quite match our style as soon as we saw the Ring Steplights we knew we had to have them. While all our uplighting and pathway lights are hardwired, these little guys/gals are solar-powered. They’re not on all the time like the rest of the lights, but turn on when they sense motion or a linked motion sensor is tripped.

These are perfect when guests come to the house as they light up the steps (at night only) and can also send a motion notification to our phone 24/7.
Transformer
A transformer is a hub that plugs in and converts your standard 120-volt electricity to a low-voltage current. Low-voltage electricity (around 12V) is safer to work with.
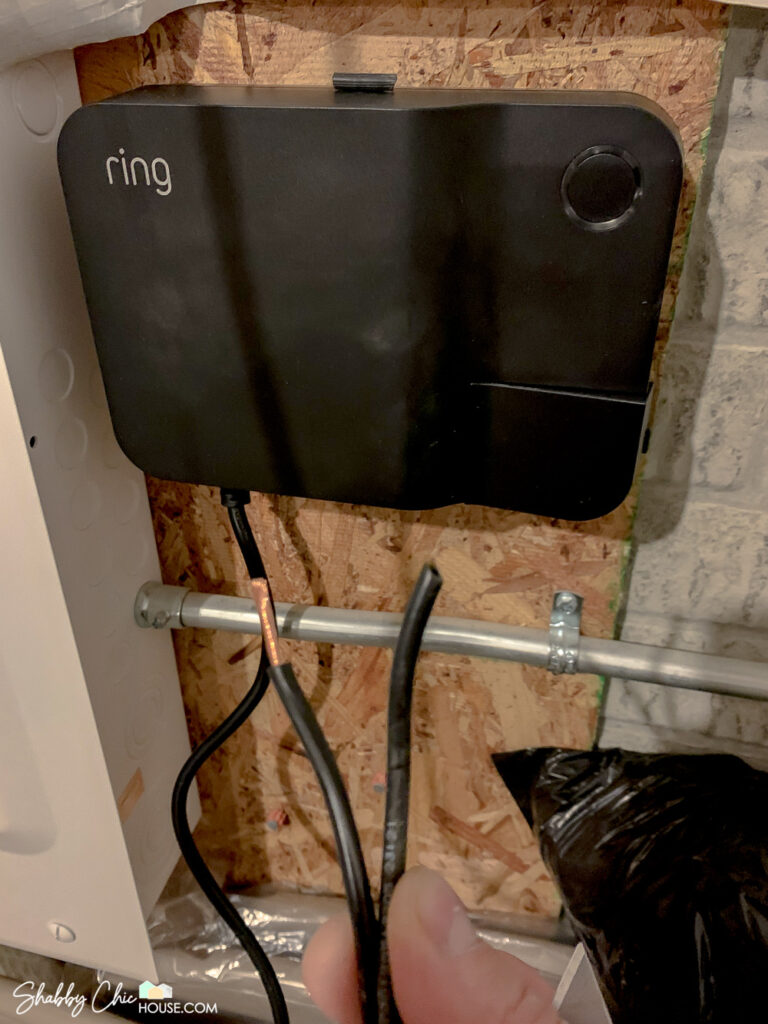
There are a lot of transformer options out there, but being a big Ring user I chose to go with the Ring Smart Lighting Transformer.
The Ring Transformer can power up to 200 watts. That easily covers my nine 4 watt uplights (9 x 4 = 36 watts) and my five 1.6 watt pathway lights (5 x 1.6 watts = 8 watts).
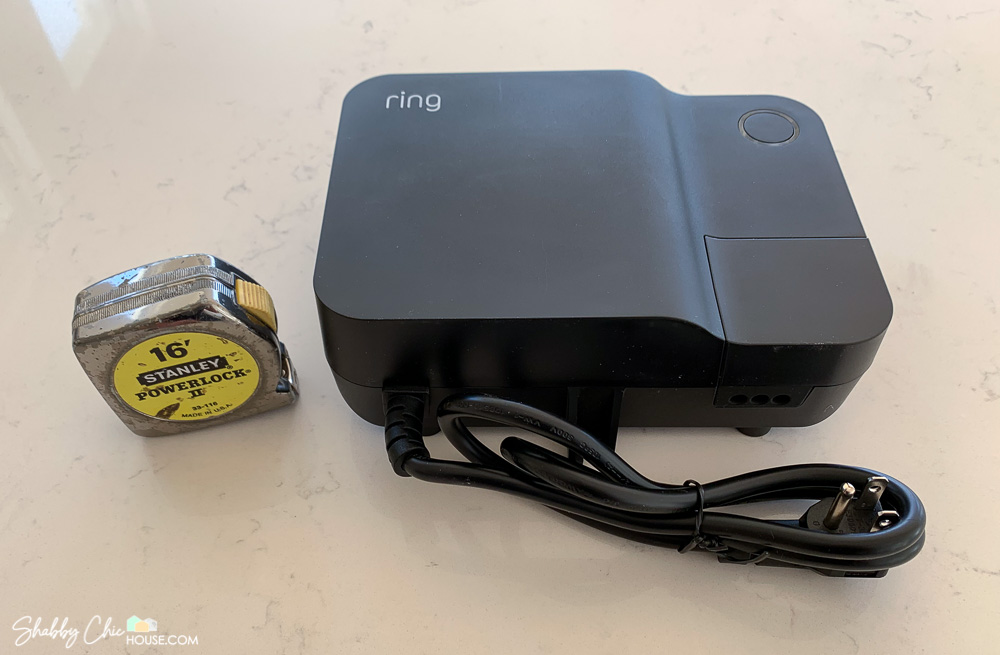
With the Ring Transformer, you can turn your landscape lights on/off from your phone as well as set them on a daily schedule.
However, my favorite feature is being able to link my landscape lights to a variety of motion sensors. For example, I have my landscape lights linked to a Ring motion sensor by my driveway, the Ring step lights I mentioned above and my Ring doorbell. If any of these motion sensors are tripped between 12:00 AM – 7:00 AM, all 16 of the landscape lights in the front of my house will kick on illuminating the entire front yard.
Talk about sending a burglar or pesky plant-eating animal running for the hills!
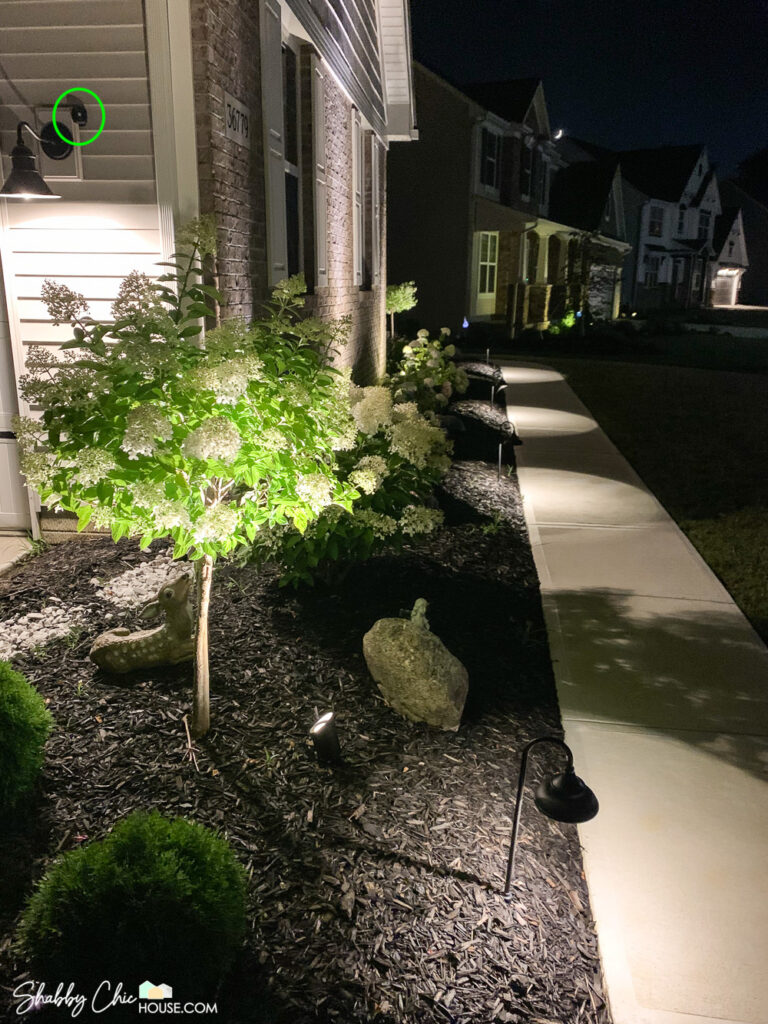
Below is a shot of the small sensor that detects motion when someone uses our sidewalk or goes anywhere near our garage entrance.

This is just one of the many awesome things Ring can do. Check out our new blog post that touches on Ring’s many other cool smart home integrations as well as an overview of the different Ring Protect Plans.
How to Install Landscape Lights
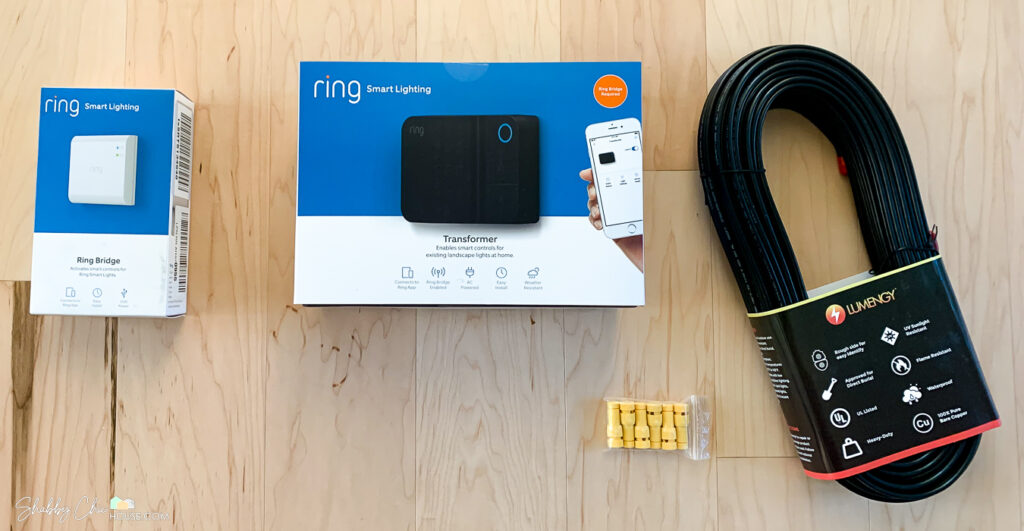
Tools You’ll Need
- Shovel
- Fishing Tape (if you need to go under a sidewalk)
- Electrical Tape
- Landscaping Light Connectors
- Low-Voltage Landscaping Wire
- Uplights / Cans
- Pathway Lights
- A Transformer & Bridge
Planning Out Your Landscape Lights
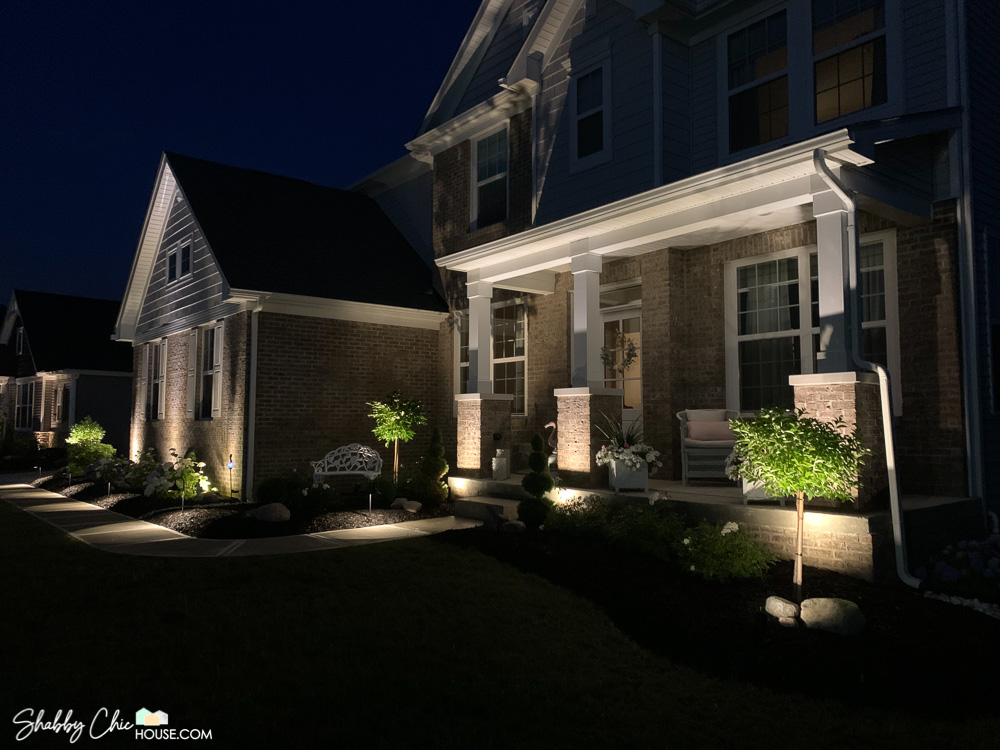
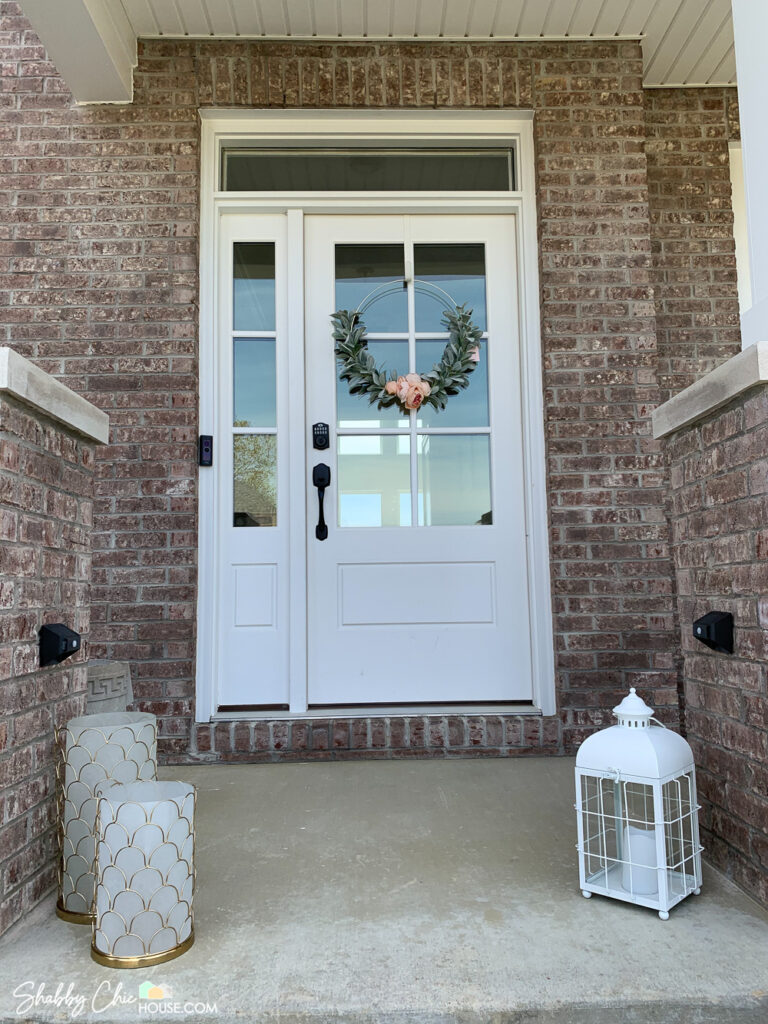
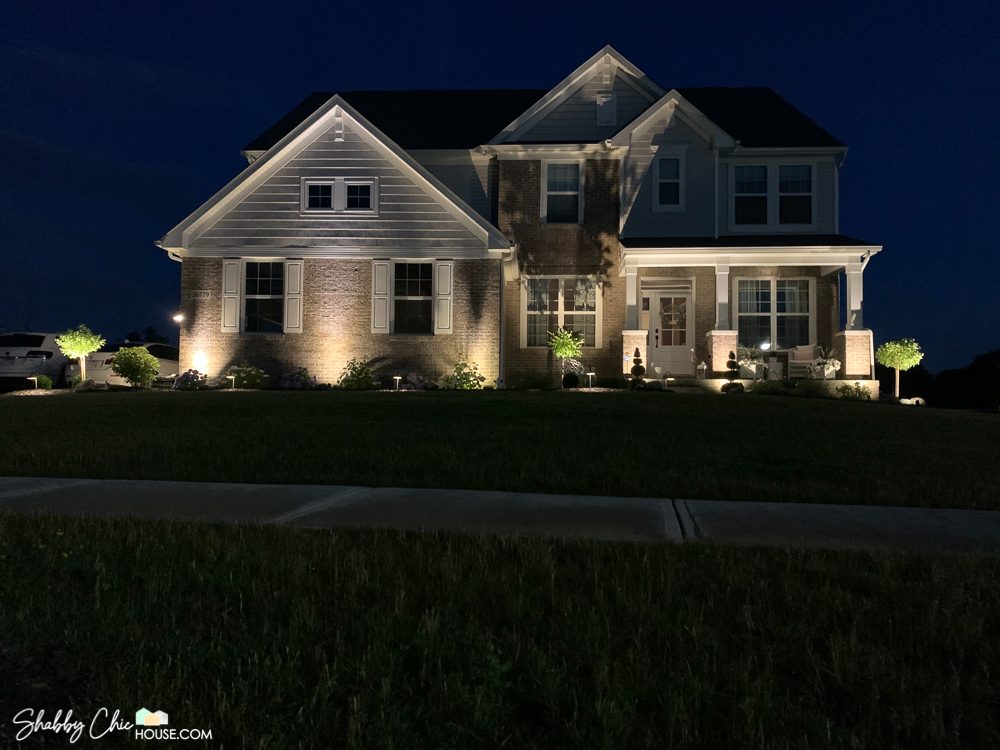
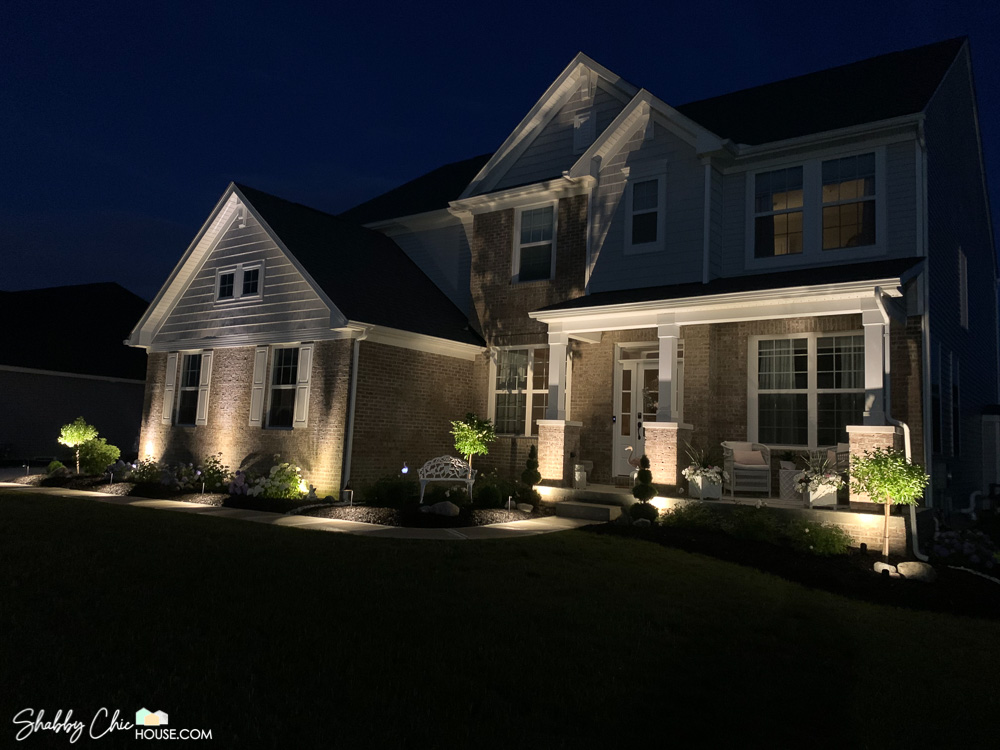
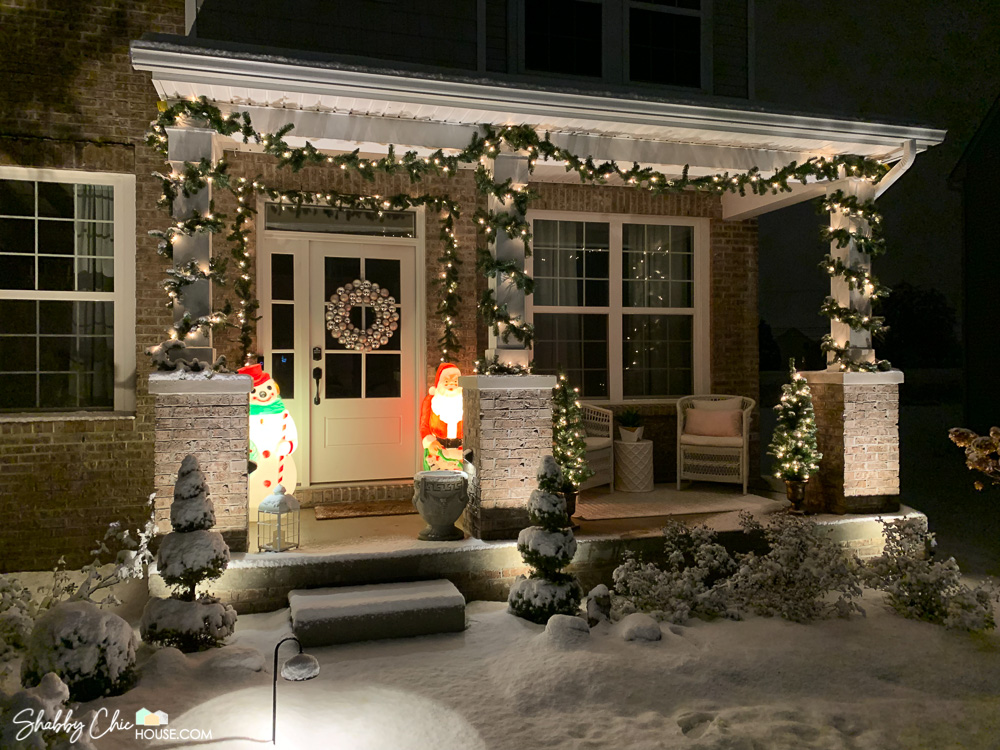
Start by observing your house from the street. What features of the house and landscaping do you want to accentuate and draw attention to?
Look for pillars, architectural highlights, trees and any other interesting features. Also, try to be symmetrical in your approach.
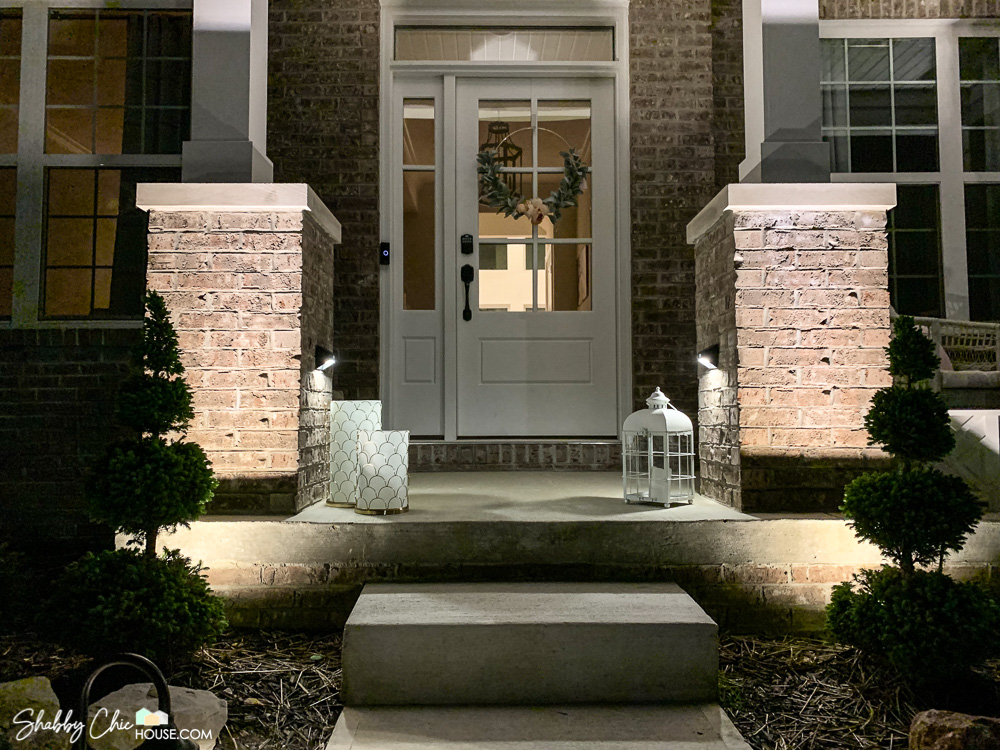
For example, starting on the left in the photo below the lighting goes – tree, house (3 lights), tree, house (3 lights on the pillars), tree. The tree in the center splits up lights focused on the house. The trees on the outside nicely bookend and compliment the other lights.

This structure and symmetry creates an awesome aesthetic at night. Also, what makes the biggest impact is incorporating the trees. Many DIYers focus solely on the house and forget why to accentuate their landscaping.
Planning Where to Place Your Transformer
Next, think through where you might want to mount your transformer box. Most transformers are weatherproof, measure around 12″ x 12″ x 4″ and are typically mounted/hidden on the side of your house. Your transformer should be plugged into a GFI-rated outlet and mounted at least 2-3′ high off the ground to help keep it dry.
In my situation, I did not have a GFI on the side of my house where I wanted to keep my transformer. However, I had a GFI on the other side of the wall in the basement. I ended up running the low voltage wire through the wall and actually keep my transformer inside of my house!
Once you’ve located a home for your transformer and planned out where you’ll place your lights it’s best to draw up a basic map. This will help you plan out how best to run your low voltage wiring. Plus, it’s nice to have something you can hold on to for future reference in case you forget exactly where you buried the low voltage wiring.

As you can see in my drawing above, the orange line represents my low voltage wiring. Off of it, you can see the circular can/uplights as well as the pathway lights.
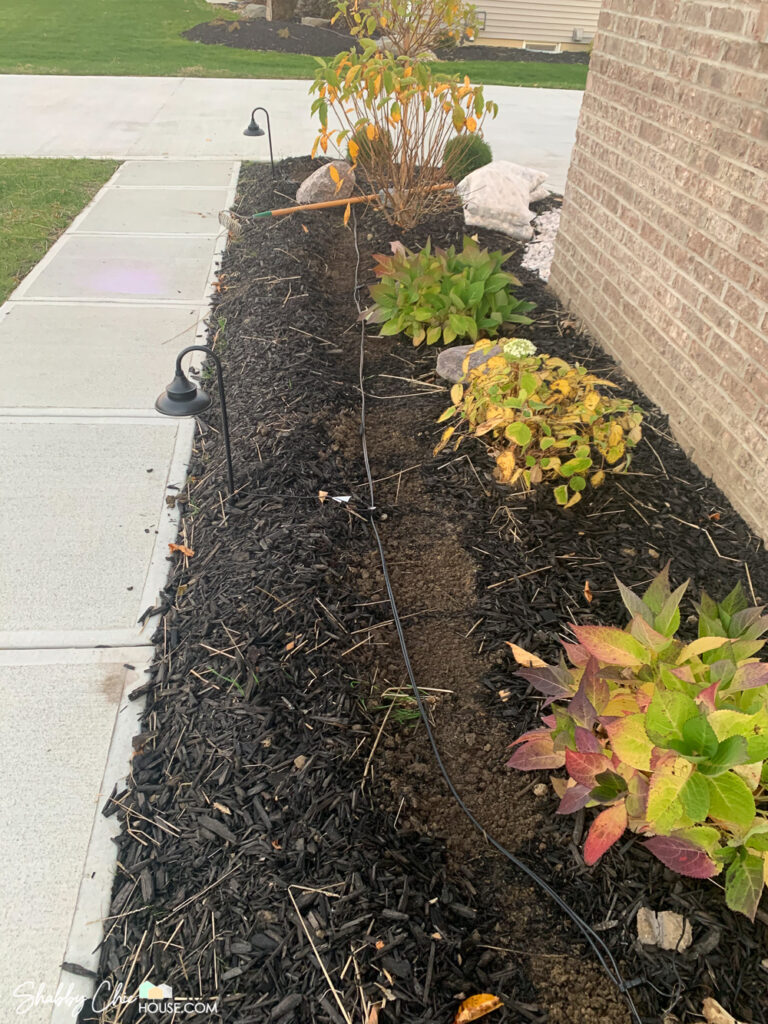
I chose to run my low landscape wiring right in the middle of my flower beds. This allows me to have my larger plants in the back of the bed and plant tulips and annuals in front of the bed by the pathway lights.
Installing Low Voltage Landscape Wire
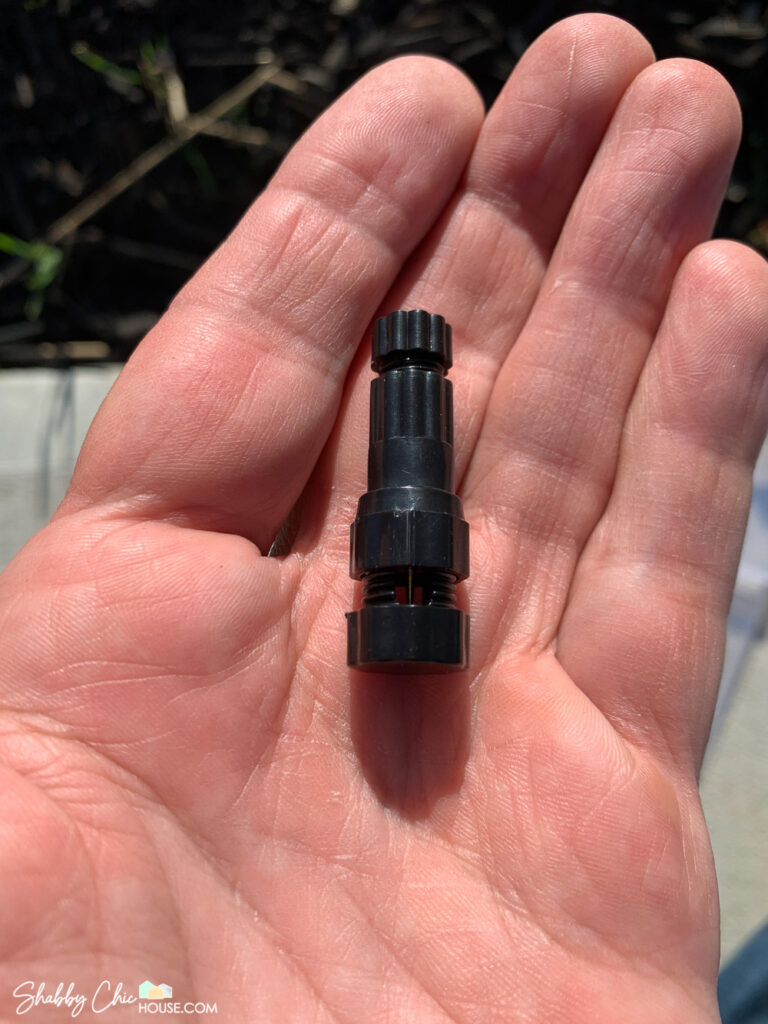
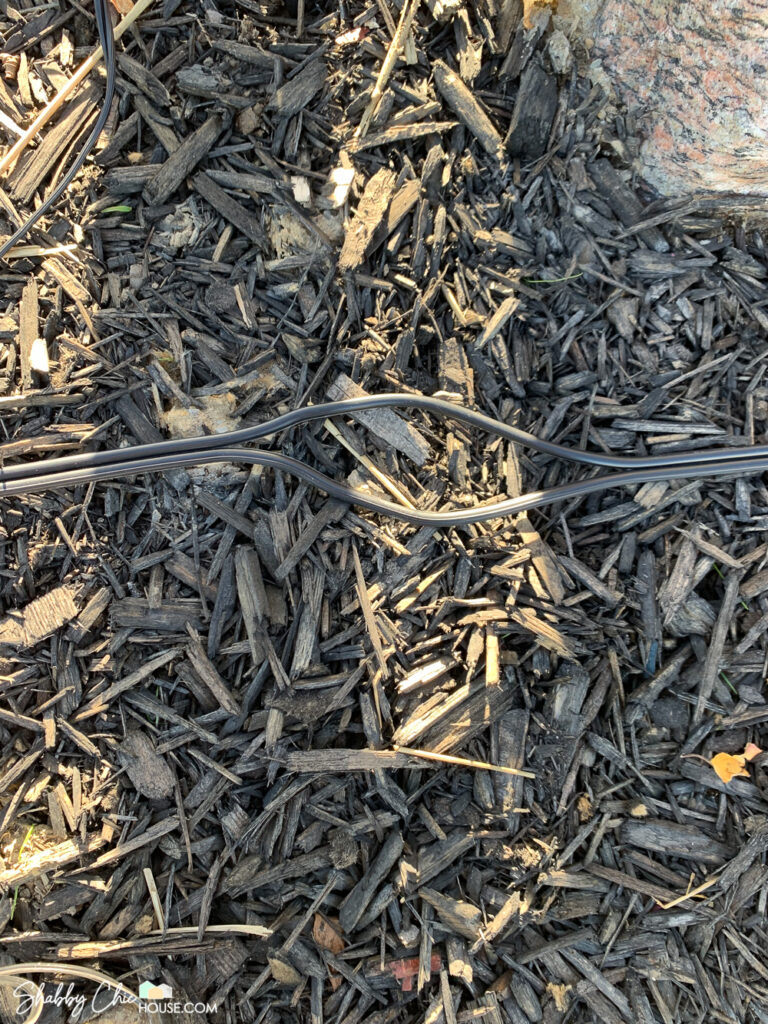
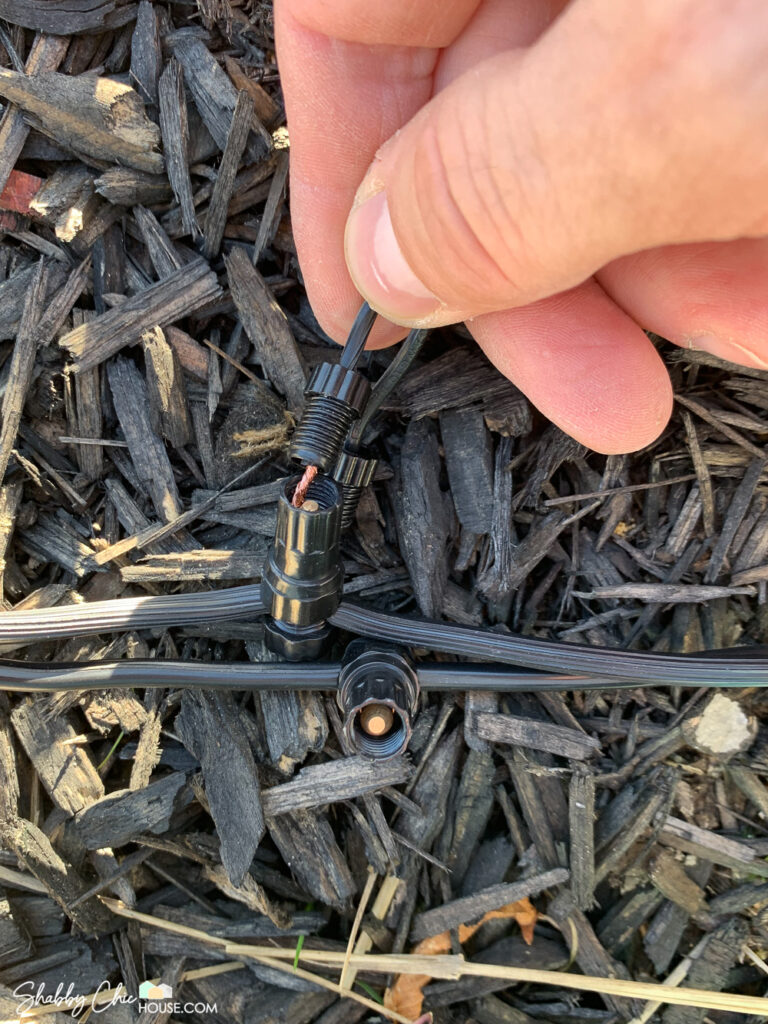
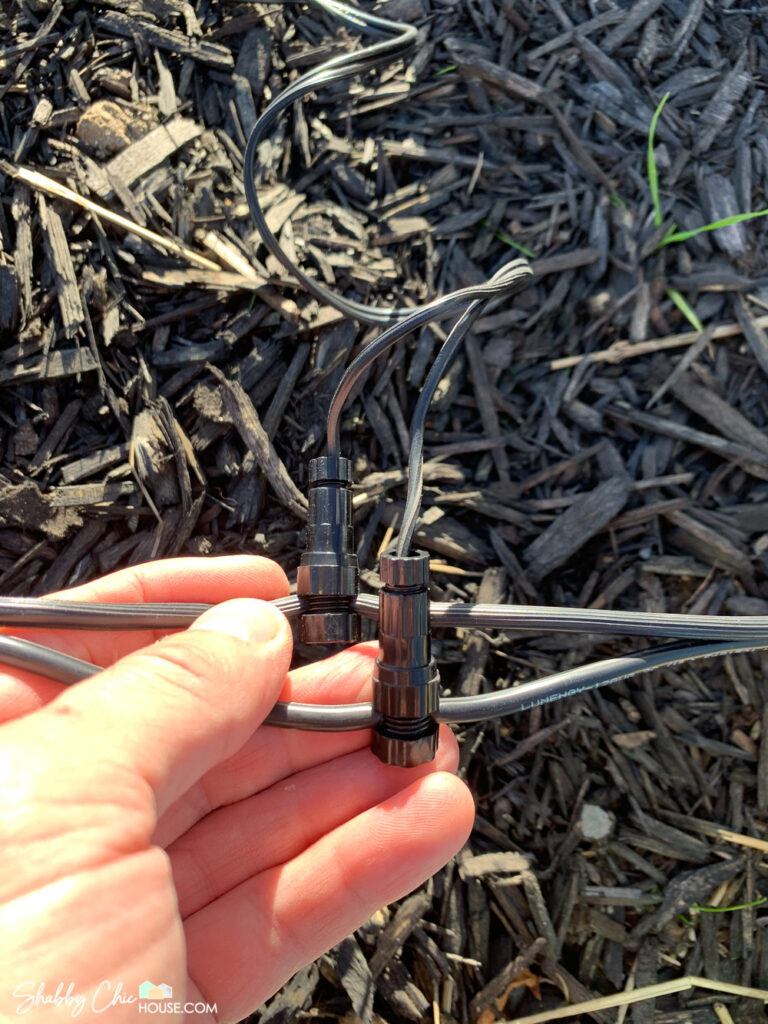
Once you have your low-voltage landscape wire laid out you’re now ready to connect your individual lights. To do so, you’ll need a 3-piece low-voltage landscaping connector.
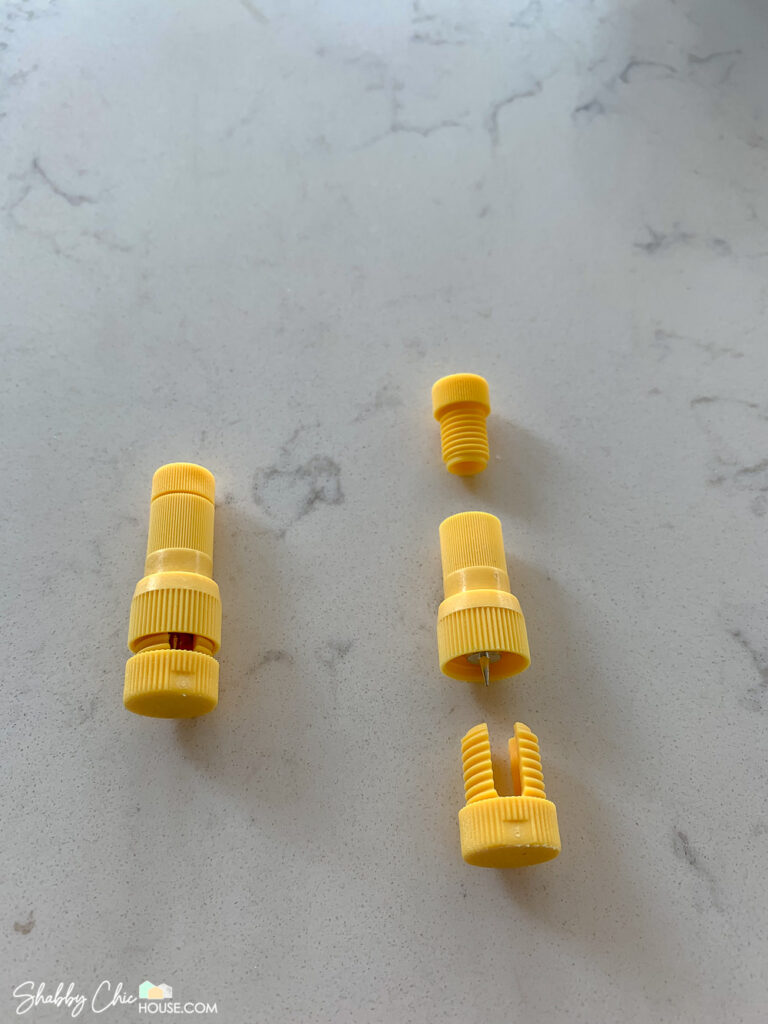
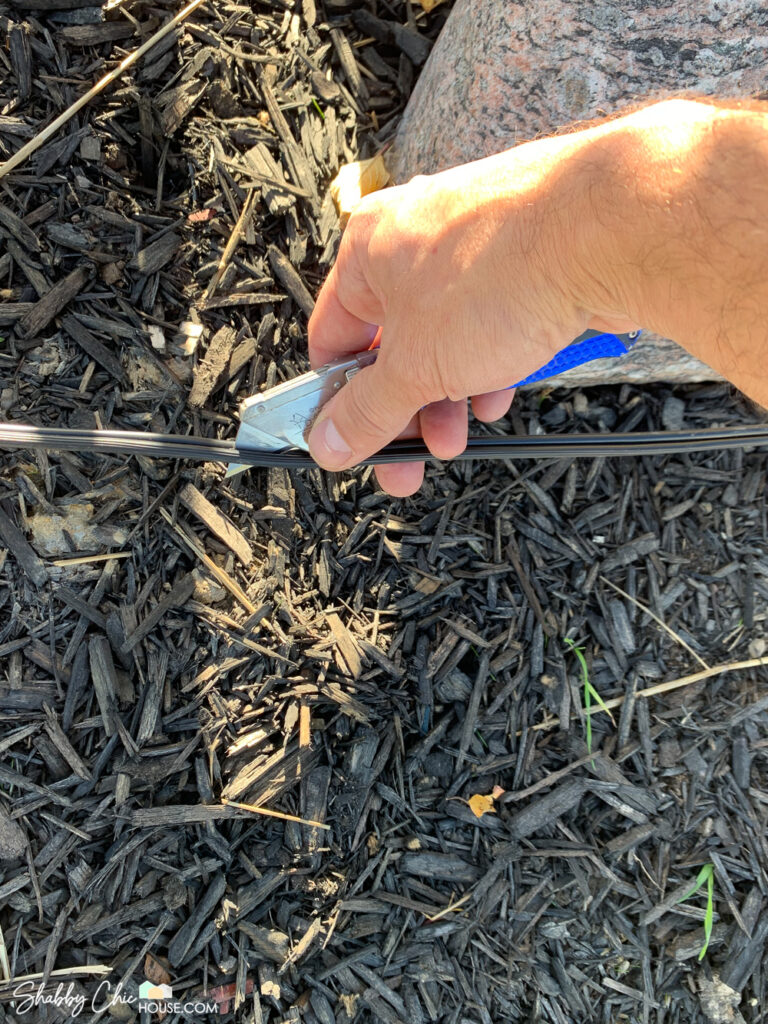
Step 1: Using a razor blade, carefully separate the landscaping wire into two pieces make sure not to damage the rubber wire casing and expose the wire.
Step 2: Place the bottom of the wire connector with threading on each of the two split wires and plunge the metal point/tip into the wire and secure by screwing on the bottom cap.
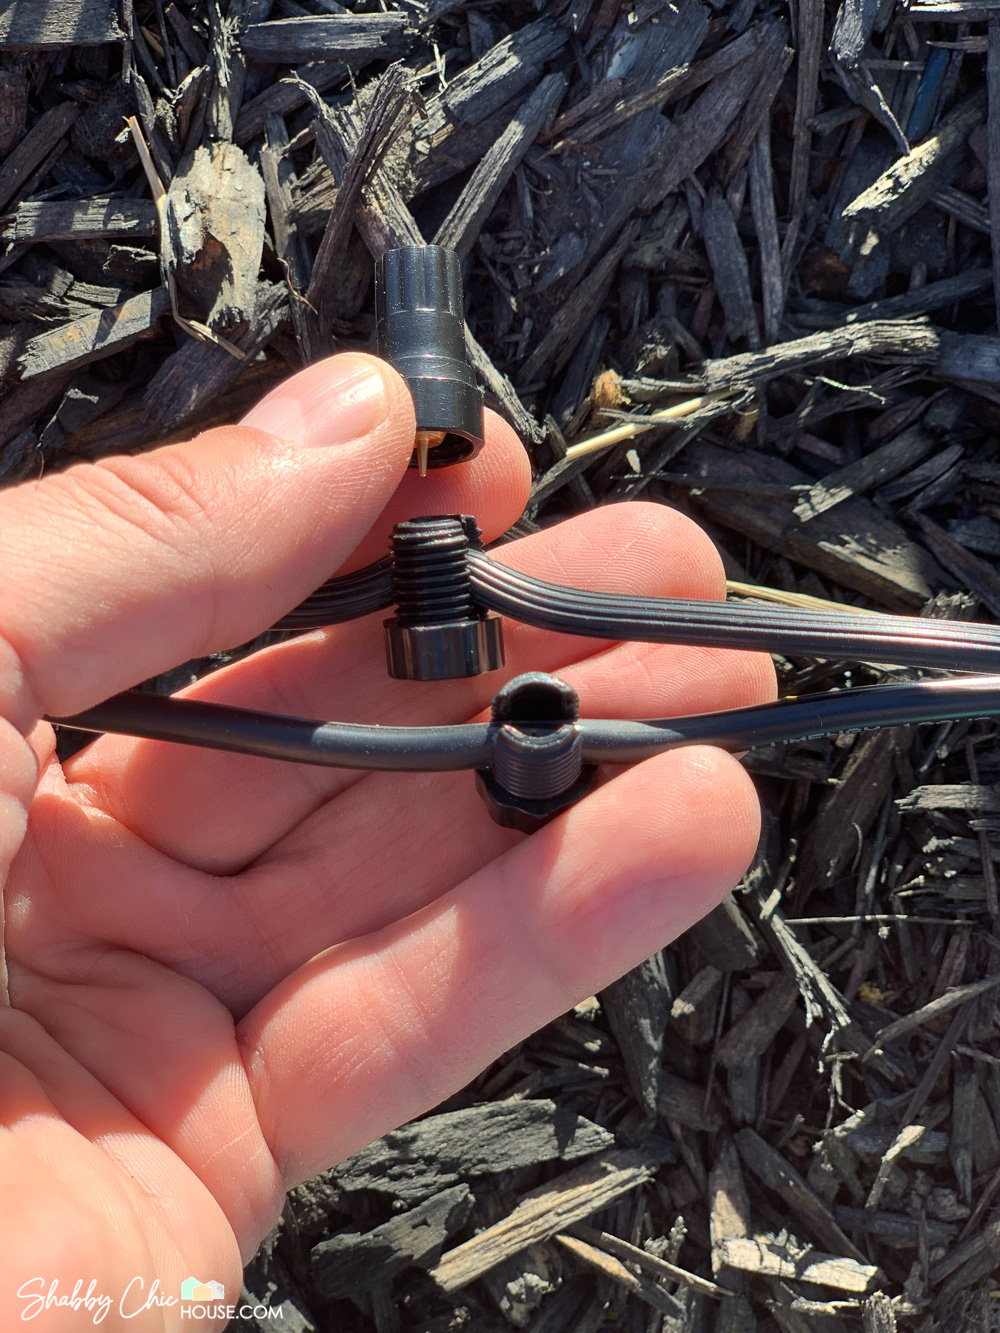
Step 3: Split the end of the landscape light wire and strip roughly 1/4″ of the rubber coating off the wire.
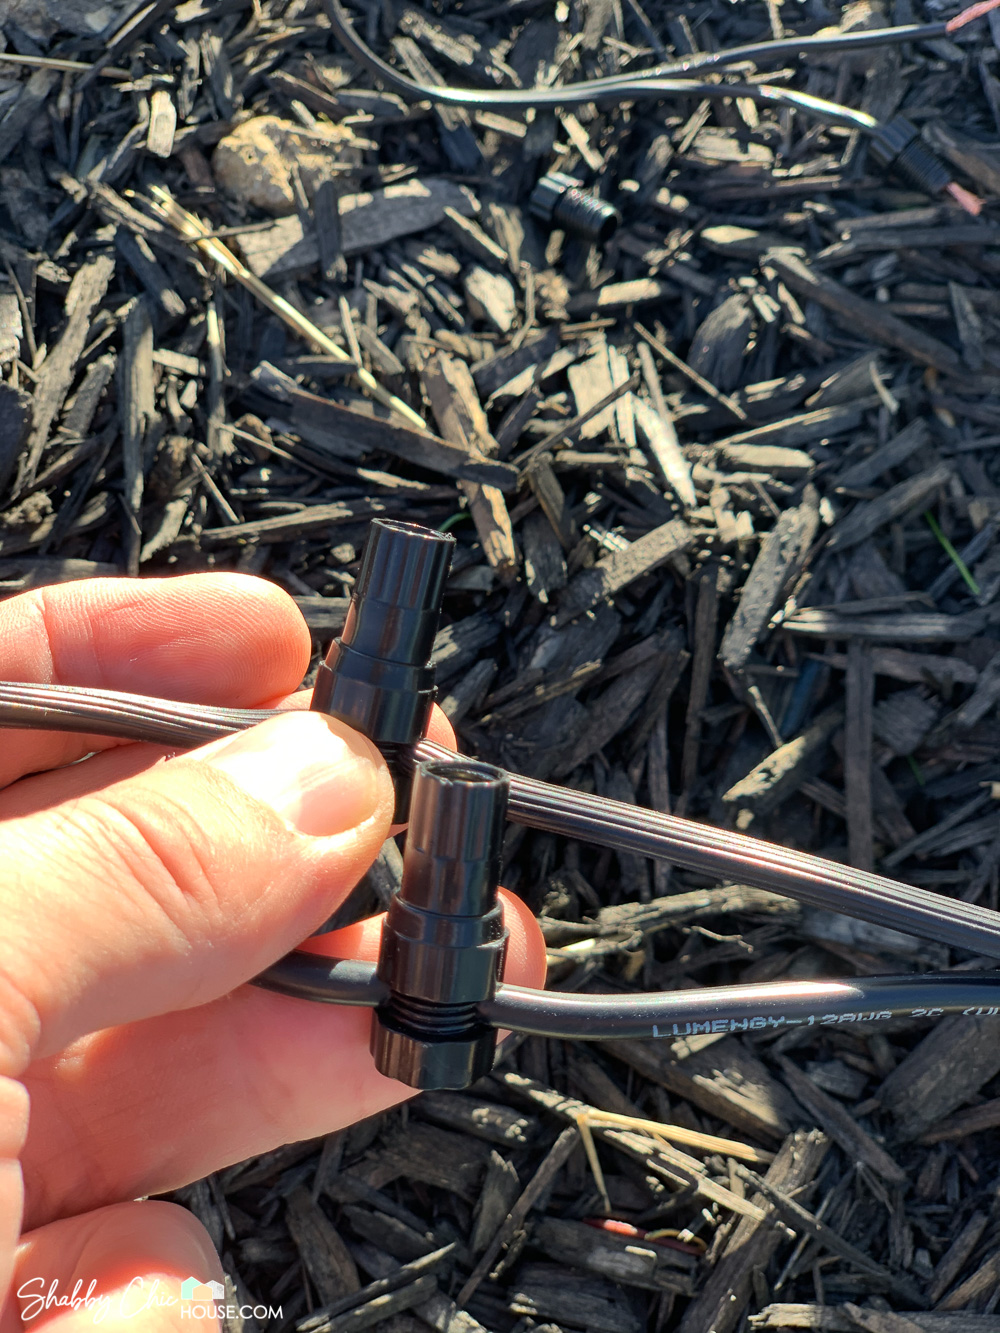
Step 4: Insert the bare wire of the landscape lights into the top of the connector and screw-down on the bottom of the connector that we attached to the low voltage wire in Step 3.
NOTE: There are no red or black wires. So either of the light wires can be connected to either of the low voltage wires.
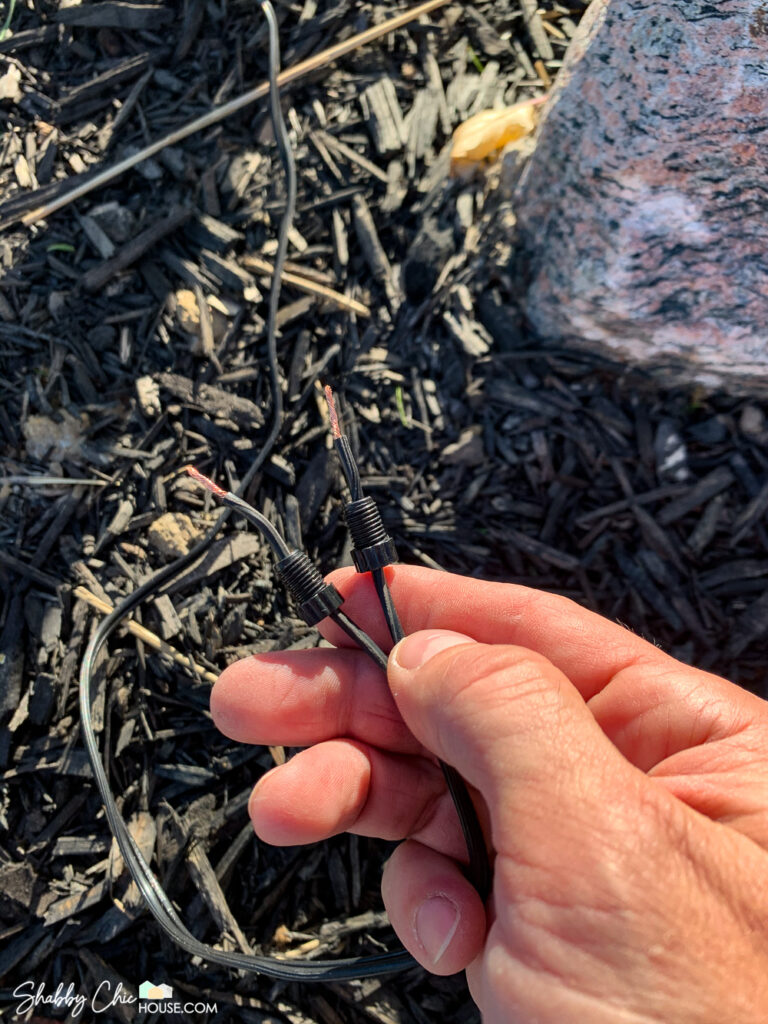
Step 5: After you’ve connected all your lights to the low-voltage wire, you can now connect the low-voltage wire to your transformer. Simply split 2-3 inches of the low voltage wire, remove the rubber sheath and insert into the two slots on your transformer.
Step 6: Plug in your transformer and test to make sure all your lights are working.
Burrying Your Low-Voltage Wiring
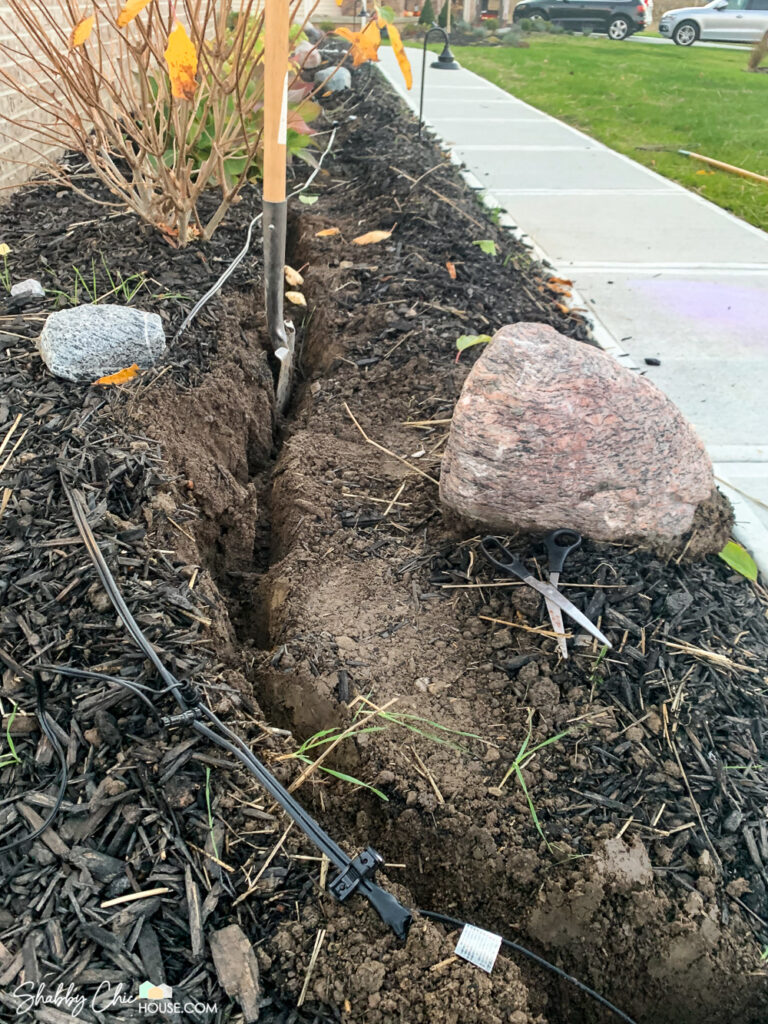
After you test and make sure that all your lights are working properly, you are now ready to bury your low-voltage wiring.
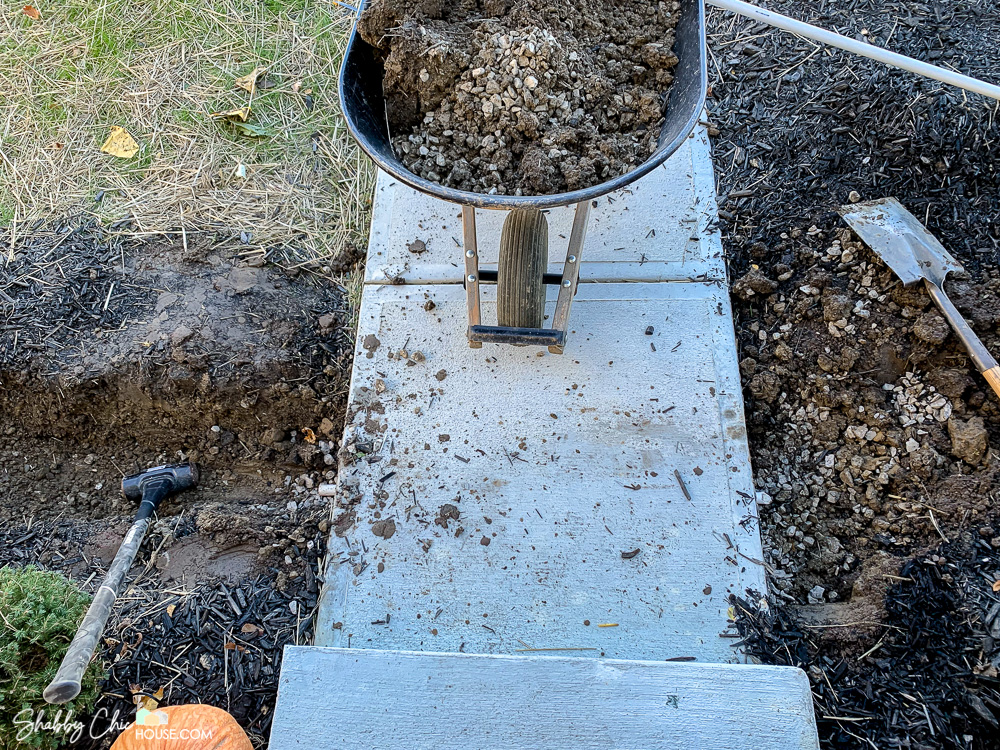
Using a spade dig a 6-7″ deep trench that you’ll be able to lay the wire in.
Again, I dug my trench right in the middle of my flower bed. This allows both my uplighting in the back of the beds as well as the pathway lights in the front of my bed to reach my low-voltage line. Also, this allows me to have my larger perennials/hydrangeas in the back of my flower bed and plant tulips or annuals in the front of my flower bed.
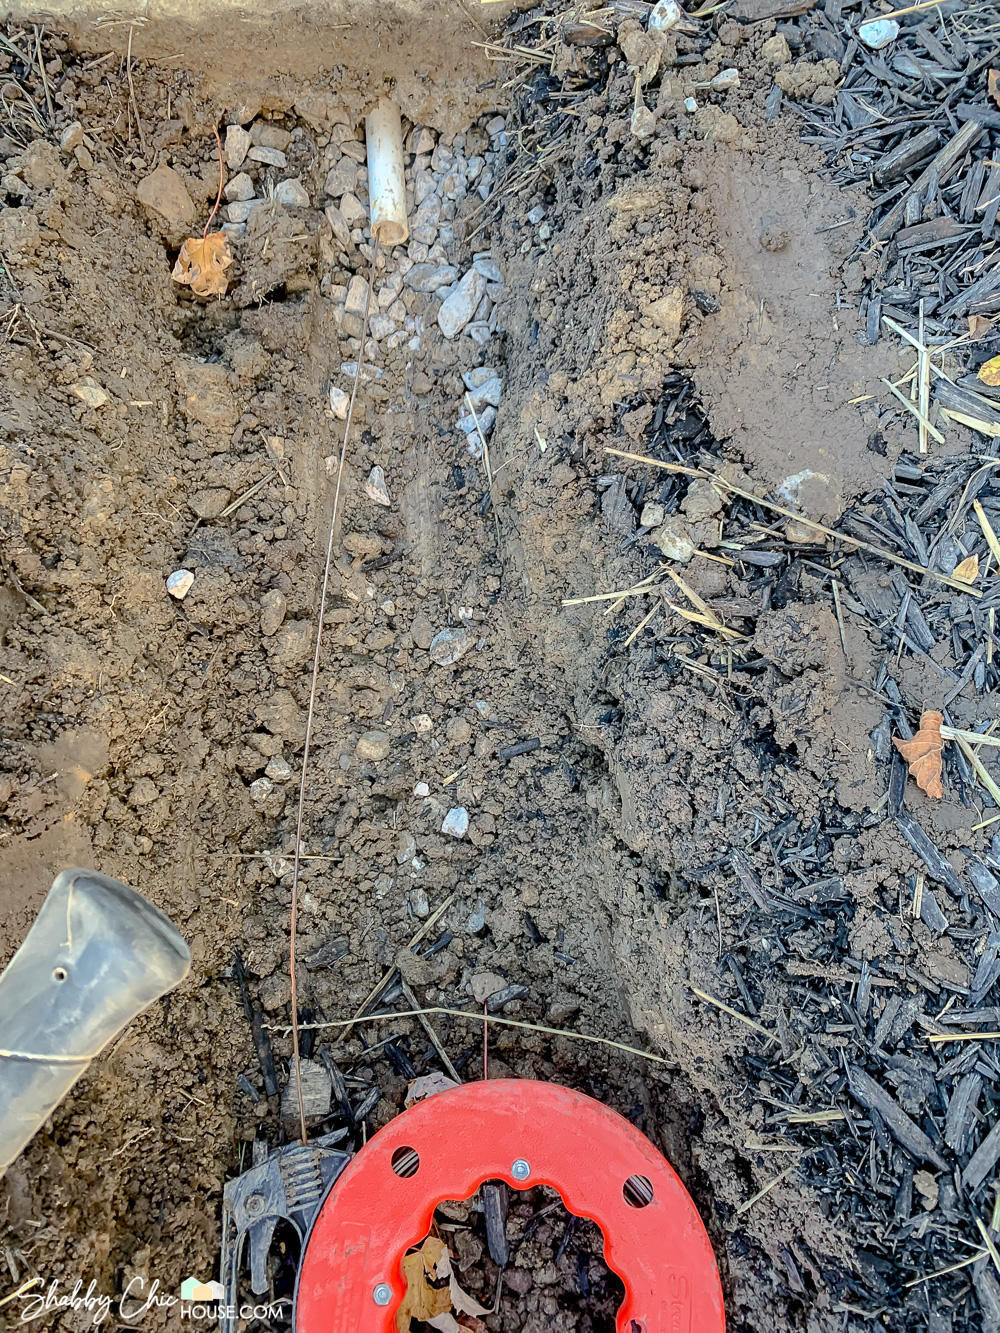
Going Under a Sidewalk
There’s a very high chance that at some point you’ll need to run your wiring under your sidewalk. While this sounds like a pretty difficult task, it’s fairly easy and there are two ways you can do it.
Buy a Auger
This auger is the easier of the two ways. Simply dig a hole on both sides of your sidewalk. Then attached your auger to a power drill and drill through the soil and rock under the sidewalk towards the side where your line is stuck or rests. Next, lace the line through the small opening on the tip of the auger and pull underneath the sidewalk!
Sledge Hammer & PVC Pipe
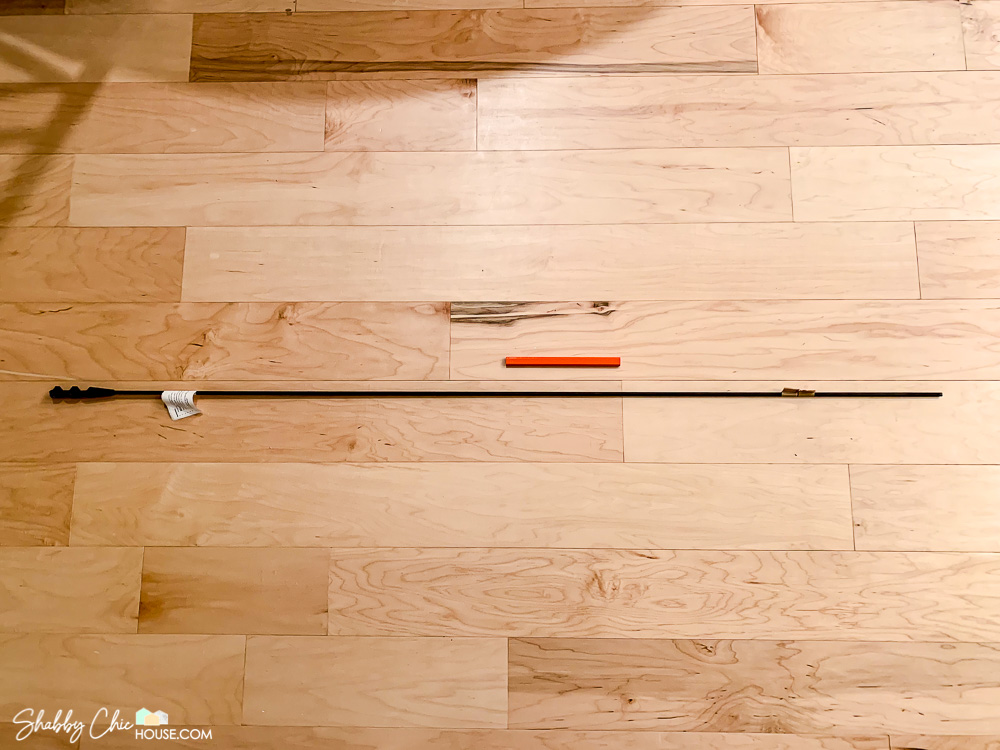
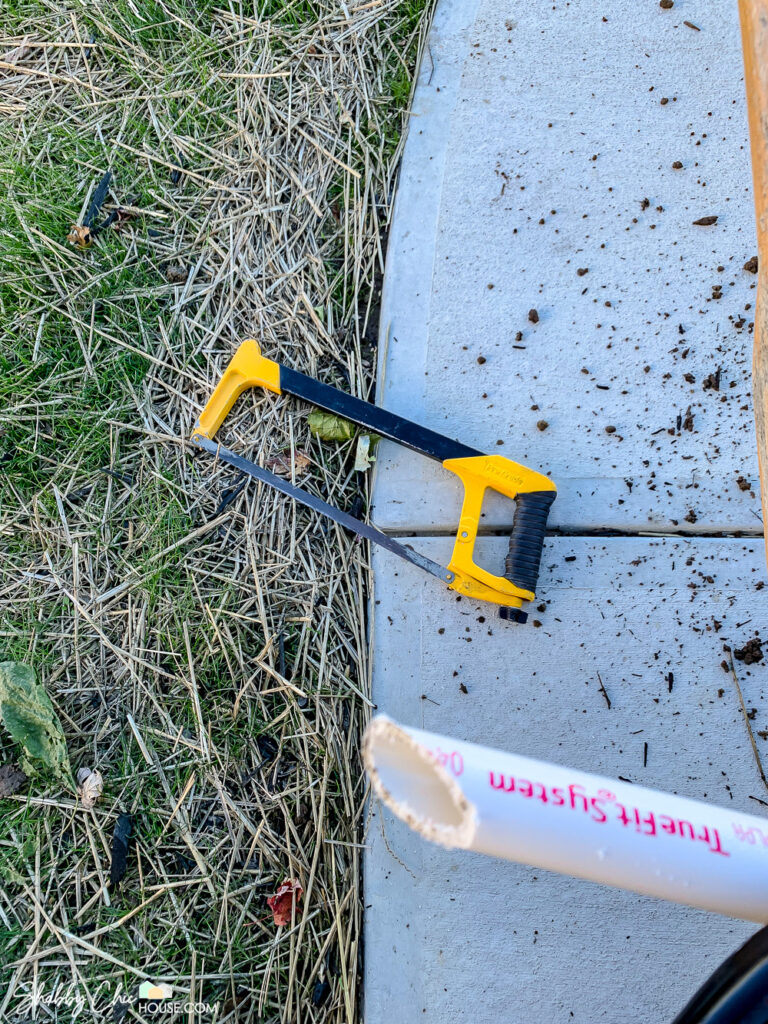
If you already own a sledgehammer, this second option may be the way to go. Simply buy a small (roughly 1″ diameter) piece of inexpensive PVC piping. Cut one end of the PVC at an angle to help it penetrate through the dirt and rock.
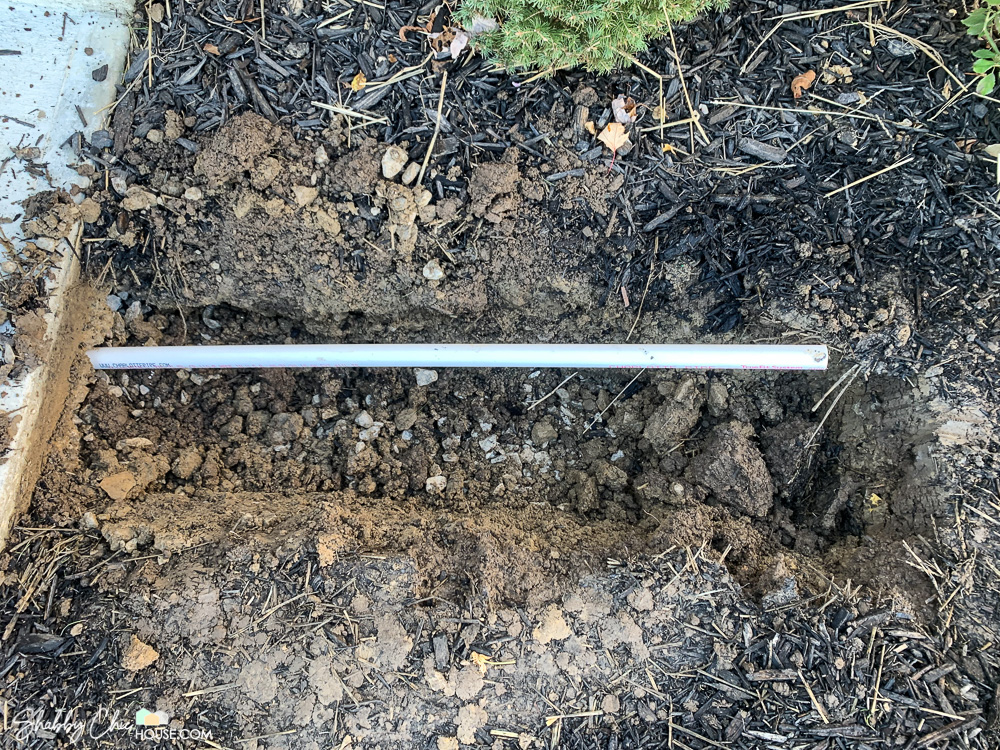
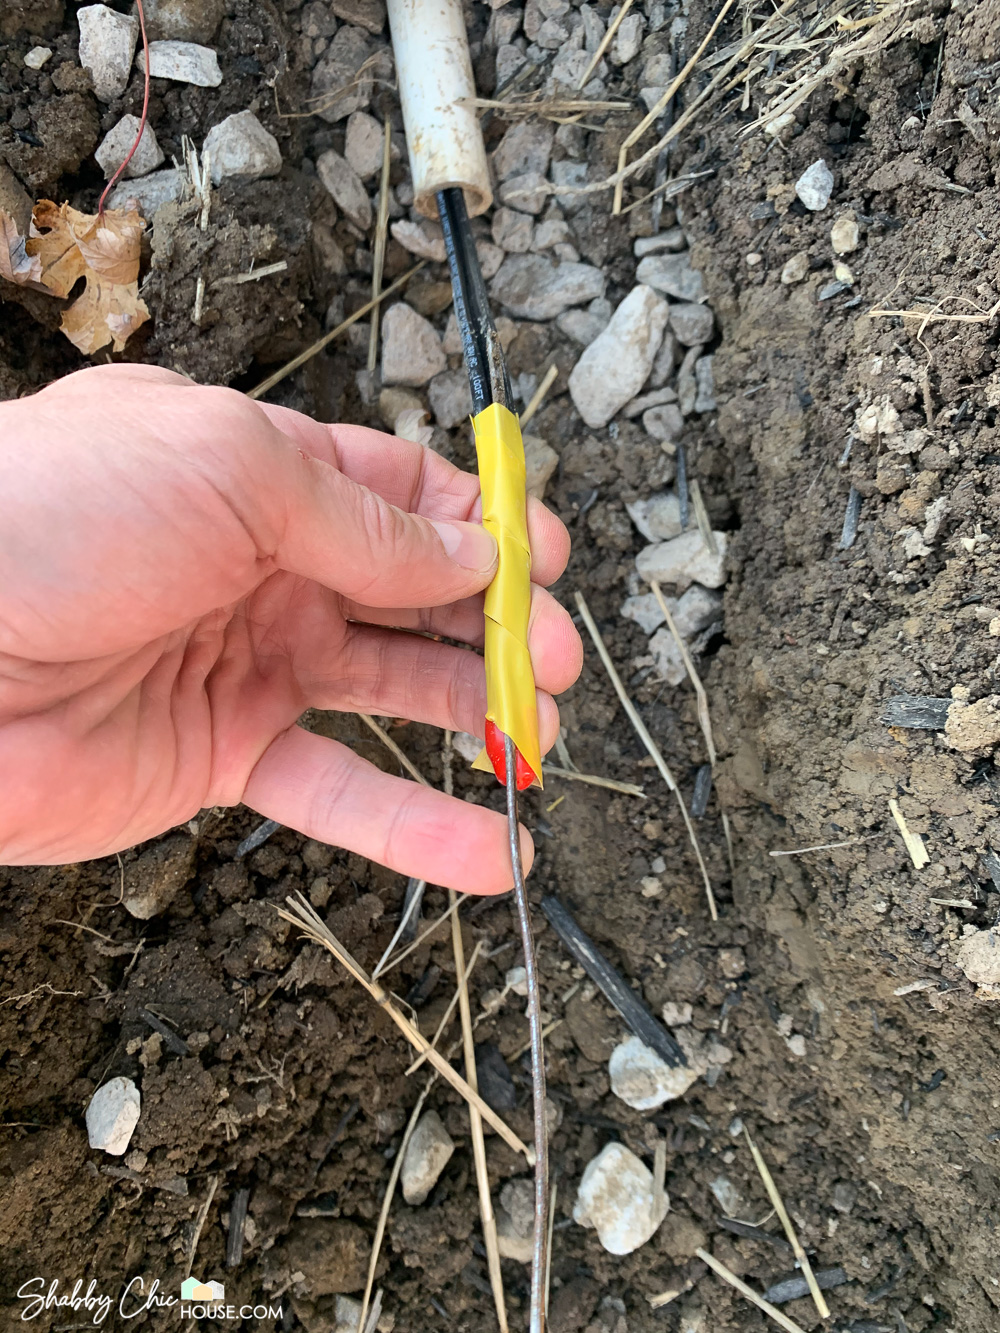
Next, Dig a 5-6″ hole on both sides of the sidewalk. Then, begin to hammer the PVC so it runs underneath the sidewalk. Once you see the PVC appear on the other side of the sidewalk you’re done. Finally, feed your electrical wire through the PVC pipe with a fish tape tool and repair your flower bed.
Conclusion
We absolutely love our landscape lighting and the difference it makes at night time is game-changing. What do you think? Let us know in the comments below!


These are interesting tips. Although our house doesn’t have a very spacious landscape, we do have a couple of lights outside but what I really find interesting here is the Solar powered lights. I think that’s a practical option for someone who leaves in a tropical country like me where it is sunny most of the day.
Thank you for sharing
These are some great tips. Never been a big fan of outside lights just for looks. It just seems like a waste of money. Having them to illuminate a walk way with a sensor might be a better use.
This is so helpful! I love the look of the uplights and you made it so simple to get those set up! Thanks for helping!