The thought of hanging wallpaper can be pretty intimidating, but it’s actually not that hard. It just takes a tiny bit of knowledge, attention to detail and most importantly, patience.
In this post I’ll walk you through the easiest way to hang wallpaper, the tools needed and a few tips and tricks to help you nail it on your first try.
Some of our posts contain affiliate links. We often share links to the tools & products used in our home improvement projects and if you purchase one of these items using our link, we may earn a small commission (at no additional cost to you).
How Much Wallpaper to Buy
Trying to figure out how much wallpaper to buy might actually be one of the hardest steps. How much you need will be dependent on the size of your room, the width of the roll of wallpaper and how often the pattern repeats.
First, measure the width and height of the walls you intend to wallpaper. Then for each wall, multiply the width by the height to figure out the square footage.
Next, if you have any doors or windows, you can multiply their width by their height and subtract from the overall square footage needed. If you have 1 door or 1 window, I typically skip subtracting from my total square footage as I like to have the extra material on hand. However, if you’re hanging wallpaper in a sunroom with 10 windows, then you’ll most definitely want to measure the windows and subtract them from your total square footage.
Last, add an additional 15-20% in wallpaper to make up for your repeating pattern as well as wastage.
Figuring Out Your Square Footage
To demonstrate this, let’s take a look at my project. I had two walls that were 3′ wide x 6′ tall and two walls that were 7.5′ wide x 6′ tall. I only needed 6′ tall as I decided to do a chair rail and wainscoting on the lower half of the wall).
3′ (Wall 1 Width) x 6′ (Wall 1 Height) = 18 sq ft for Wall 1
18 sq ft x 2 walls = 36 sq ft for Wall 1 and Wall 2
7.5′ x 6′ = 45 sq ft for Wall 3
45 sq ft x 2 = 90 sq ft Wall 3 & Wall 4
TOTAL SQUARE FOOTAGE (add sq ft for all 4 walls) = 90 + 36 = 126 sq ft
15% ADDITIONAL for wastage = 126 x .15 = 18.9.
TOTAL SQ FT NEEDED = 126 + 18.9 = 144.9 sq ft
Picking Out Your Wallpaper
Once you find a wallpaper that you like, read the manufacturer’s instructions. The manufacturer will most likely provide guidance on how many rolls you should buy based on the square footage you calculated above.
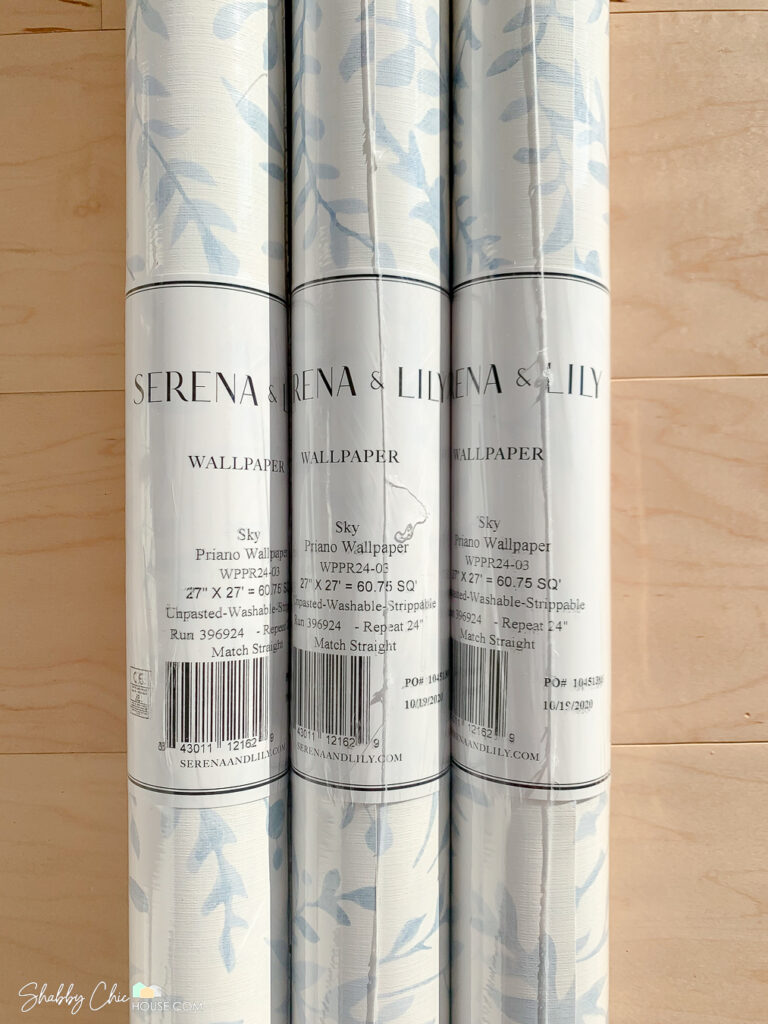
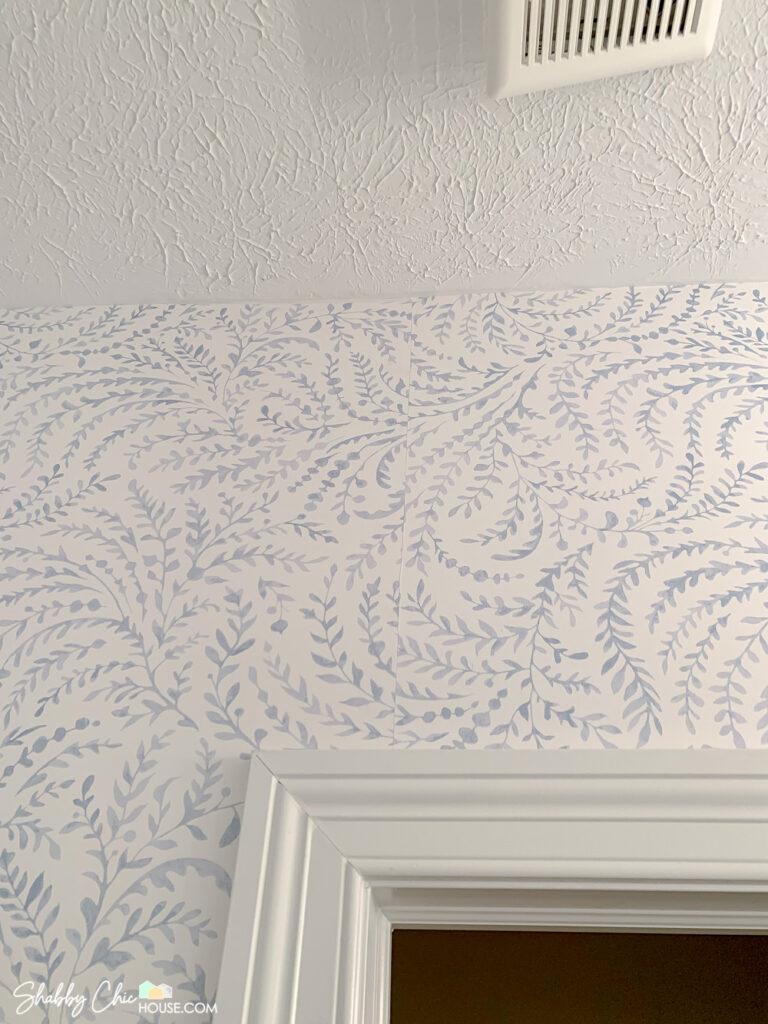
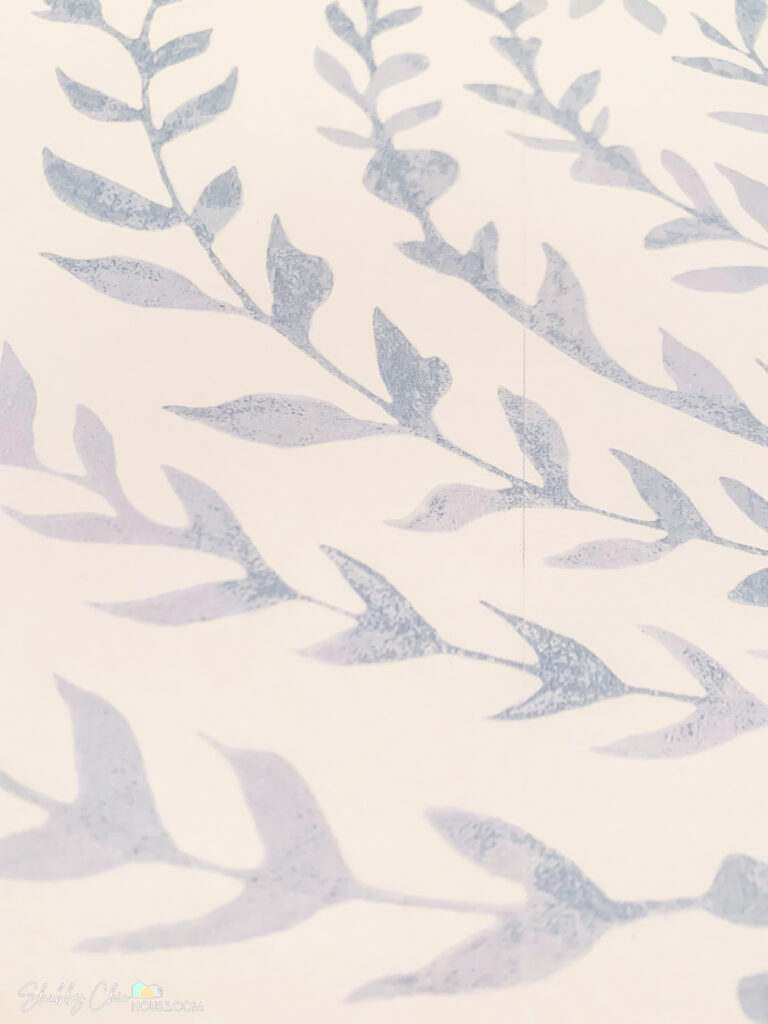
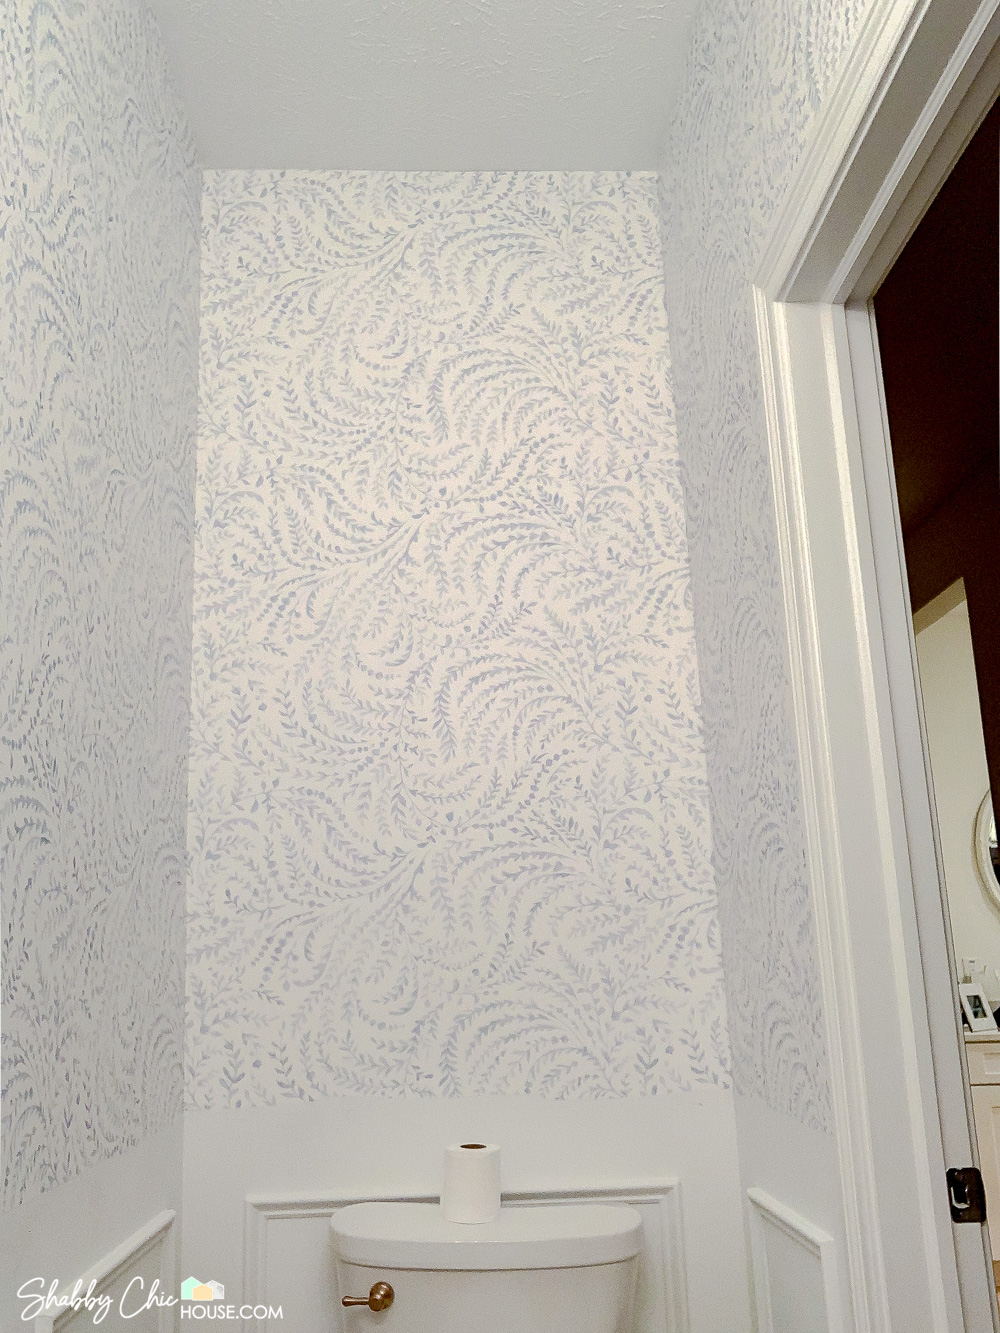
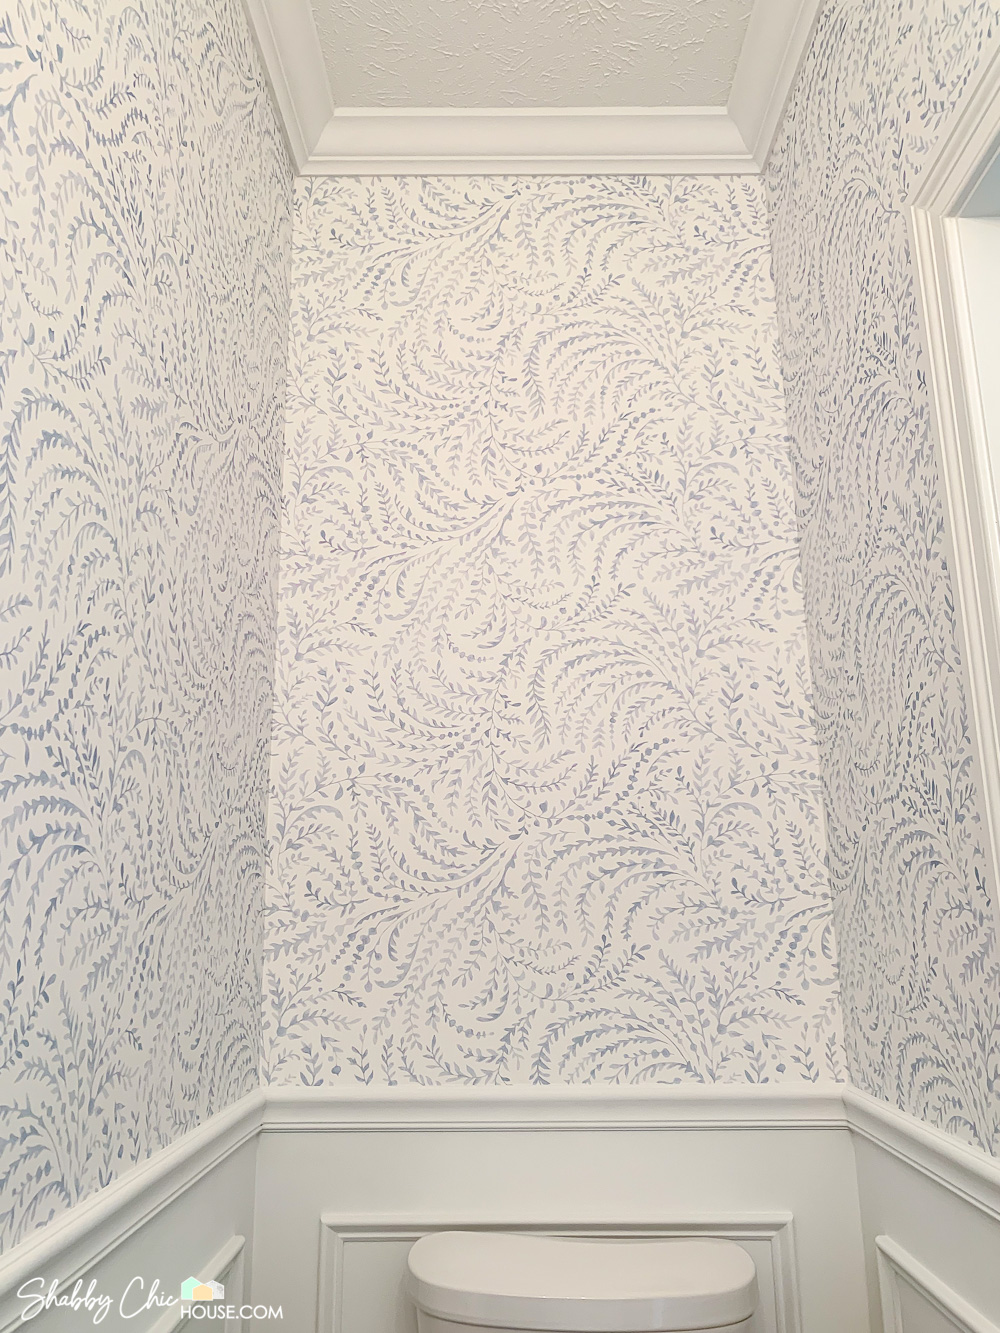
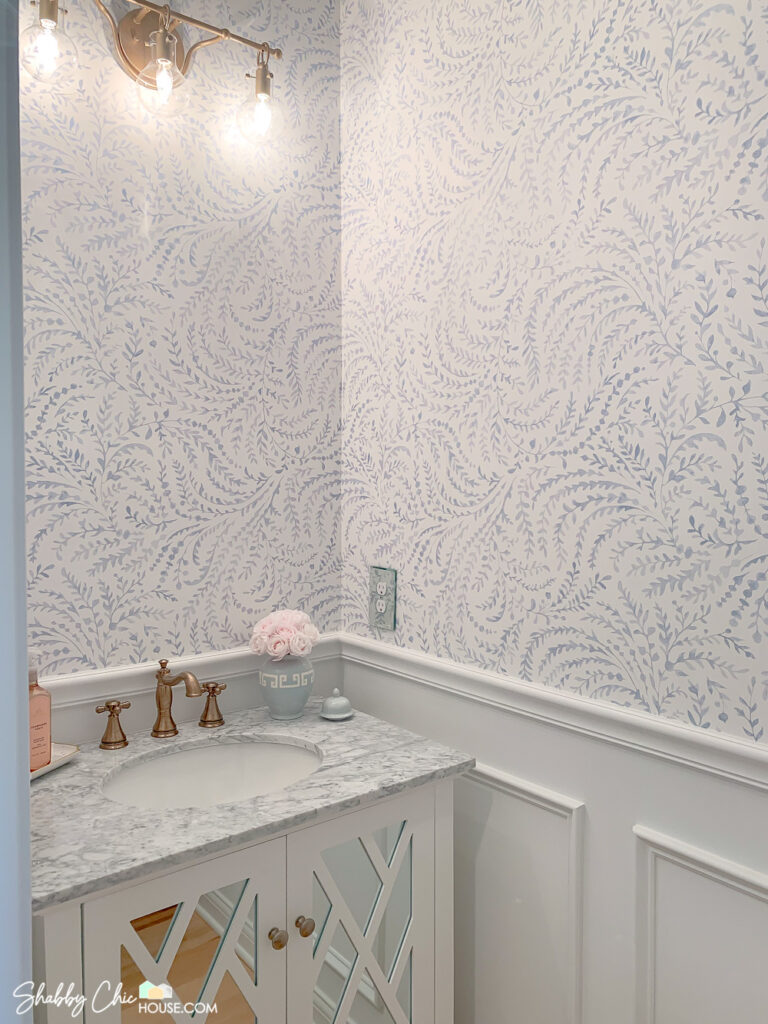
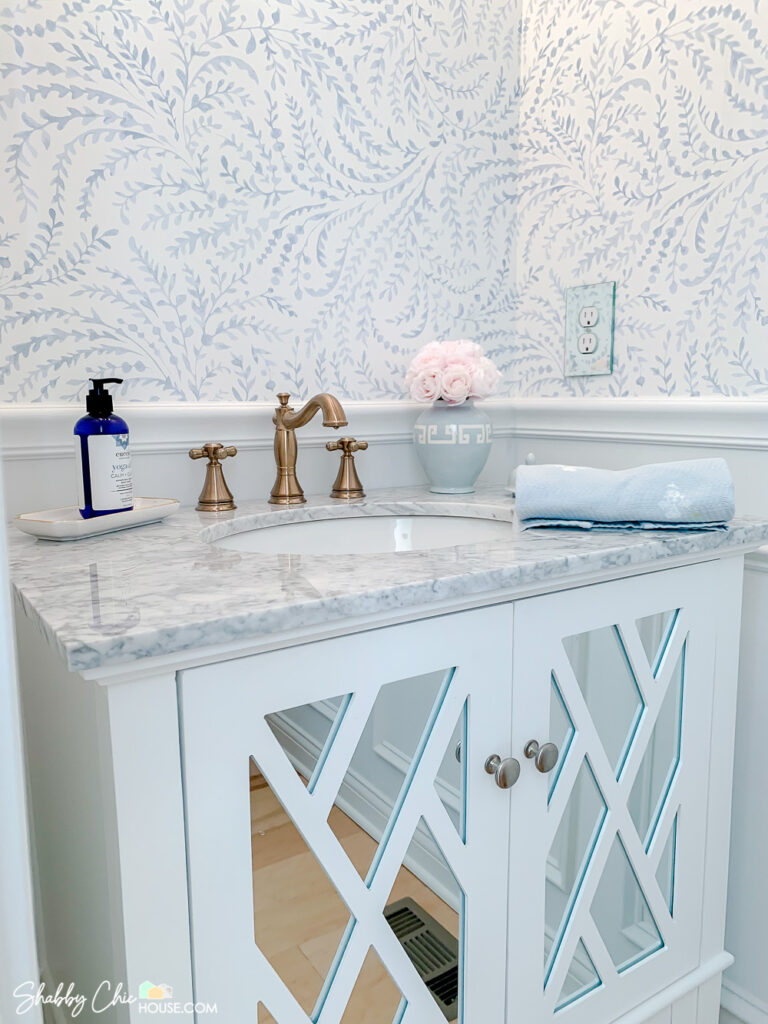
We chose this awesome white and blue floral wallpaper from Serena & Lily. This is their “Priano” wallpaper that comes in 4 colors – Sky, Navy, Dusty Pink & Green.
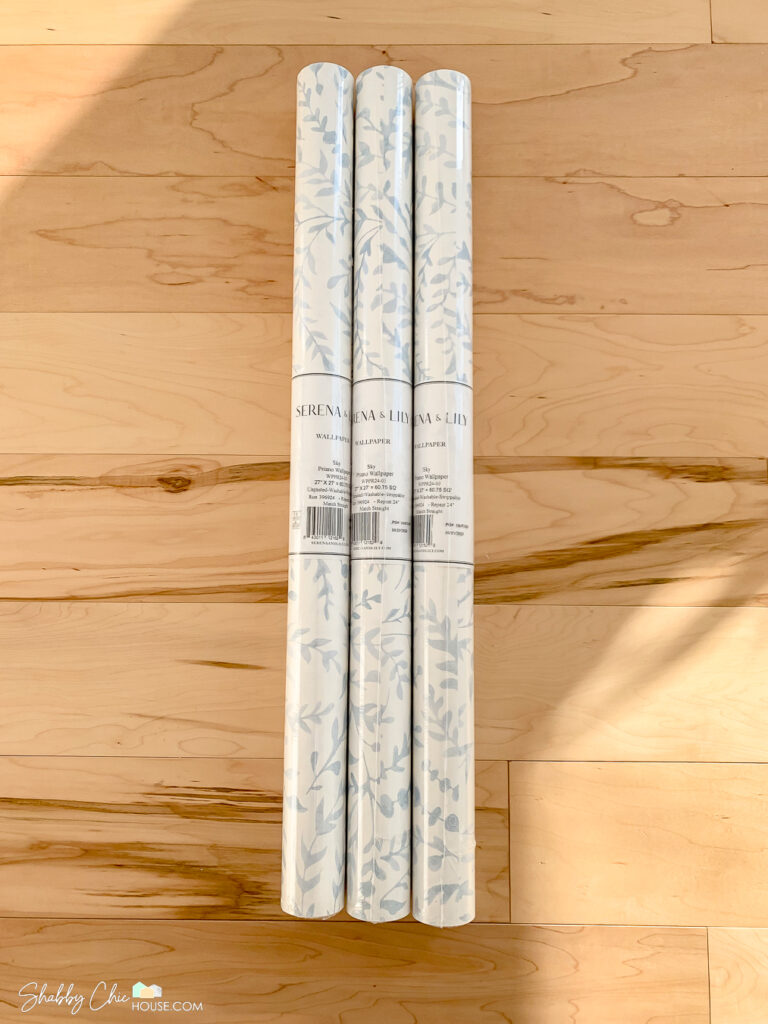
You can see on the label below that these rolls are 27″ wide and 27′ long. If you were a magician and somehow utilized every square inch, a single roll would cover 60.75 square feet.
In our measurements above, I calculated that I needed 144.9 square ft since a single roll covers 60.75 square feet, I needed to purchase three rolls for my project.
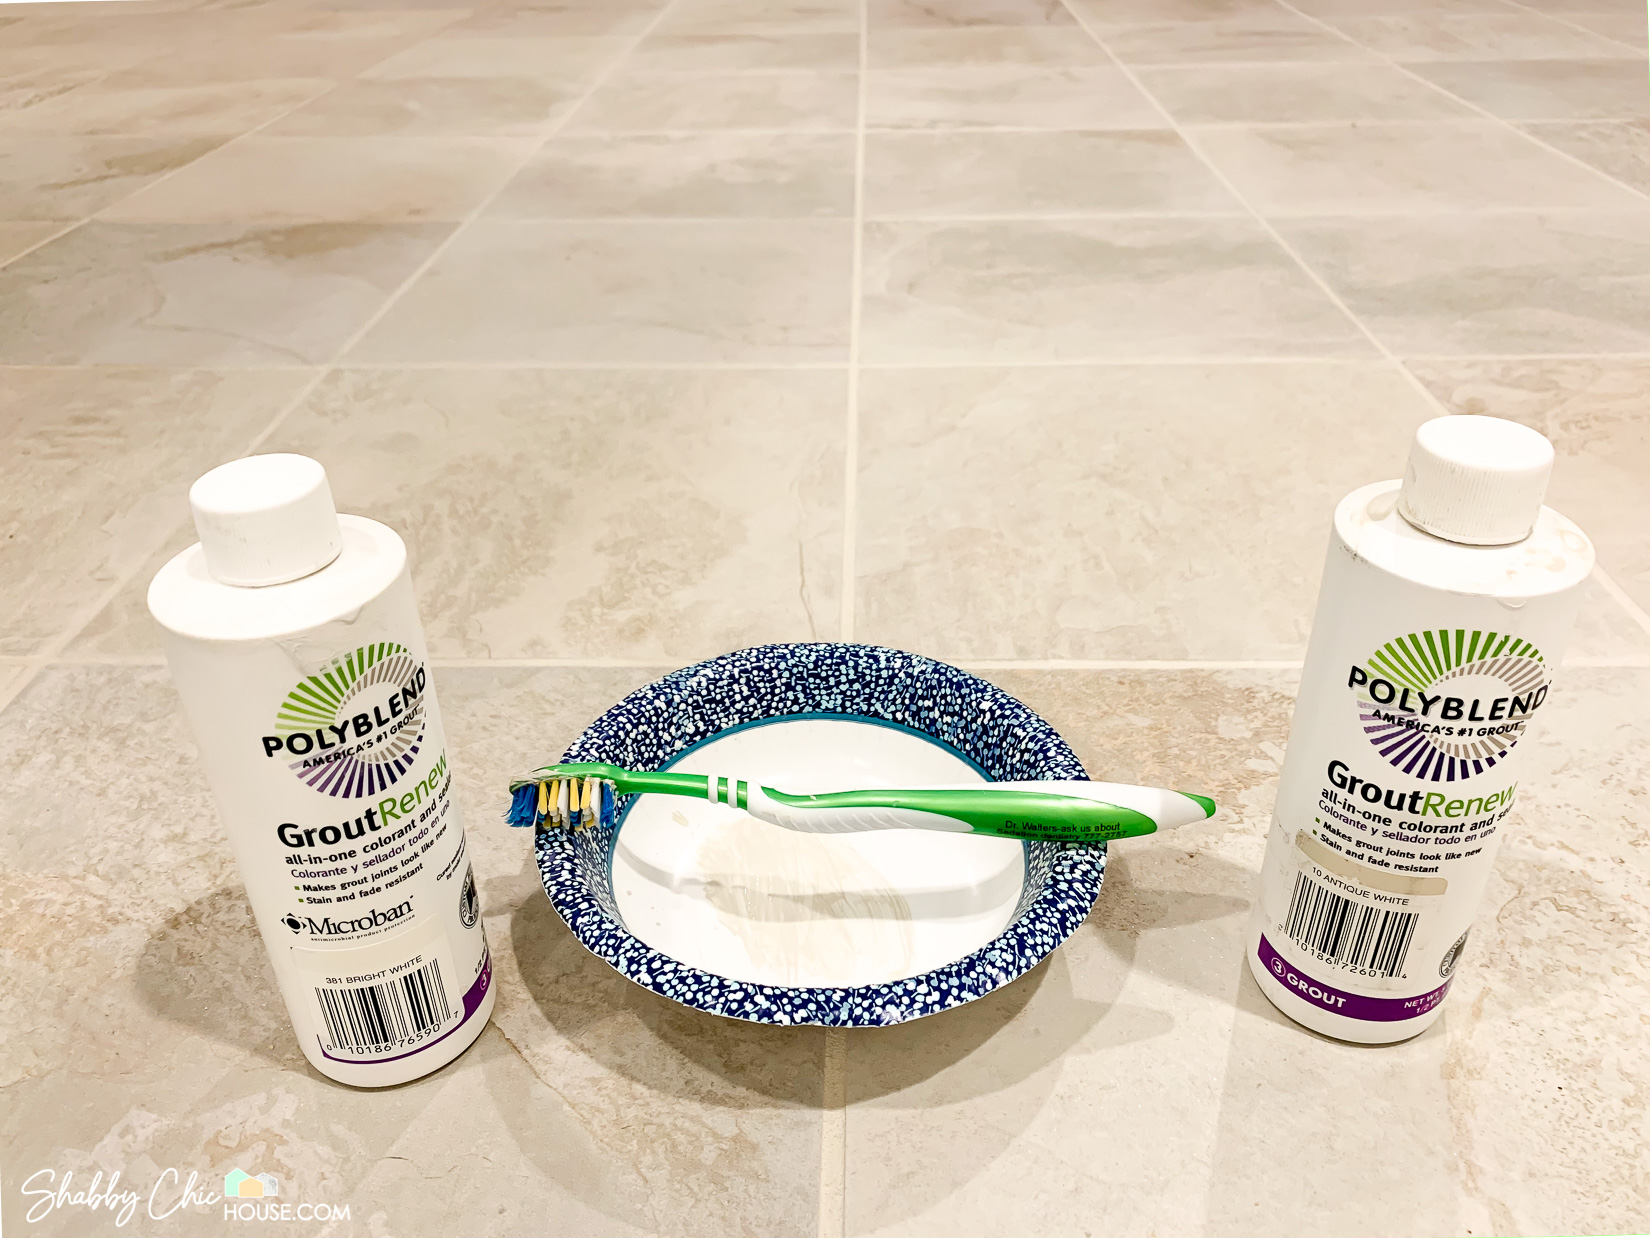
Prepping Your Wall
Before you can begin to think about putting up your wallpaper you need to prep your wall. Any holes, small dents/divots and raised surfaces will show through your paper. Use a spackling blade and drywall mud to fill the holes or divots.
If you have any bumps or raised areas on your wall, knock them down with a putty knife and sanding block. In doing so, you may damage the drywall and need to spackle the surface to relevel the wall.
Once you spackle is dry, sand to a smooth finish.
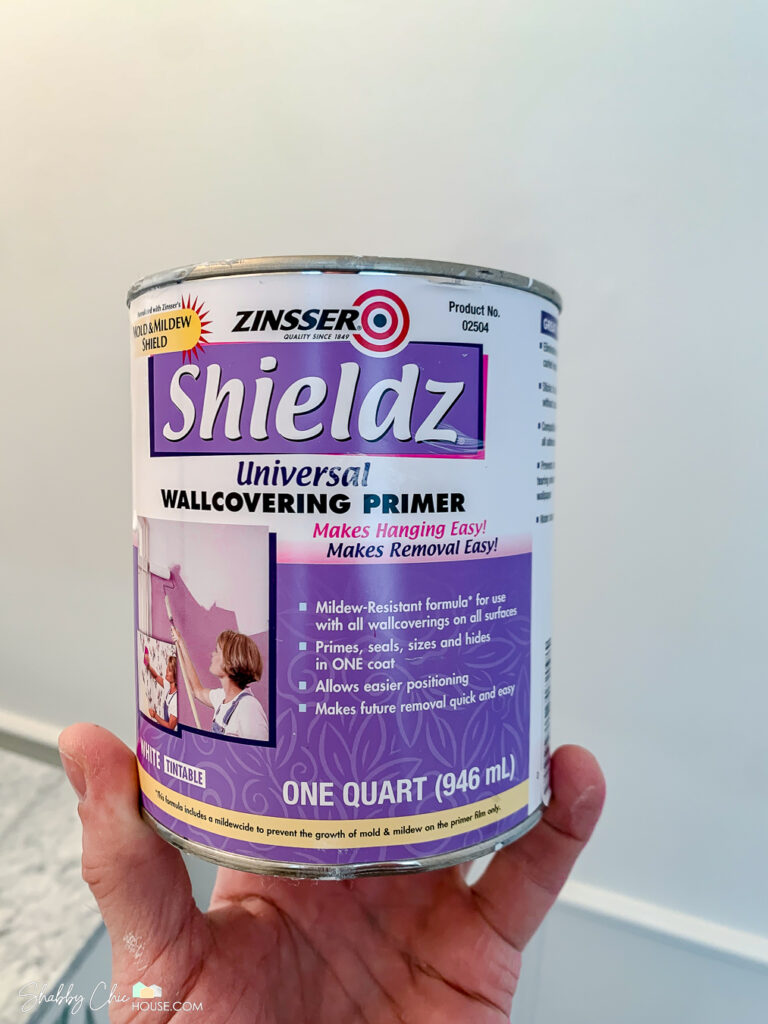
Sizing Your Wall
The term “sizing your wall” simply means to apply a pre-wallpaper primer to your wall before you hang your wallpaper. This primer allows for greater adherence and when the glue is wet provides a slippery surface so you can slide your wallpaper into position as you are matching patterns or lining up seams. More importantly, if you or a future owner decide to remove the wallpaper, this step allows you to simply steam/wet the wall and remove the wallpaper without damaging the drywall.
Zinsser’s Shieldz is pretty inexpensive at $7.50 and you can order right off Amazon and have it at your house in a few days!
Tools Needed to Hang Wallpaper
- Wallpaper
- Wallpaper Adhesive
- Roller & Tray
- Paint Brush
- Level
- Smoothing Tool
- Paint Shield/Straight Edge
- Seam Roller
- Brand New Razor Blades
- Measuring Tape
- Clean-up Sponge
- Work Table
While wallpaper can be a little pricey, all the wallpapering tools you’ll need are pretty inexpensive and you might already have most lying around the house.
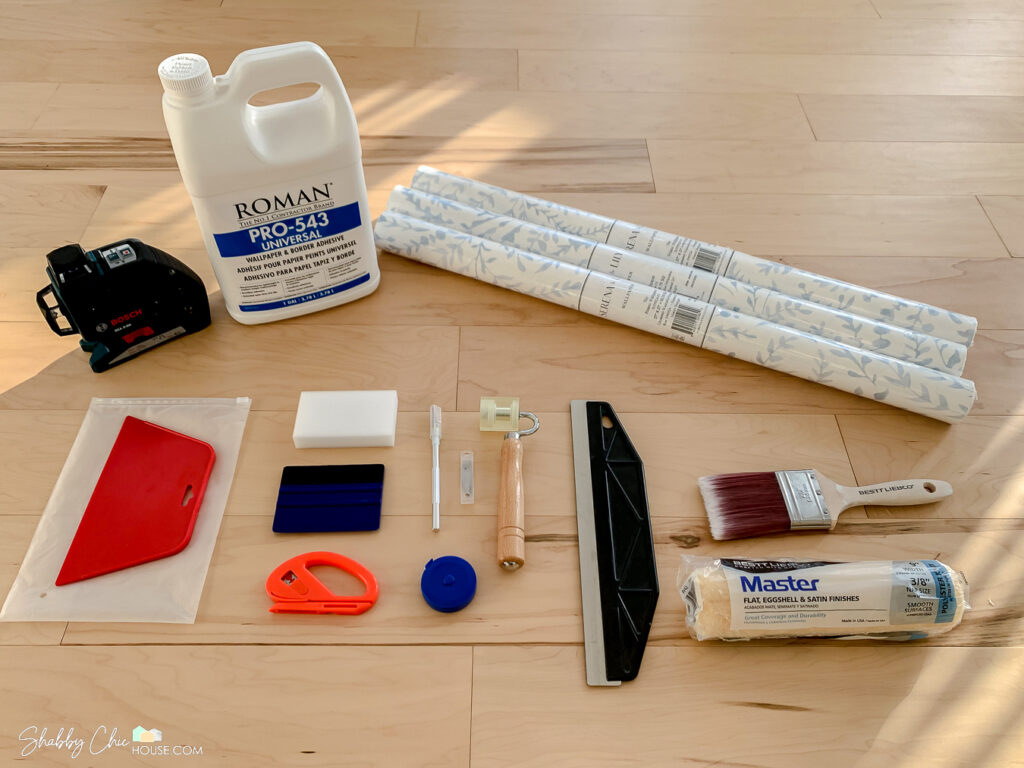
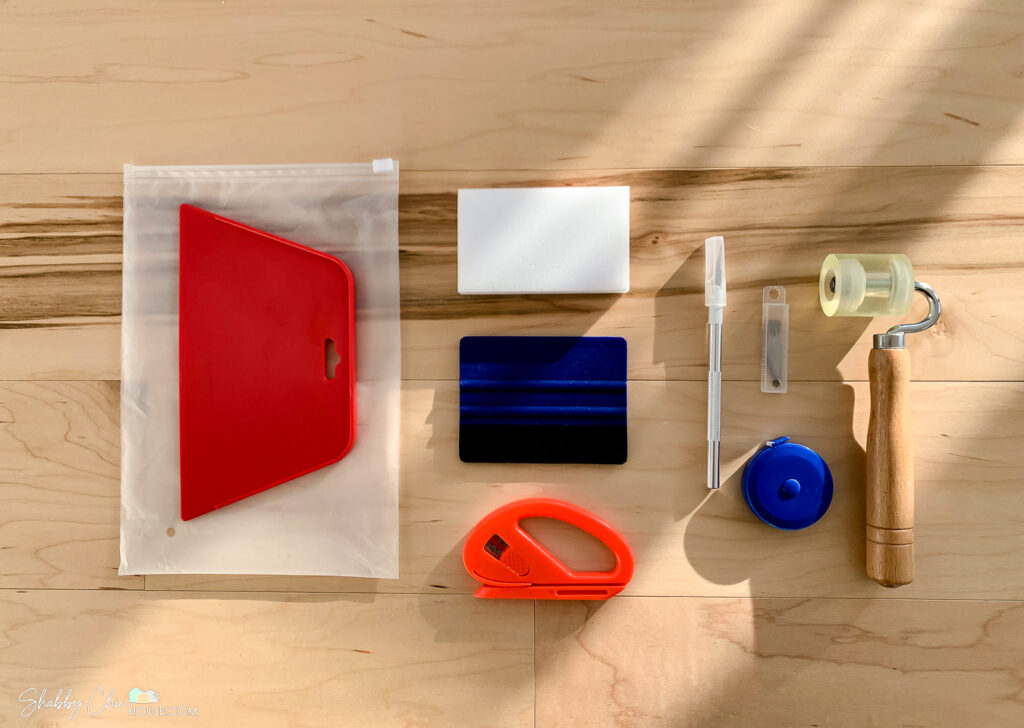
I purchased a pretty awesome wallpaper starter kit on Amazon that includes most of the tools you’ll need. This kit includes two smoothing tools, a magic eraser like sponge, razor + blades, an easy cutting tool, measuring tape and most importantly, a seam roller. I mainly purchased this kit for the seam roller which is a must-have and this one is high-quality and will last for many projects to come.
Where to Hang Your First Piece of Wallpaper
If you have a patterned wallpaper it is extremely important to plan out where you’ll hang your first piece of wallpaper and where you’ll hang your last. Most likely the pattern will not match up, so it’s best to hide this seam in an inconspicuous area. Choose a section of the room that is less trafficked and where most people don’t naturally look. Typically the best place to hide this seam is above the entrance to the room. I like this area for 3 reasons.
- It minimizes the length of the seam because it’s only above the door.
- It’s above eye level, so it’s less noticeable.
- You won’t see it entering the room and most likely guests won’t be looking up exiting the room.
Set Your Plumb Line
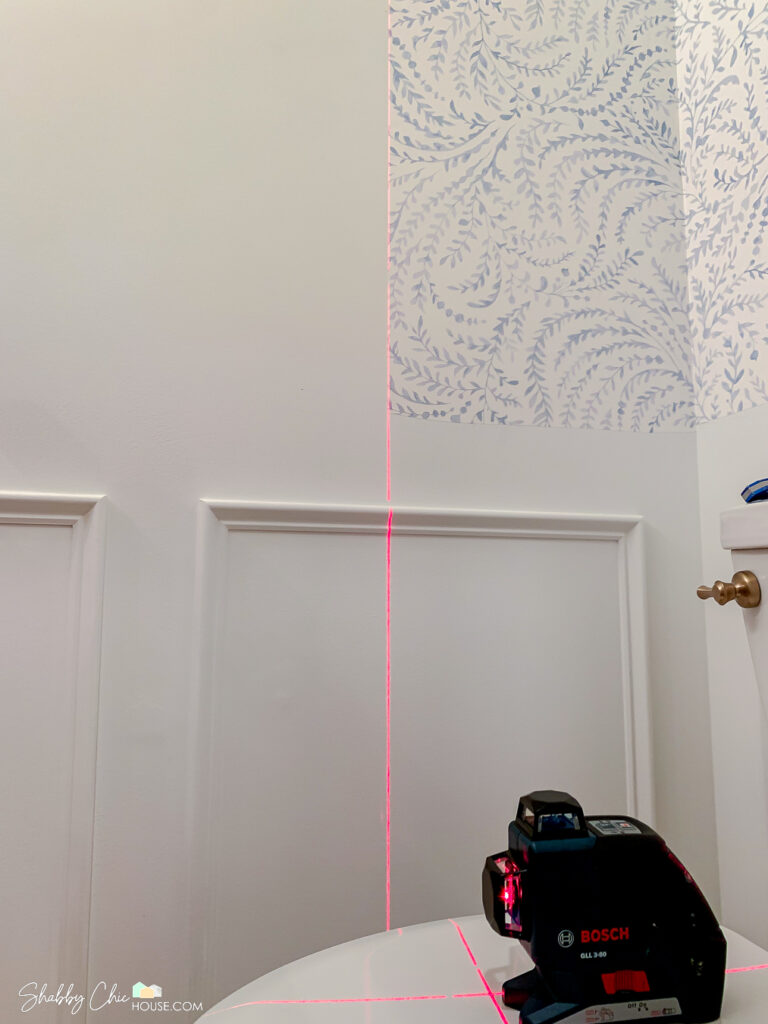
When you hang your first piece of wallpaper (whether it’s your first piece in a room or even on a new wall) you’ll want to create a “Plumb Line”. This is a vertical line that you’ll draw on the wall using a level or laser level.
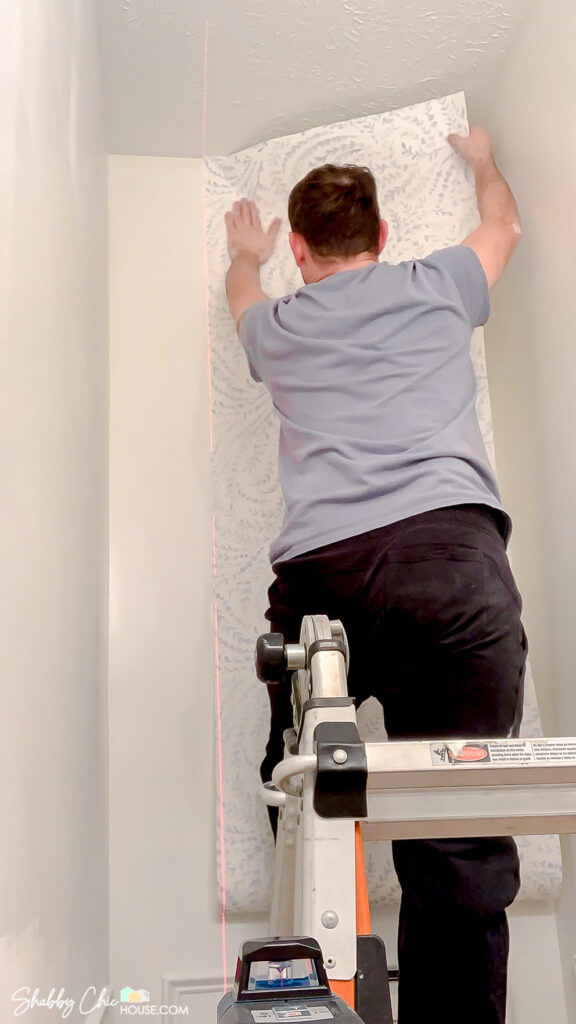
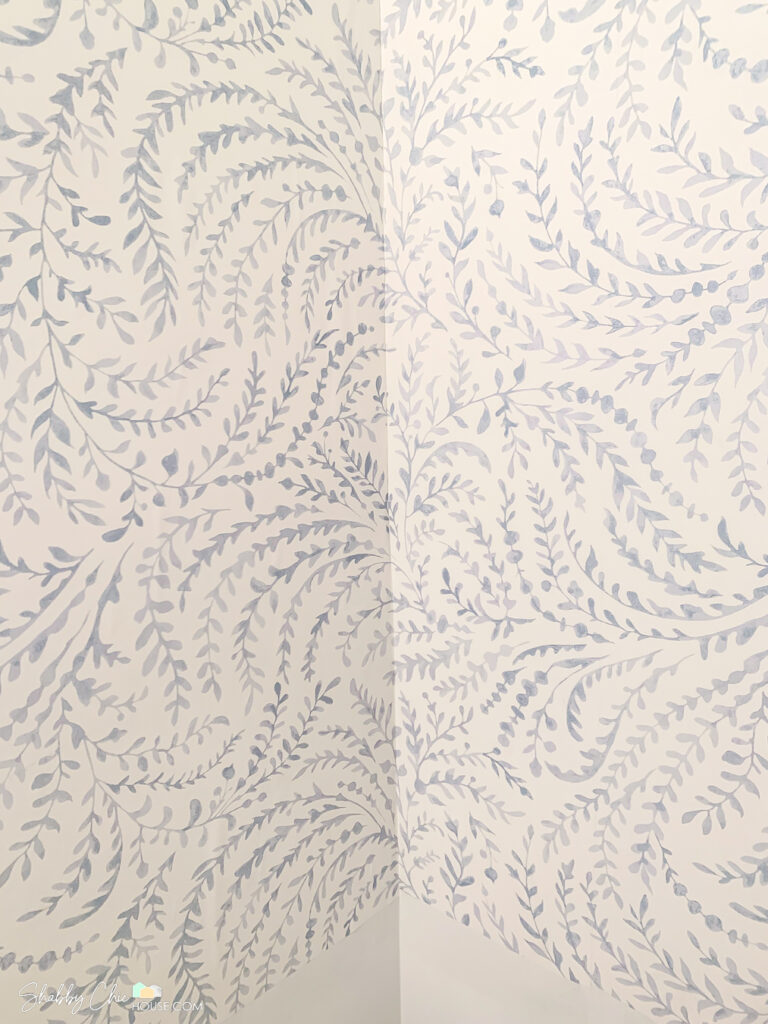
After you get your plumb line and glue on the wall, holding your wallpaper by the top edge gently press it on the wall and slide it into place (like in the photo below). This trick ensures that your wallpaper is perfectly level when it is put up.
You may initially think about using the corner of the room as a starting point and possibly placing your wallpaper plumb in the corner. However, 99.9% of walls and corners are not level, so if you do this instead of using a plumb line your wallpaper will not be level.
Booking Wallpaper Vs. Rolling on Glue
The traditional way to hang wallpaper requires you to add your adhesive to the back of the wallpaper and fold in the edges like a book (hence the name booking). After a few minutes, you then try to lift and place the wallpaper on the wall. This method has some downsides. Folding wallpaper like a book can form creases in the paper. Also, if you’re papering a taller wall (let’s say 9′) it can be pretty hard and messy to get that monster piece of wet paper in position on the wall.
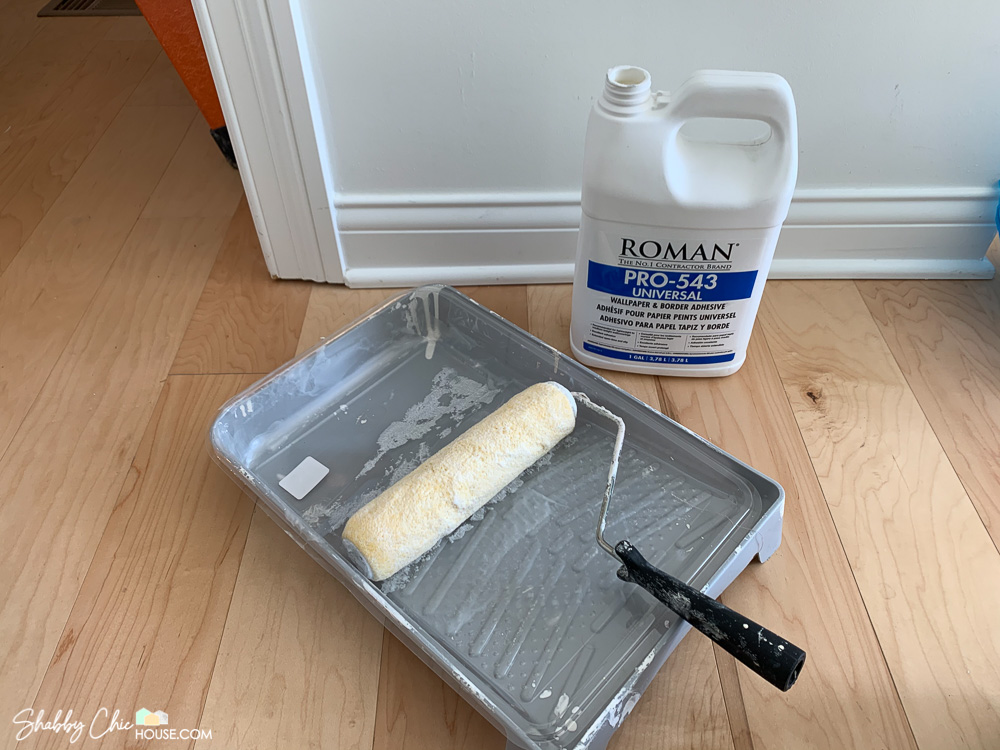
The easier way to hang wallpaper is by applying the adhesive directly to the wall with a roller and then setting the wallpaper in place on the adhesive.
I picked up a 1-gallon jug Roman’s PRO-543 Universal on Amazon which is pretty inexpensive and covers roughly 250 square feet.
Use a TON of Glue
I found that it’s best to slap up almost as much glue as you can get on the wall. Having more glue on the surface gives you more time, allows you to more easily slide the paper in place and ensures you get good adhesion to the wall. The great thing about this glue is that it is water-soluble and extremely easy to wipe away excess without damaging your paper.
Use a roller to apply the glue in the center of your wall and an old paintbrush to apply glue along the edges and ceiling of the room where it’s harder for a roller to reach.
Matching Your Wallpaper’s Pattern
Matching up your wallpaper’s pattern is almost like doing a puzzle. Once you get your first piece up on the wall, you then have to look at your next piece and see how it will fit together before you cut it off the roll.
Most wallpapers repeat their print every 24 or 36 inches. This means every so many inches you’ll see the pattern start over.
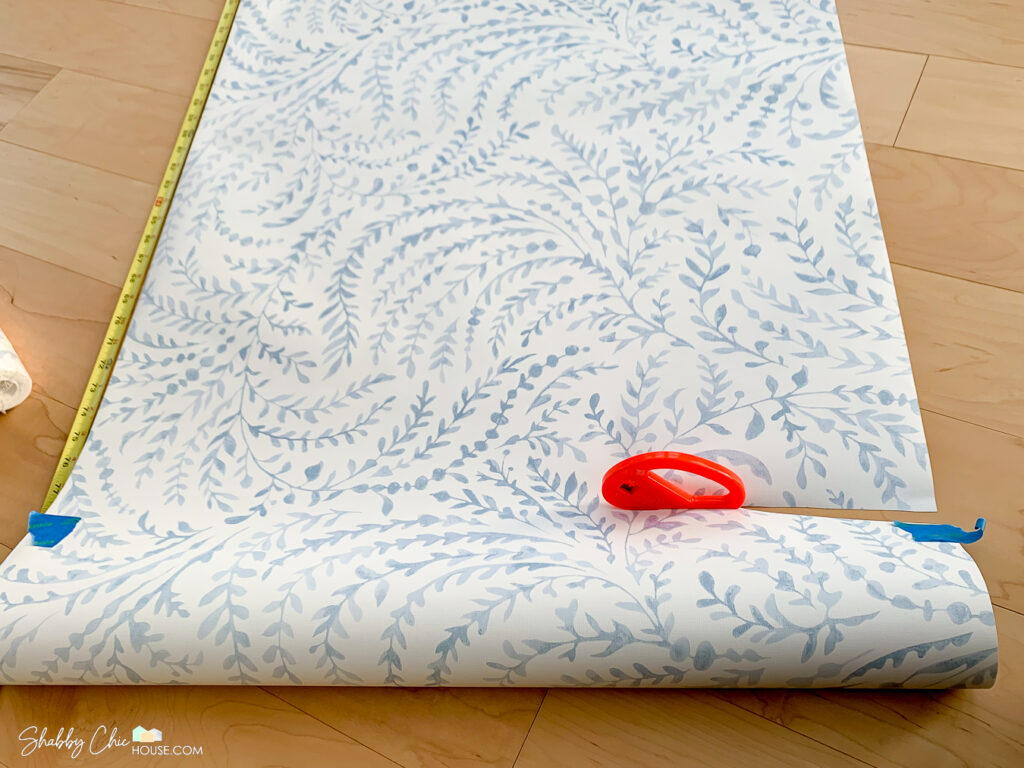
Once you get that first piece of wallpaper up, study the pattern at the top of the wall. Find a flower or shape near where the wall meets the ceiling that you can use as a reference point. Next find that same reference point on your next piece of paper and mark 2-3 inches above it on both sides of the paper. The goal here is to make sure you have a little bit of excess paper so when you get it on the wall it will match the pattern, reach the corner created by the wall/ceiling and you’ll have roughly 2-3 inches of excess that you can trim.
After you’ve marked the top of your paper, then use a measuring tape to measure the length that you’ll need. I typically add another 2-3″ on the bottom of the wallpaper to give me a little room for error/excess that I can trim to get a perfect fit.
Start at the Top of the Wall
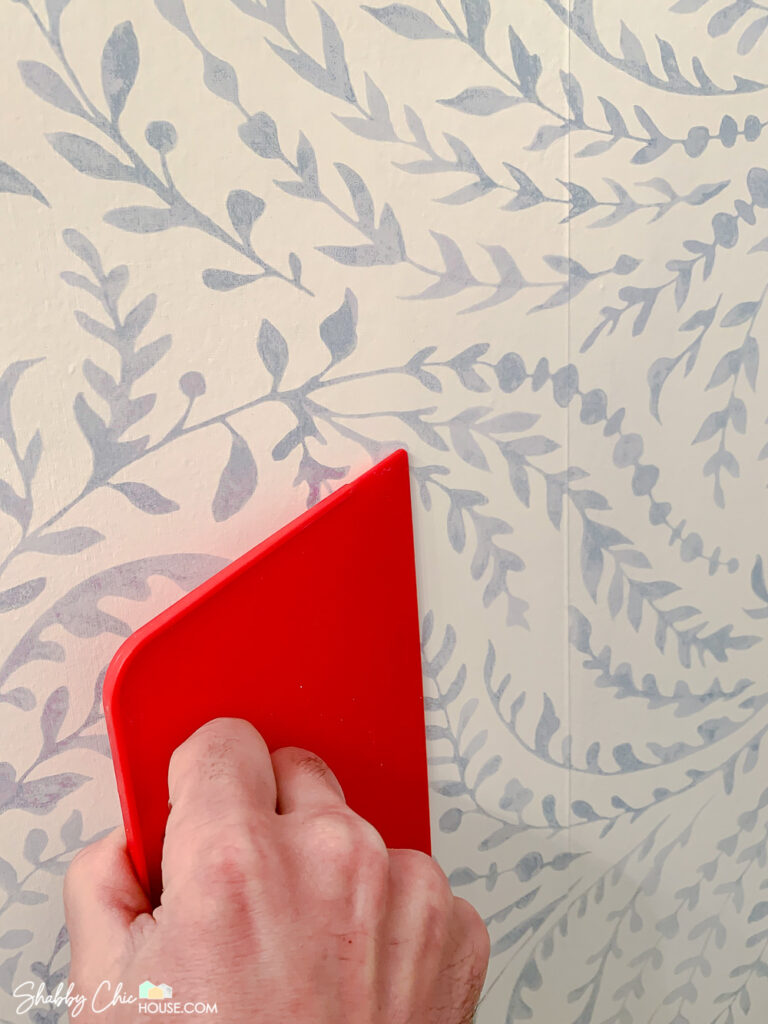
After applying a generous amount of glue to the wall, hold the very top of your piece of wallpaper and attempt to set it in place so the edge is aligned with your plumb line. Once lined up, use your hands to gently smooth out the top 1/4 of the wallpaper on the wall. The goal here is to get all the major bumbles/wrinkles out and get enough paper adhered to the wall to hold up the other 3/4 of the paper below.
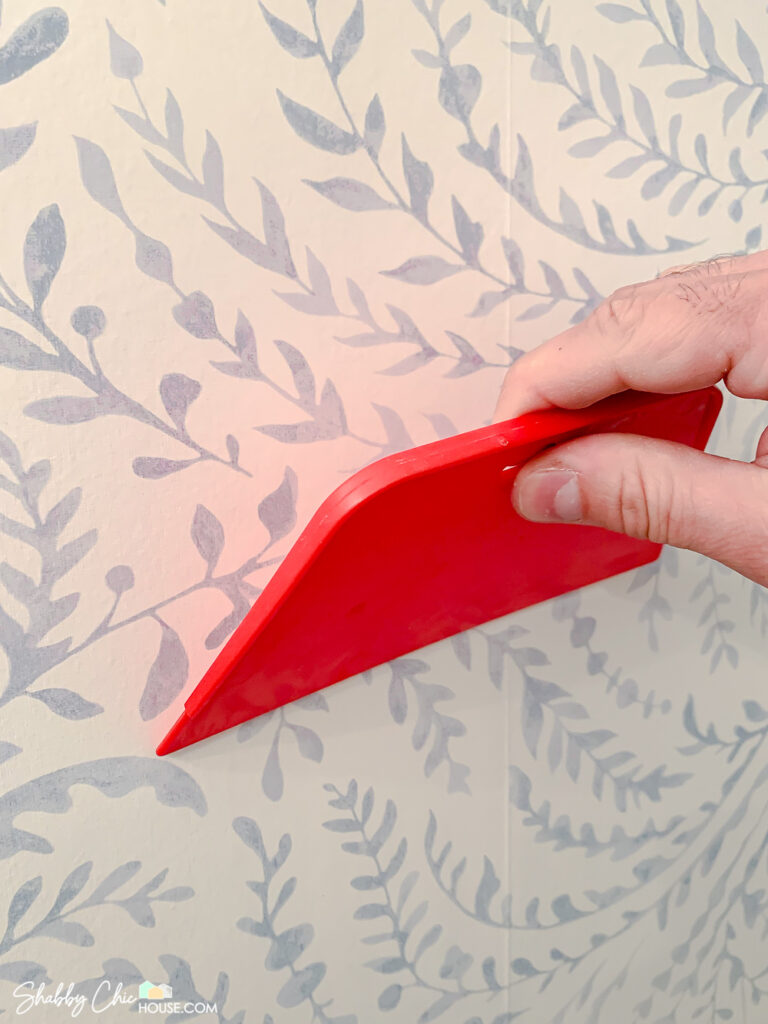
Once you get the top of the wallpaper in place, place your smoothing tool at roughly a 45-degree angle and smooth towards your seams and the ceiling. Smooth your wallpaper creating a crease where the wall meets the ceiling and you have that 2-3 inches of excess wallpaper hanging over. Then using a brand new razor blade and a straight edge, carefully trim the excess wallpaper.
Next, slowly work your wall down the wall with your smoothing tool. If at any point you get a big wrinkle or air pocket it’s best to lift the paper back off the wall (up until the wrinkle) and try to replace it without the wrinkle. It might take one or two tries to fix the wrinkle. Be patient and try, try again until it lays flat.
As you work your way down the wall, make sure to smooth your paper towards the edges. The entire goal of the smooth process is to get the air bubbles that are behind the paper out. So slowly work with your smoothing tool to push these bumbles out the sides where your seams are.
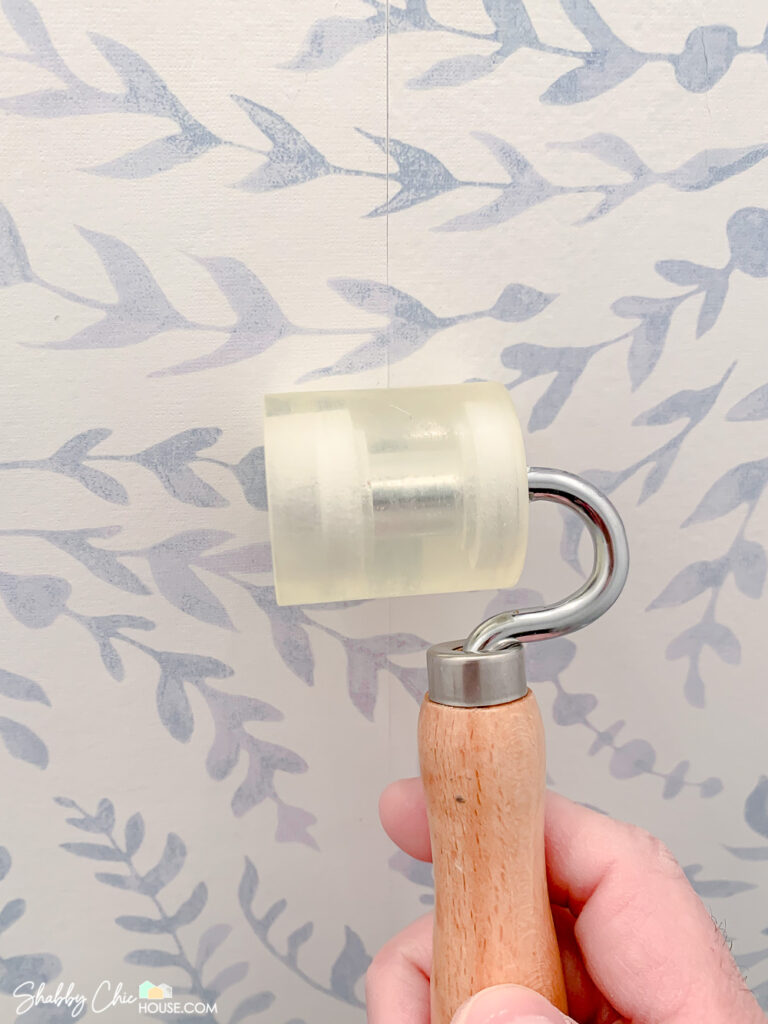
Roll Your Seams
One of the most important steps when hanging your wallpaper is rolling your seams. This step ensures that you get a really good level of adhesion on the edges and corners of your wallpaper. These are the first areas over time that could lose their adhesion and come down.
After you hang your wallpaper and smooth out all the air bubbles, you can then roll your seams. Using your seam roller, apply a decent amount of pressure and roll the wheel along your seams.
Also, if your glue is starting to dry and it’s apparent that a corner or seam needs a little more glue, I like to use a paintbrush and apply a little extra glue in that corner or see if I can angle it in the seam without lifting and then roll. Again, this glue is water-soluble, so you can wipe it off right after rolling
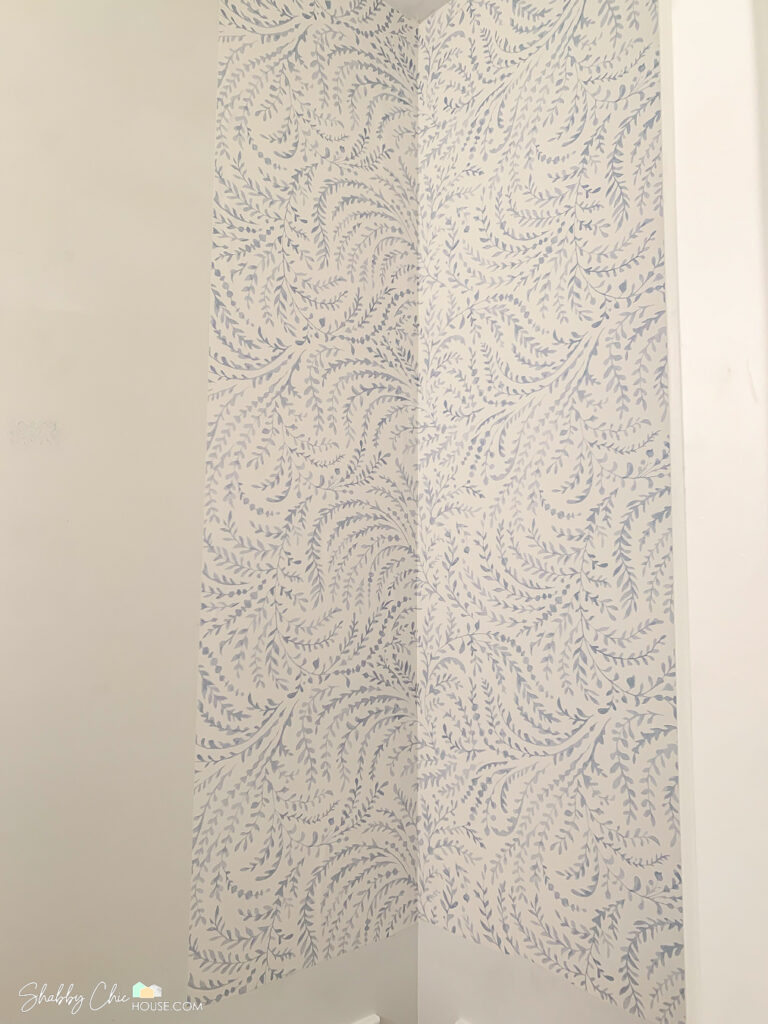
Wallpapering Around Corners
Hanging wallpaper around corners looks pretty intimidating, but is fairly easy with proper planning and patience. Start by hanging wallpaper on your first wall and trimming flush in the corner.
To get a match on your second wall, you’ll most likely need to cut your wallpaper somewhere down the middle. If the piece of wallpaper on your first wall measures 7″ wide and you’re using a 27″ roll of wallpaper, you can deduct that the pattern match will occur roughly 20″ in from the edge of the paper.
Roll out your next piece of paper and find a flower or pattern roughly 20″ in that would make a match at both the top and bottom of the wall. Once you’ve identified the top and bottom matches, add an additional 2″-3″ on both the top of your paper and cut.
Now that we have the proper length of wallpaper, you’re ready to cut it down the center. Find your flower/pattern 20″ in, add 2-3″ and then make a pencil mark. Repeat the process every 2-3′ until you can use a straight edge to draw a line from the top to the bottom of the paper. Last, carefully cut your paper vertically with a fresh razor blade following the line. Now we’re ready to hang!
Roll you wall with glue and place your paper on the wall using a plumb line. From there go over to your corner where you should have the extra 2-3″ of excess paper wrapping around the corner. You can then peak behind that excess 2-3″ and slide the wallpaper in place (making sure to keep level with the plumb line) until you get a match.
Once you get your paper in place and get a good pattern match carefully trim the excess and smooth in place.
Getting Rid of Trapped Air Bubbles
At some point, you may find that you have an air bubble trapped under your wallpaper. No mater how hard you try, you’re unable to work the air bubble out one of your seams with your smoothing tool. What’s happened is, the glue has set on the edges of your paper and the air is trapped.
The best tool to get rid of trapped air bubbles is a hairdryer! Blow warm air on the bubble for 1-2 minutes and you’ll find the wallpaper will begin to shrink and the air bubble will begin to go away. As you warm the wallpaper use your smoothing tool to smooth out the area where the bubble once was. After working the wallpaper and spot for 2,3 maybe even 5 minutes, you should be all set to go!

This technique has worked for me about 90% of the time. Very occasionally it does not. As a last resort, take a razor blade and make the tiniest hole possible in your air bubble (preferably in a dark pattern on the paper where it can be hidden). Once you have made your tiny hole, use your smoothing tool and smooth out your wallpaper and the air bubble from numerous directions toward the tiny hole. Combine this tactic with your hairdryer to finish the job.
Hanging Wallpaper or Chair Rails & Crown Moulding First?
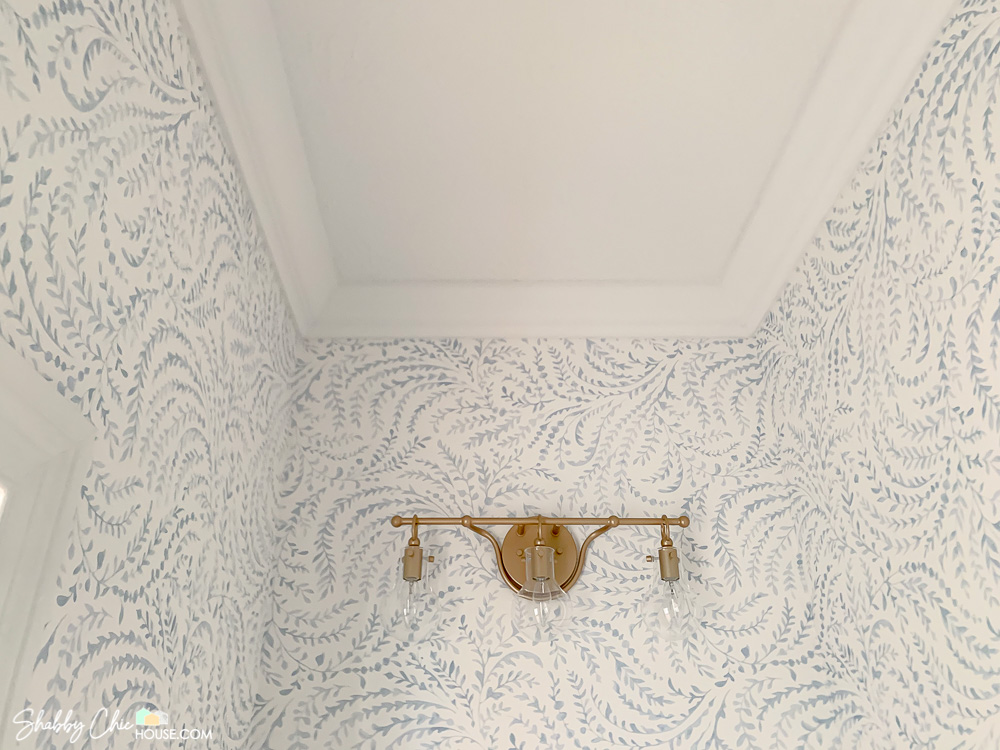
I’ve seen this question debated both ways – personally, I prefer to wallpaper first and hang my chair rail and crown moulding second. I find putting wood trim over top of the paper does two things:
- Provides a little additional support in holding the wallpaper in place at the top and the bottom of the wall.
- Provides a significantly cleaner line and look as you don’t need to cut the edge of the paper along the chair rail or crown molding.

In Conclusion
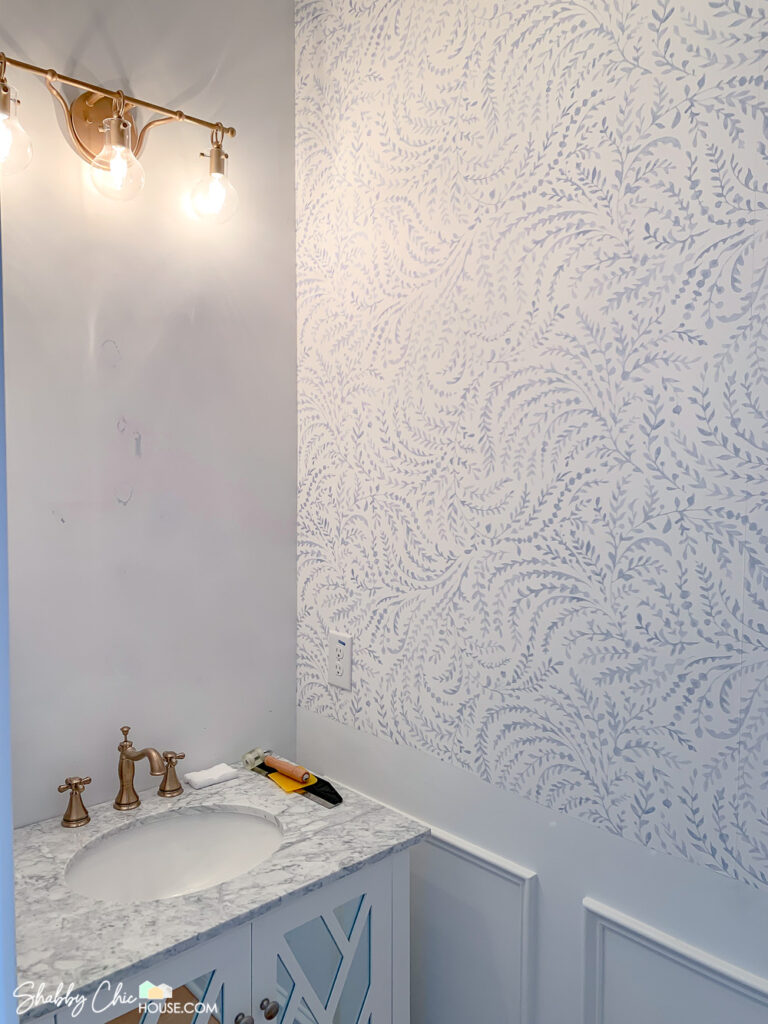
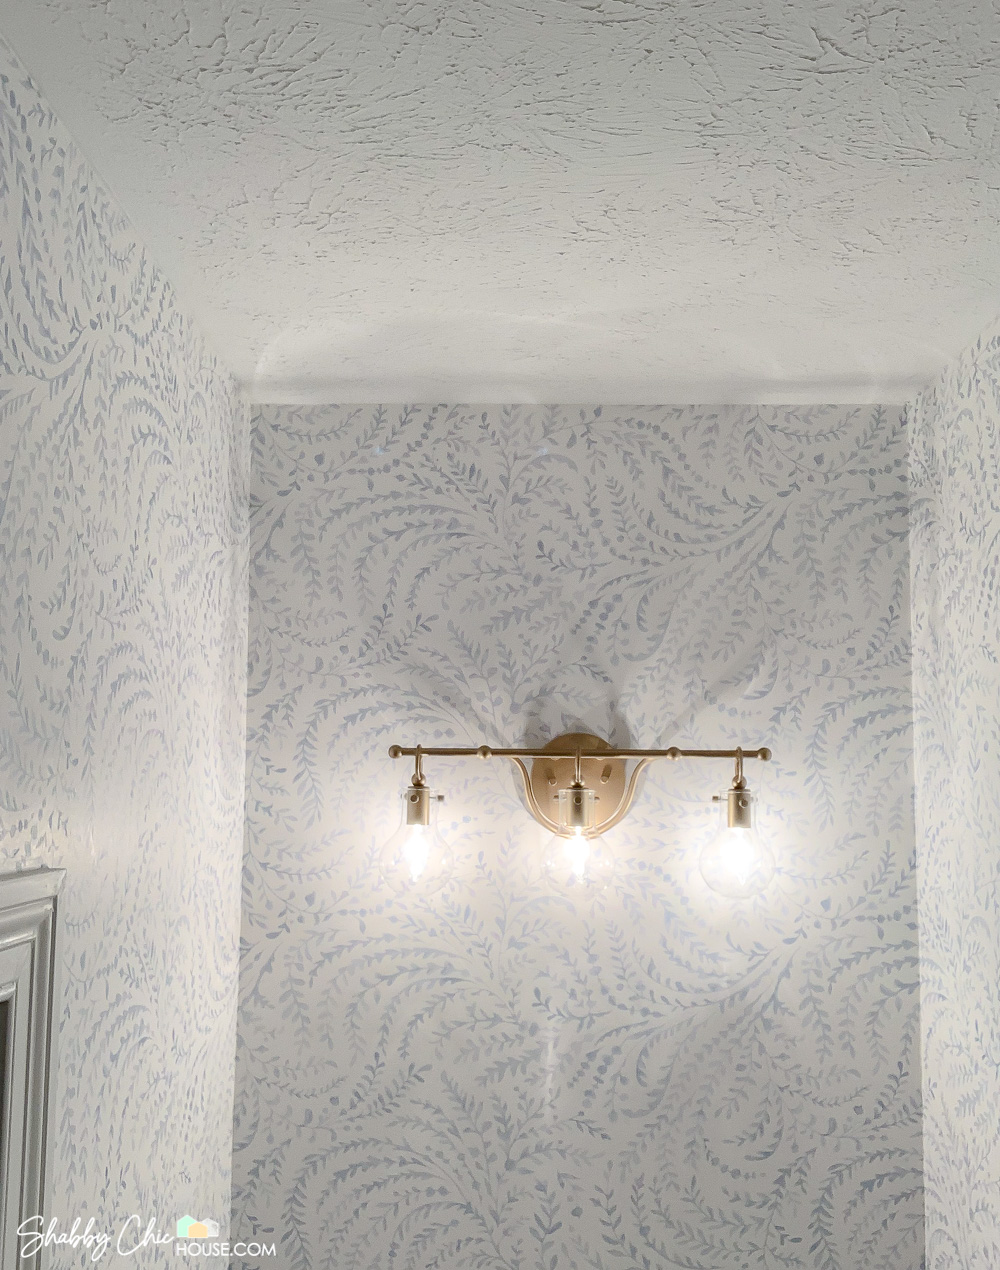
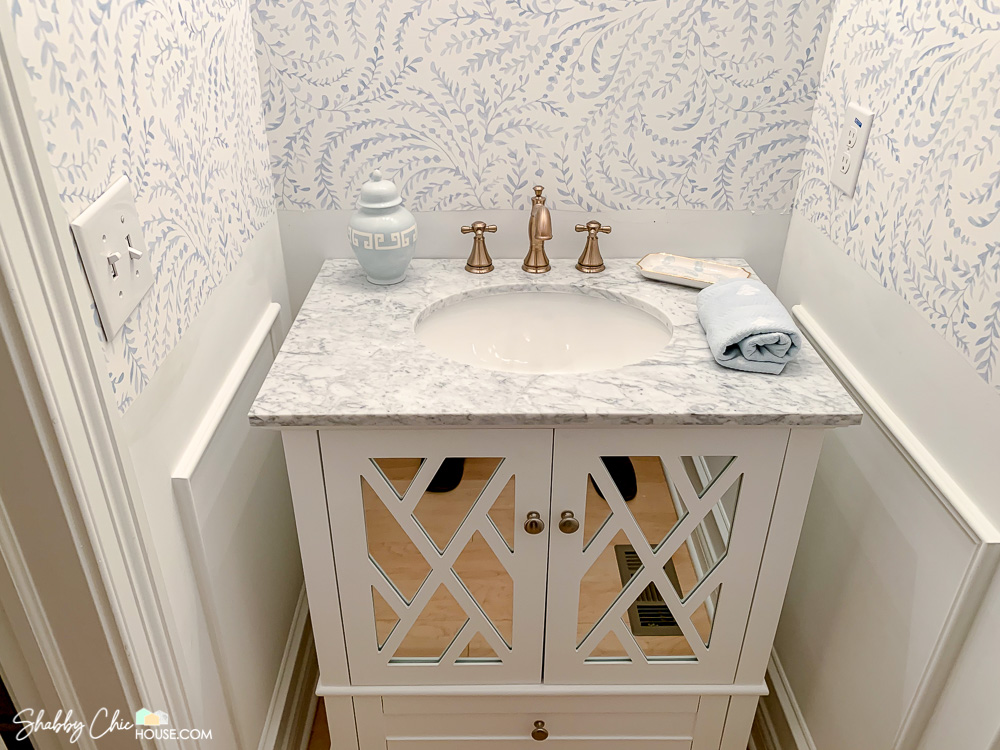
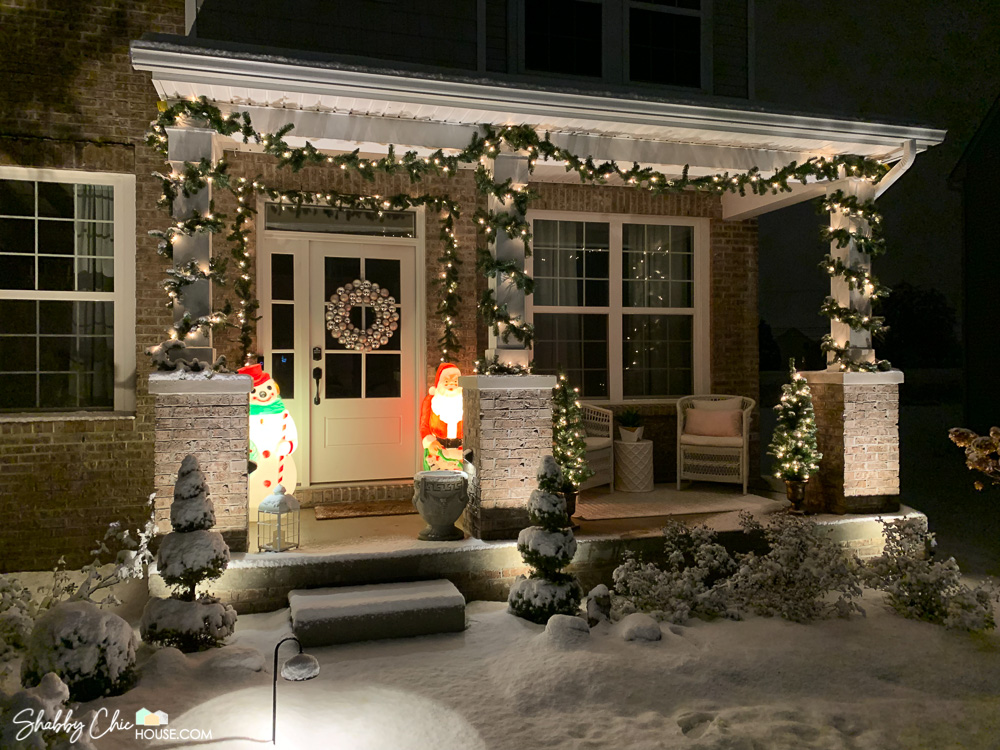
With a little bit of knowledge, hanging wallpaper can be a fairly easy DIY project and can do wonders to spice up a boring room! Check out the before and afters below of our small powder room.
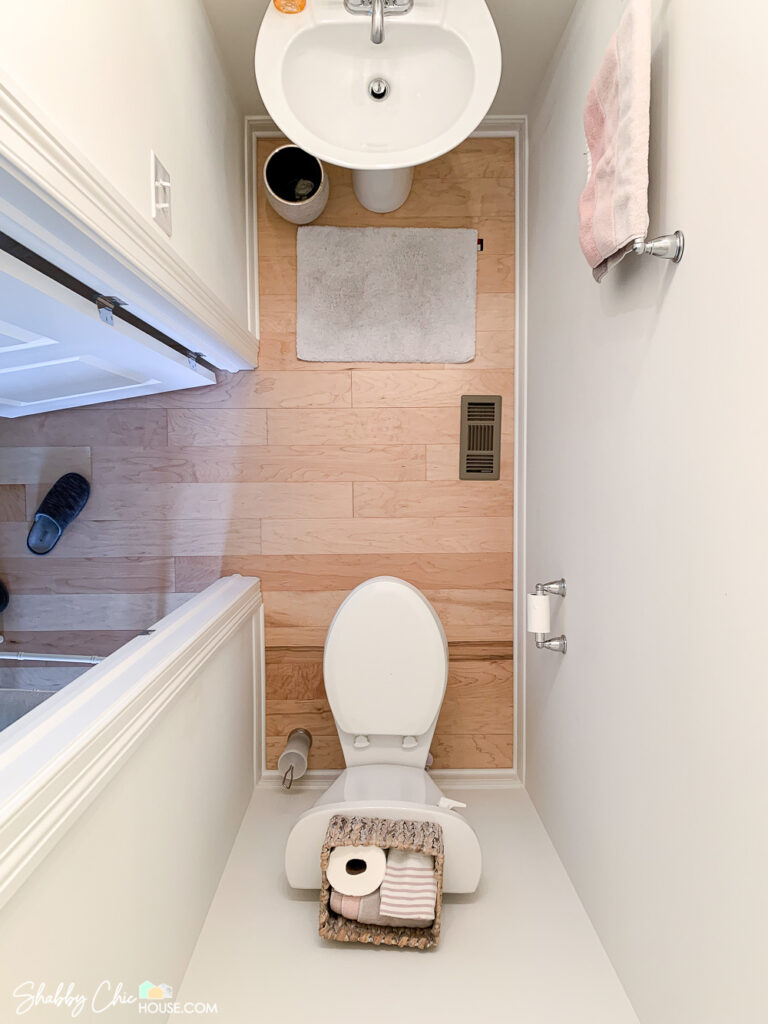
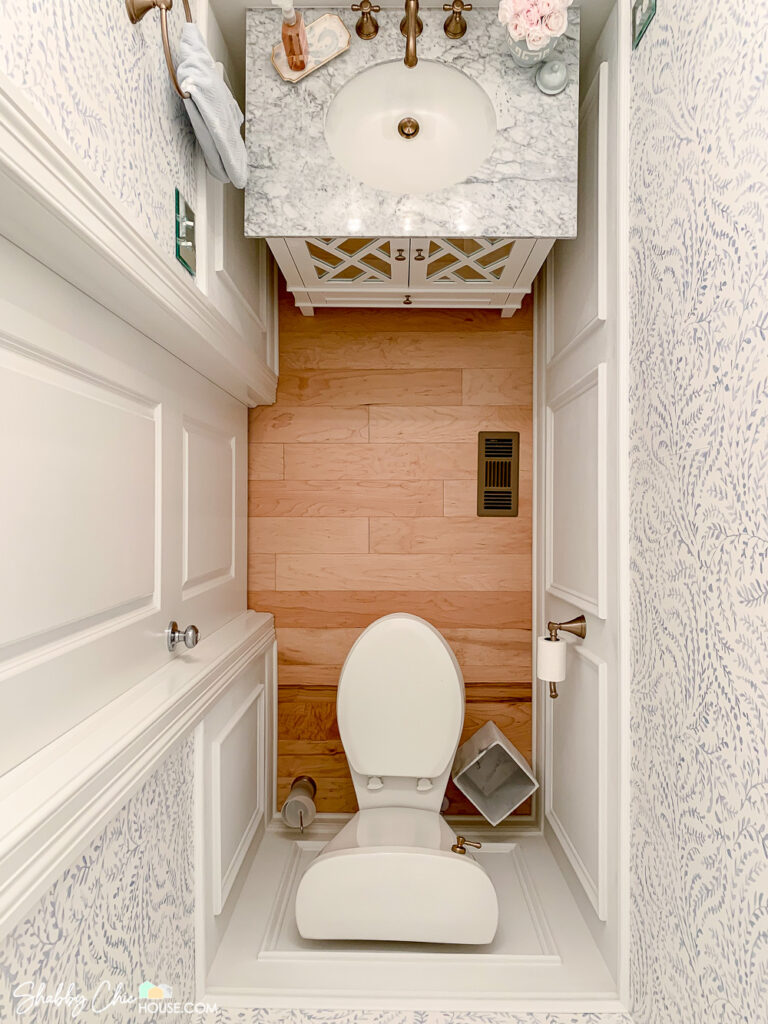

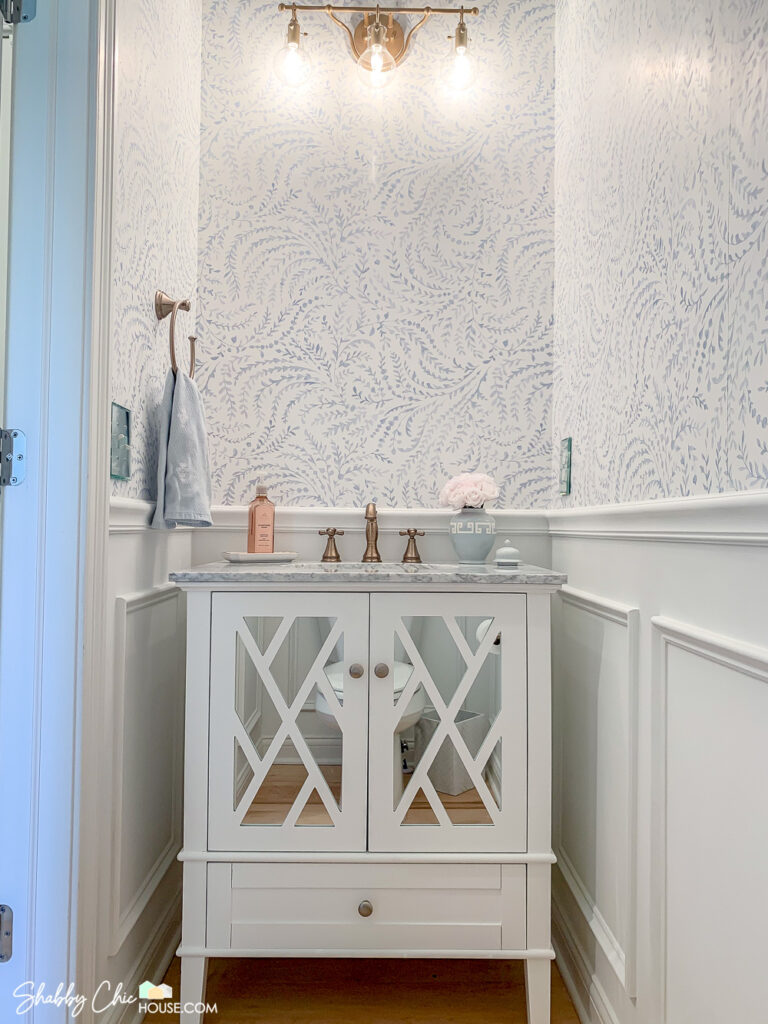
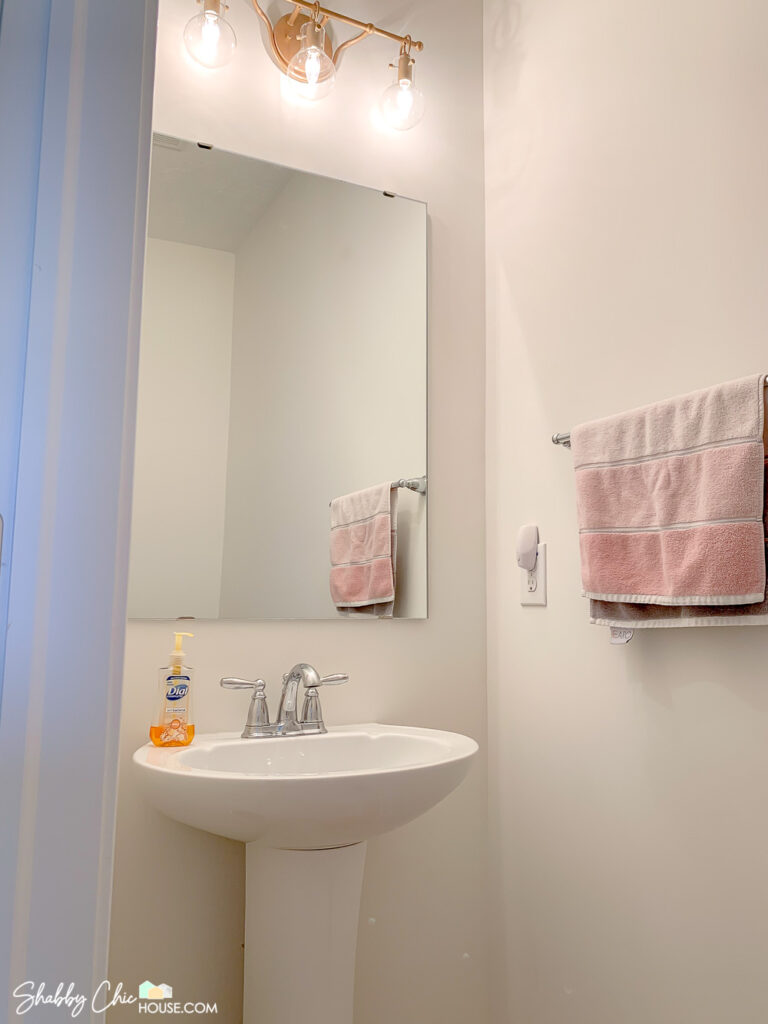
If you enjoyed this DIY tutorial, stayed tuned for one of our upcoming posts on the full makeover of this tiny powder room that includes the addition of a new vanity, wainscoting, chair rails, crown moulding and more.
Also, just recently ShabbyChicHouse was ranked by Feedspot as #46 on their list of the top 100+ Home Improvement blogs. Thanks Feedspot team!
Join our email list below to get notified when our powder room makeover and other awesome DIY tutorials go live!

I am really happy to have read your post because I’ve considered using wallpaper in one of our guest bedrooms but did not know I needed to prep the wall in advance. That would have been a nightmare.
Wish I would have had this post sooner! WOW! Very helpful. I’m saving this for when I redo our bathroom!
This is great information about wallpaper. Thanks for sharing