In this post I’m going to show you a mind-blowing hack to clean tile grout and make your tile floors, shower walls, and backsplashes look just as beautiful as the day they were first installed. Forget the homemade grout cleaners made from baking soda, hydrogen peroxide, vinegar, and other household items. They just don’t work. This hack will save you from spending hours on your hands and knees scrubbing away.
To believe it you have to see it, so I created the super short video/GIF below and also included a few amazing before and after photos. Check them out and let’s get rolling on refreshing that grout.
Some of our posts contain affiliate links. We often share links to the tools & products used in our home improvement projects and if you purchase one of these items using our link, we may earn a small commission (at no additional cost to you).
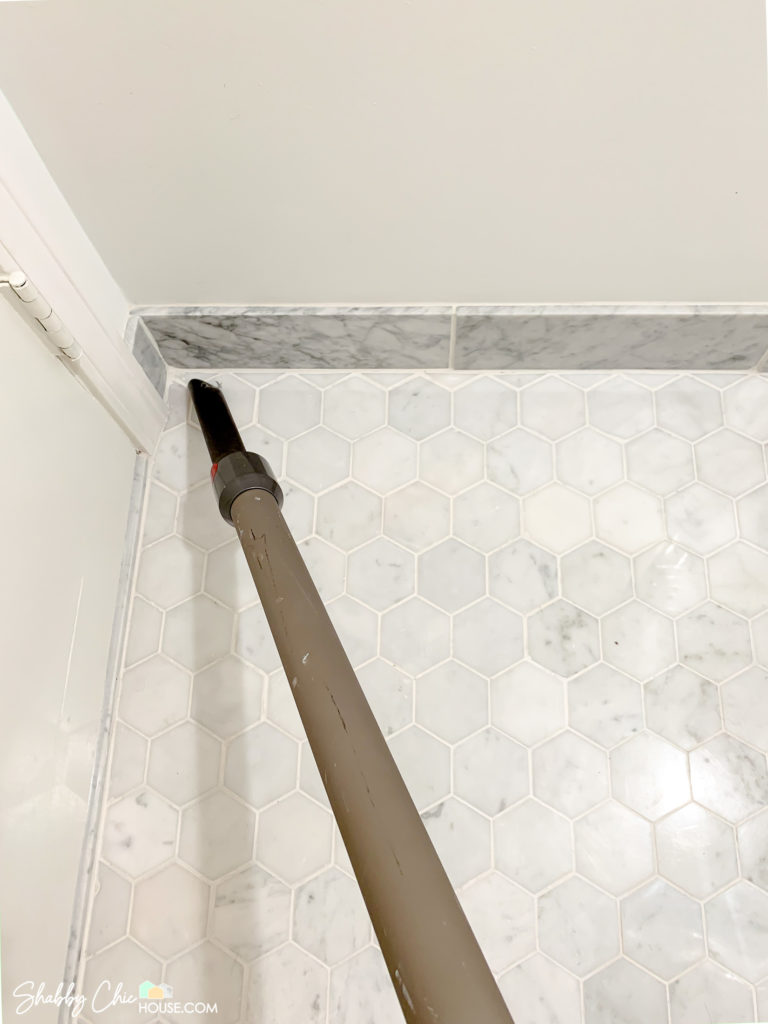
Pick up any Loose Debris
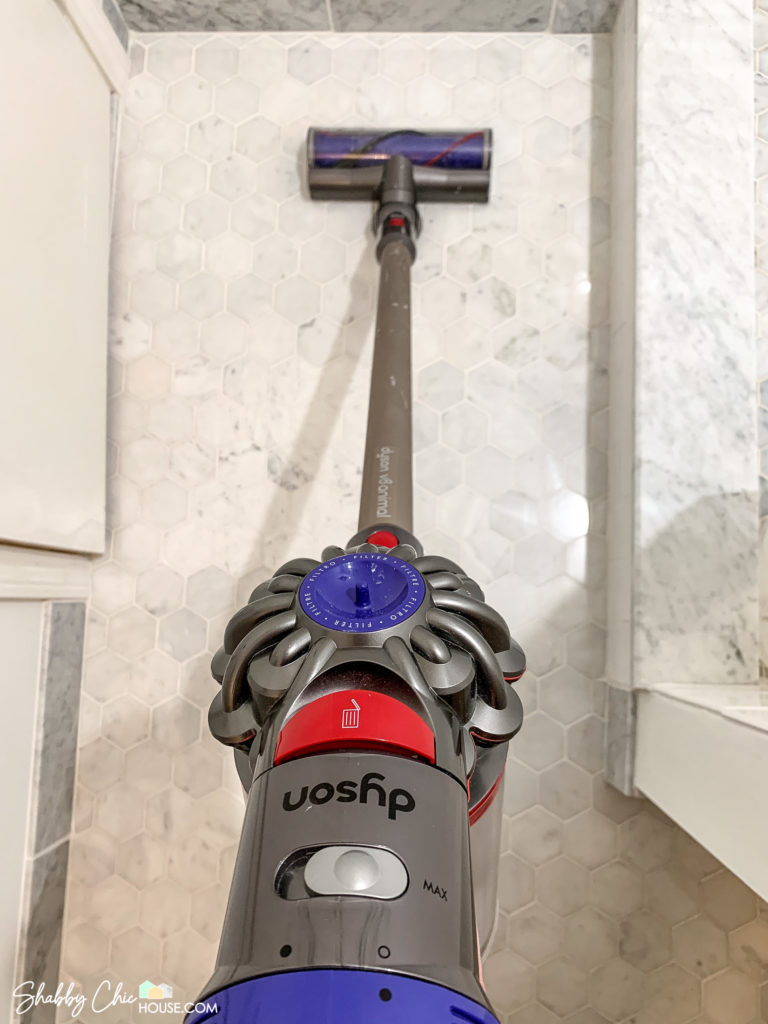
The very first step is to give yourself a clean surface to work with. If you skip this step you’ll be painting/pushing around dirt and debris that has gathered in the grout. Trust me, I’ve done it!
Quickly hit the center of the floor with your standard vacuum head. Then use a special angled attachment to get all the debris in the tough to reach corners. This really helps get ALL the debris out of the cracks and tough to reach places where we’ll be refreshing our grout.
A Quick Scrub
Now whether you’re dealing with floor tiles or shower tiles it’s important to give your grout a quick scrub with a hard bristled brush. You can use a very inexpensive grout brush which makes it quite a bit easier to focus the pressure on the grout. If you don’t have a grout brush your standard scrub brush will work. Typically, I give my grout a quick scrub with a little warm water mixed with a drop or two of Dawn soap.
The real goal here is to remove any large chunks of dirt, debris, soap scrum or hard water deposits that have built up. If you have some extreme build up, you can also buy Sulfamic Acid Crystals. Just mix a small amount of these crystals with hot water and apply with a brush. When doing so, make sure to wear gloves, eye protection, and wash off your tile with water after using.
With Sulfamic Acid Crystals you’ll want to test this solution out on a small inconspicuous area of your tile. I typically avoid using this solution on any stone-based tiles, such as marble (just to be safe!).
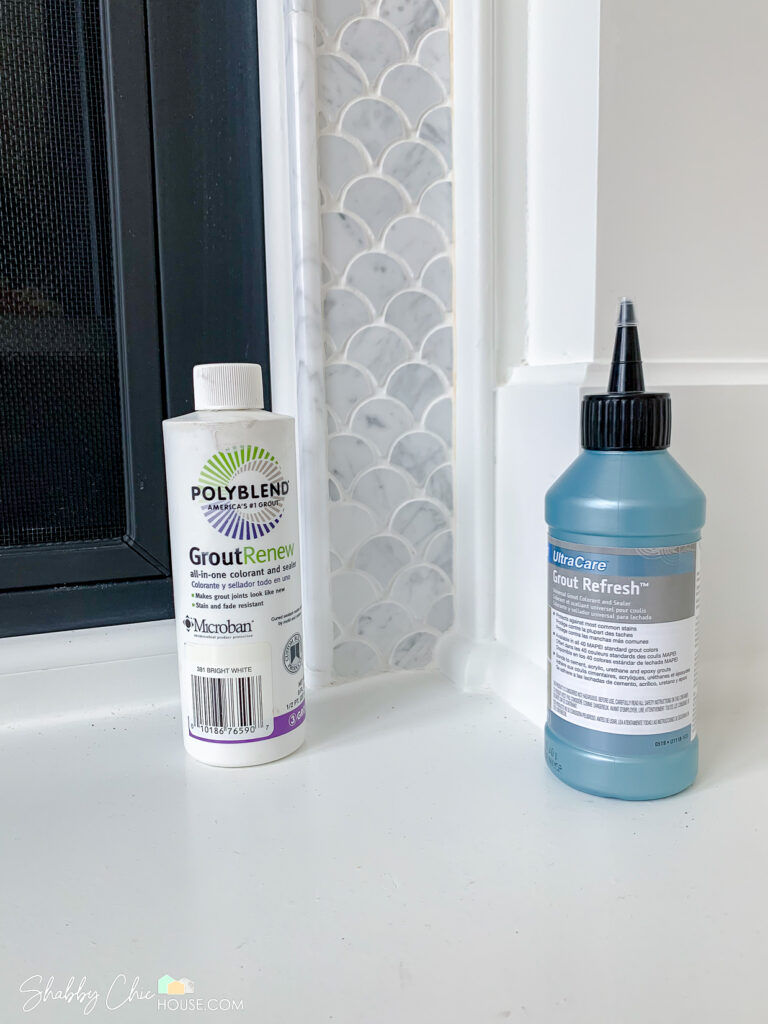
Bringing Out the Big Guns – Grout Colorant & Sealer
To be honest, I fly through those first few steps. While they are important, they are just setting the stage for the big guns – which is our grout colorant & sealer.
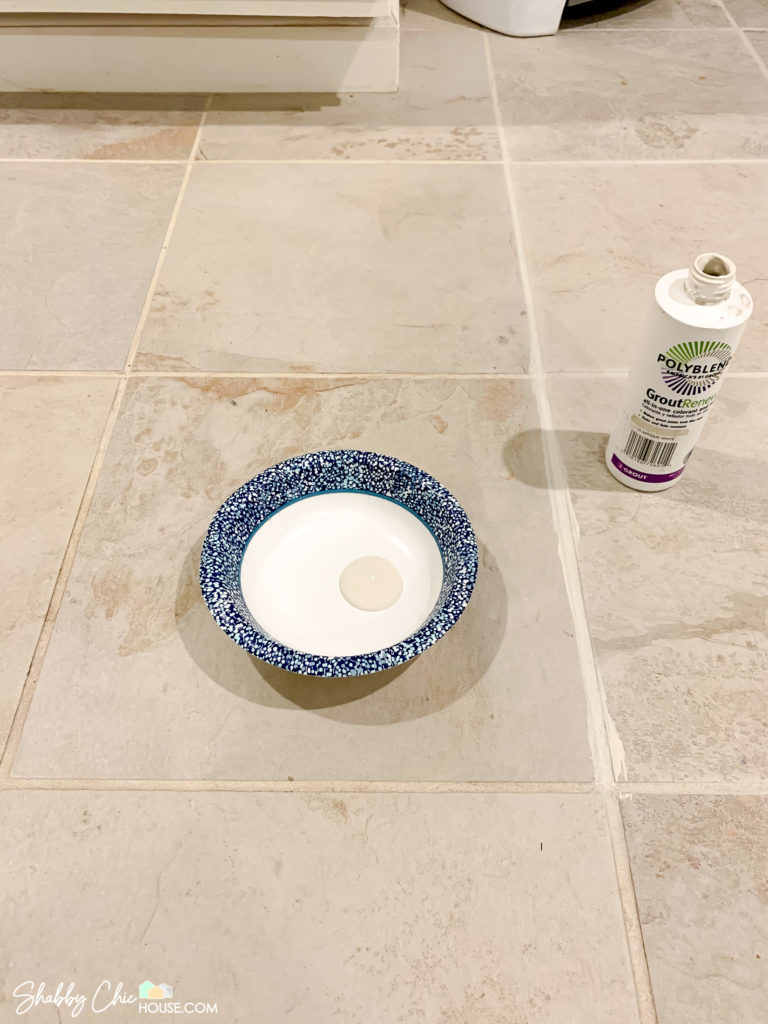
You can use either Mapei’s Grout Refresh and Polyblend’s GroutRenew. Both products work amazingly well and in addition to refreshing your grout, act as a sealant to help prevent future discoloration.
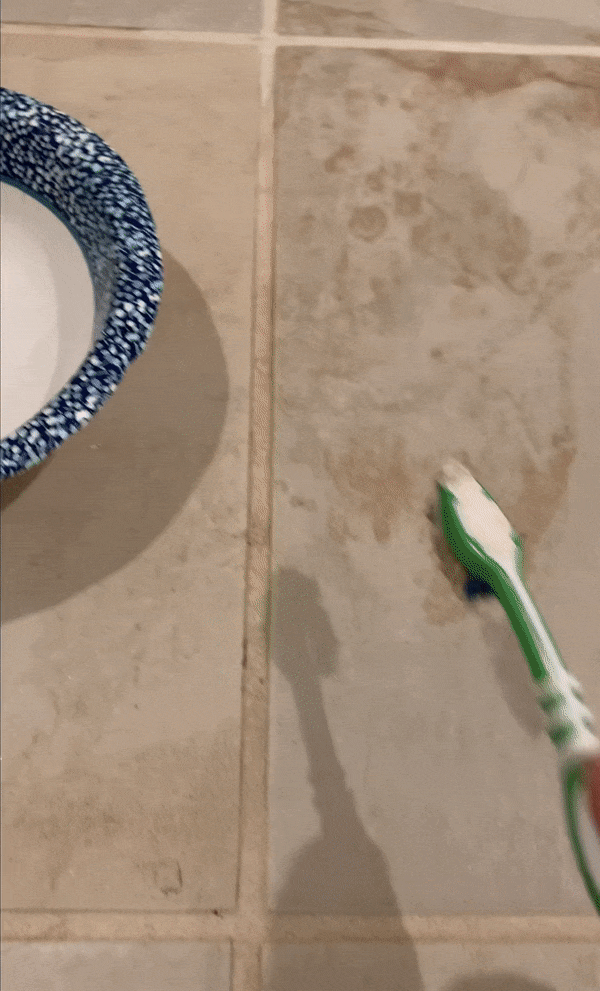
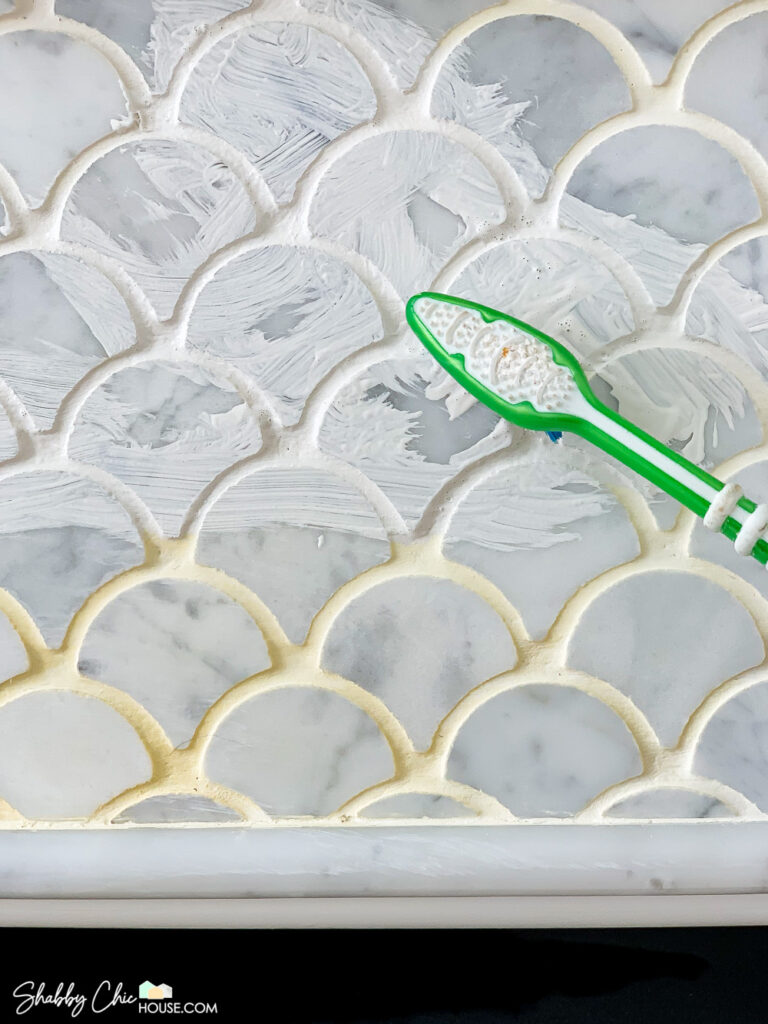
Start by dumping a small amount of your grout colorant into a small container. Start in the corner of your room opposite your door and apply the colorant to a very small section of your grout using an old toothbrush. Brush the colorant into the grout with a few extra stokes to make sure it soaks in.

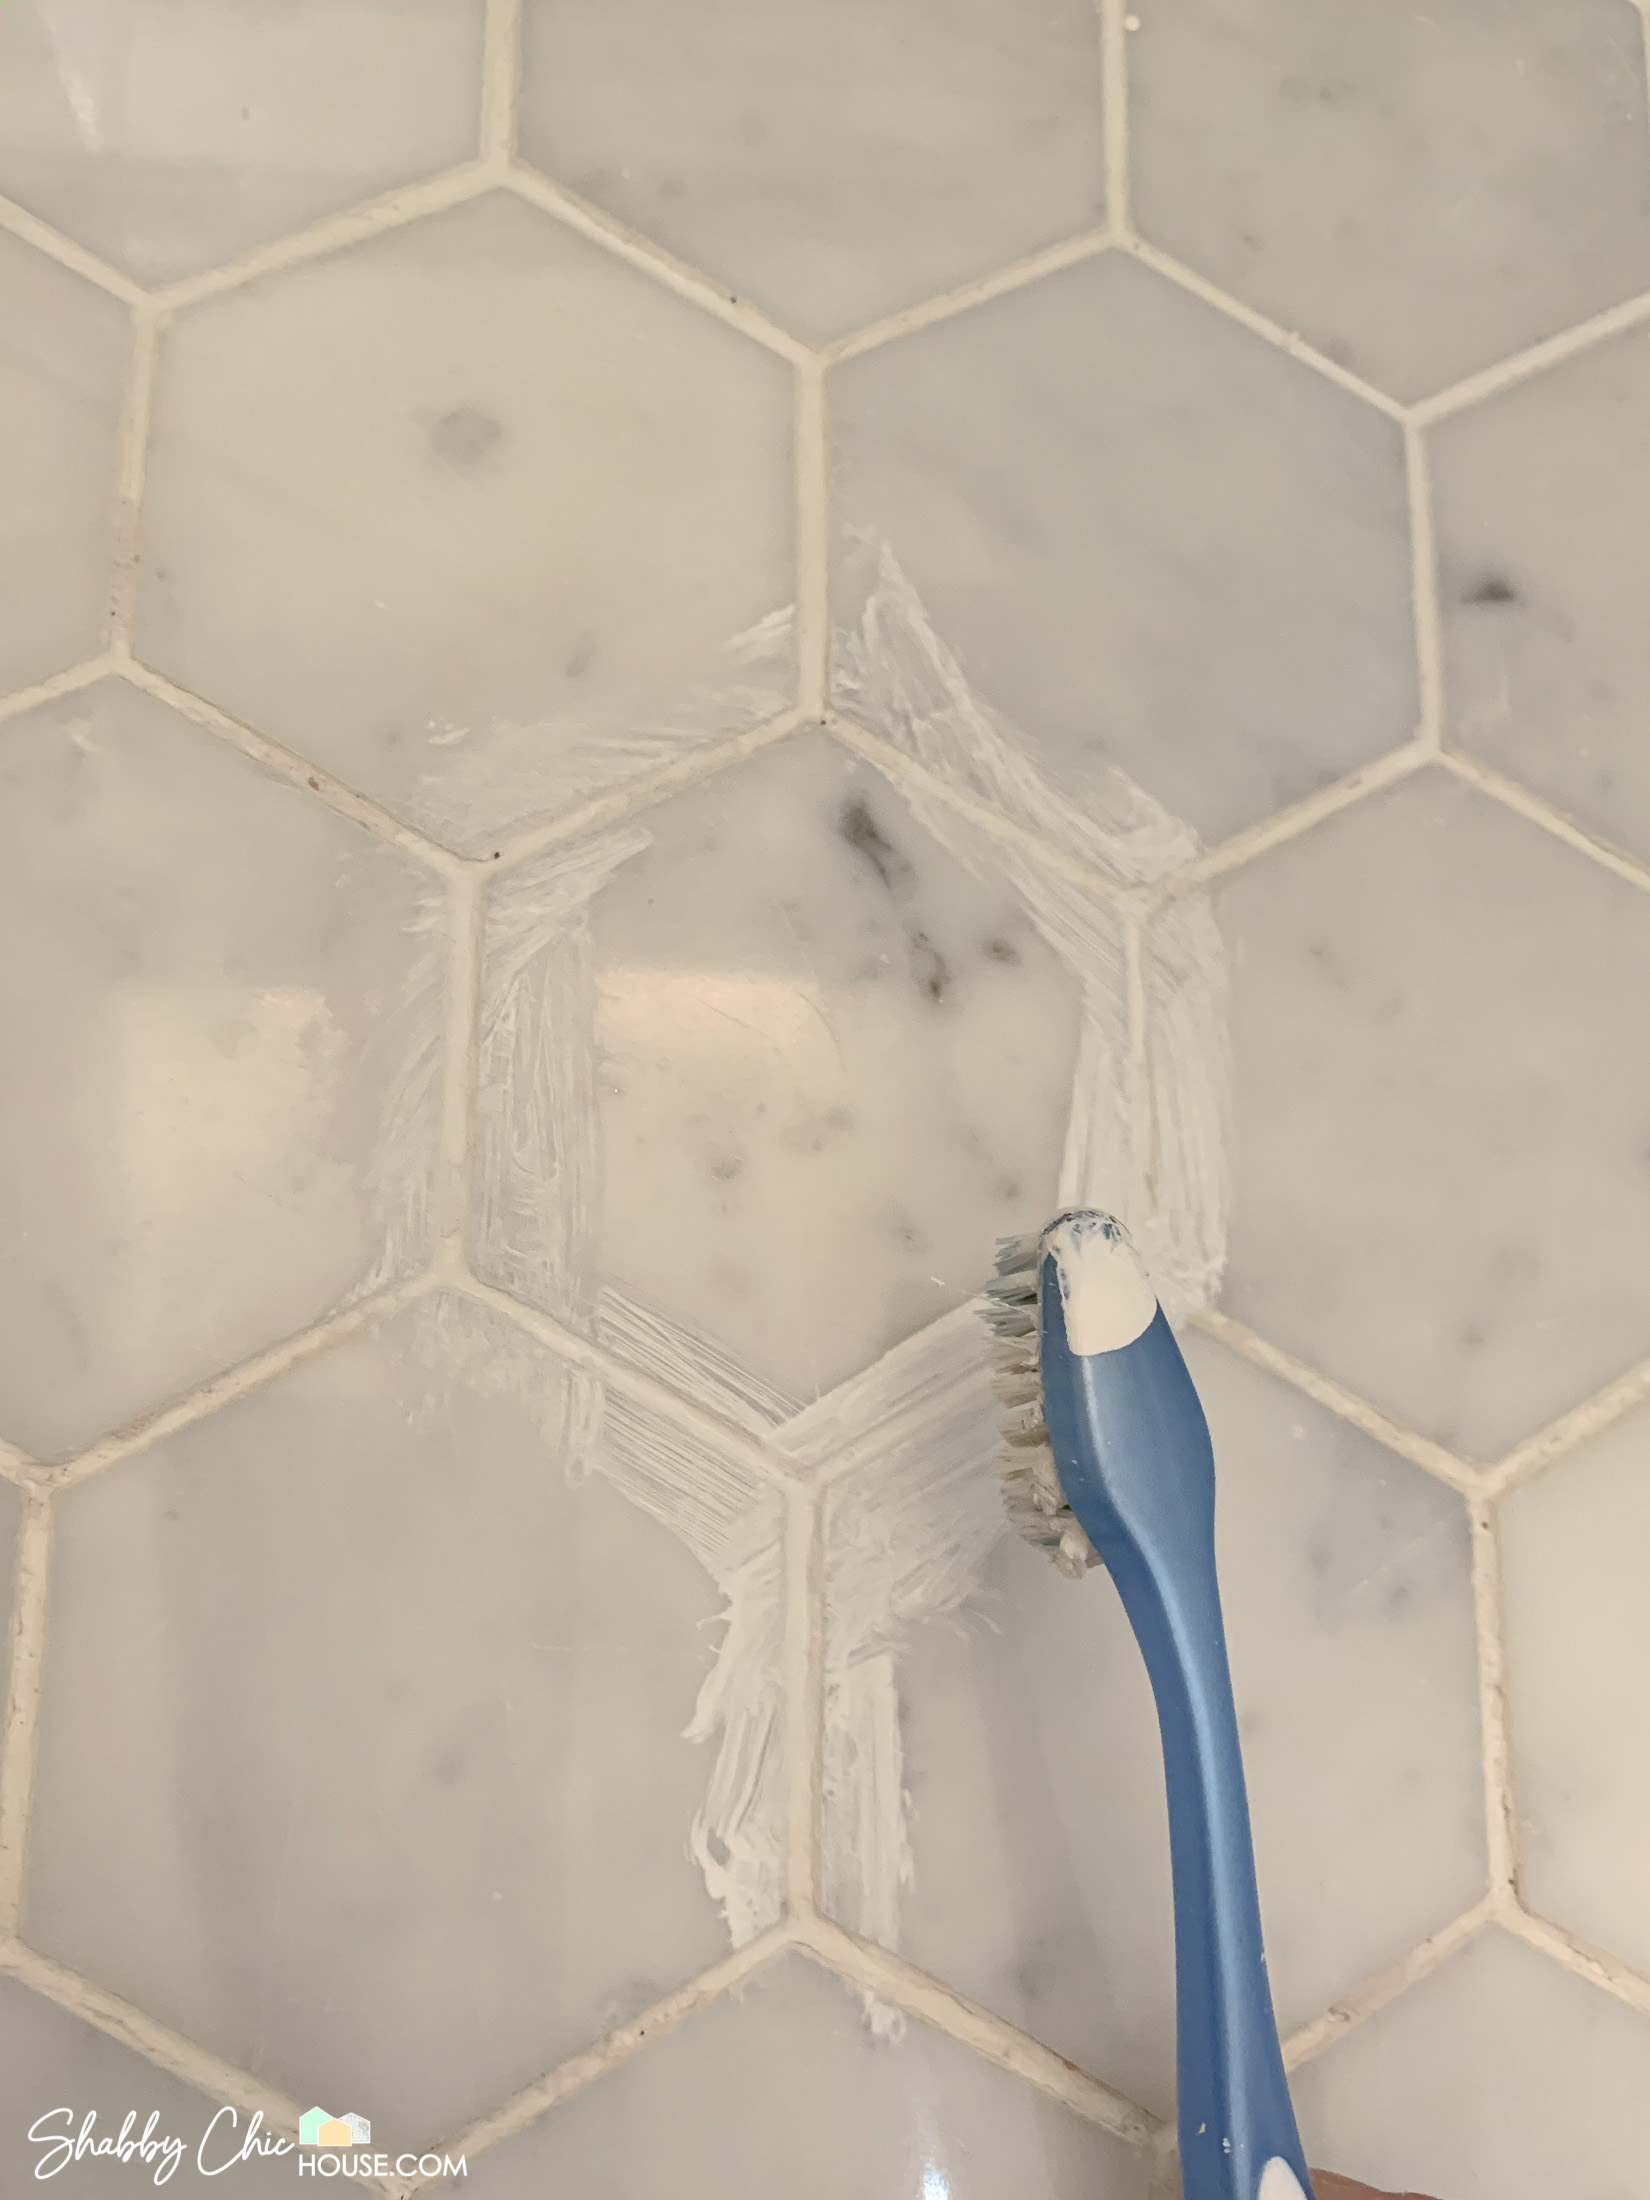
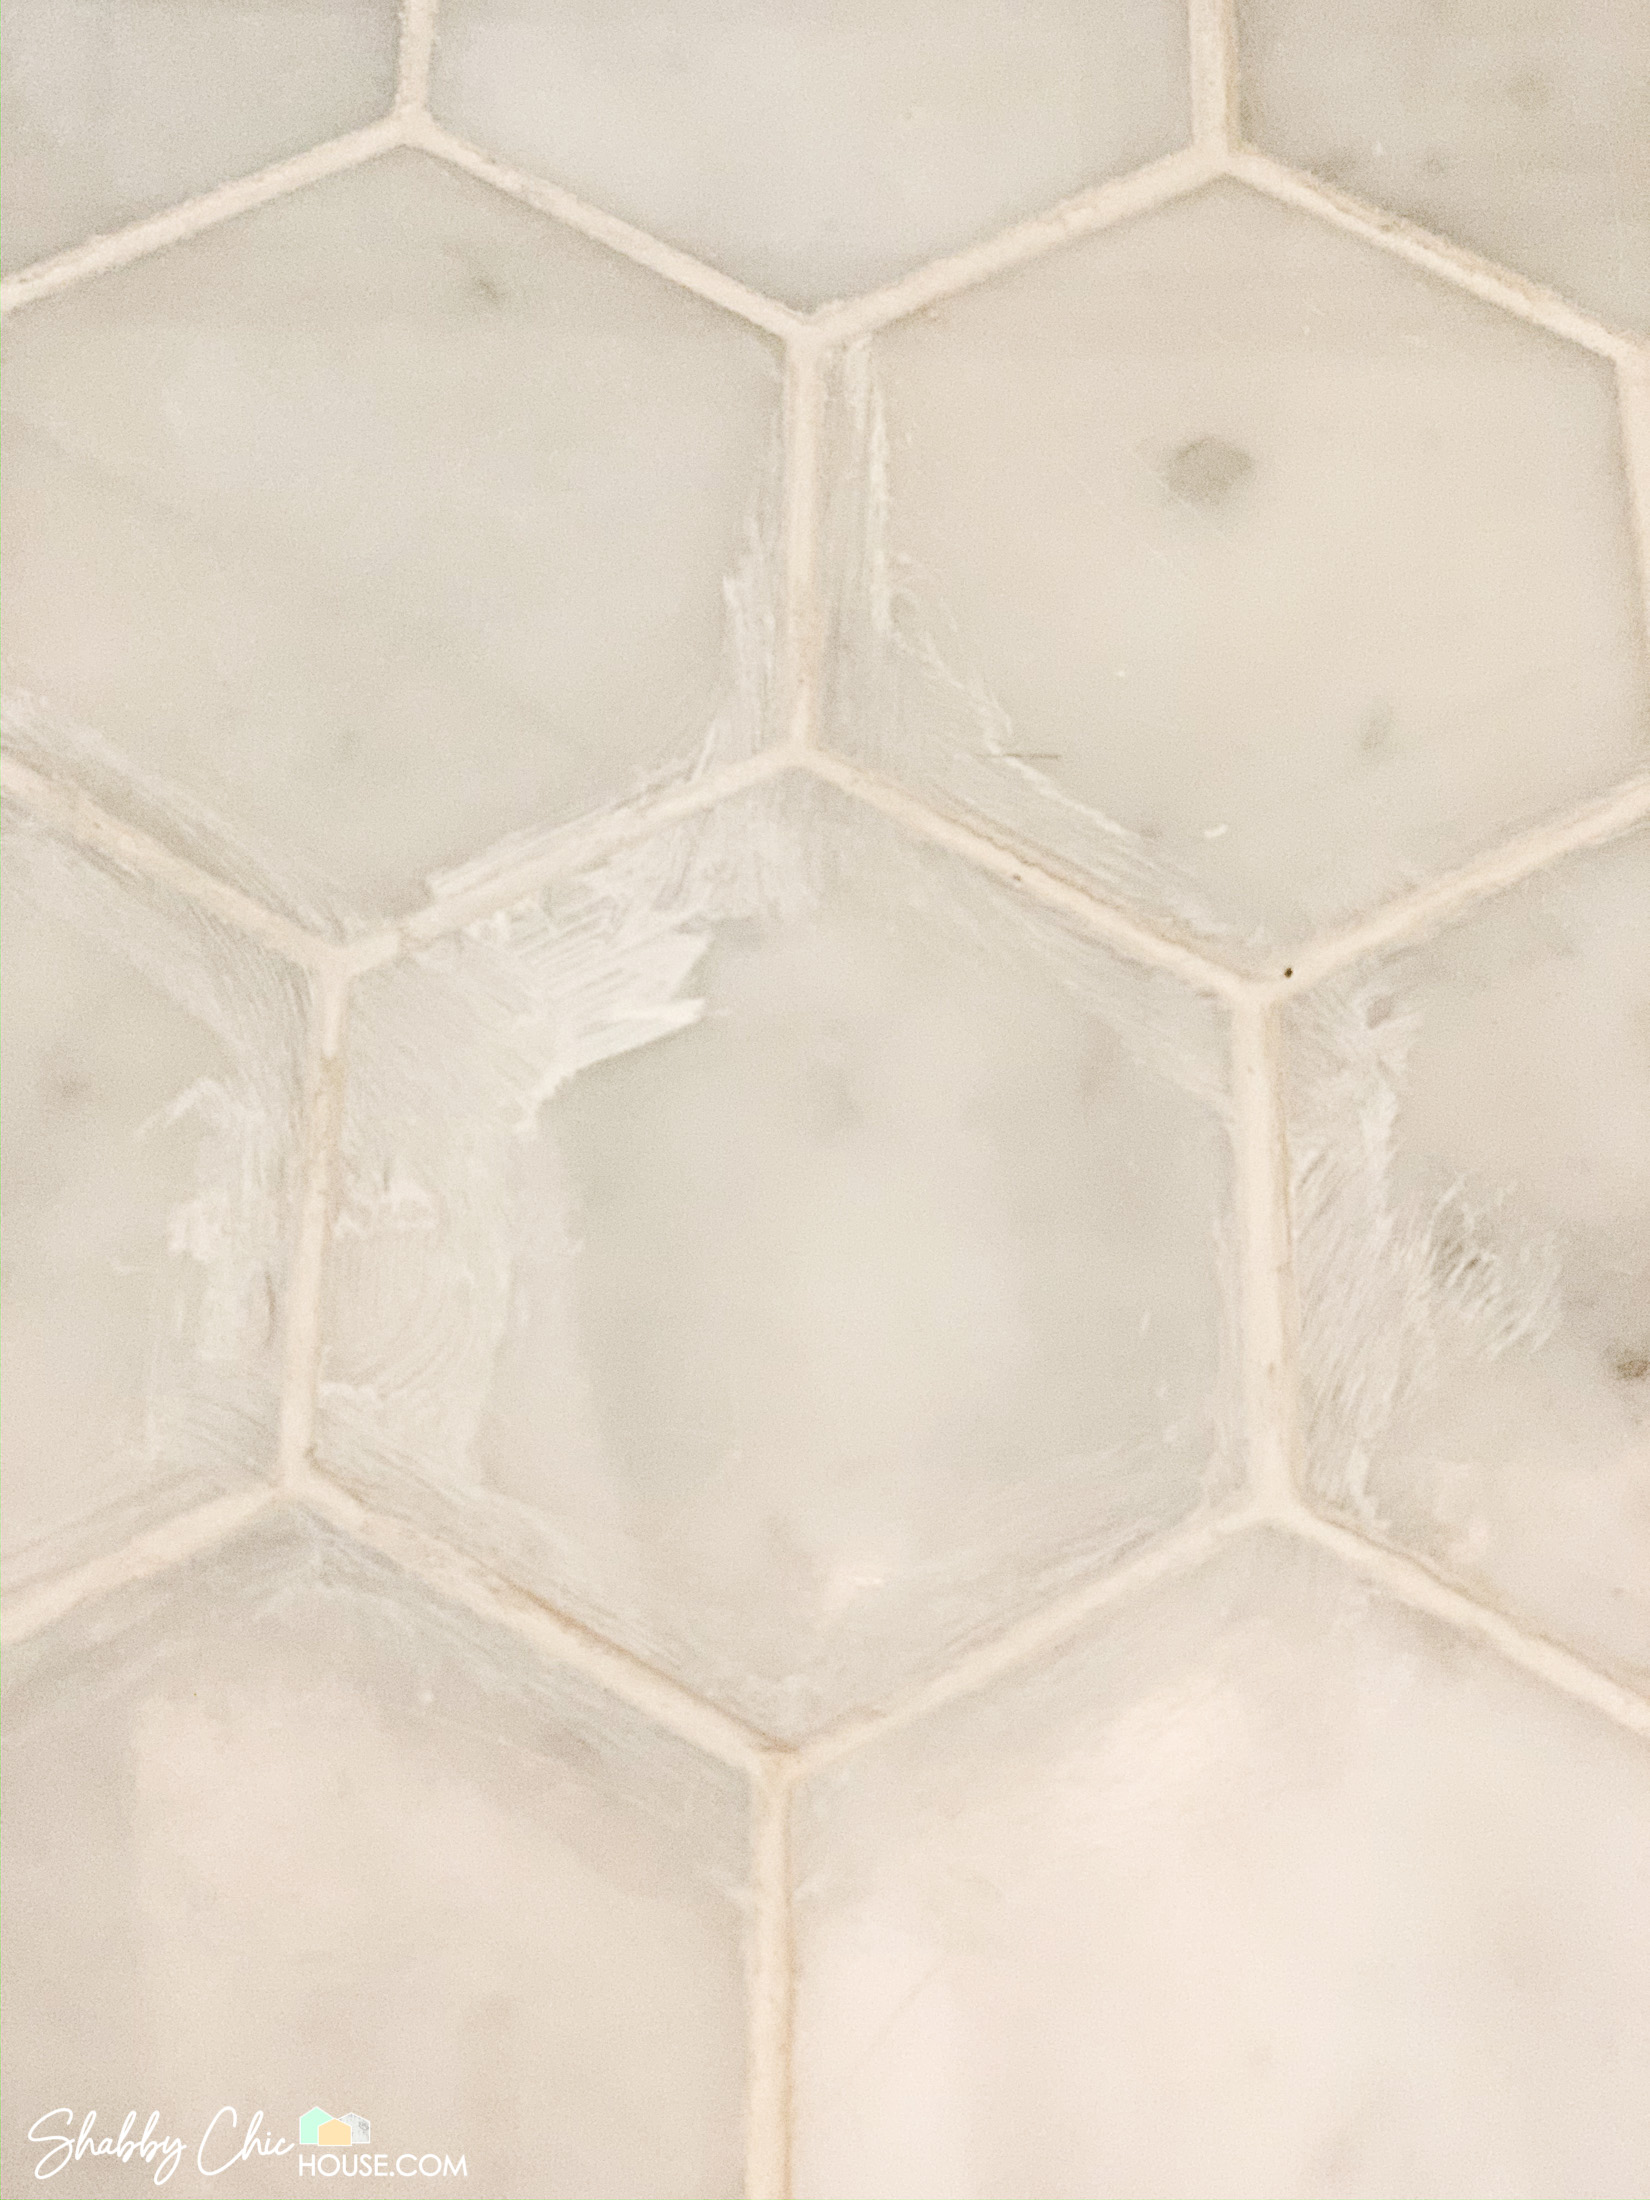
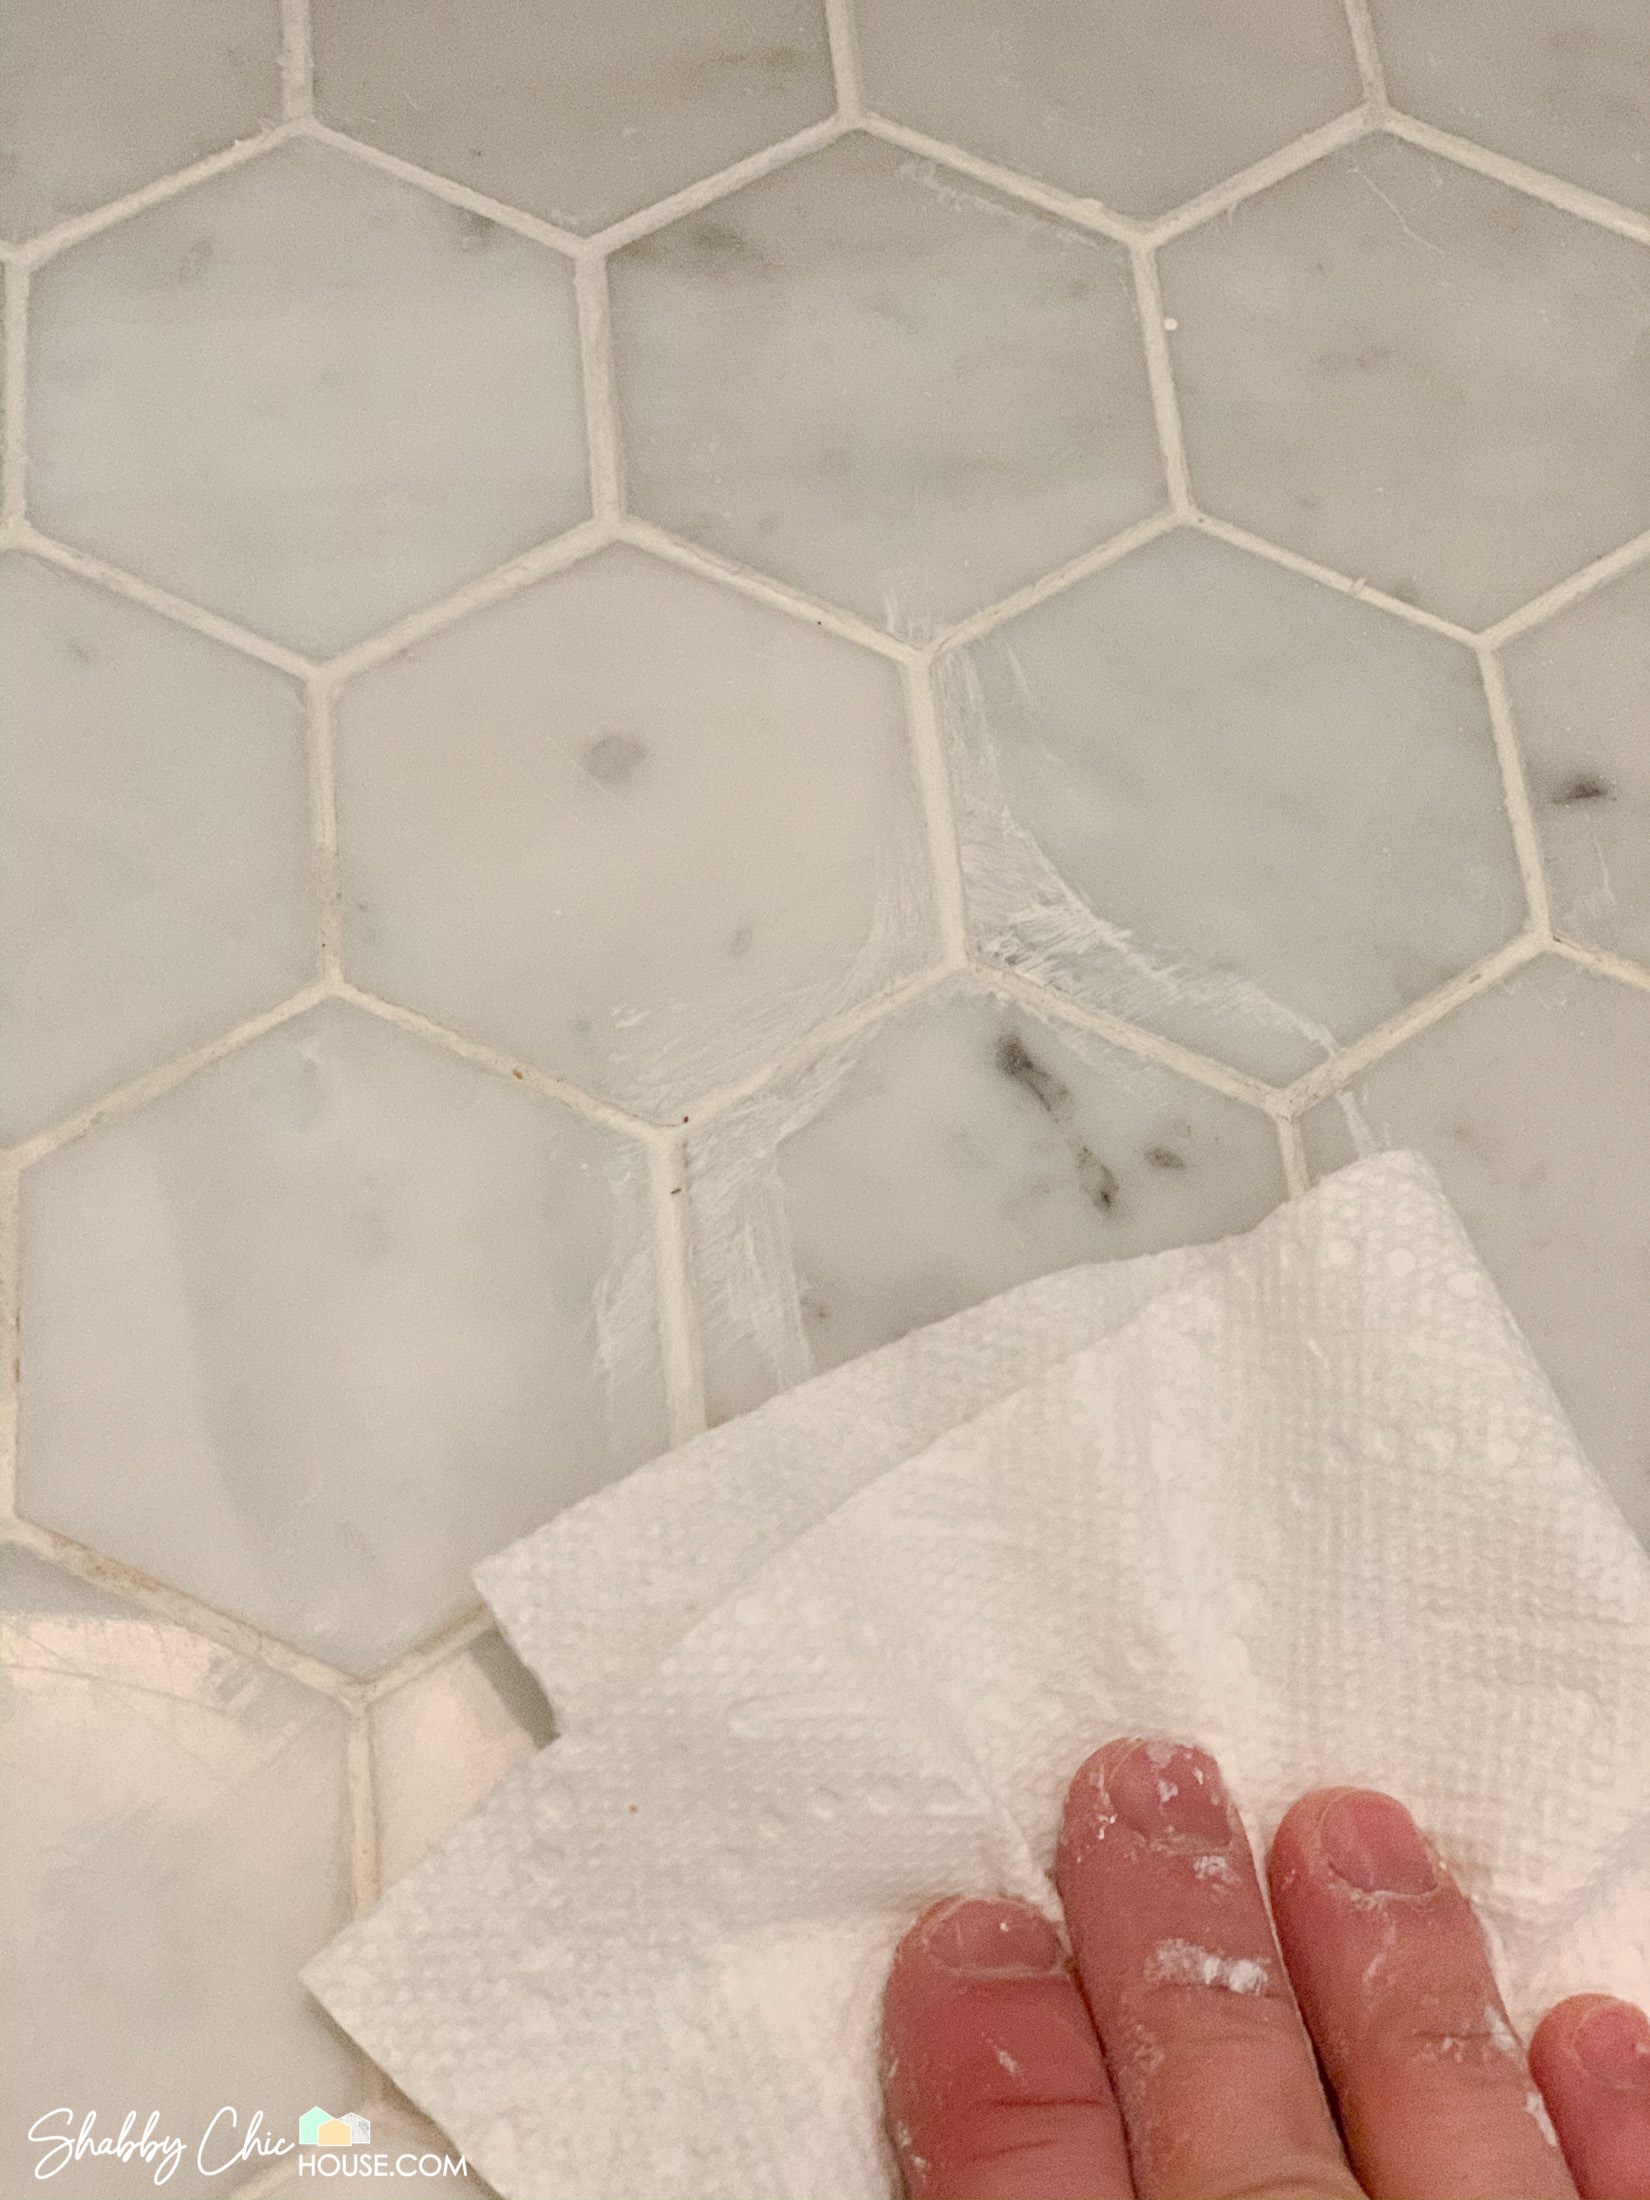
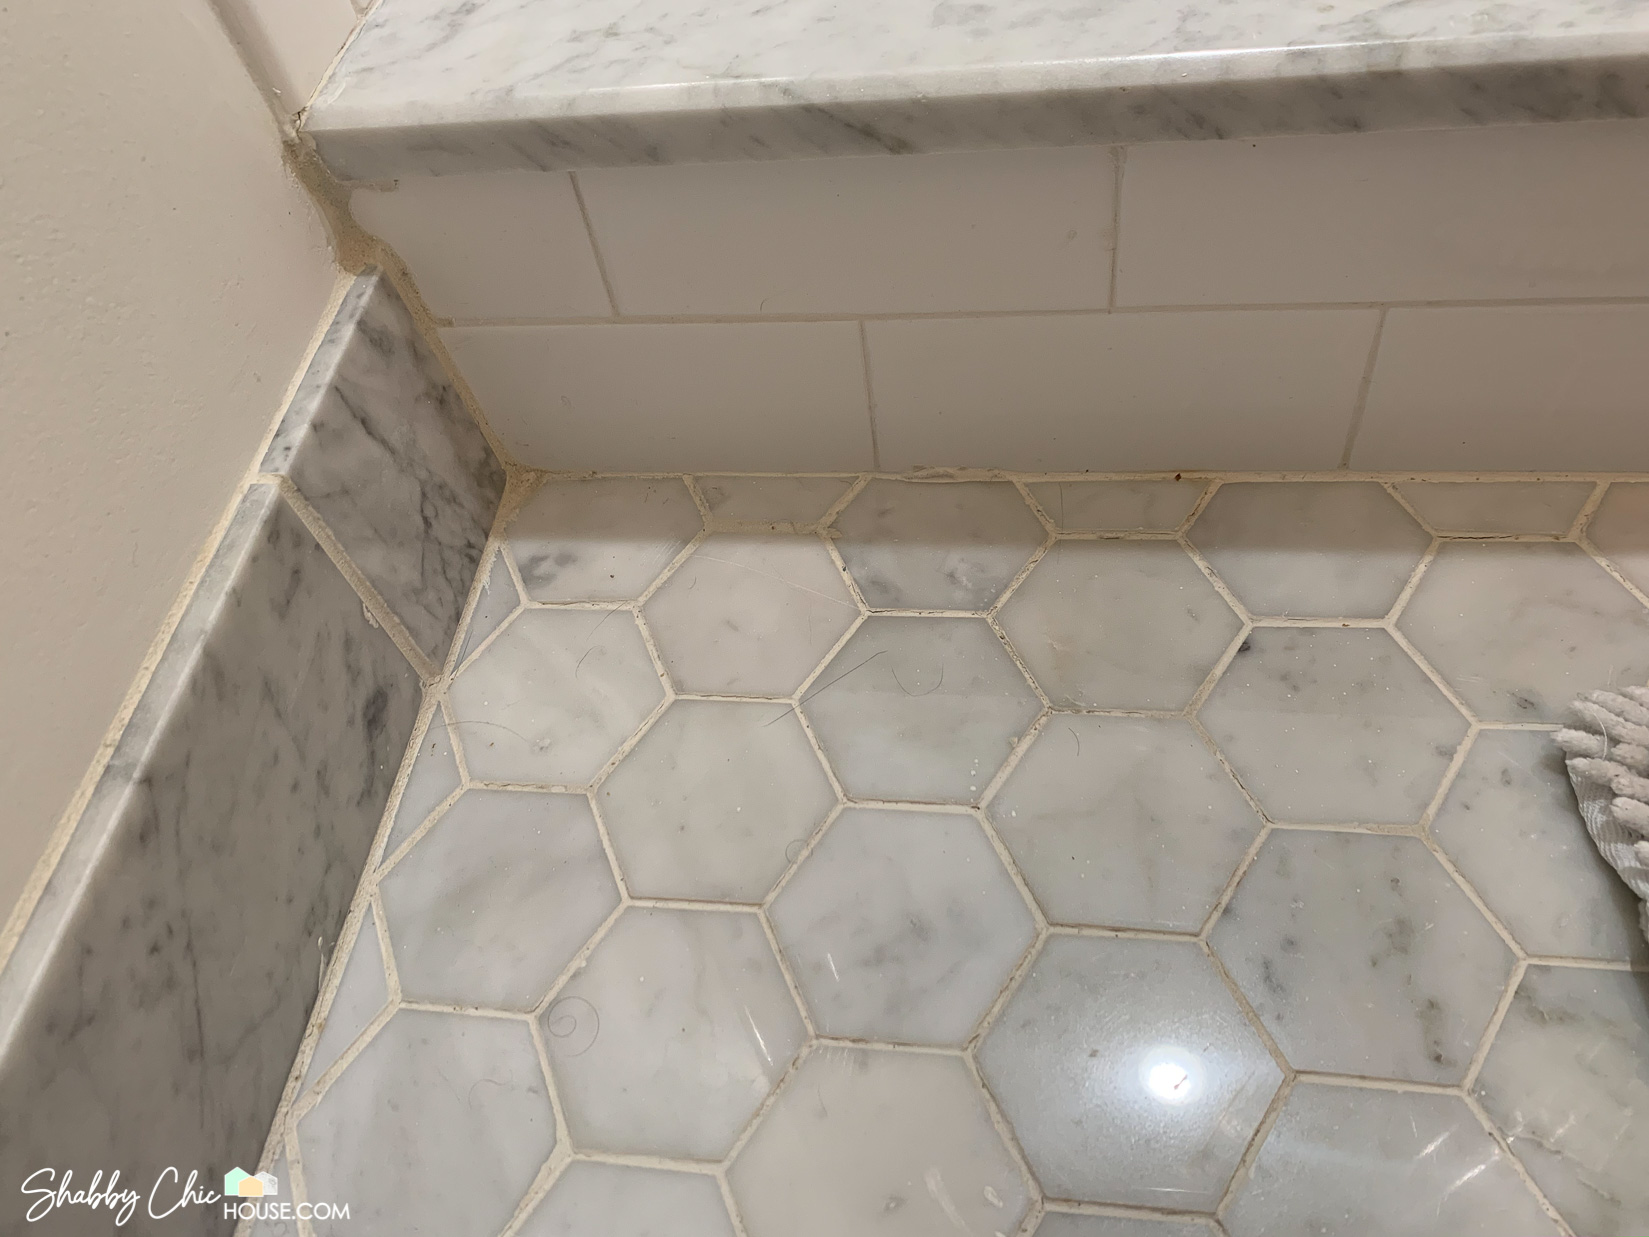
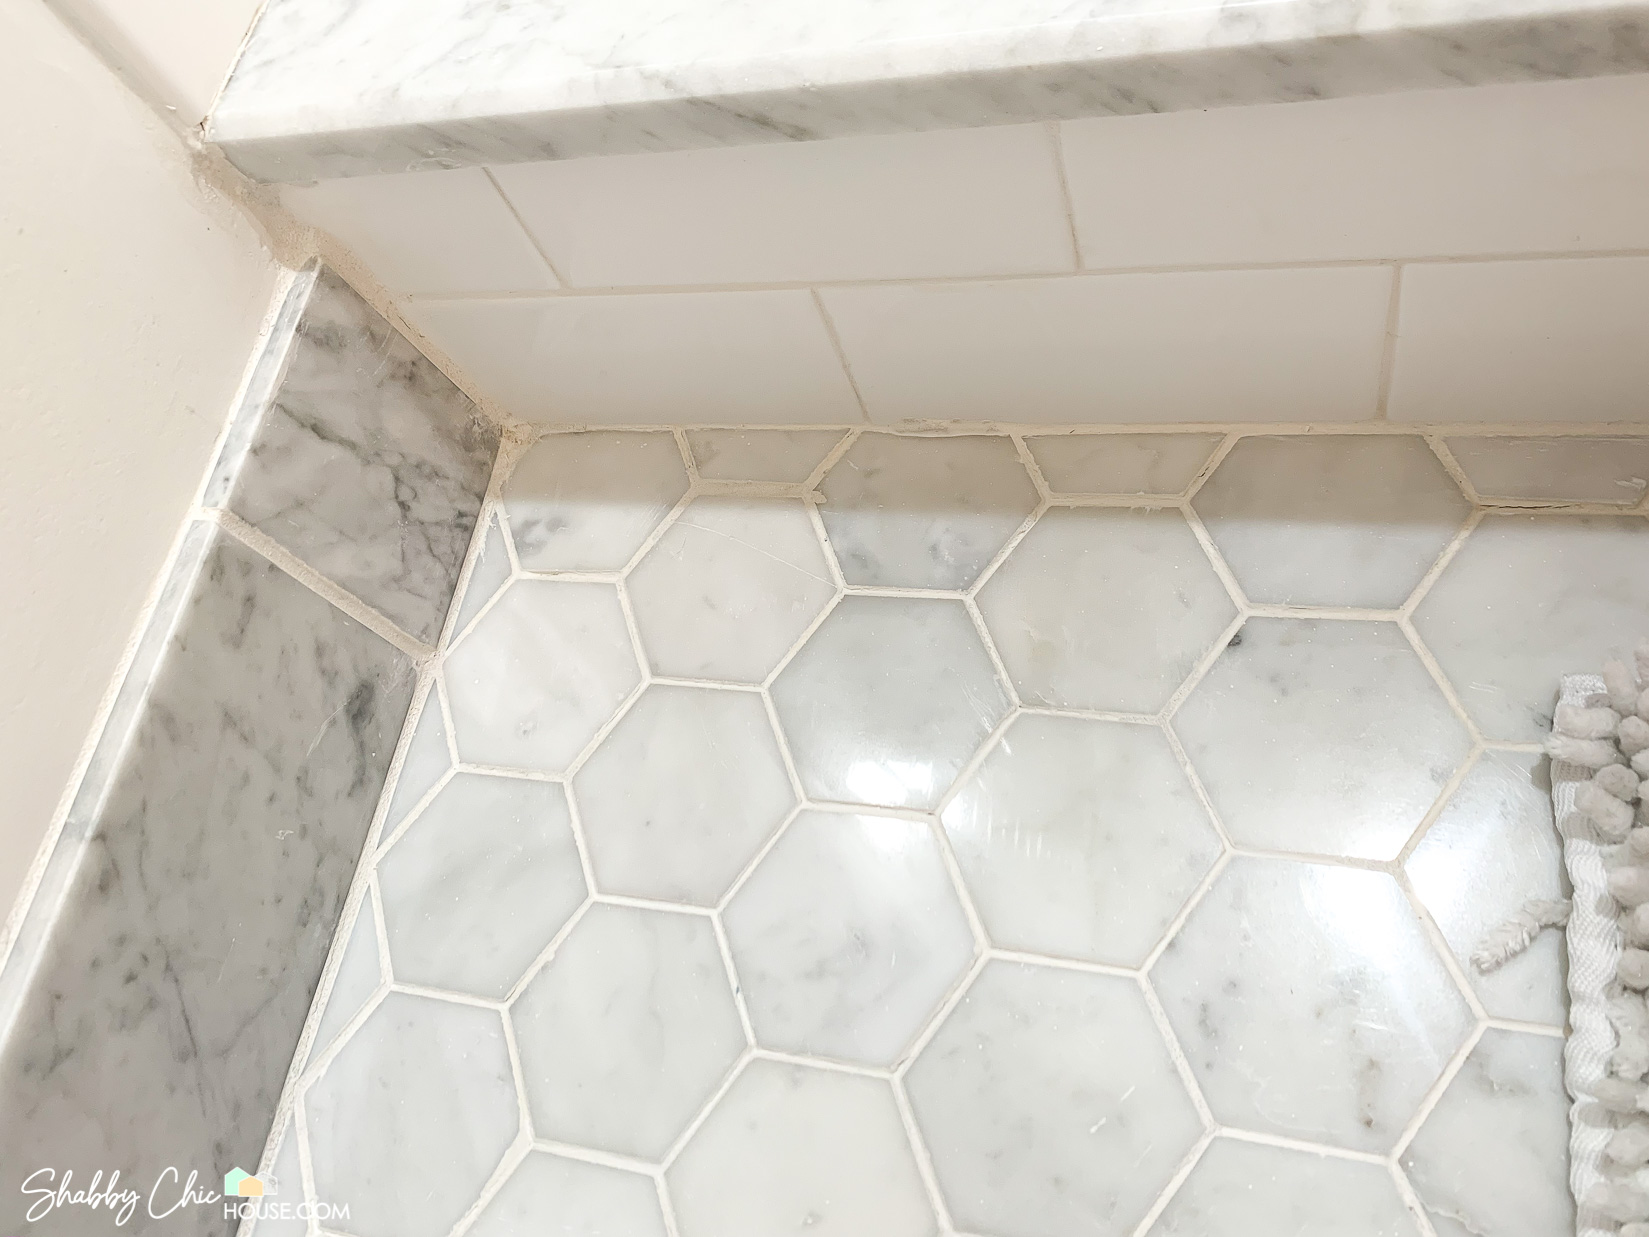
For small tiles similar to these 3″ tiles, apply to a single hexagon and then quickly wipe the excess colorant off with a damp rag. When wiping off the tile, try to wipe the top of the tile, but avoid getting your paper towel down in the grout lines.
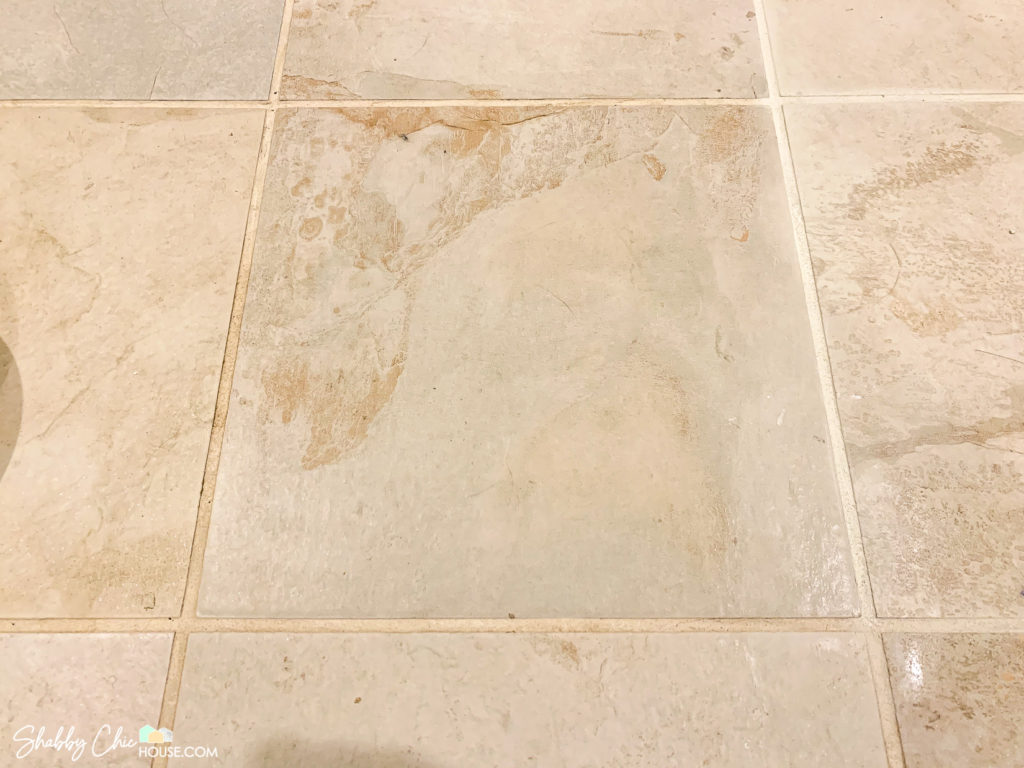
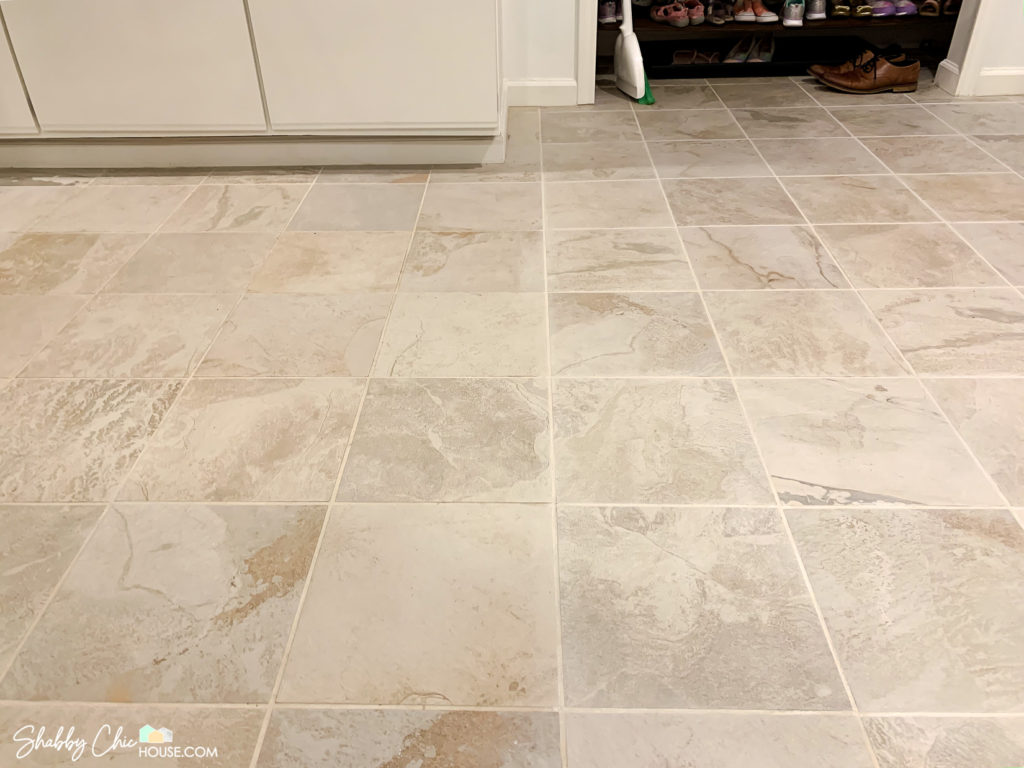
For larger tiles similar to these 1′ tiles, apply the grout colorant to two one foot sides of the tile and then wipe off the excess colorant. This stuff dries fast, so it’s best to wipe off within 20-30 seconds.
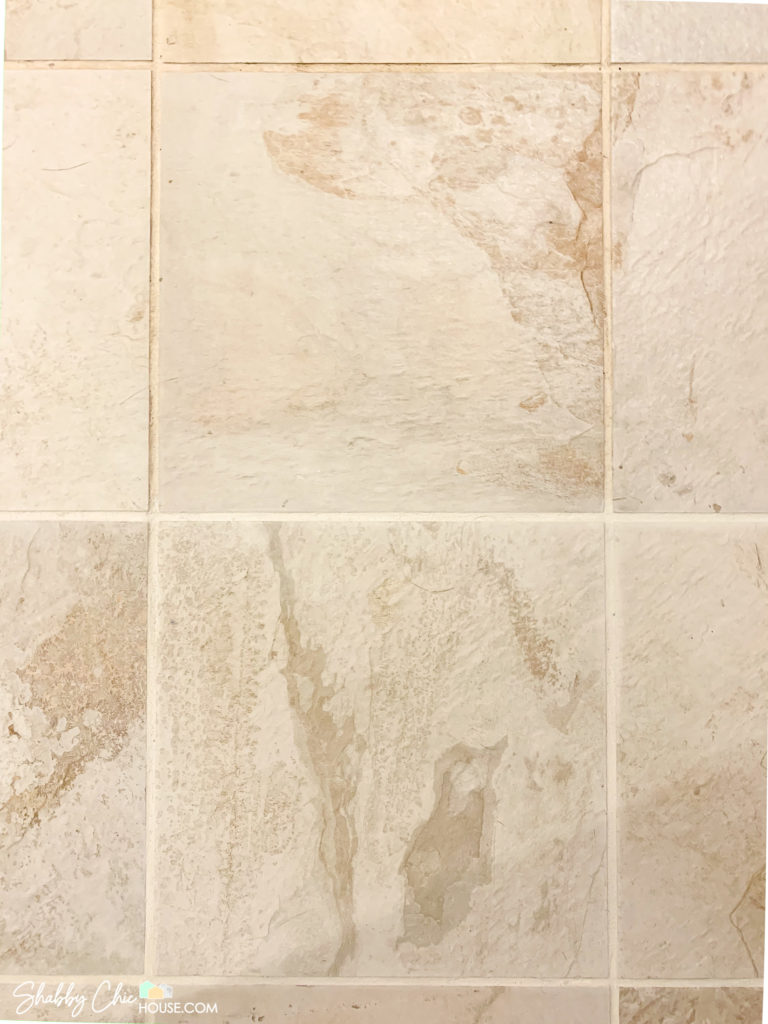
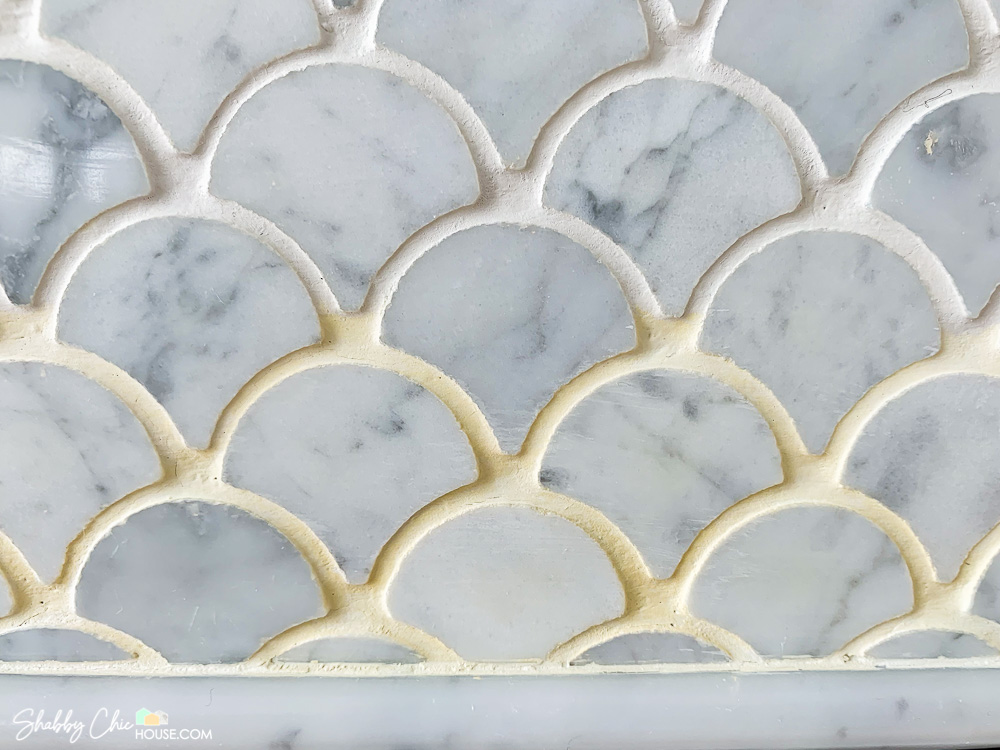
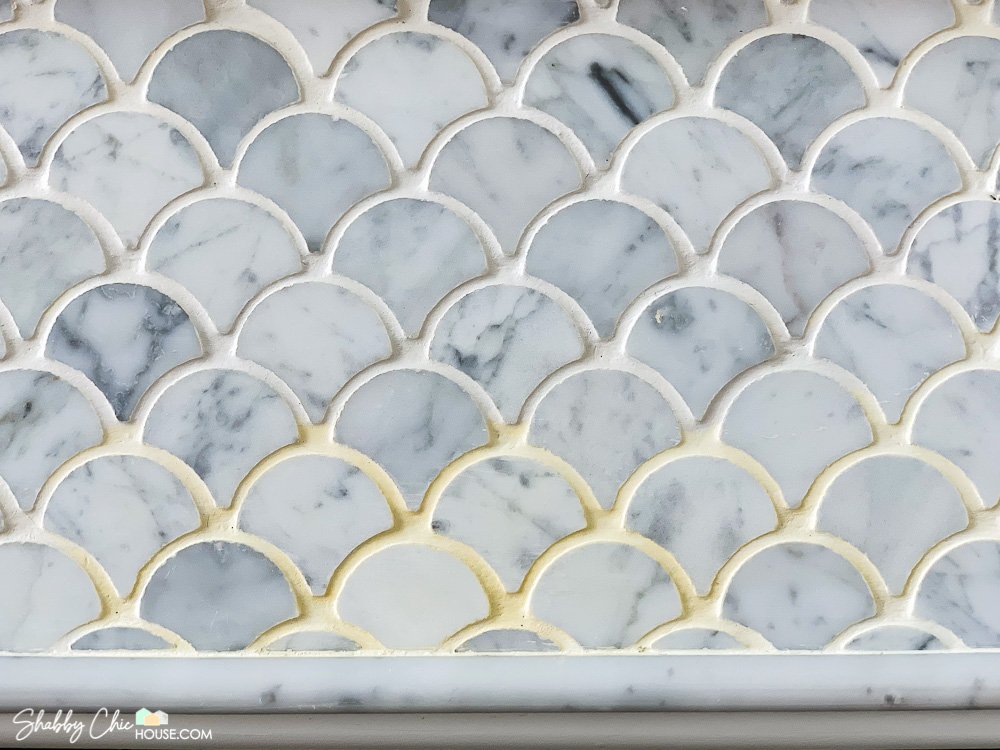
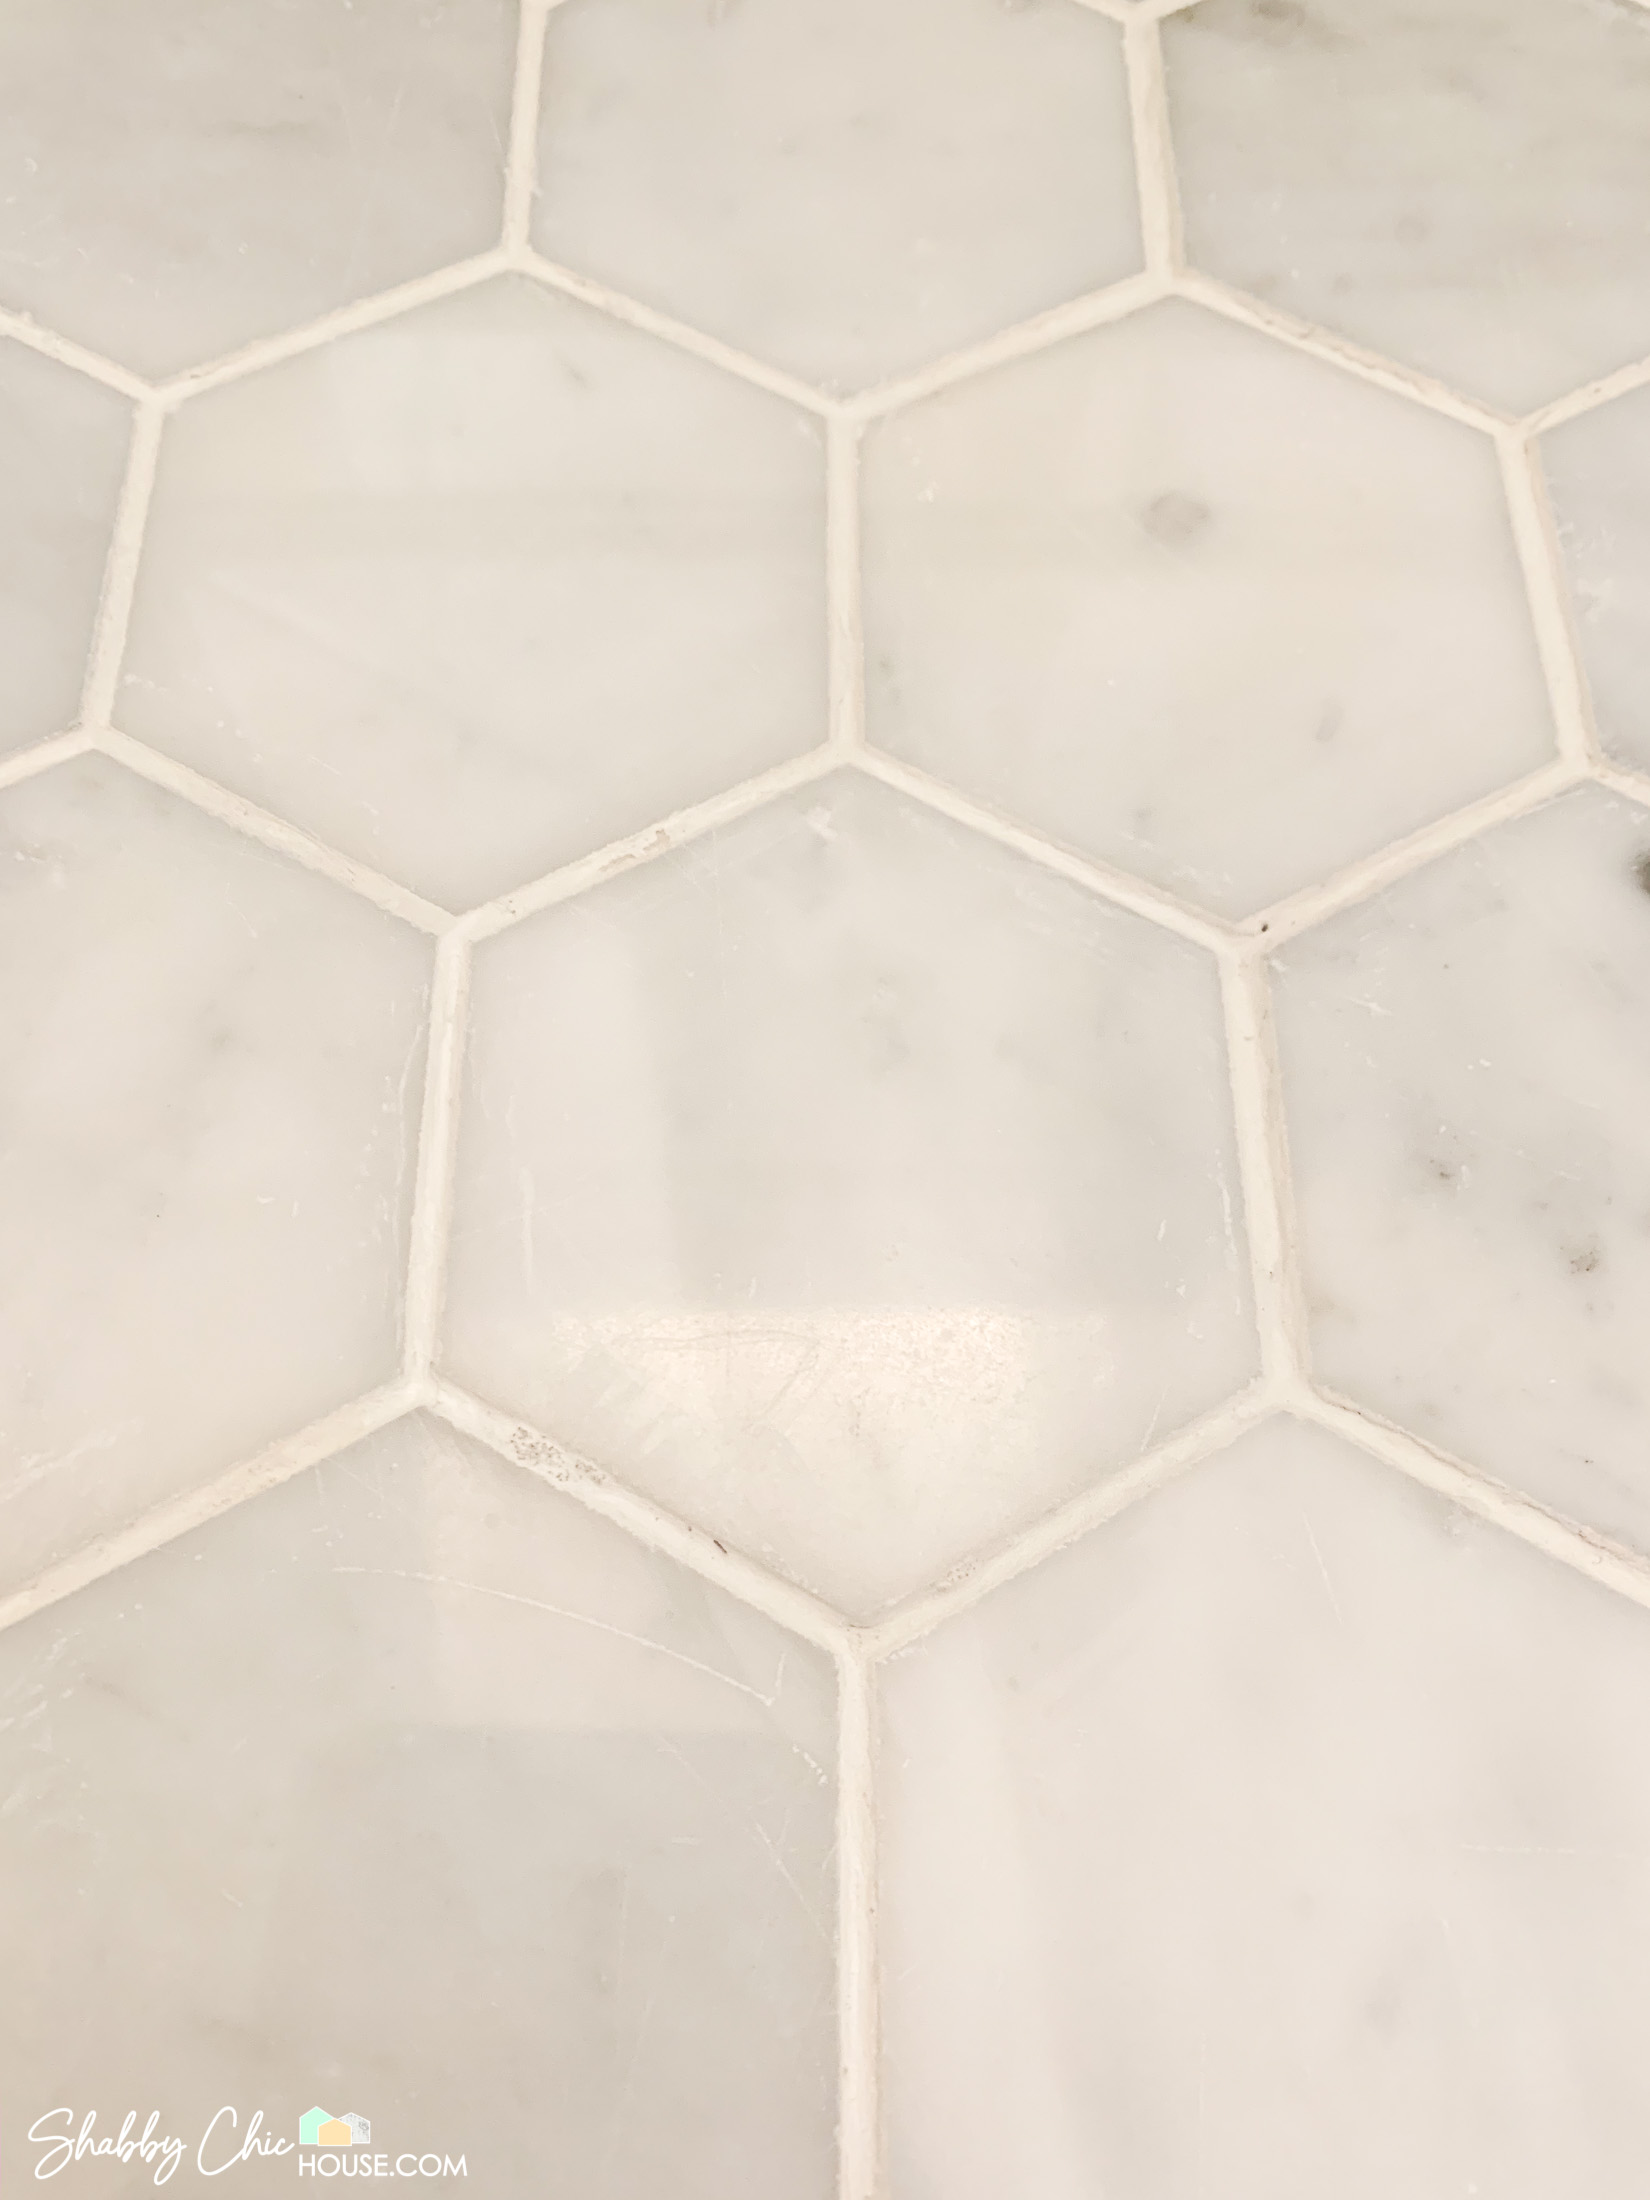
Wow! Check out the two images below. You can clearly see how awesome the grout looks on the right hand side of both photos and how gross the grout was prior on the left.
In the end, this easy and inexpensive hack truly helps refresh your grout and make your tile floors, backsplashes and showers look like the day they were first installed.
Other Awesome Cleaning Hacks & The New Shabby Chic House
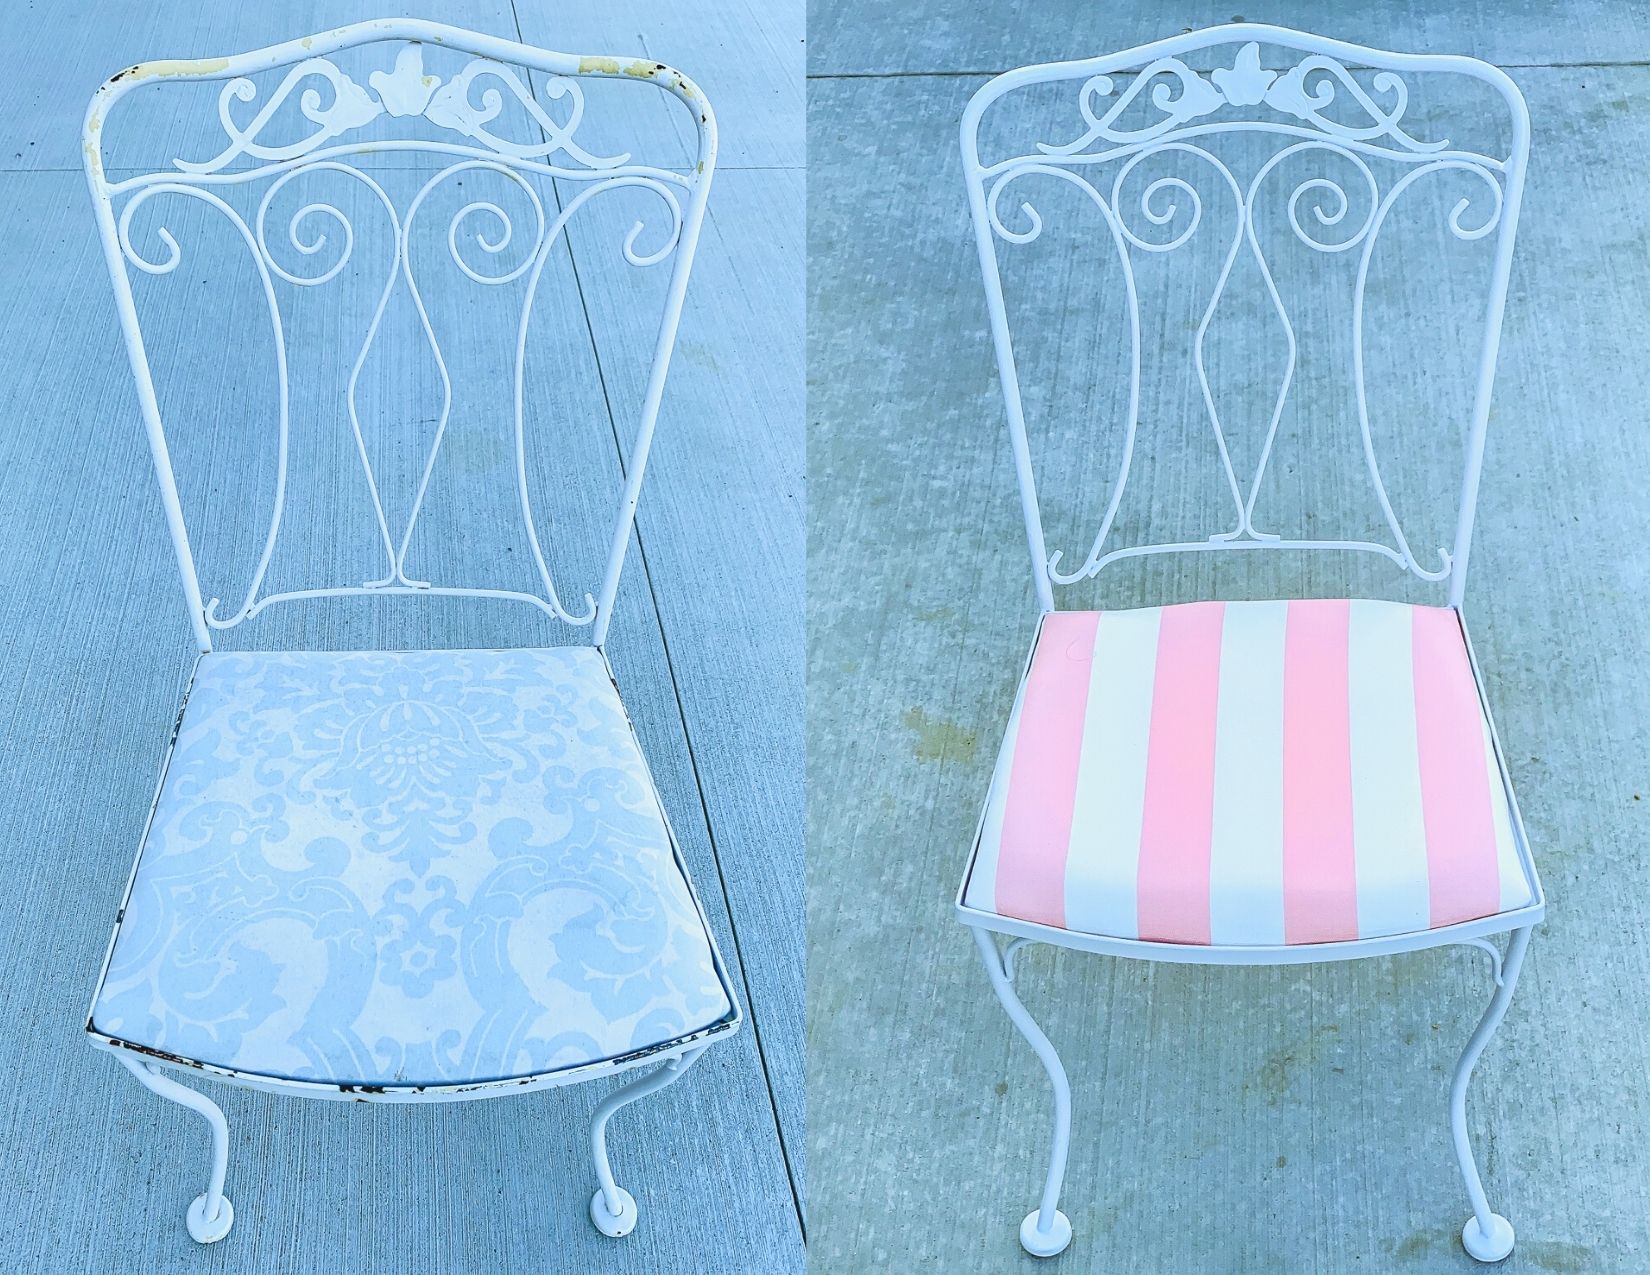
If you loved this post on How to Clean Tile Grout, then you’ll really love our post “The 6 Best Cleaning Hacks of All Time“.
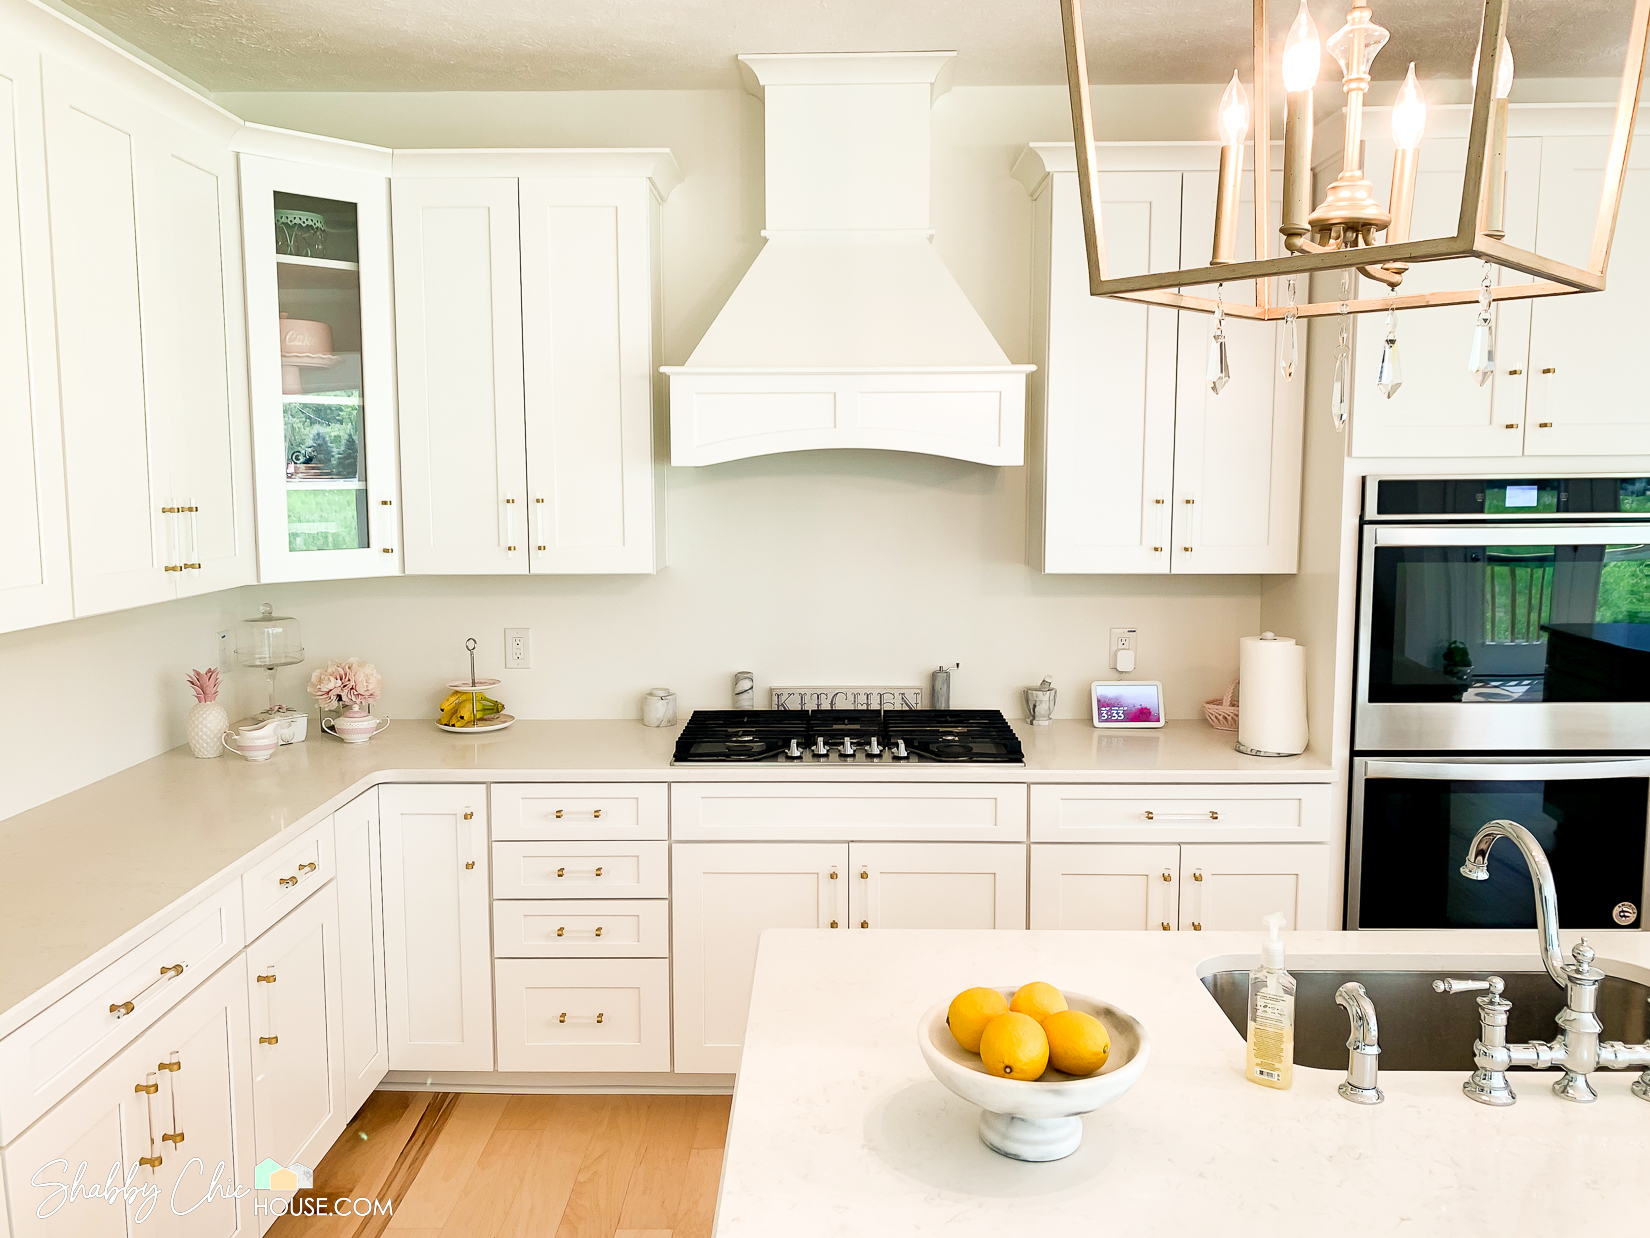
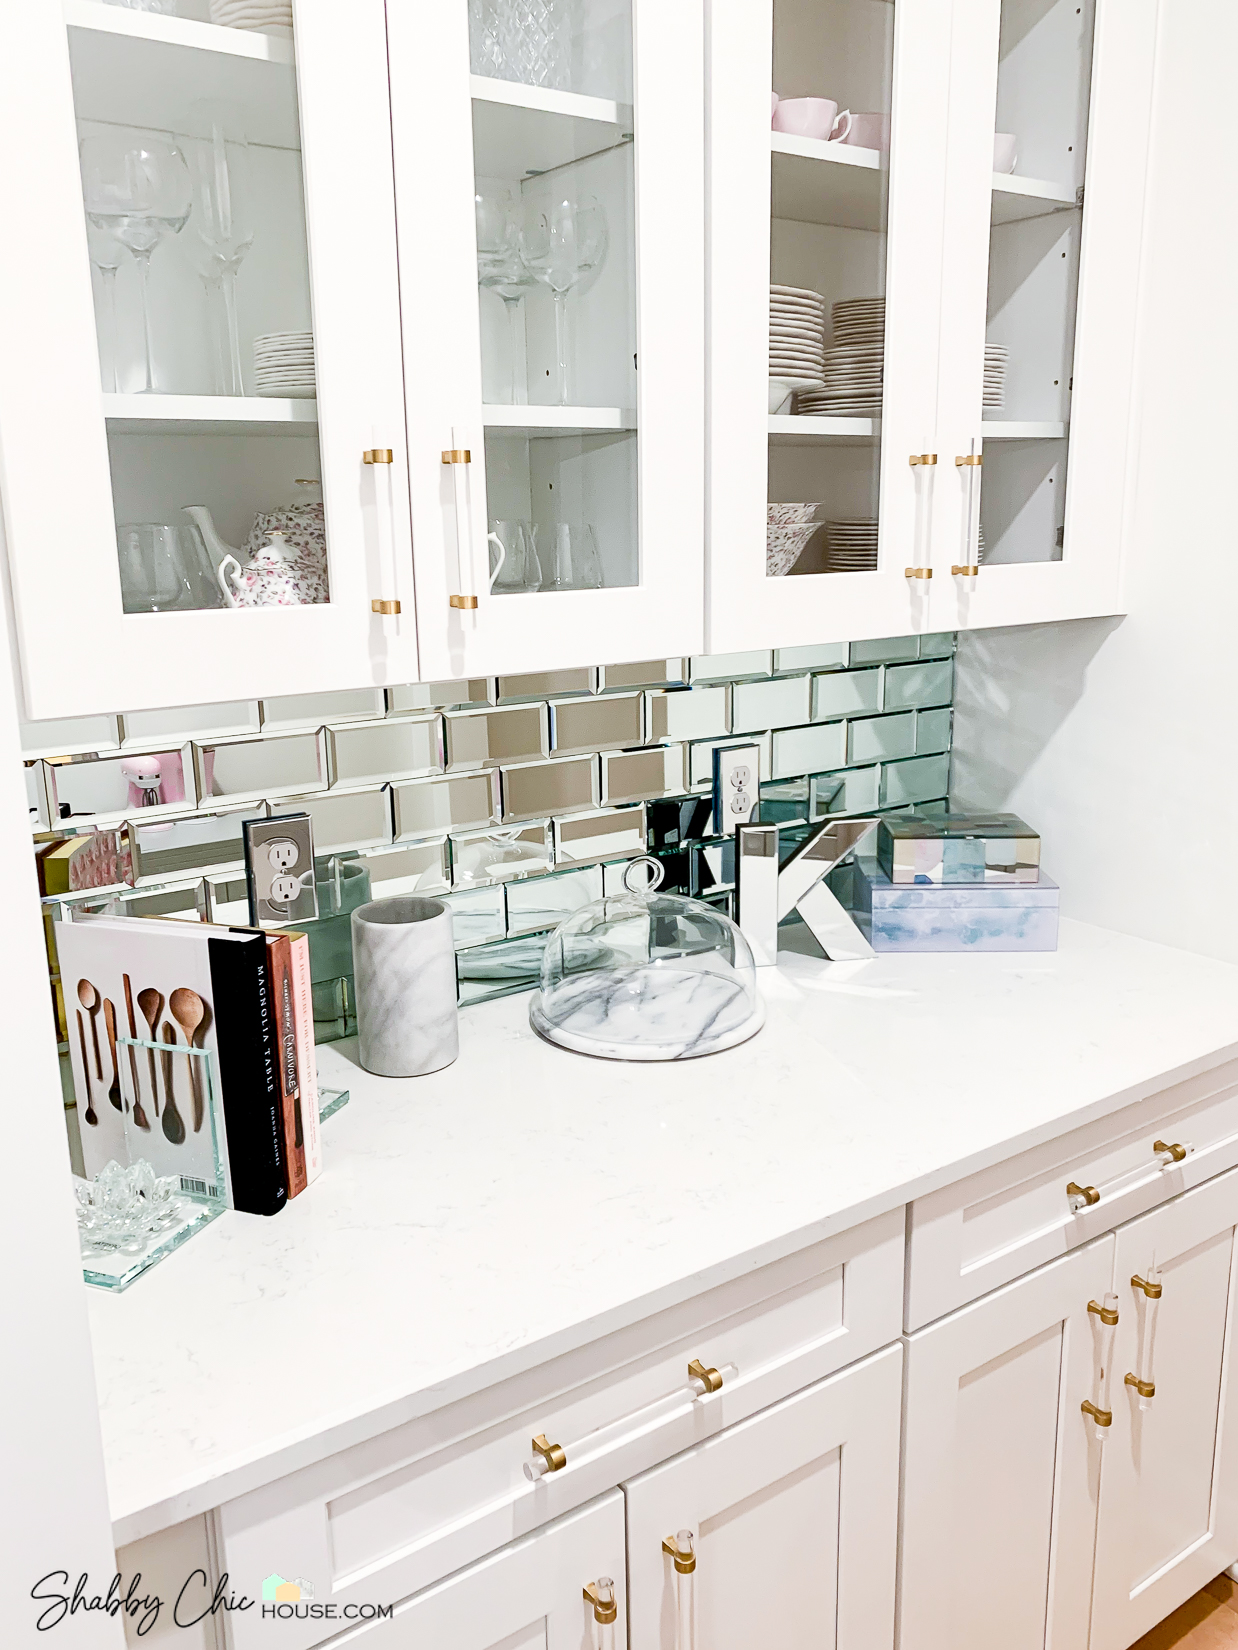
Check out the photos below and read the full post here!
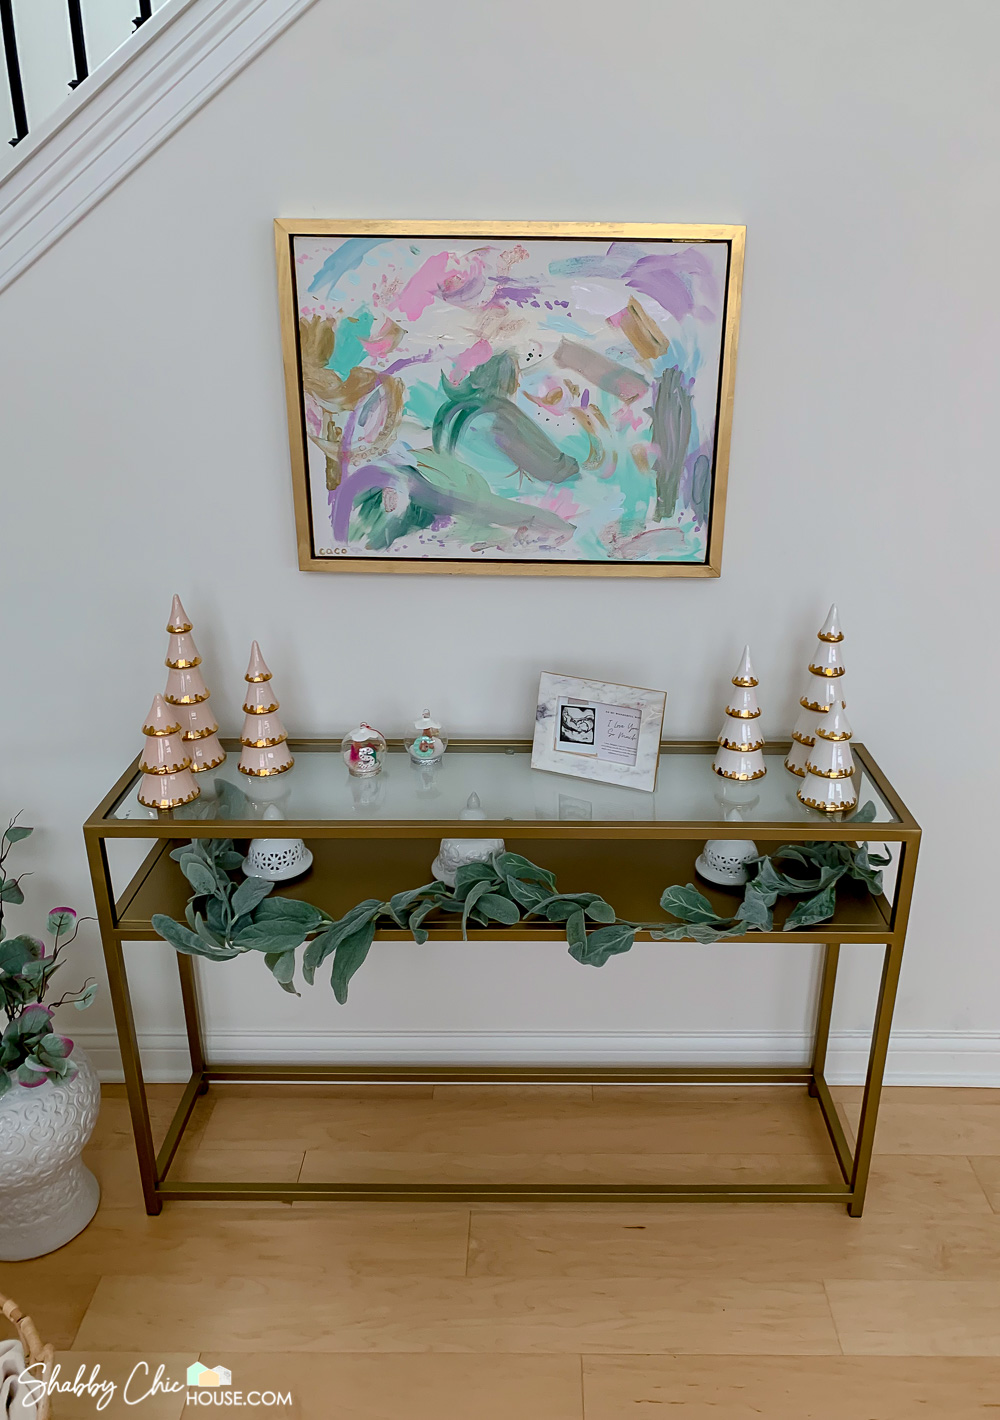
Also, if you’re new to the ShabbyChicHouse please check out our latest blog post and introduction to the newly built ShabbyChicHouse (ShabbyChicHouse II?). Link and photos below!
The New Shabby Chic House & 7 Upcoming Home Improvement Projects