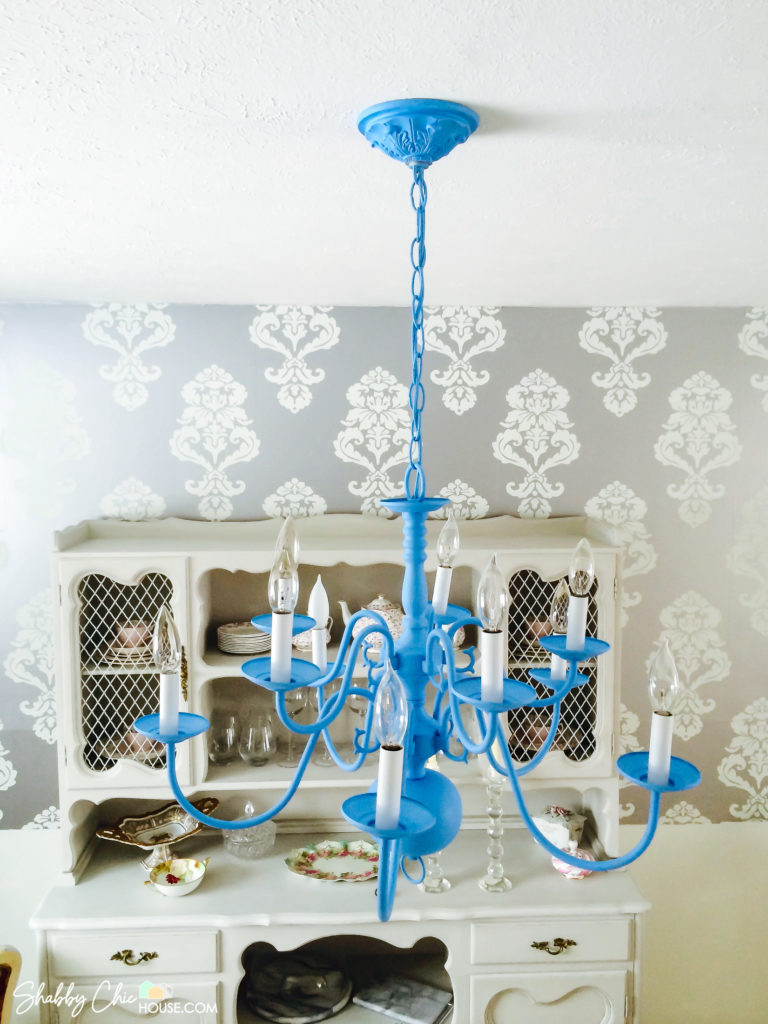
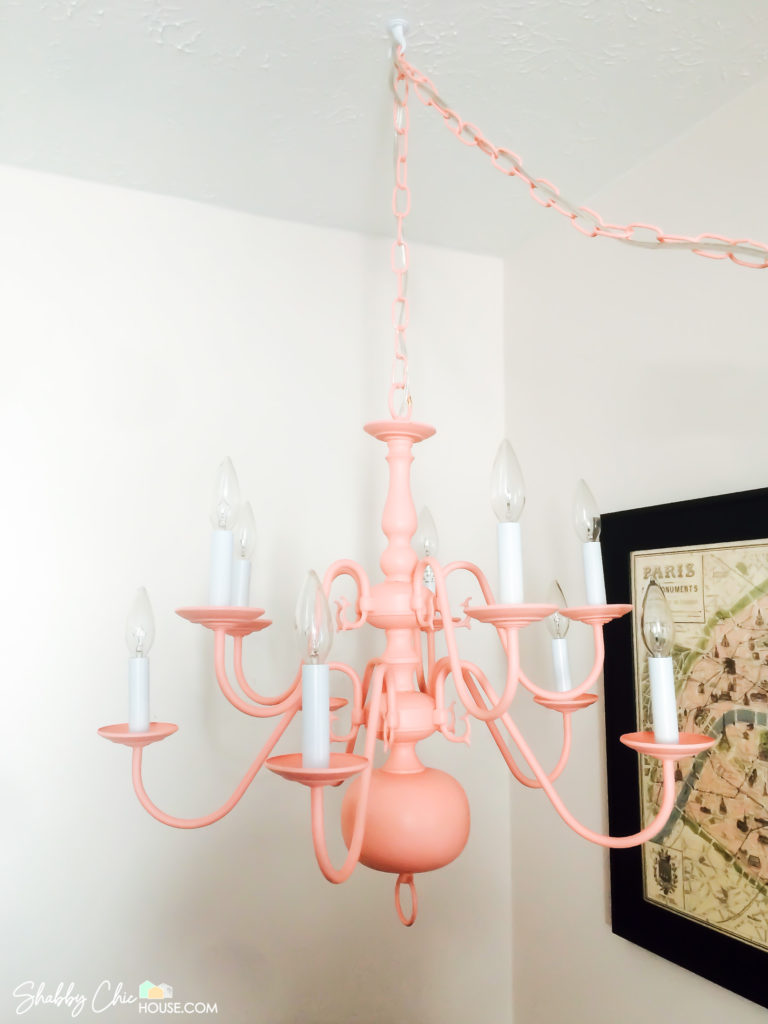
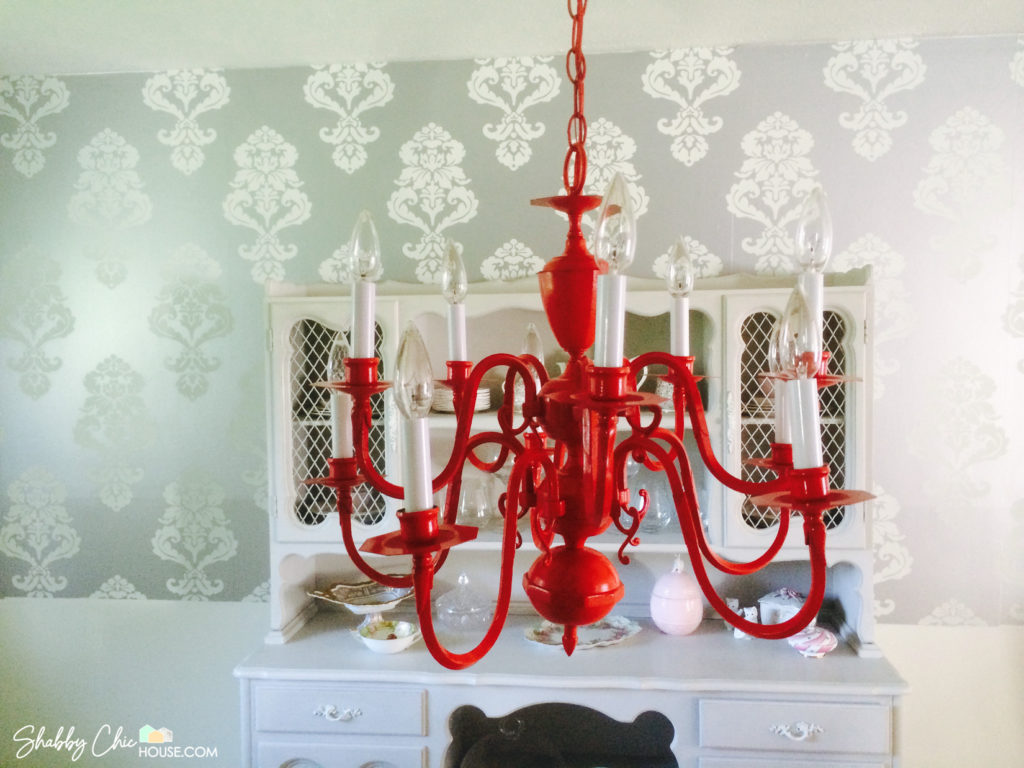
It’s insanely easy to chalk paint a chandelier and transform it from a boring and inexpensive brass 90’s throwback into an amazing centerpiece that can be used in your dining room, entryway or even bedroom.
I began chalk painting chandeliers several years ago and for a short period resold them on Etsy under a shop called the Shabby Chandee. In fact, one of my chandeliers was purchased by a set designer and used in the Nicolas Cage and Williams Dafoe movie “Dog Eat Dog”.

Finding the Right Chandelier
Brass chandeliers from the 90s are tacky and out of style. However, that makes them widely available and inexpensive to purchase.
I found the best places to find bronze chandeliers are on Craigslist, LetGo and OfferUp. Also it’s worth checking out local thrift stores and second-hand home stores.
One of the best places I found many old brass chandeliers was a Habitat for Humanity “ReStore.” Typically I would pay between $10-$30 for a chandelier, with the more unique/ornate chandeliers being at the top of that range.
What You’ll Need
- Cleaner (soap & water is fine!)
- Alchohol Wipes
- Sample Paint
- A Paint Brush
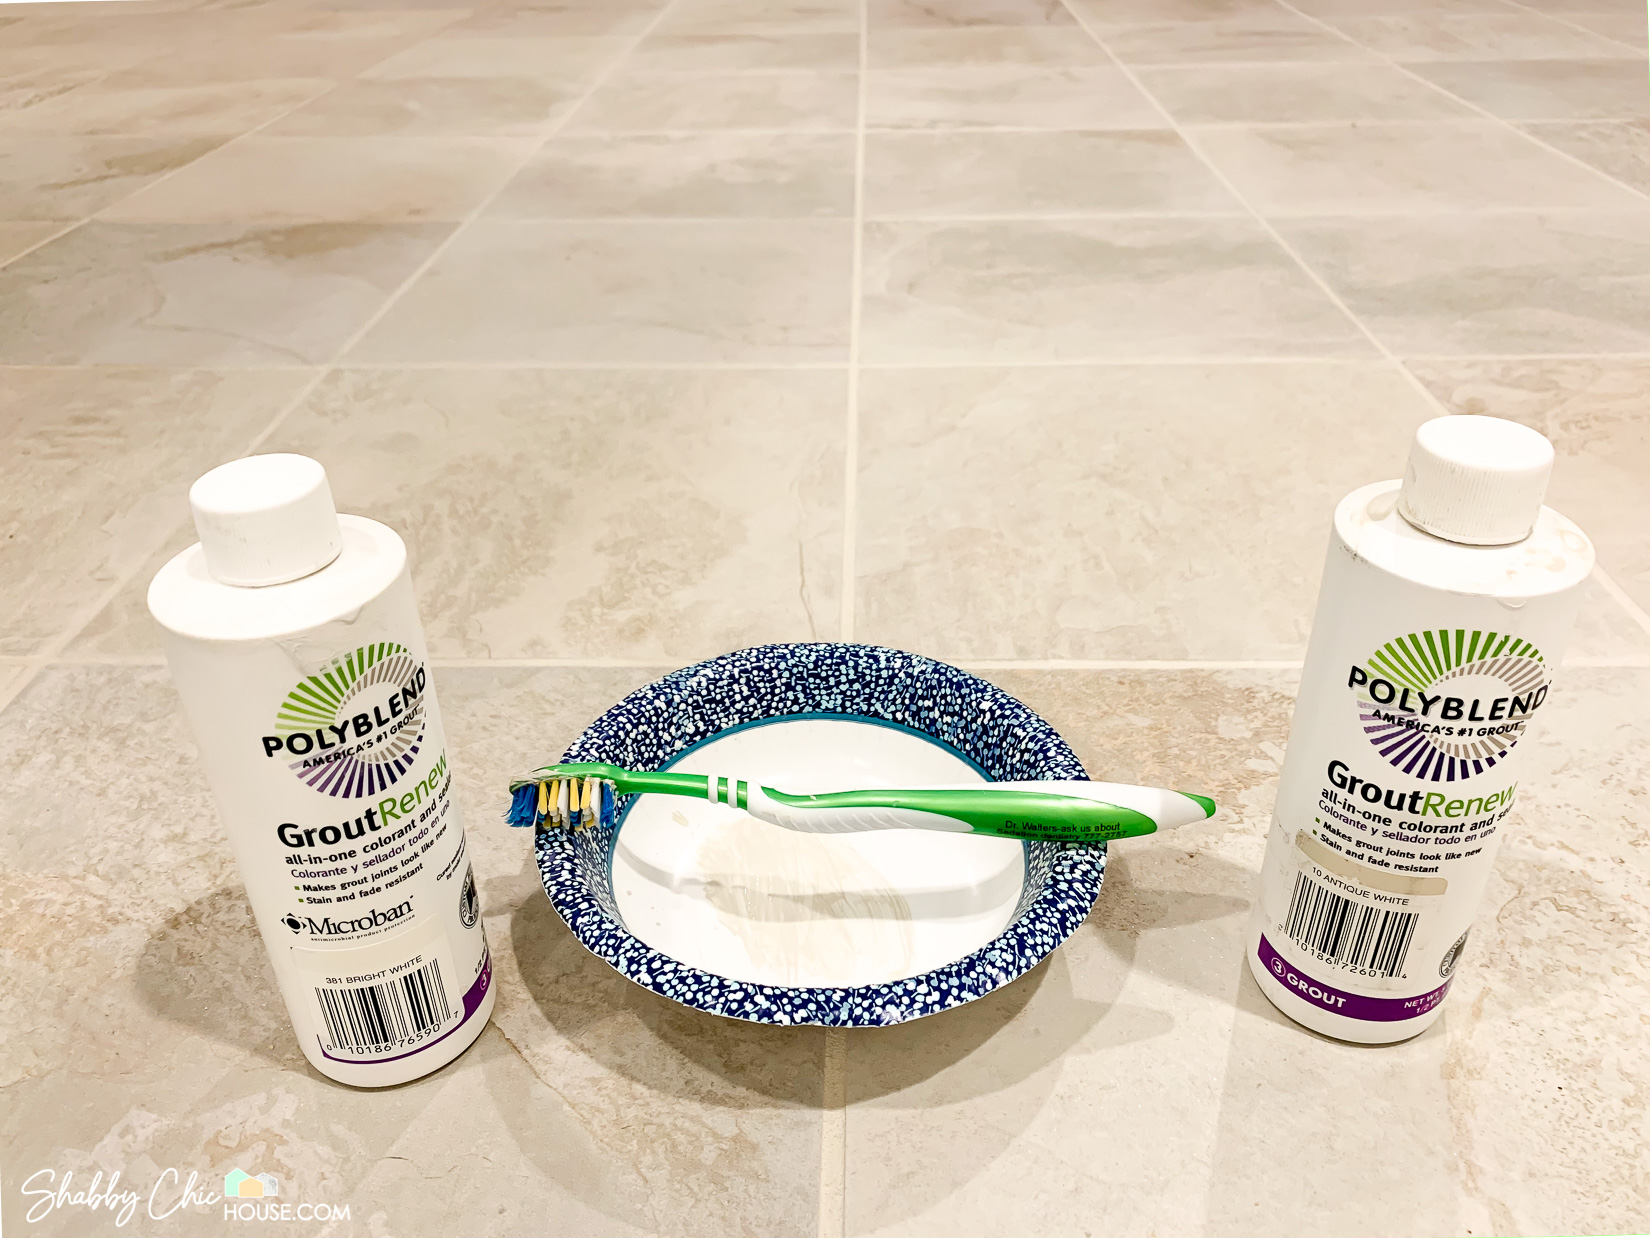
- Plaster of Paris
- An old tooth brush
- Replacement Candle Sticks (if Necessary)
Cleaning Your Chandelier & Crystals
Most chandeliers were probably up and hanging for years, and during that time collected quite a bit of dust. Before you start painting make sure to give your chandelier a good scrub to remove and dirt/debris and provide a clean surface for the chalk paint to stick to. I often use an old tooth brush and soapy water to clean the tough to reach nooks.
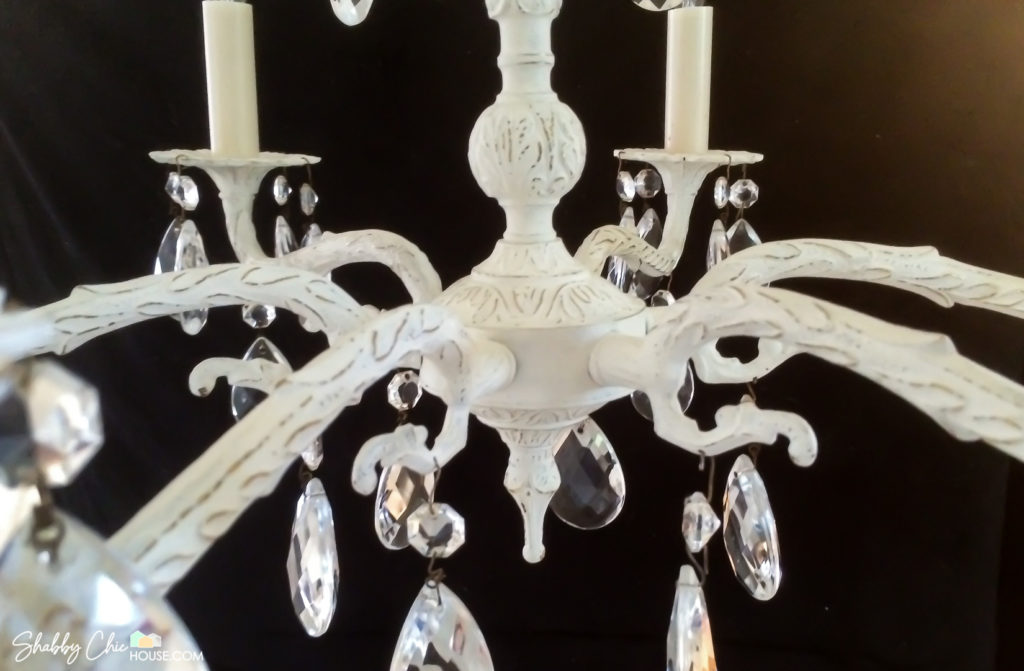
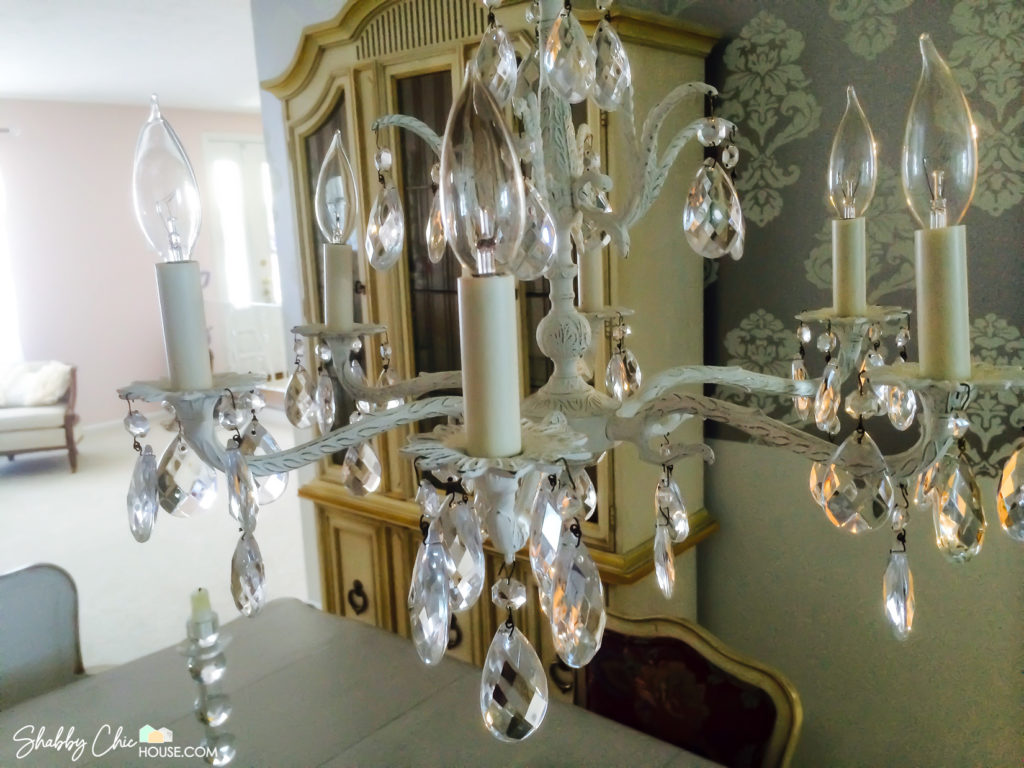
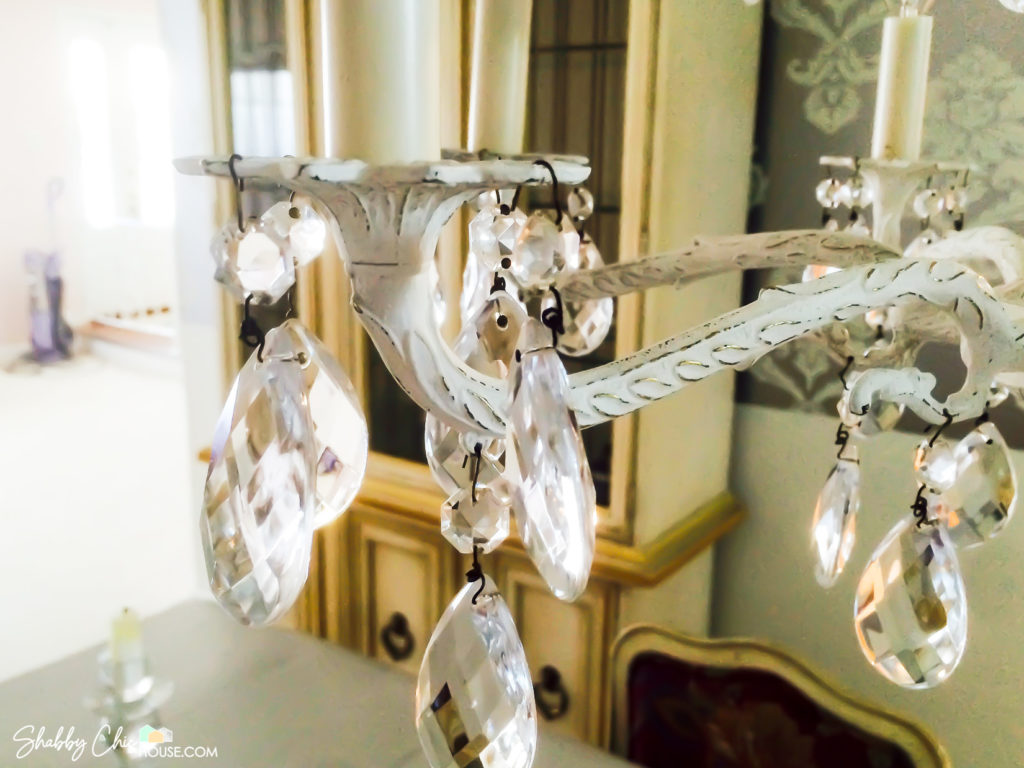
If your chandelier has crystals, you’ll need to take each and every one of them off before painting. Gently bend the metal prongs and remove the crystals from the small holes. If you chandelier is more than a year or two old, you’ll want to clean each crystal to get the most sparkle. I found alcohol wipes work extremely well and make your crystals truly shine.
Pick Your Chandelier Paint Color
For my chandeliers I picked up a small $4-$5 container of sample paint at my local hardware store. Not only will you save a ton of money over buying a designer chalk paint, but you’ll also have every color possibility known to man instead of only a select 10-15 colors offered by the big chalk paint companies.
Making Your Own Chalk Paint
At first I was apprehensive about making my own chalk paint, but gave it a try years ago and still make my own to this day. Start by adding about 1/8 of a cup of Plaster of Paris to your 4-5 ounce paint sample. Stir in the Plaster of Paris until your paint is smooth. Follow this process about 1-2 times and if you notice the paint start to thicken up too much, do not add any more. The goal here is just to thicken the paint up just enough while adding some texture/stickiness to help it adhere to the metal.
Chalk Paint Your Chandelier
Before you start painting. Remove the white candle stick covers. While I’ve seen some people paint these, I wouldn’t suggest painting them as they ‘ll be close to the light bulbs and could potentially be a fire hazard.
Start by painting the underside of the chandelier, including the main body, arms and hard to reach nooks. Once covered, you can flip the chandelier back over and paint the top sections of the chandelier.
It typically takes 2 and 1/2 good coats (that 1/2 coat is just touching up a few areas) and don’t worry about getting every little nick and ding as you can touch those up after it’s hung.
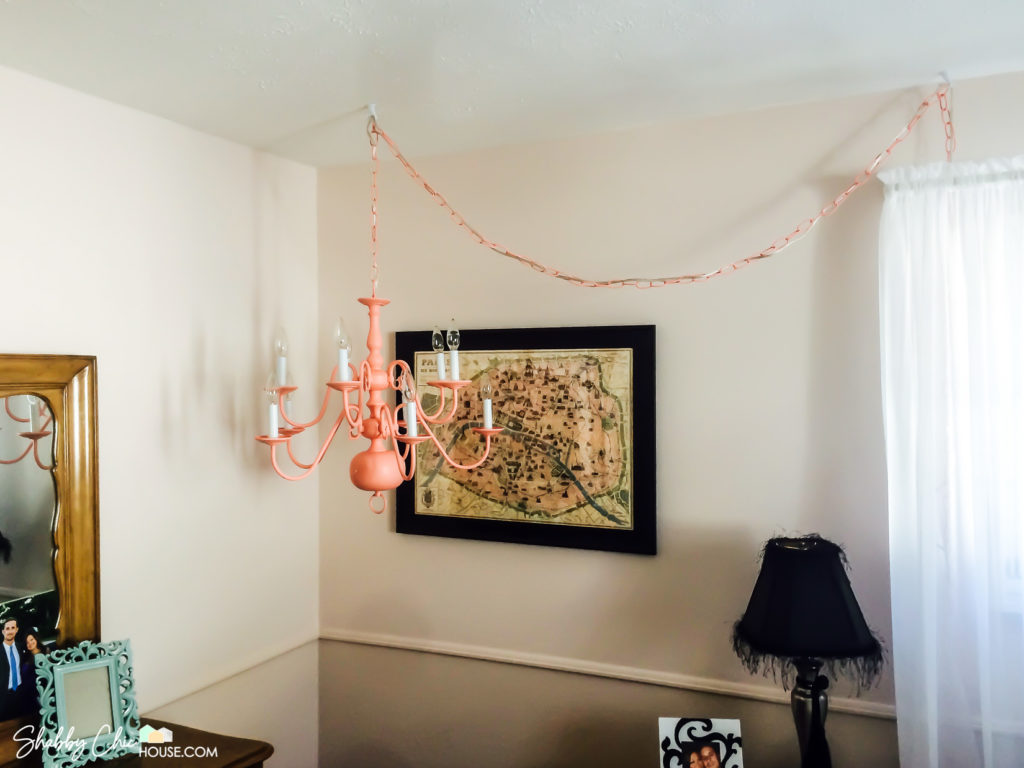
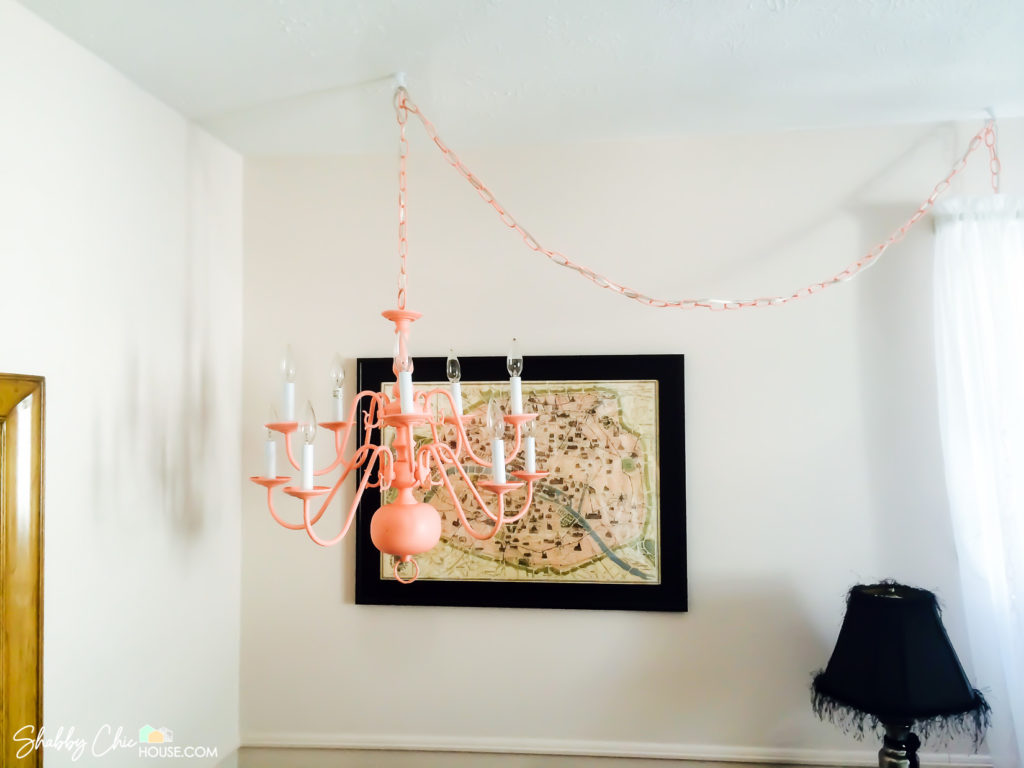
Painting the Chain
After you’ve decided the length of your chain, go through link be link painting each side of the chain. This is the toughest part as it takes a few coats and as the chain moves, paint rubs off. Again though, it doesn’t have to be perfect as some of your paint is going to come off as you hanging the chandelier. Once the chandelier is hung, it only takes a minute or two to touch up the chain and any nicks.
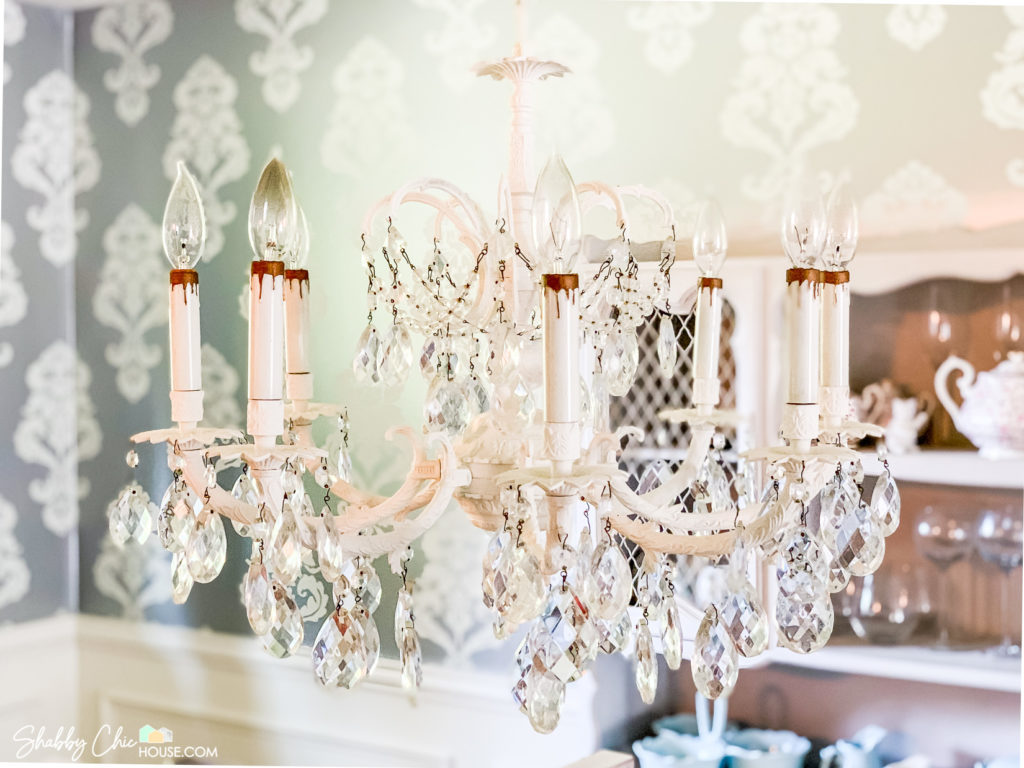
Adding New Candlesticks & Crystals
Sometimes you’ll get a chandelier with old candlestick covers that are gross and old. For a few bucks you can get brand new candlestick covers and cut them to the proper size with a razor blade.
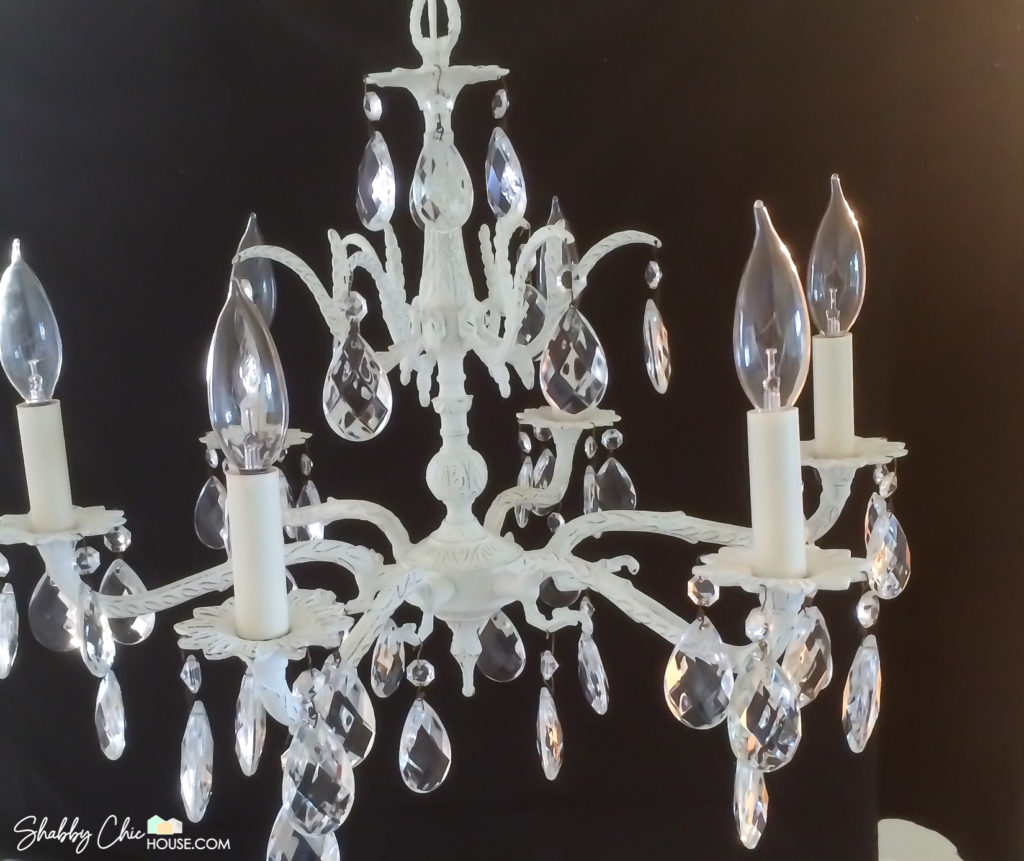
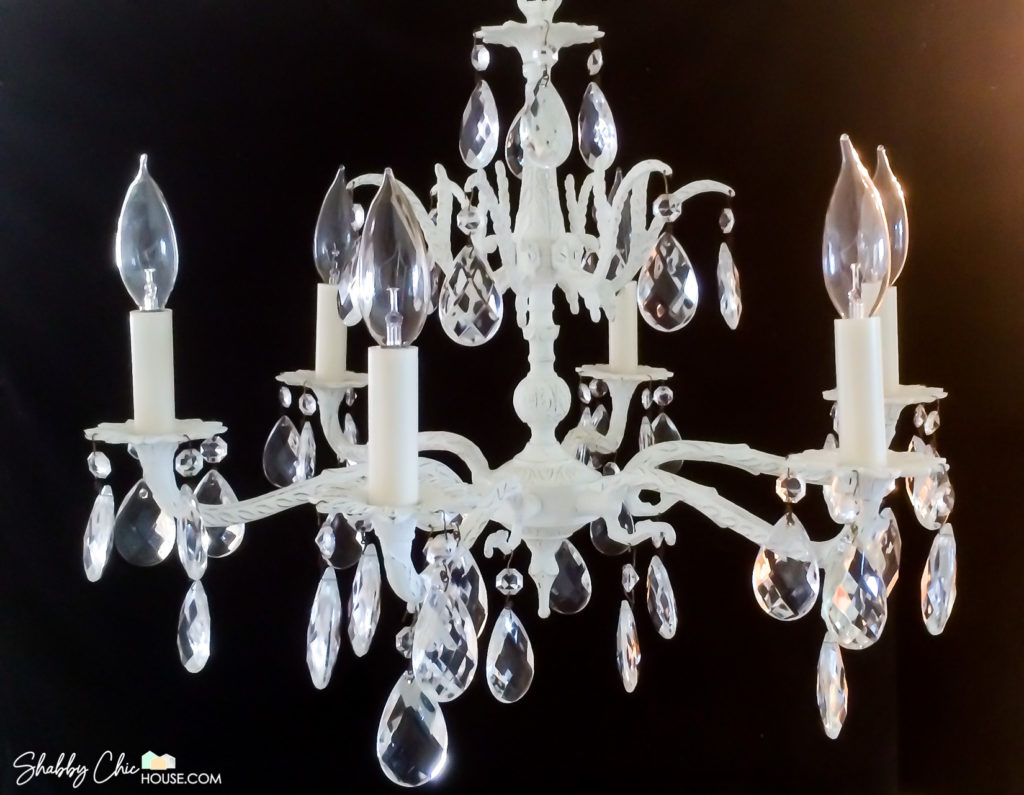
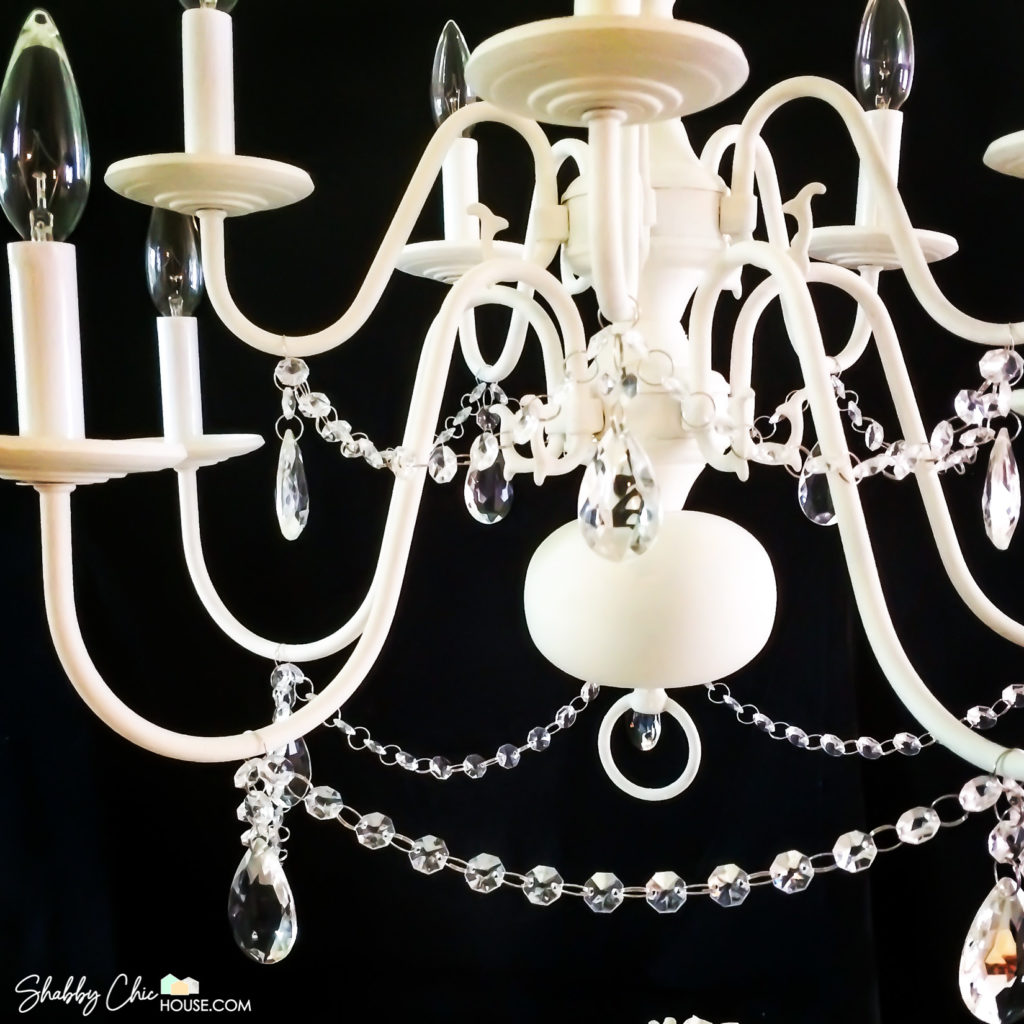
If your chandelier did not come with crystals you can add your own as I did with the white chandelier below. I purchased an acrylic crystal chain and split into even sections. Each section should have an equal number of crystals and hoops (I used about 20). I then connected these chains to the chandelier arms and added 1.5″ crystals to each chandelier arm.
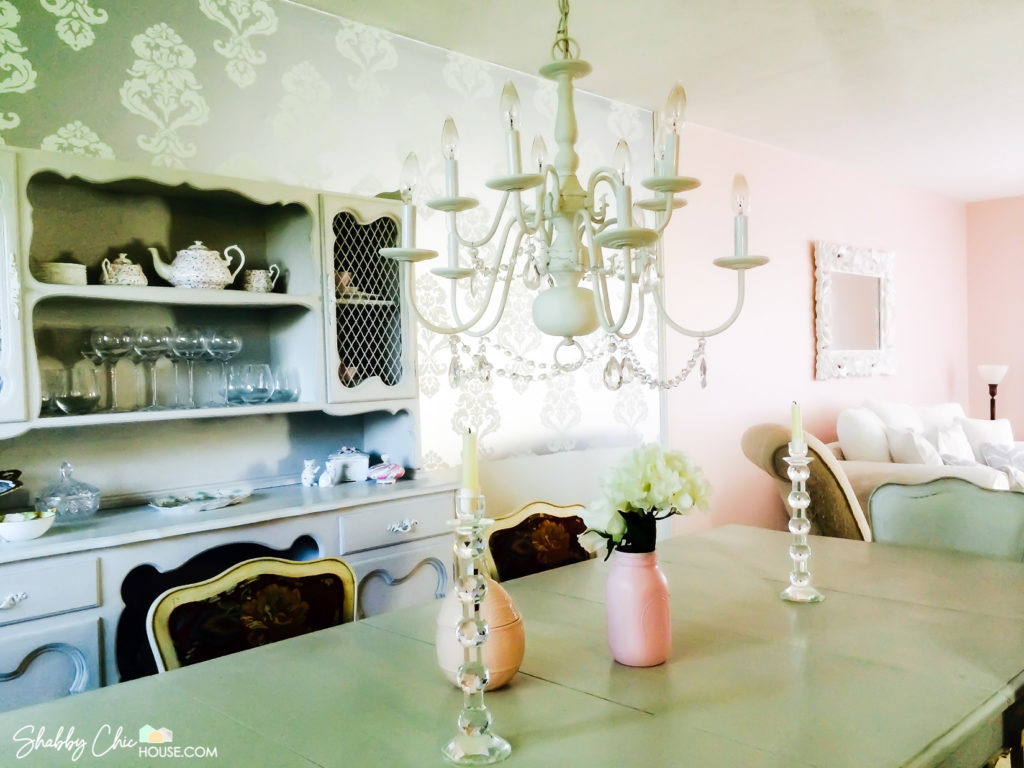
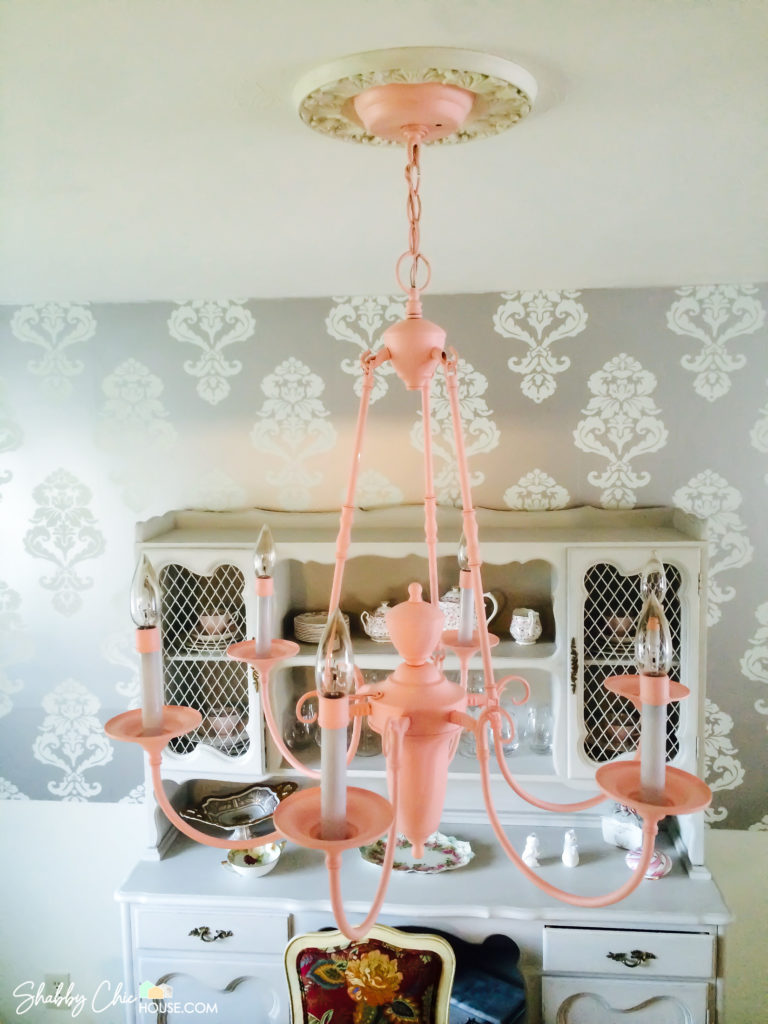
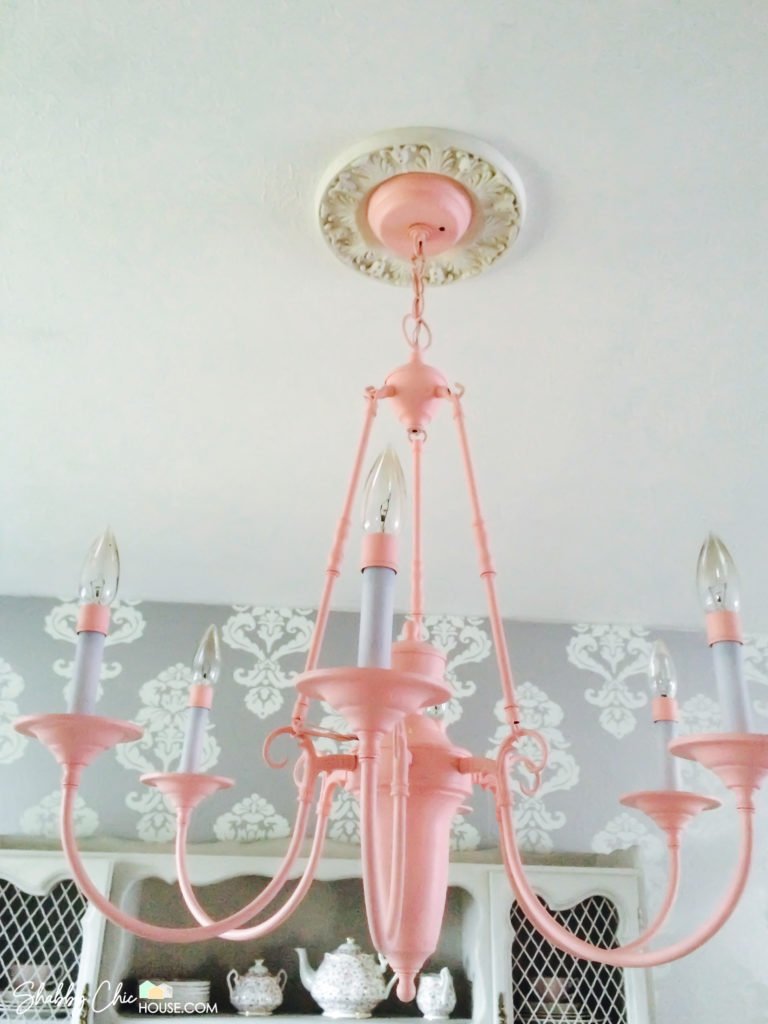
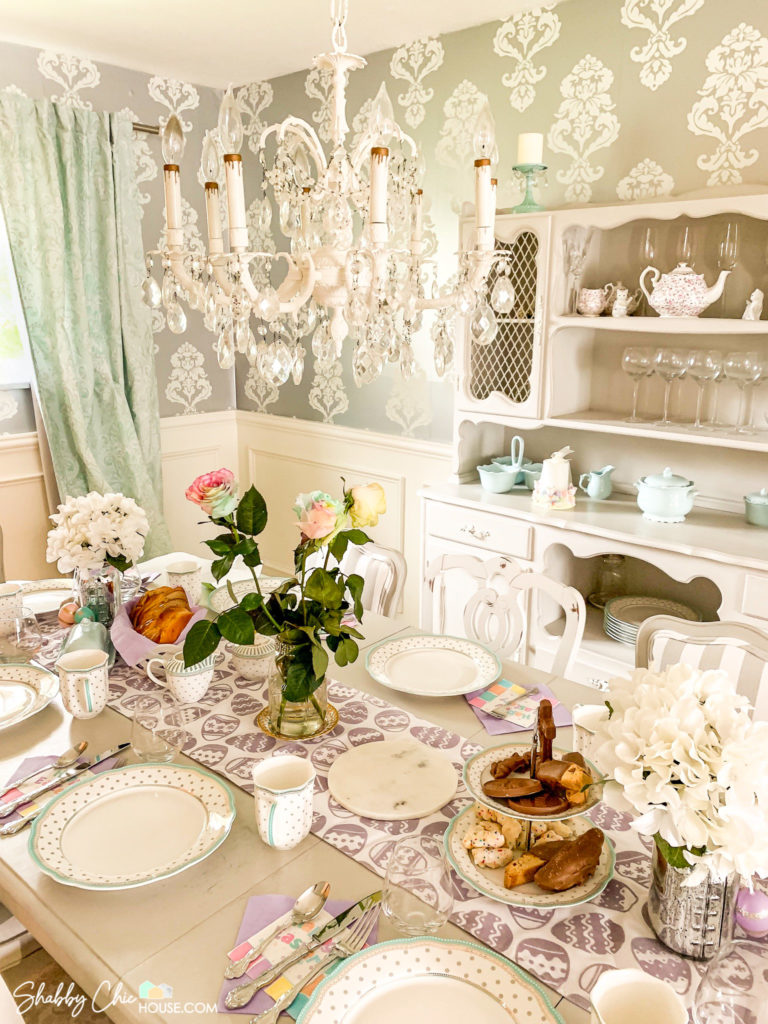
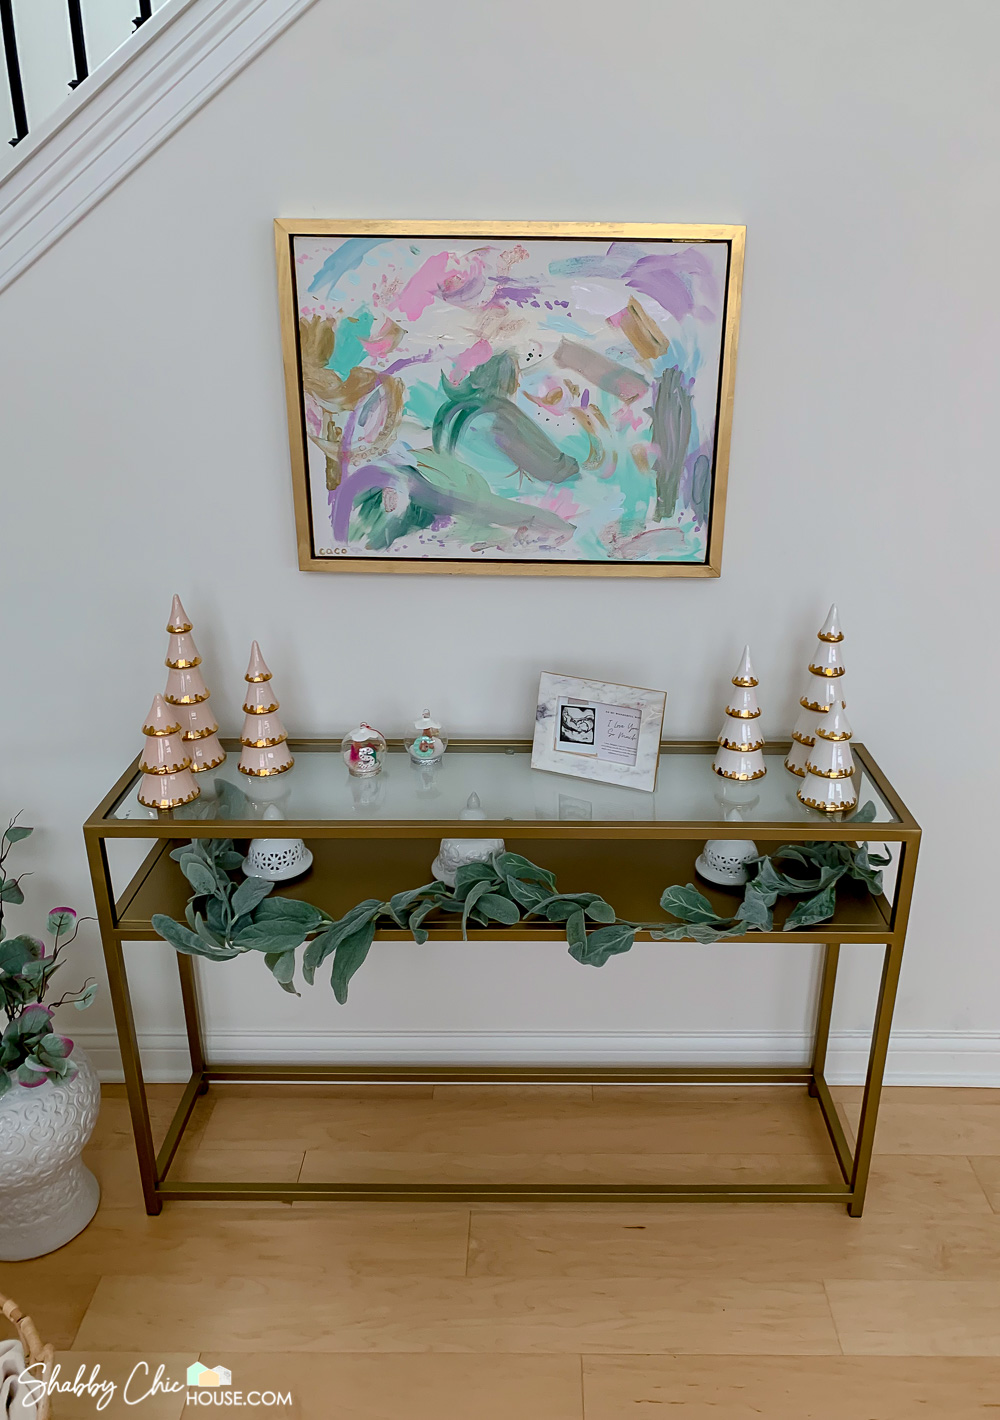
For a finishing touch, include a ceiling medallion to go the extra mile and provide that added elegance.
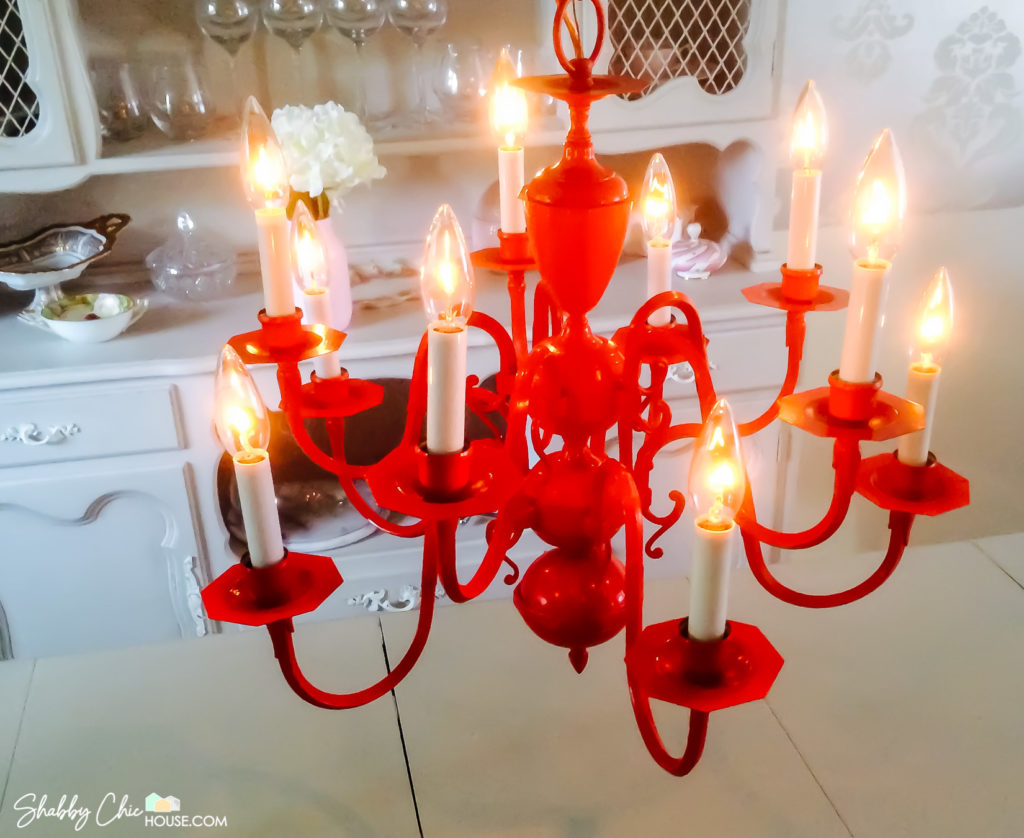
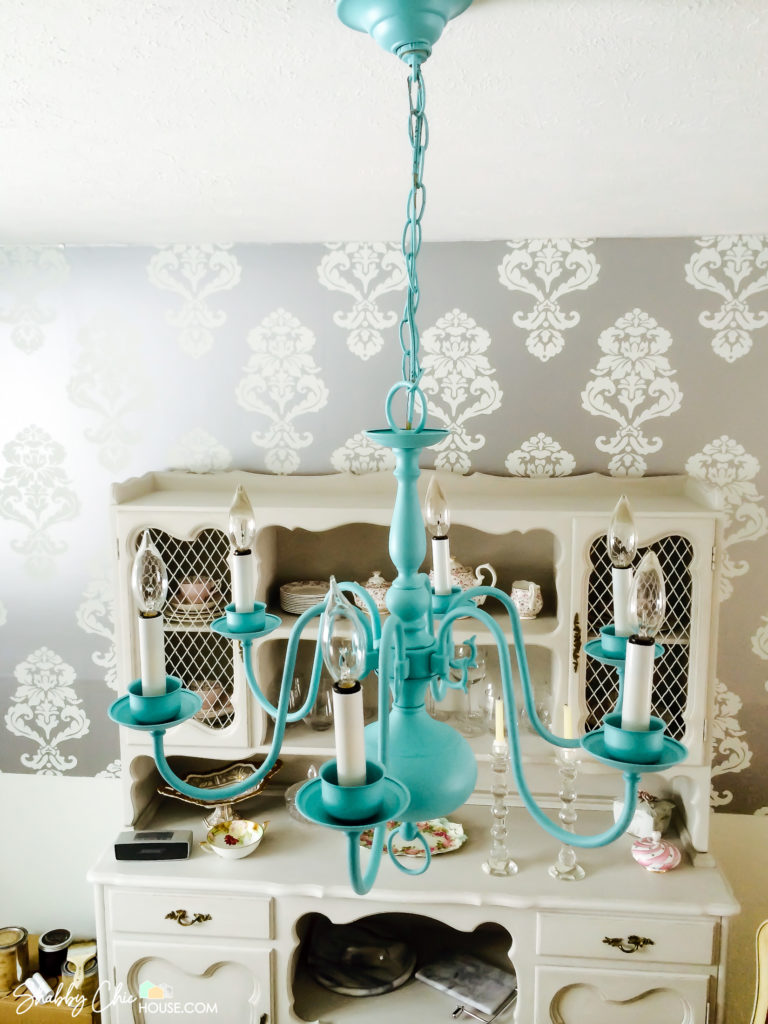
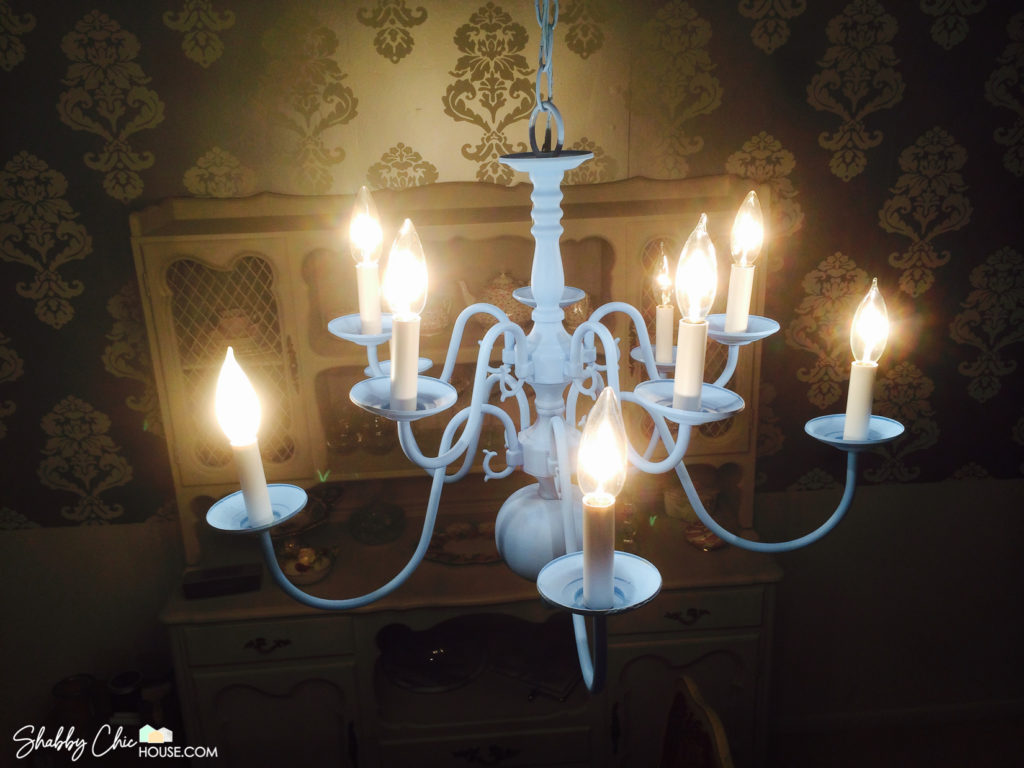
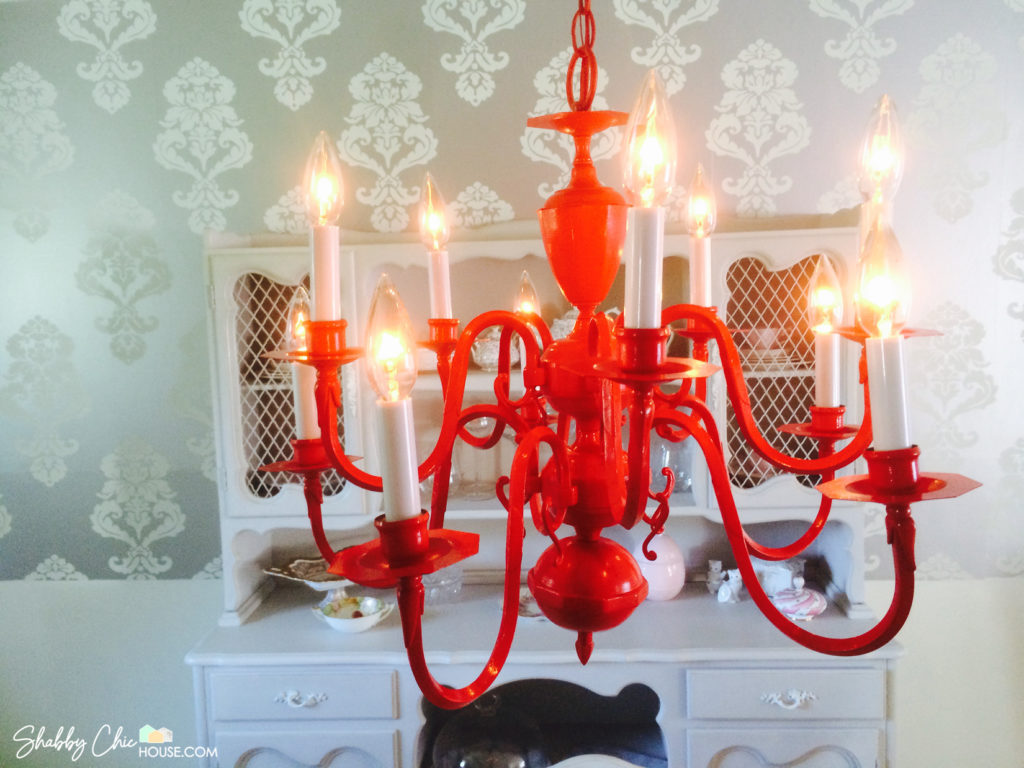
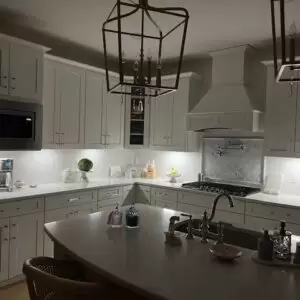
Below is a small gallery showcasing some of our favorite chalk painted chandeliers. Take a look and let us know which is your favorite!
And if you loved this article check out our two-part blog post on Chalk Painting Furniture.
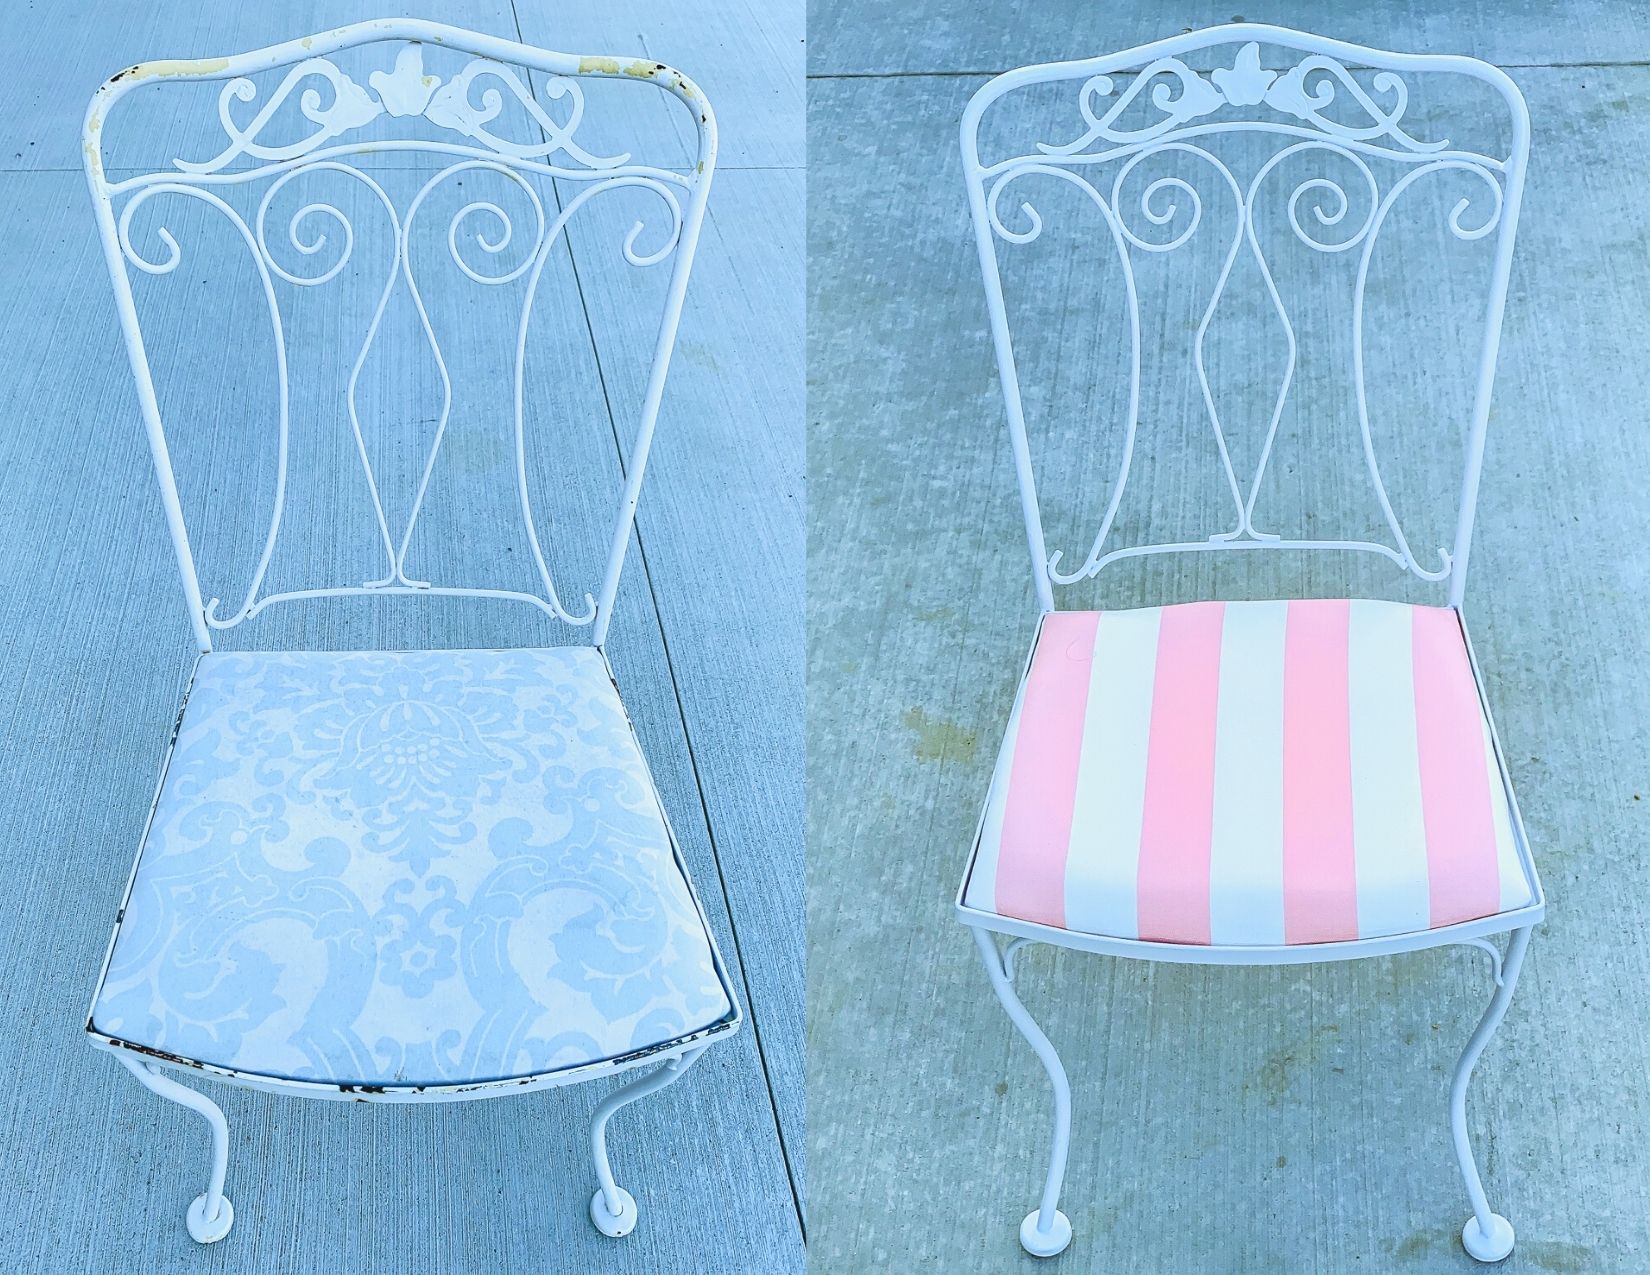
How to Chalk Paint Furniture – Part One covers:
- Where to find the best furniture on the cheap
- How to Prep/Clean before Painting
- Name Brand Chalk Paints vs. Making Your Own
- Distressing
- Applying Antiquing Dust
- Adding a Wax Protective Layer
In How to Chalk Paint Furniture – Part Two – I share some of our most successful chalk paint projects over the years. What are you waiting for check them out here – Part 1 and here – Part 2.