Chalk painting is an easy way to refresh an old and outdated piece of furniture. Over the years I’ve used chalk paint on dozen of pieces including dining room sets, buffets, china cabinets, end tables, desks, chandeliers, ceiling medallions and more.
In part one of this two-part blog post I’ll walk you through a few tips on where to find the best furniture, how to prep your pieces and finally how to paint, distress, wax and add antiquing dust to your furniture to give it that aged shabby chic look.
In part two I’ll take you some of my favorite chalk painting projects and share tons of face-melting photos, which will hopefully give you some awesome inspiration.
So let’s get to it!
Finding the Right Furniture
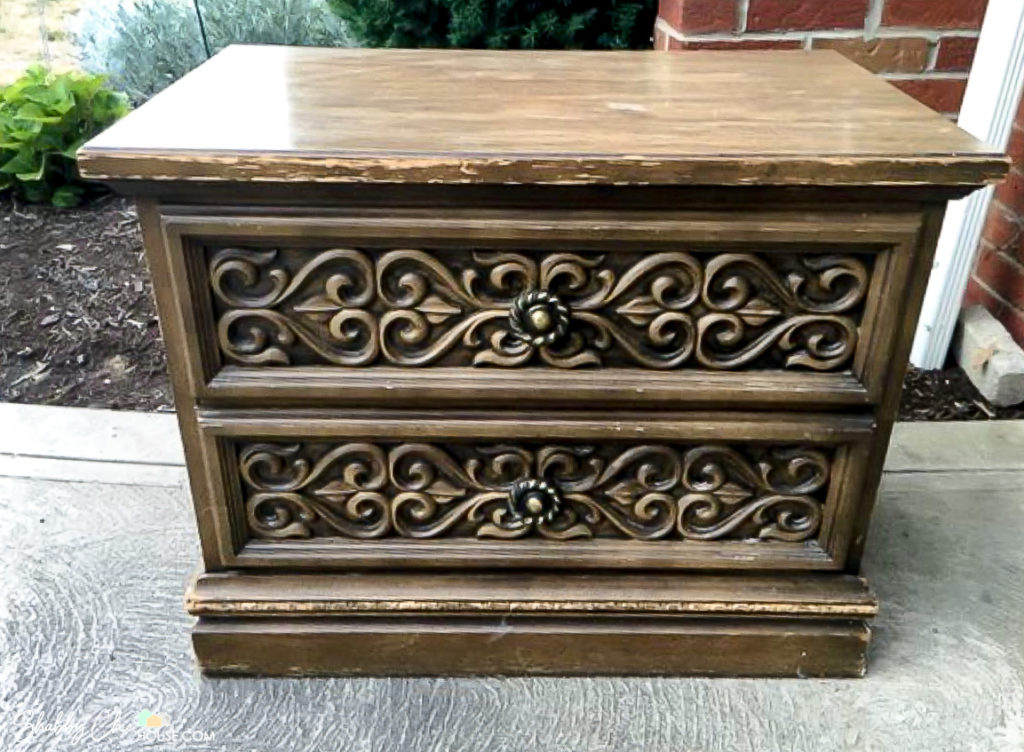
Being on the hunt and finding the right piece of furniture is part of the fun. Typically pieces that have scrolling legs and ornamental carpentry are the hottest finds as they allow you to add depth to the piece (I’ll share more on that later).
You can find great and inexpensive pieces using sites like Letgo/OfferUp, CraigsList and Facebook Marketplace. Other places to search include local thrift stores, furniture resale shops and possibly the Habitat for Humanity Resale store (if there’s one near you). Last, keep on eye on the tree lawn around bulk garbage day. I’ve got lucky a few times and found two or three amazing solid wood pieces that were on the tree lawn and heading to the dump.
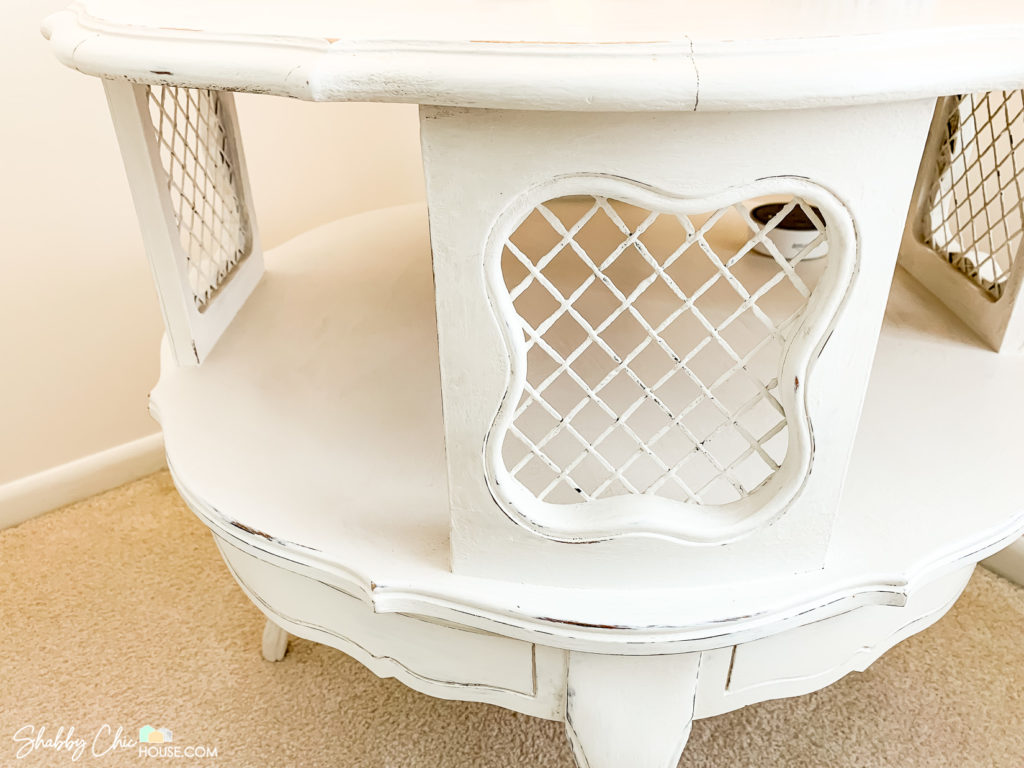
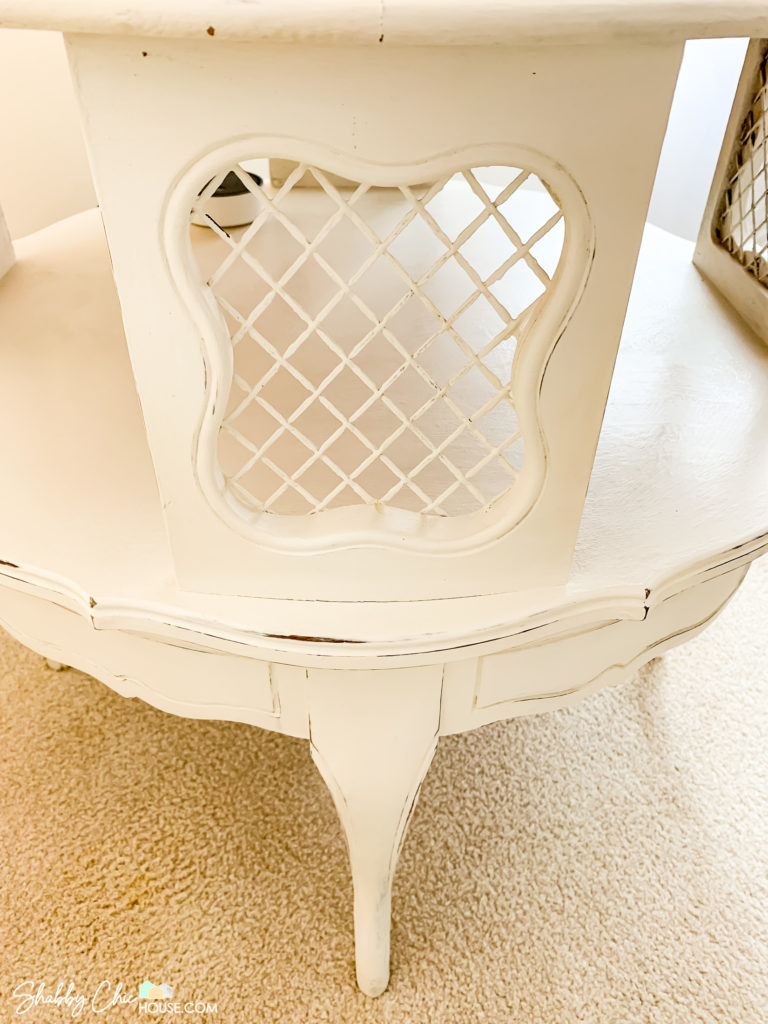
Below is an awesome example of a unique end table that I found on the tree lawn and with just a tiny bit of love can be transformed into an amazing piece. Just look at that potential!
Cleaning Your Furniture
To make sure your paint adheres properly and stays on your furniture for years to come it’s best to give it a quick cleaning before painting.
I typically use this TSP all purpose cleaner/degreaser, but in a pinch have used warm water with a drop or two of Dawn. Make sure to clean all the nooks and crannies where the dirt and grime might hide. Once clean, allow your piece to dry thoroughly before you begin painting.
Buying vs. Creating Your Own Chalk Paint
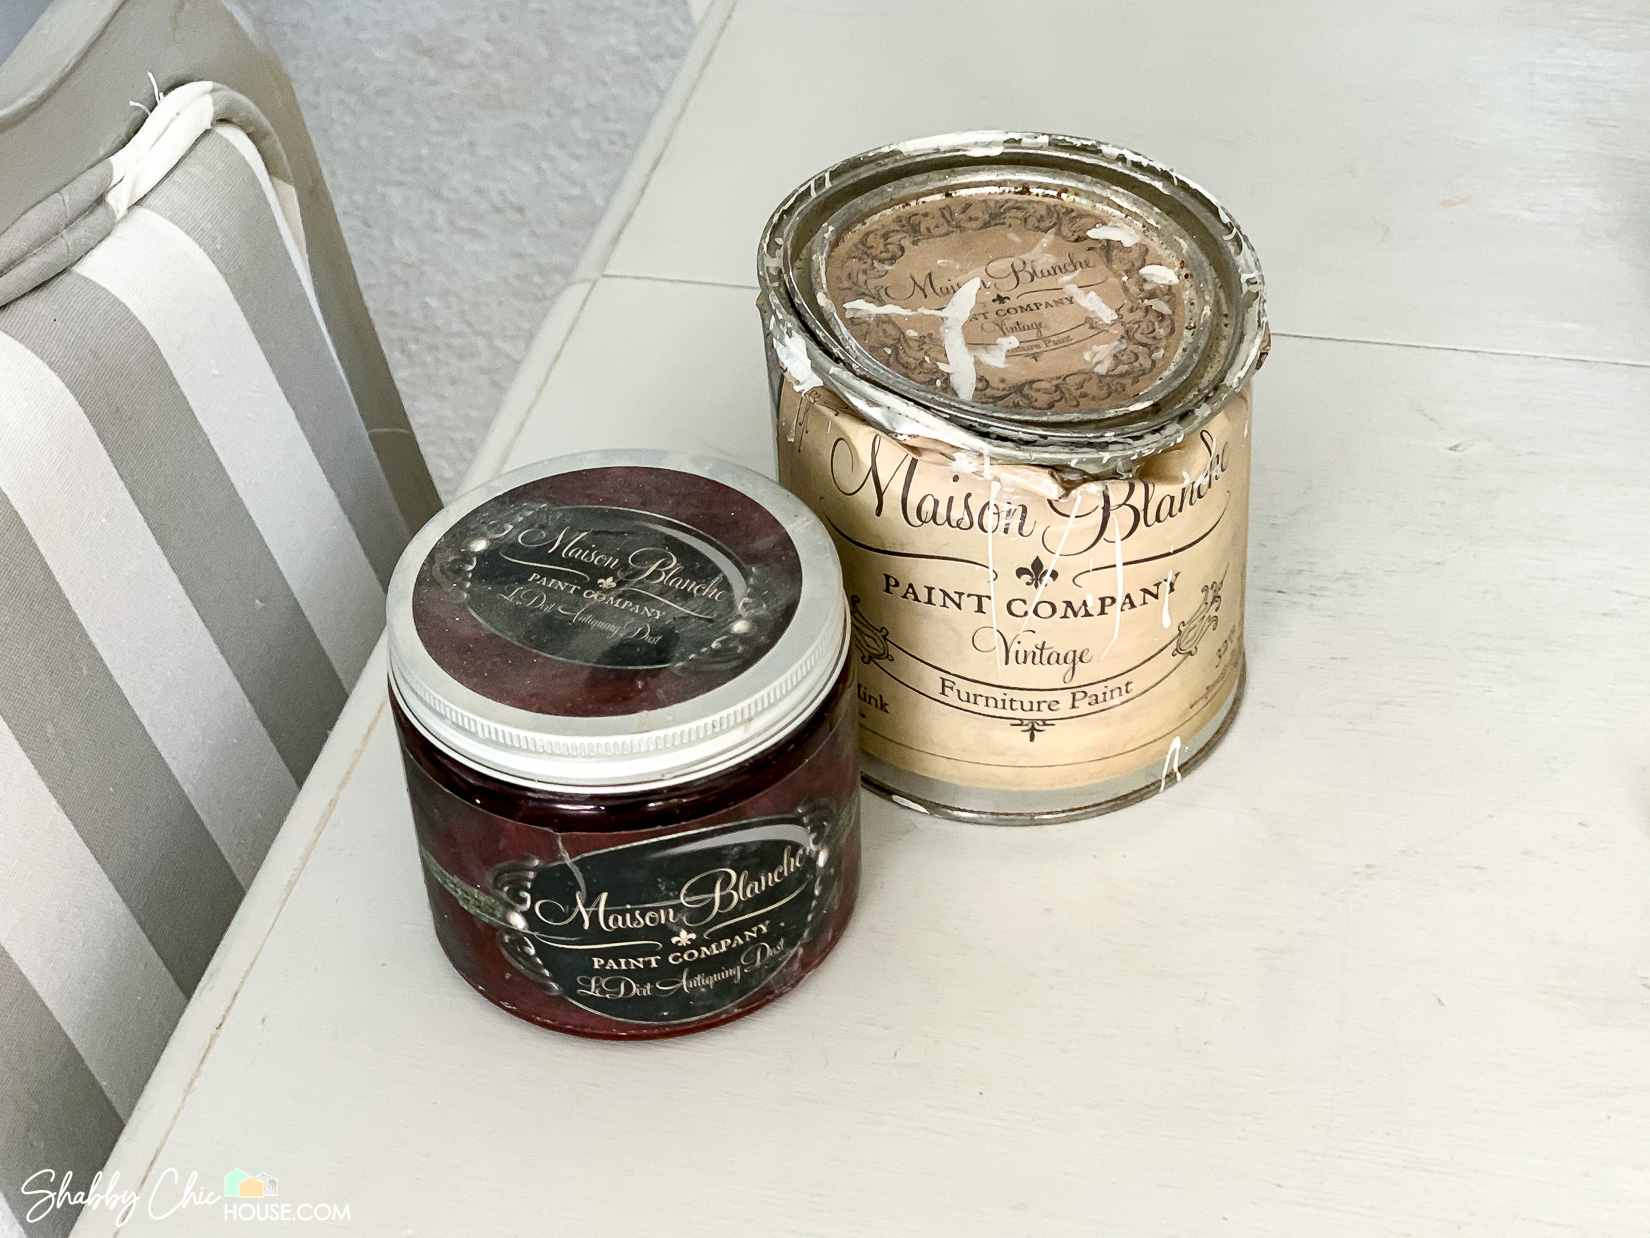
Two great chalk paints that I’ve used and would recommend are Annie Sloan and Maison Blanche. These chalk paints are both great, but can get pretty expensive, so I’ve also fooled around with making my own chalk paint.

Original I was skeptical of making my own chalk paint, but it’s actually very easy, works amazingly well and is a fraction of the cost. On top of all those things, chalk paint companies only offer 10-12 colors. When you make your own chalk paint you can make any color.
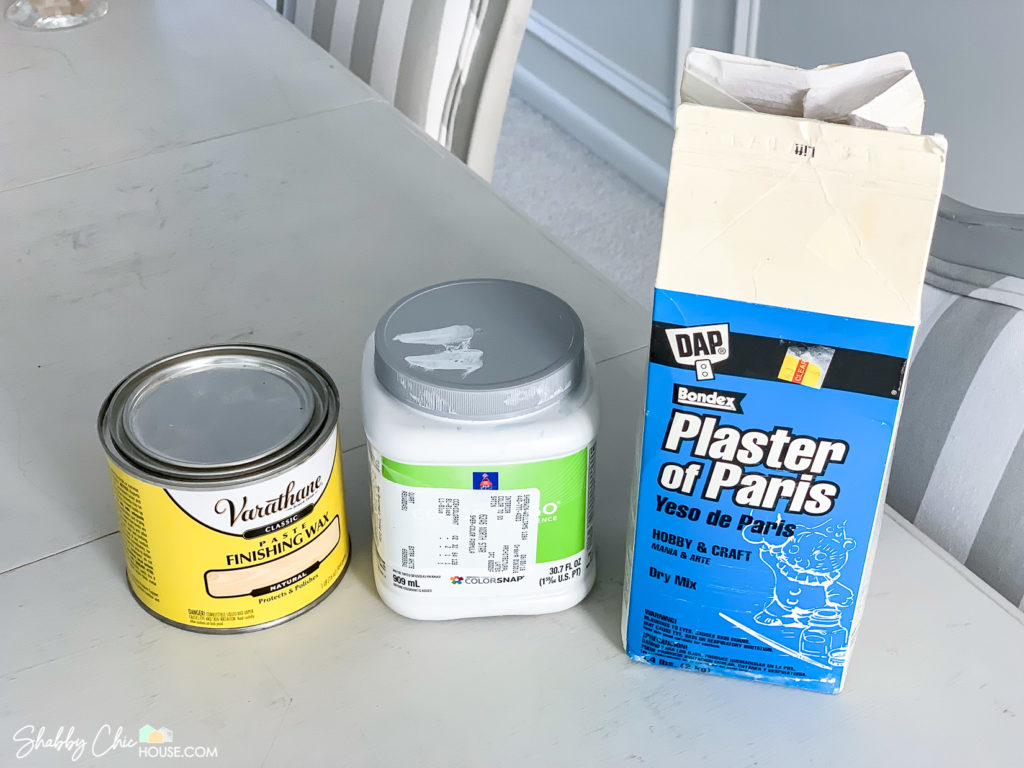
Start by buying a small paint sample (in any color!) from your local hardware store for only $5-6. Then add roughly 1/8 cup of Paster of Paris and still in until smooth. Repeat this process 1-2 times until you have a medium think paint/chalky mixture.
Painting your Furniture
I’d recommend using either a 2” or 2.5” in brush. Get a strong first coat on your piece and allow to dry for 3-4 hours. Once dry, you may need to apply another coat or two to get full coverage.
Sanding And Distressing Your Furniture
Properly sanding and distressing your furniture can give your piece that amazing antique shabby chic look.
Before you dive right into distressing and removing paint strategically from certain areas it’s best to give you entire piece a light sanding. Use a light to medium-light grit sanding block and hit the flat areas. As you do so the goal is to level out these areas without removing the paint and exposing the original surface. When you done you’ll have a super silky smooth surface and will be ready to move on to the fun part – distressing!
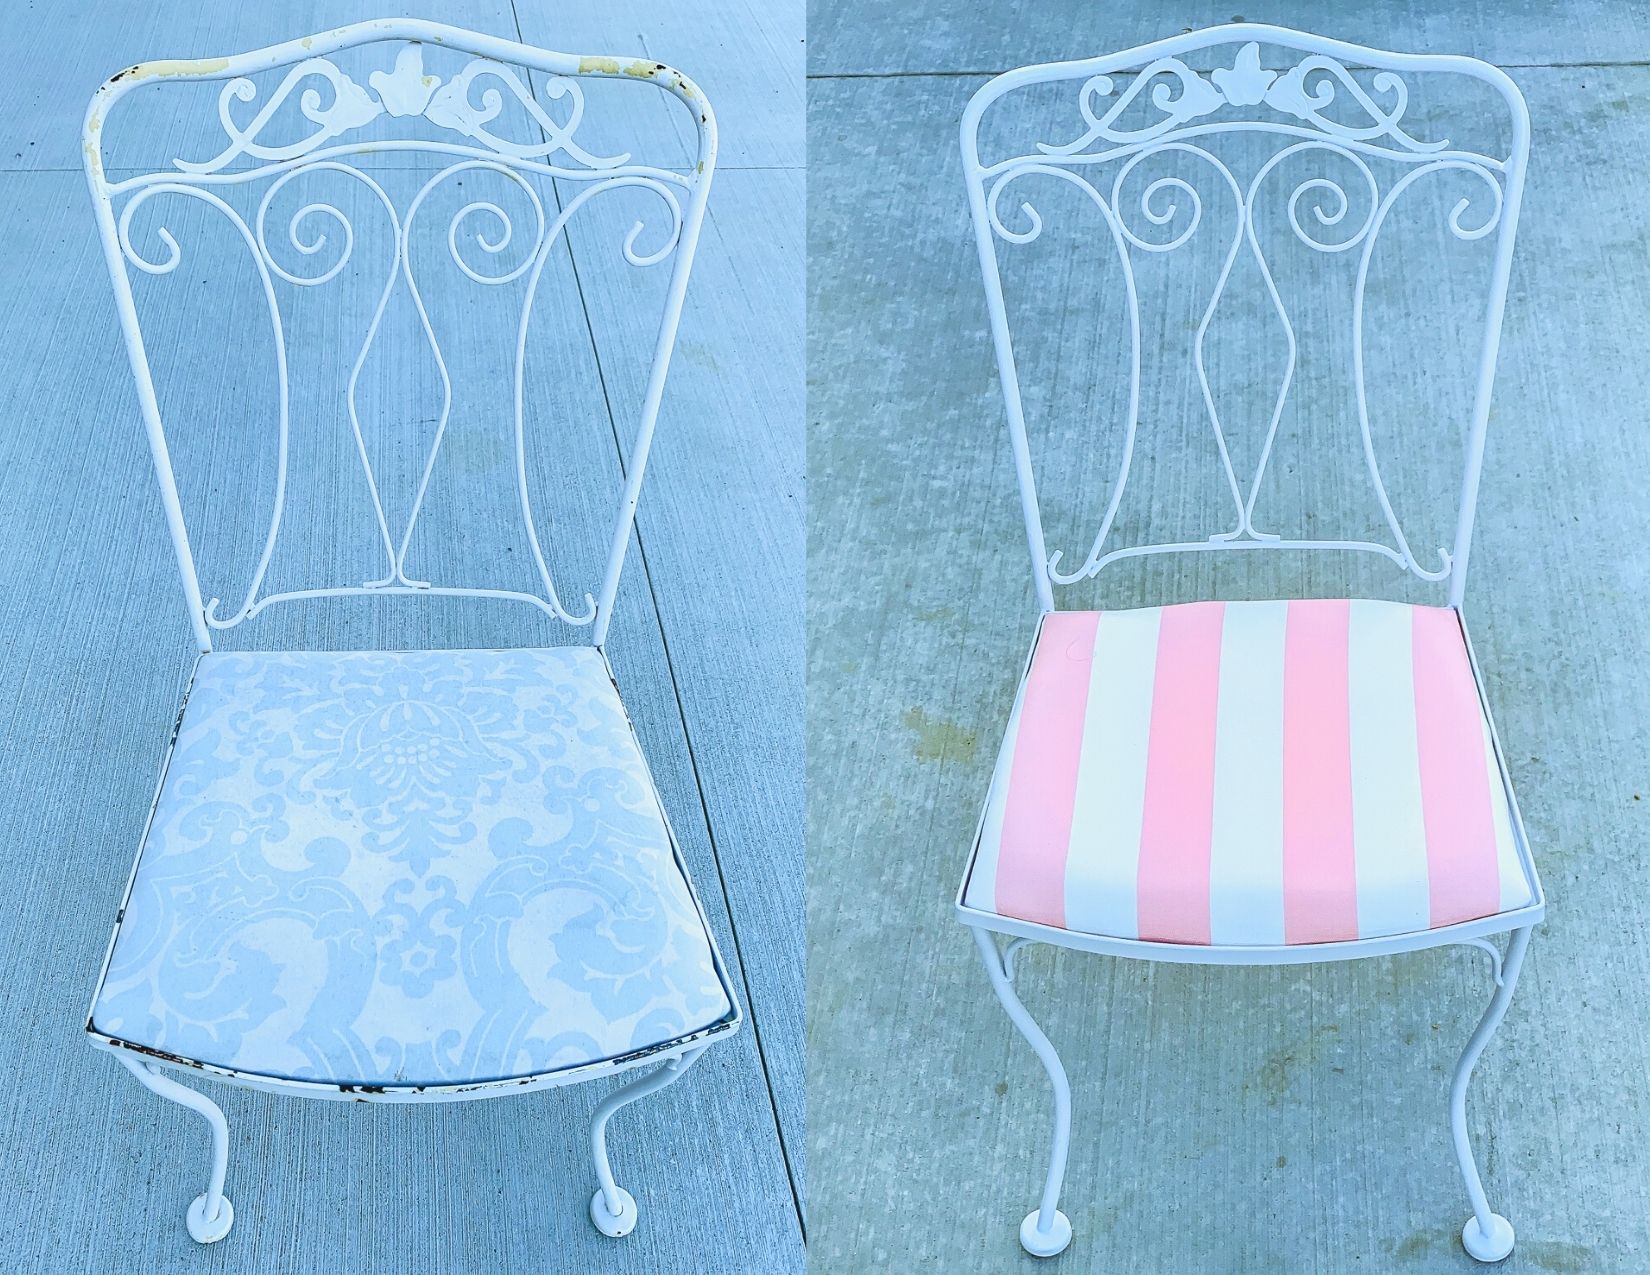
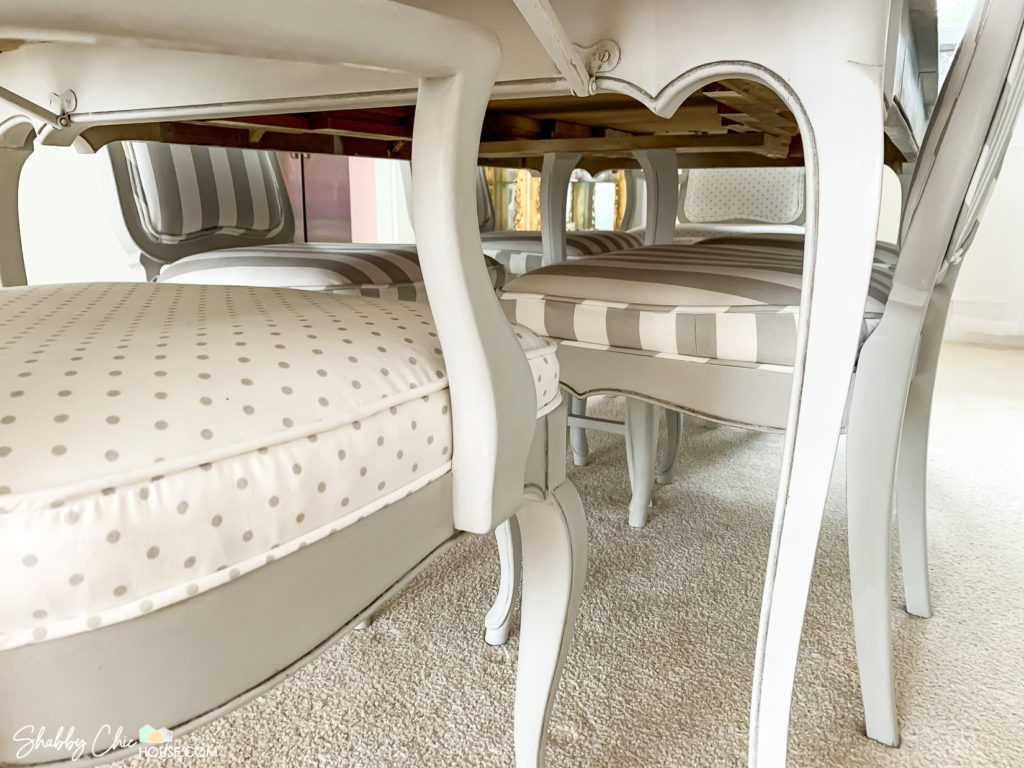
I’d recommend starting off with a light distressing. It’s a lot easier to come back and sand/distress a little more at the end rather that repainting and starting over from scratch.
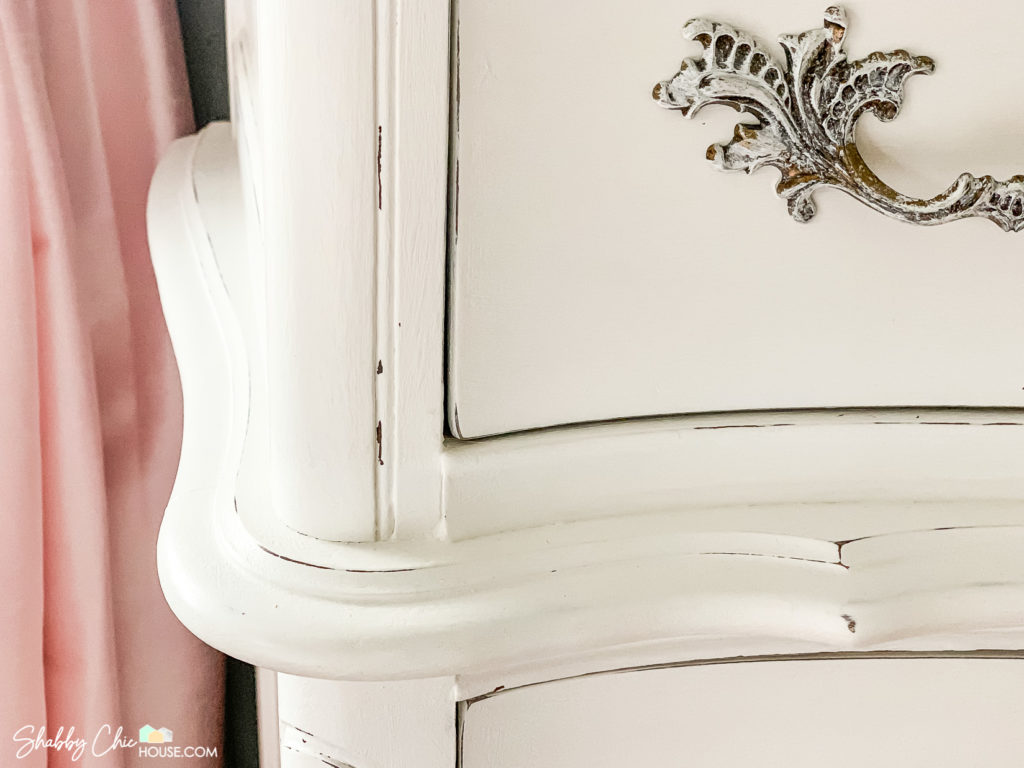
As you start the distressing process sand the highest areas of the your piece of furniture. lightly take off the paint in the areas were you might expect that would see some wear and tear. Check out the photos below and notice the areas where you might imagine the paint naturally wearing off.
Waxing Your Furniture
One of the most important steps of chalk painting is waxing your furniture. This is the simple and easy process of adding a protective layer of wax that will not only protect the paint, but also give it an amazing shine.
While I’ve created my own wax using melted paraffin/gulf wax (in the canning section at most grocery stores) and adding a few other ingredients, I’d suggest using either Varathane or Minwax finishing paste. It’s only slightly more expensive than making your own wax, but significantly less expensive than the wax the big chalk paint companies sell.

When you start, apply a generous amount of wax using an inexpensive chip brush. Rub the wax evenly into the wood and allow to sit for 20-25 minutes. When you return the wax will have slightly hardened and you can lightly buff smooth with cheese cloth.
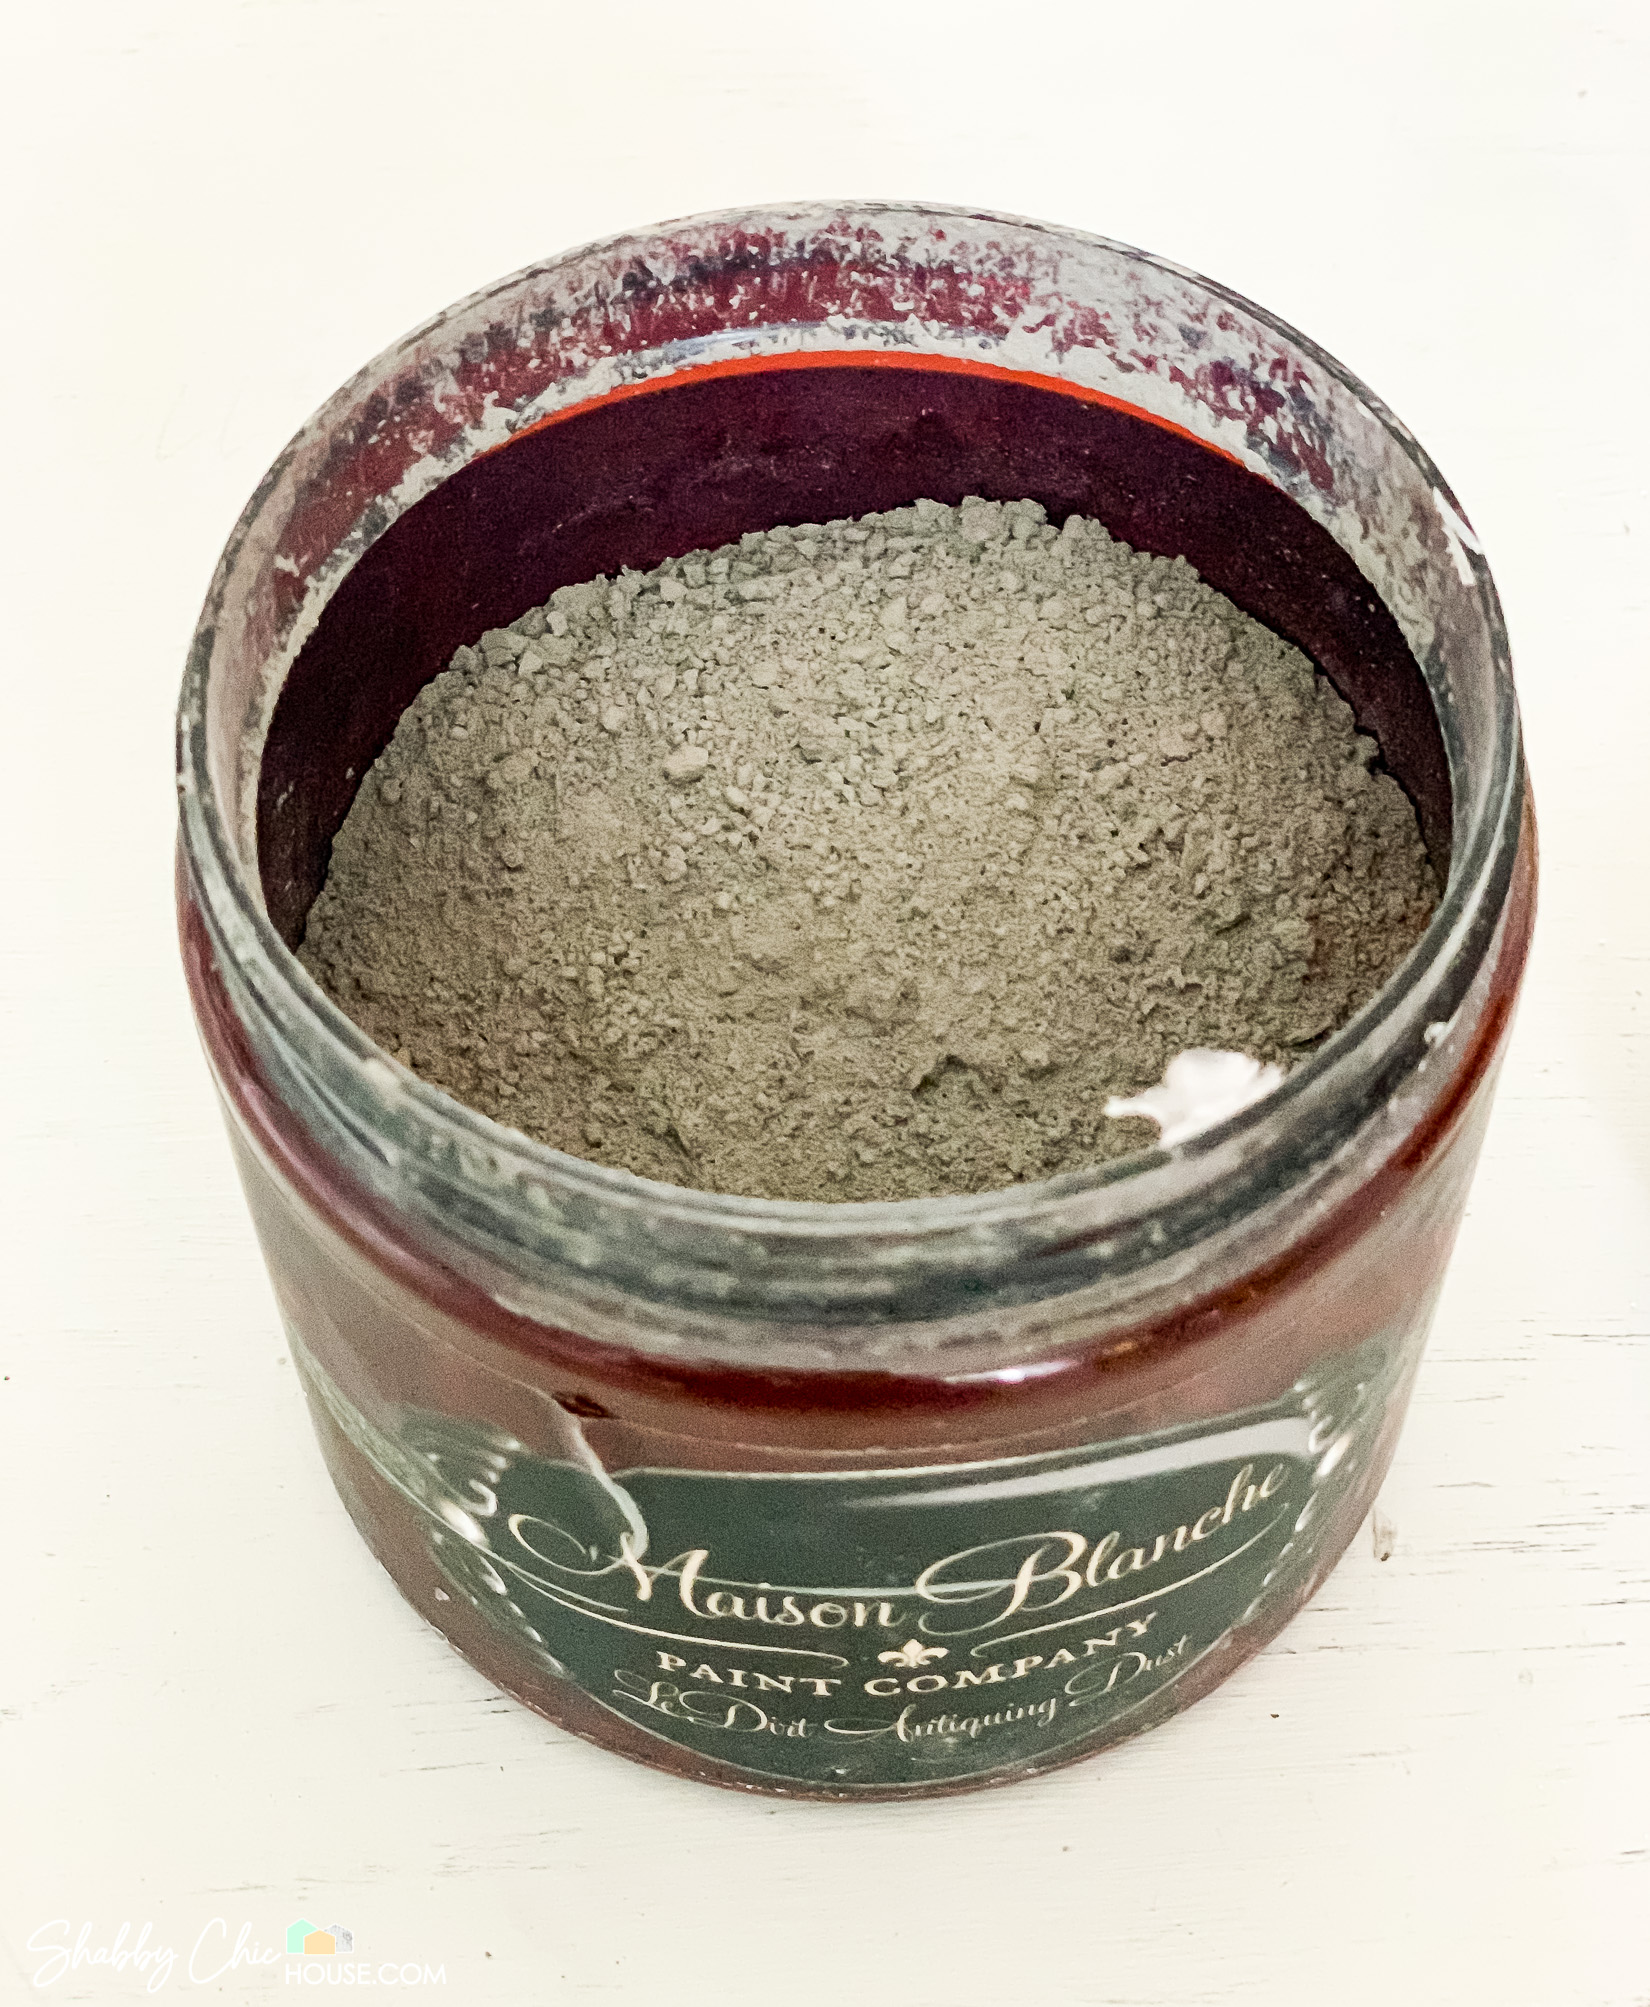
Using Antiquing Dust to Add Detail & Depth
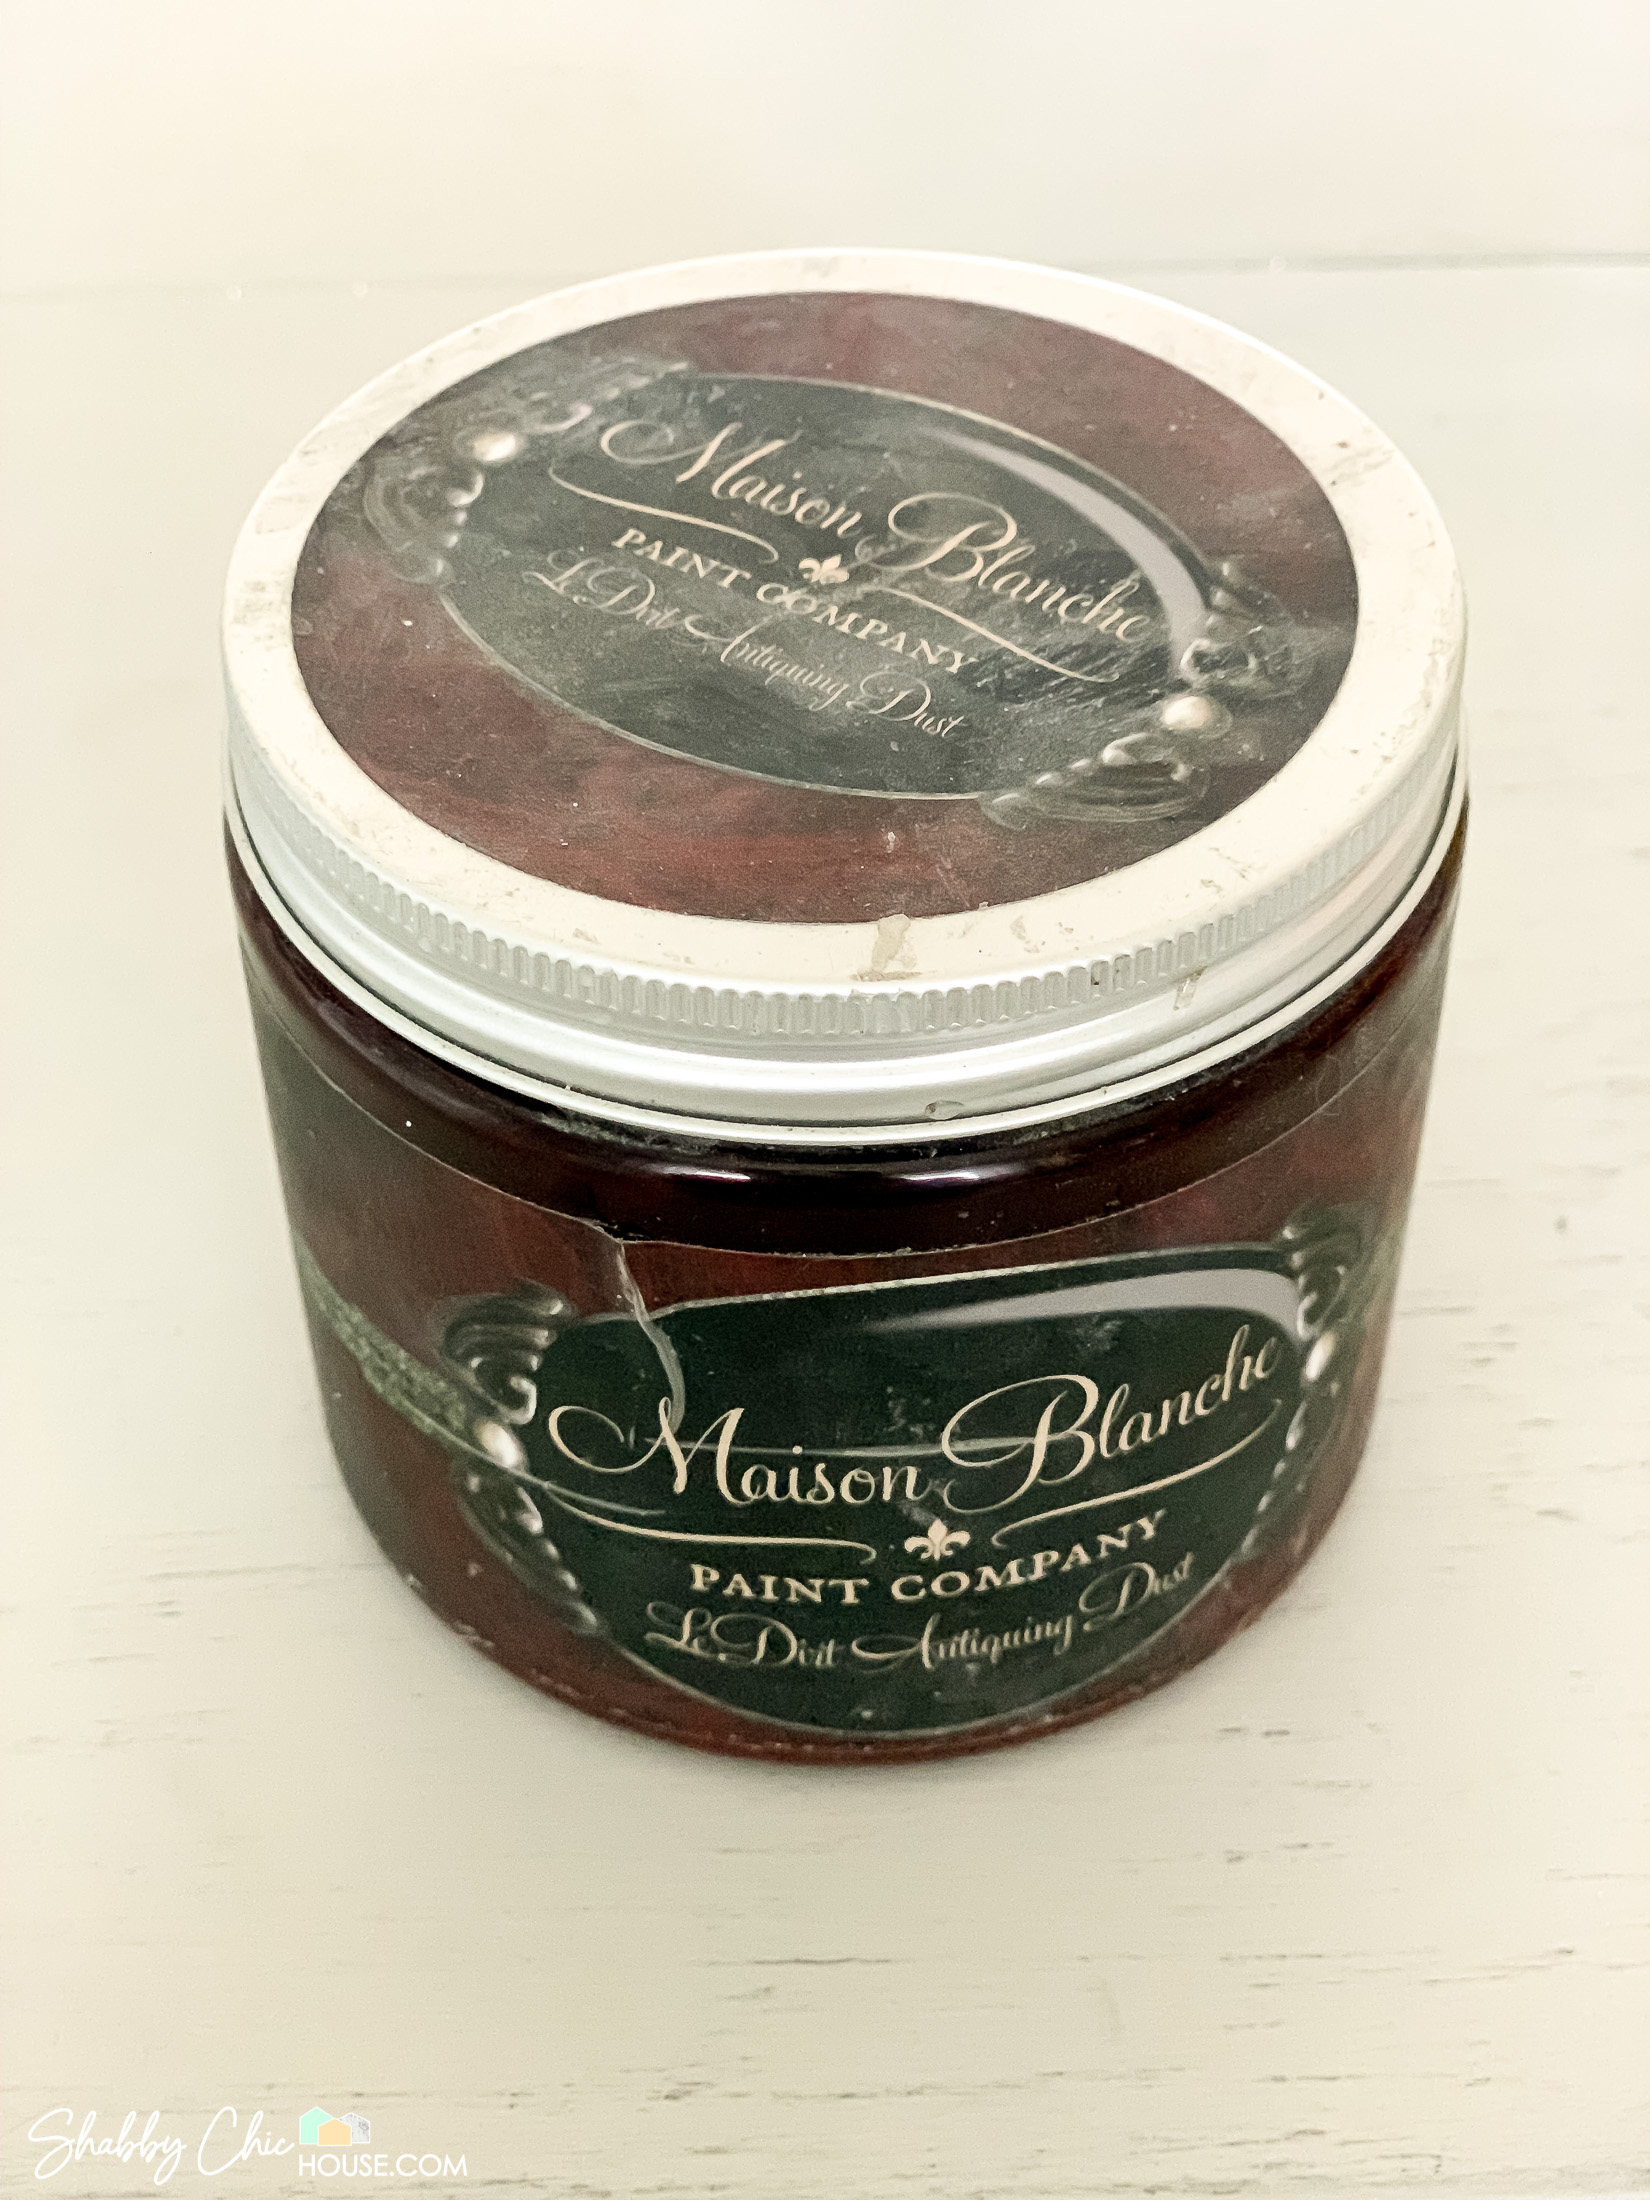
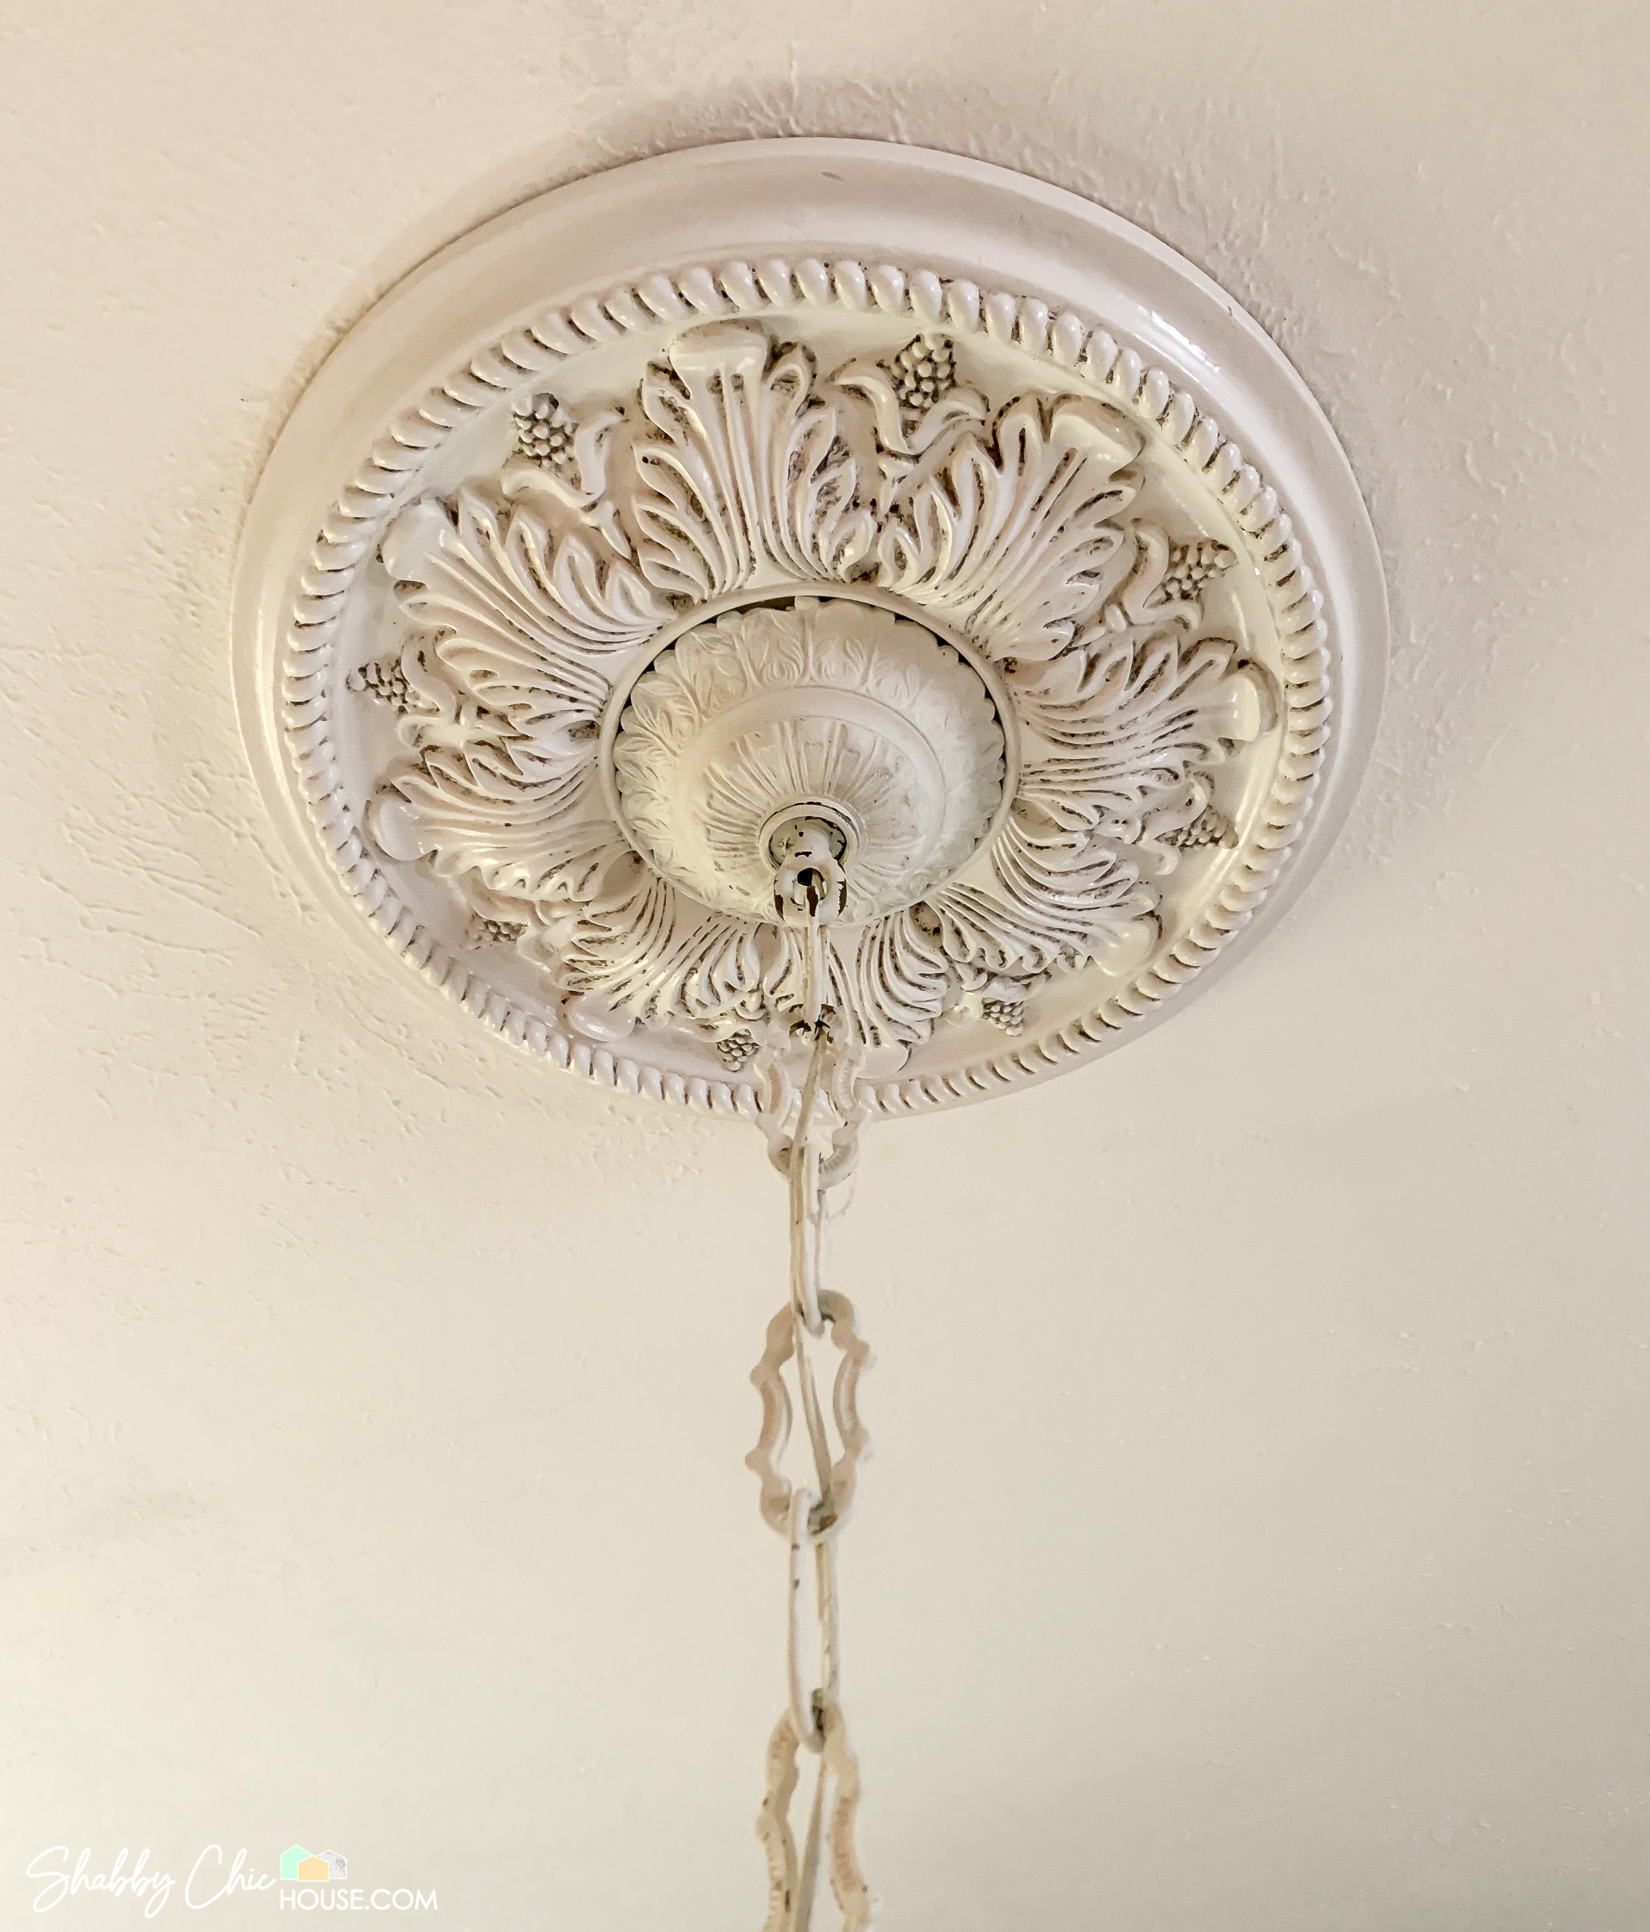
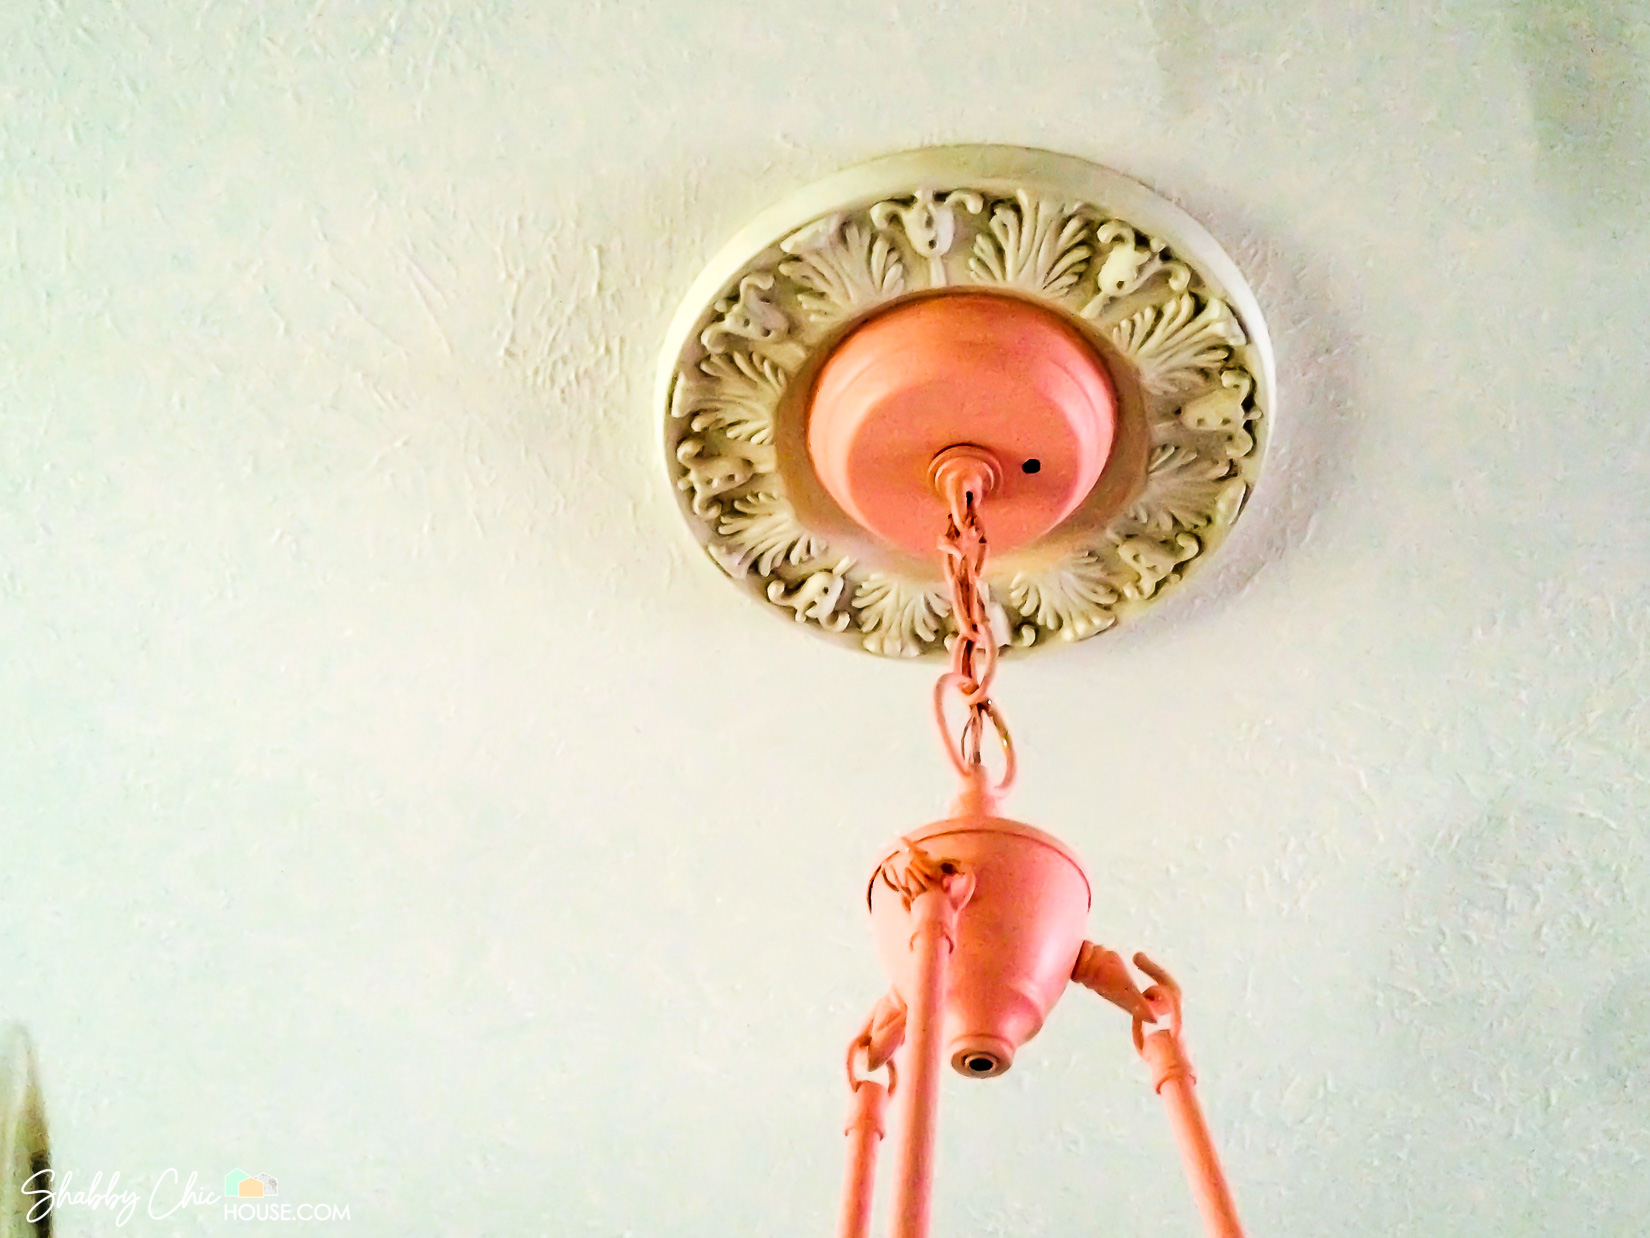
While it’s not 100% necessary, for some pieces of furniture you may want to add a little antiquing dust to give them that aged or patina’d finish. I’ve used this same can of Mason Blanche dust for years and it’s perfect for adding detail and depth to the nooks and crannies of your furniture or even to spice up a plain old ceiling medallion.
In order to add antiquing dust to your piece of furniture you’ll need:
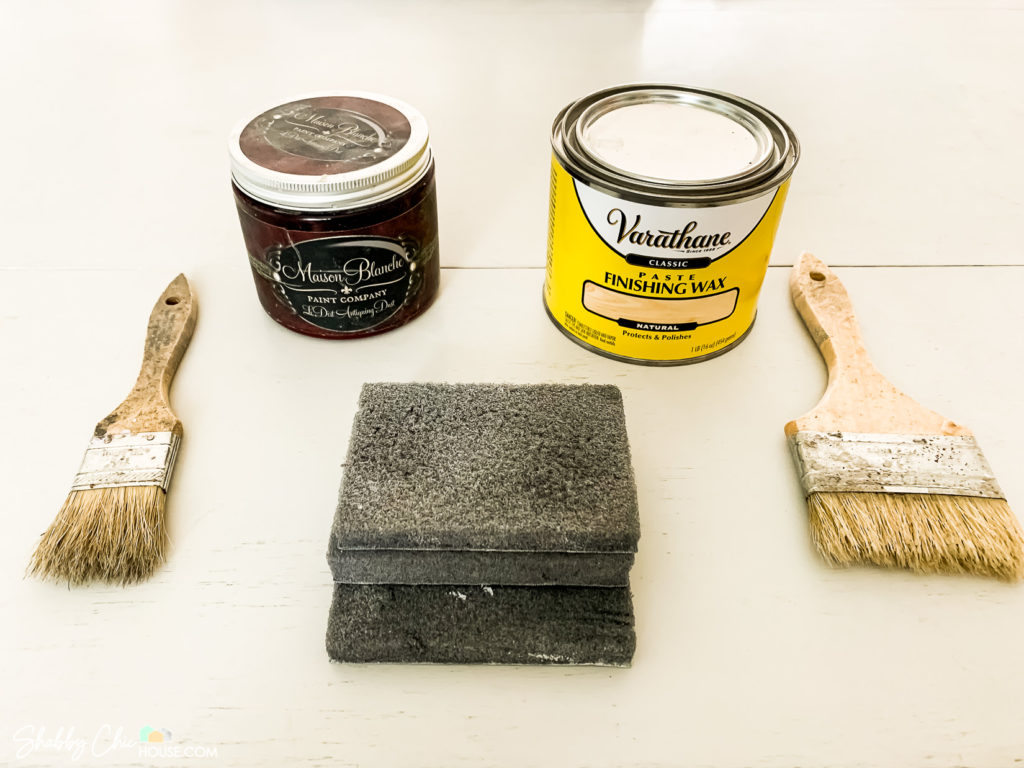
Start by applying a small amount of wax to your the nooks and crannies where you want your antiquing dust to stick. Do this using your medium sized chip brush. I recommend having one chip brush for applying wax and one for applying antiquing dust. If you use the same brush to do both you’ll get dust in your can of wax.
After you’ve applied the wax to your nooks and crannies, then use your separate/small sized chip bush to apply the antiquing dust. Simply dip your small chip brush into the dust and then dab the dust into your nooks and crannies where you just applied the wax.
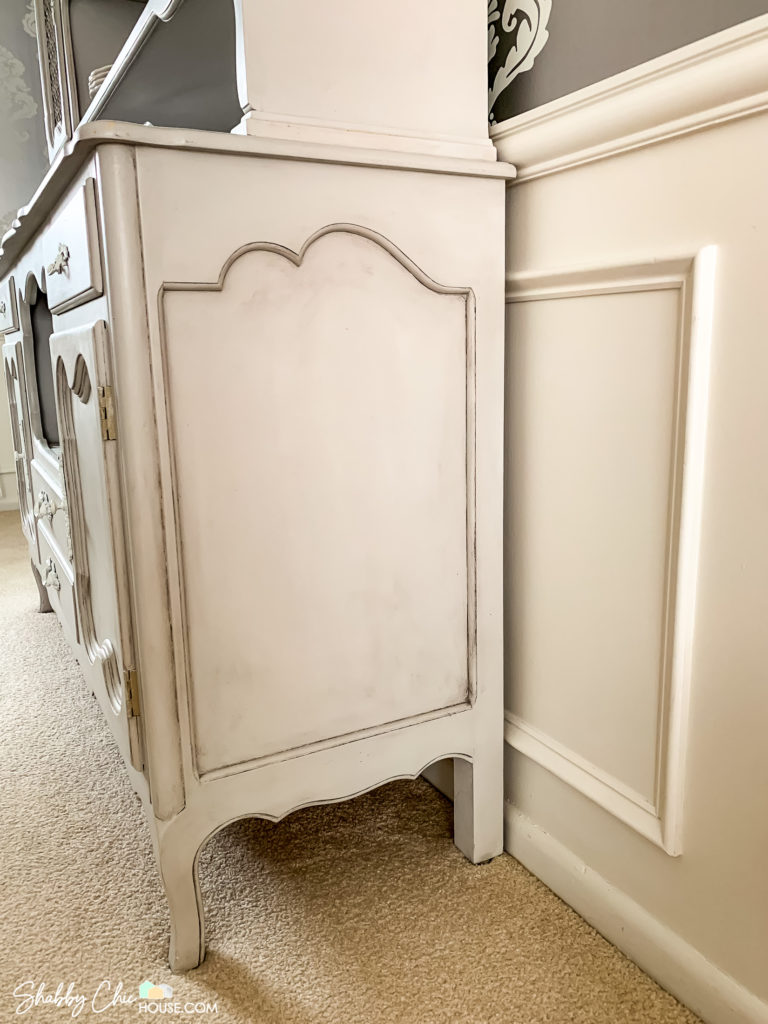
Allow your wax/dust mixture to sit for 15-20 minutes unitl it hardens. Next use your cheese cloth or waxing sponge to polish your furniture and remove the excess antiquing dust.
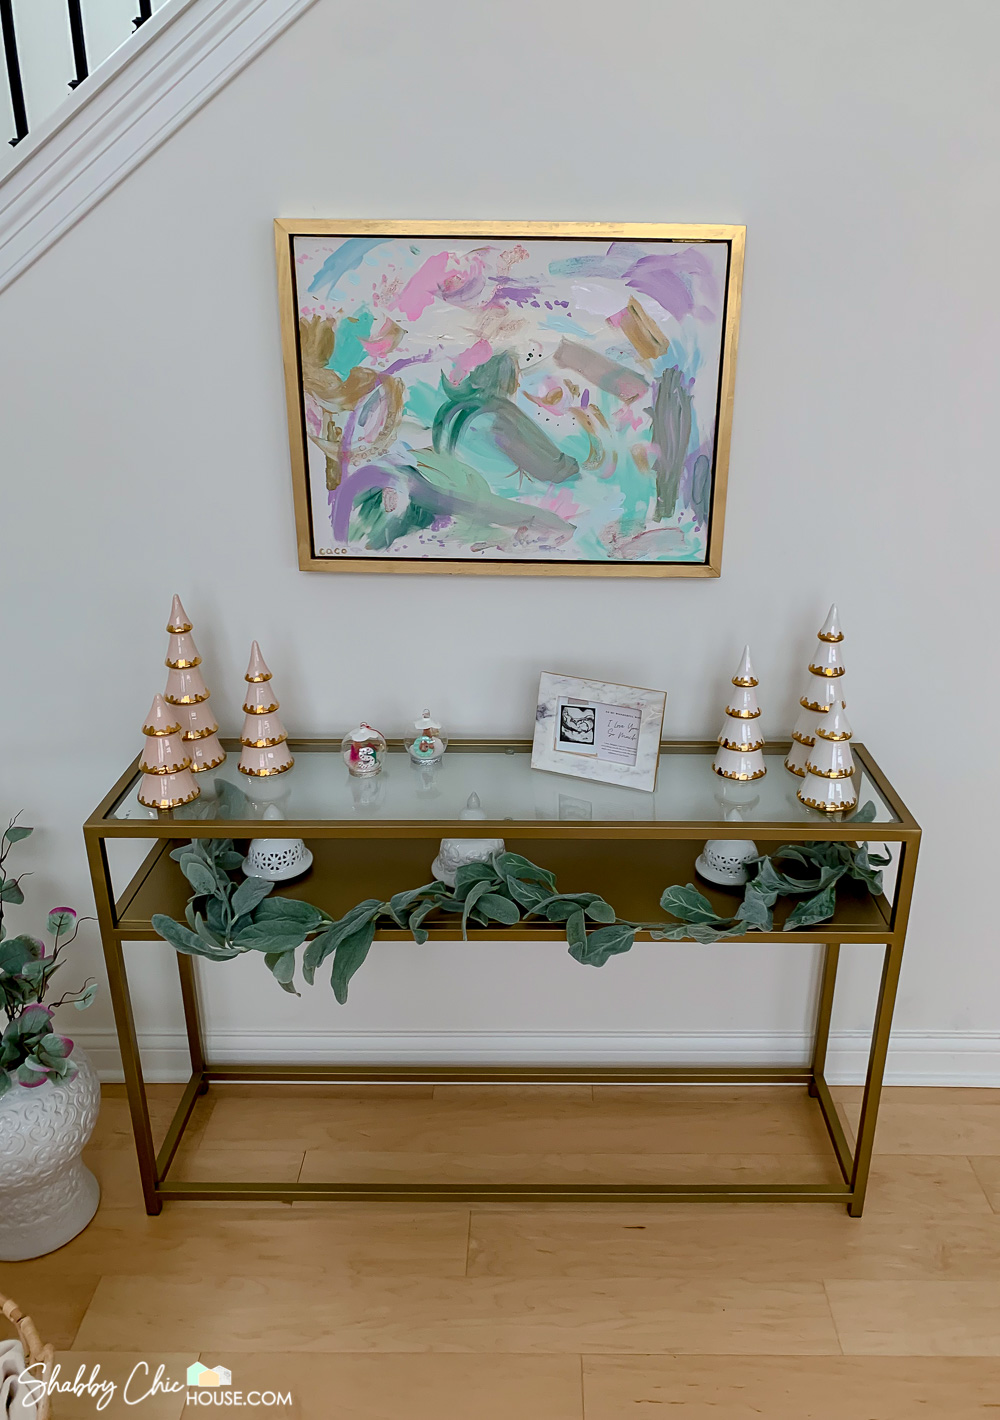
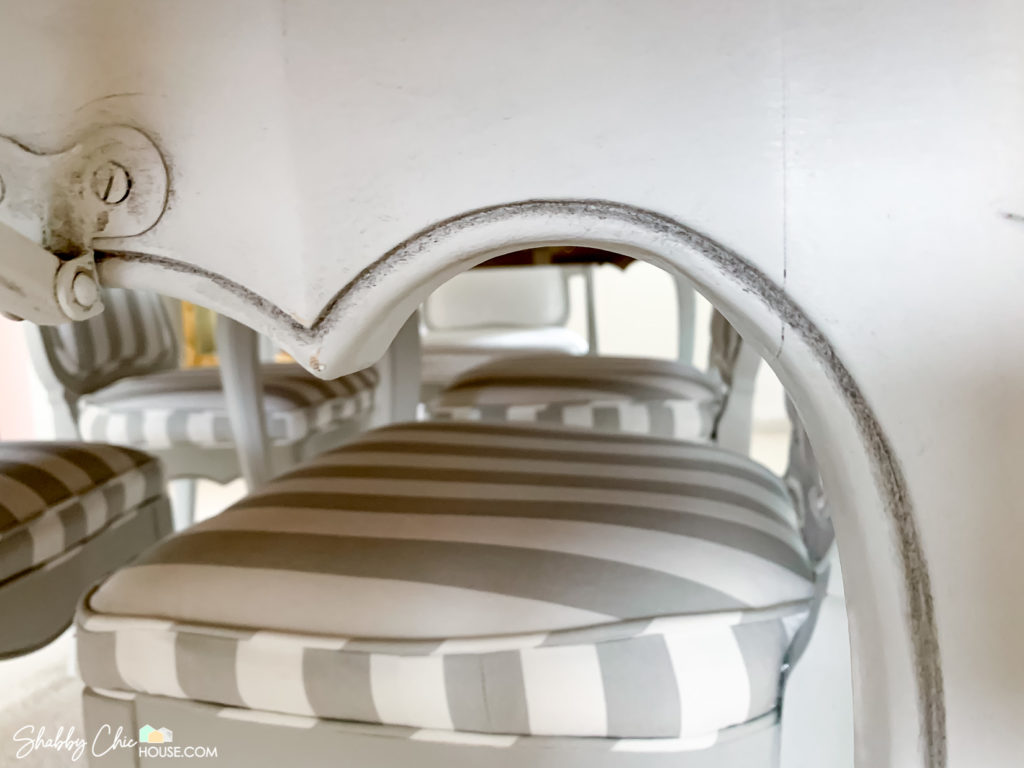
Below are a few photos that really show off the awesome effect of the antiquing dust. Check out the nooks and crannies where the dust remained and even how it helped age two different ceiling medallions.
More Chalk Painting Project Ideas & Photo Gallery
If you enjoyed this chalk painting blog post, check out How to Chalk Paint – Part Two which features a TON of great before and after photos as well as a few next level tricks and tips.